File Upload to Google Drive using PDF.co and Make
In this tutorial, you will learn how to upload a file to Google Drive using PDF.co and Make integration. Here are the steps:
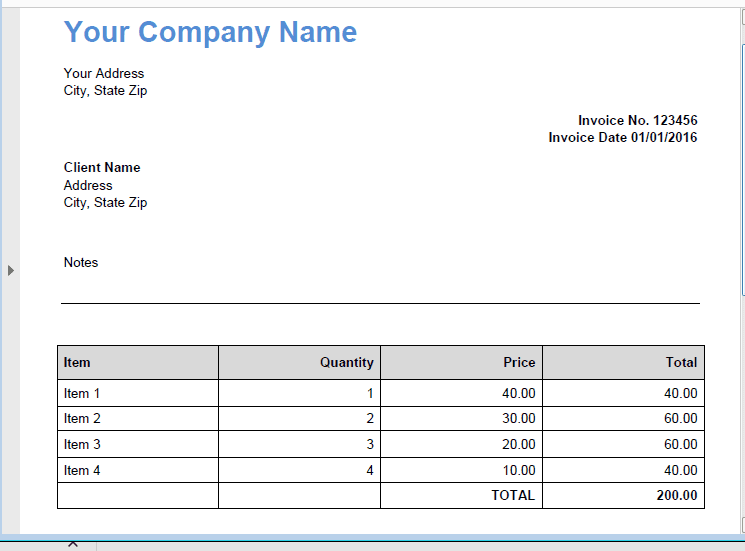
Step 1: Sample Source File
You will learn from this brief tutorial how to upload files to Google Drive using PDF.co and Make.
Step 2: Create Scenario
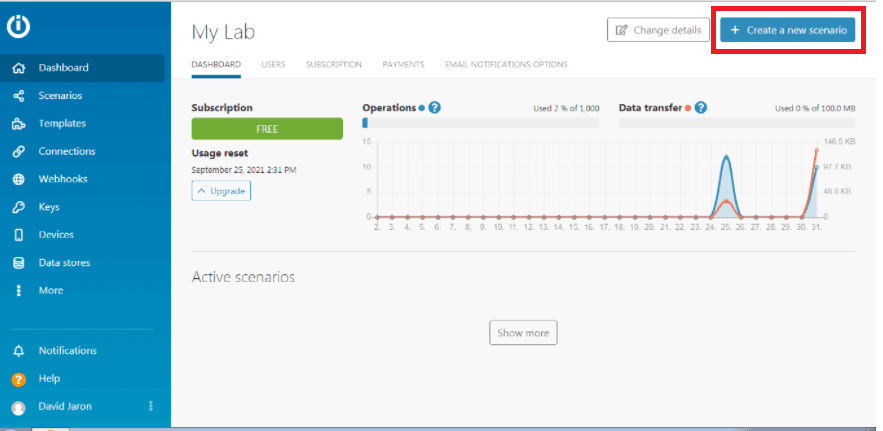
To create a scenario in Make, we start by clicking the button on the top right corner of our Dashboard that says “Create a New Scenario”.
Step 3: Choose PDF.co
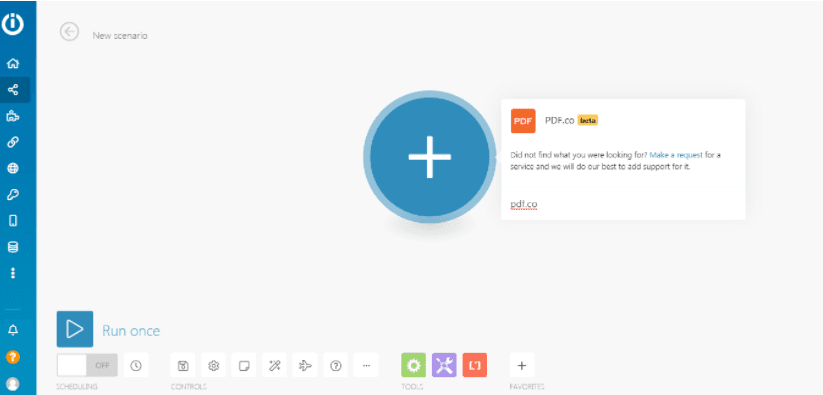
- Select PDF.co as the input app under the New scenario.
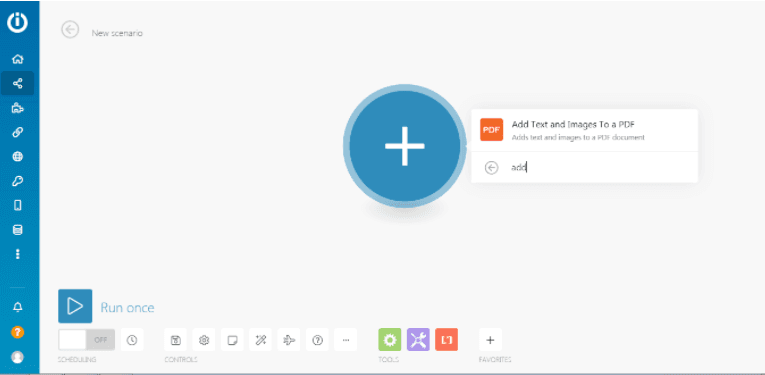
- Next, select Add Text and Images to PDF for the input file.
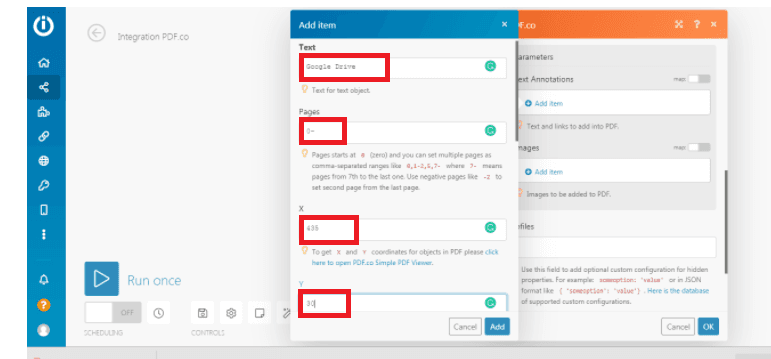
Step 4: Add Item to PDF.co
- Input the text name of our output in the Text field.
- Then we will put 0- in the Pages field to set multiple pages.
- We can use the PDF.co Simple PDF Viewer to get the X and Y coordinates for objects in PDF.
Step 5: Connections and Parameters in PDF.co
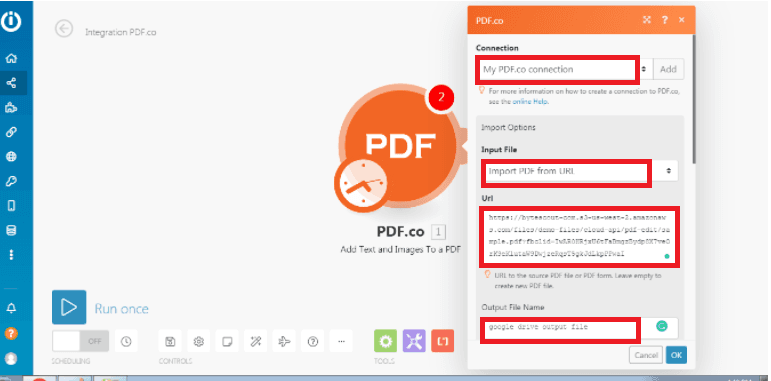
At this point, we will fill out the Import Options under PDF.co.
- Select Import PDF from URL in the Input field so we can pick the file in Google Drive.
- Next, we will enter the source PDF file in the URL field.
- Then, we will type in our desired output name in the Output File Name field.
Step 6: Run Scenario
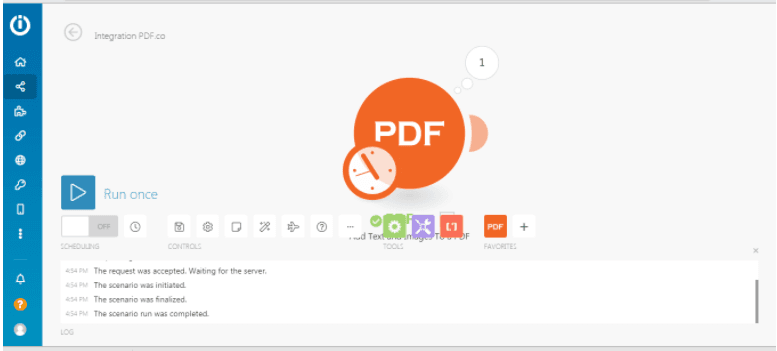
Finally in this phase, will Run the Scenario for the system to generate the result. Now, we are going through a new step.
Step 7: Add Google Drive Module
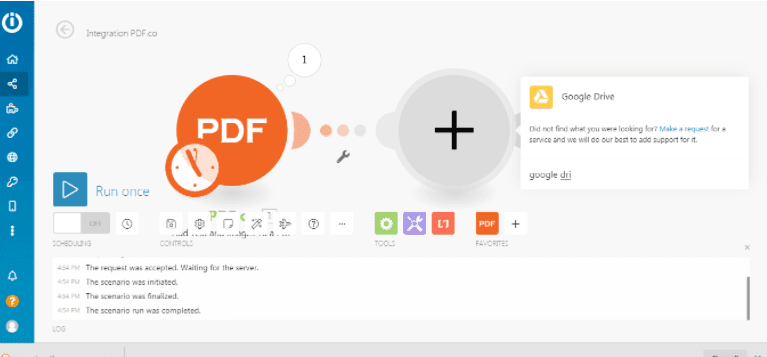
To complete our file, we will use the Google Drive app to add another module.
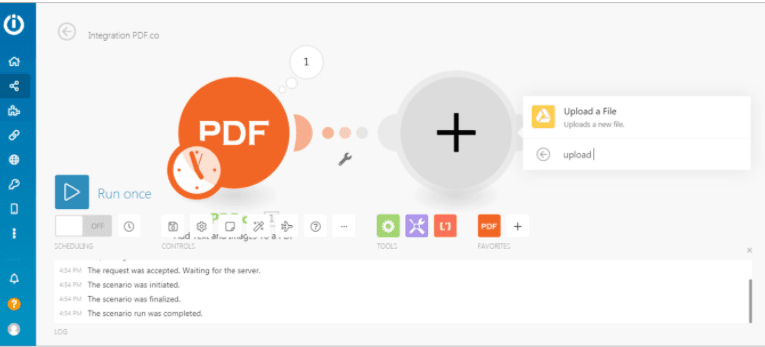
Step 8: File Upload
We will choose the Upload a File option under Google Drive, so we can move and store the file in Google Drive.
Step 9: Google Drive Connection
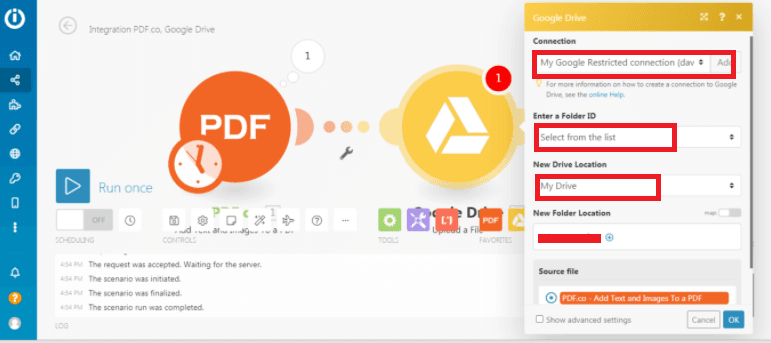
We will fill out all the required information at this phase.
- Pick Select from the List in the Enter a Folder ID field, to see all the available folders in Google Drive.
- Next, choose My Drive in the New Drive Location field.
- Lastly, select the folder where you want the file stored in the New Folder Location field.
Step 10: Run Google Drive Scenario
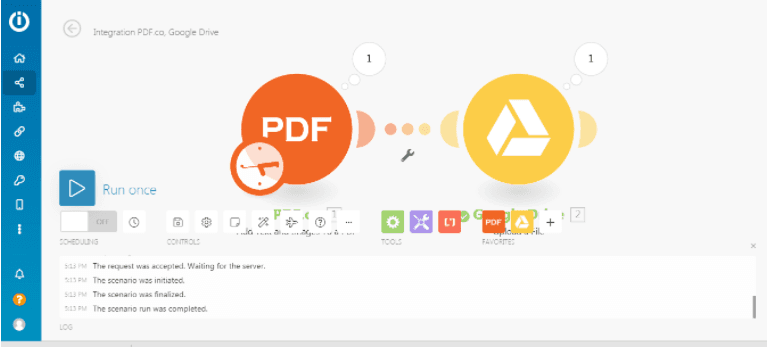
To check if the whole setup is in order, we will run the Scenario again. To check the file, we will go to My Drive.
Step 11: Check Google Drive
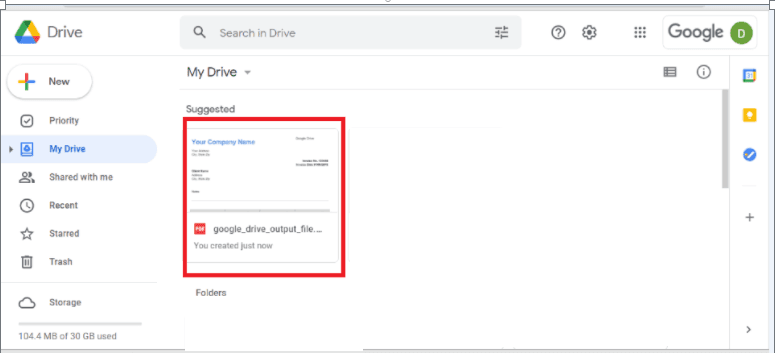
At this point, we should see the PDF.co file has been successfully uploaded to our targeted Google Drive folder.
Step 12: Source File Output
Now, we will see below what the PDF.co generated PDF file with the added sample text looks like.
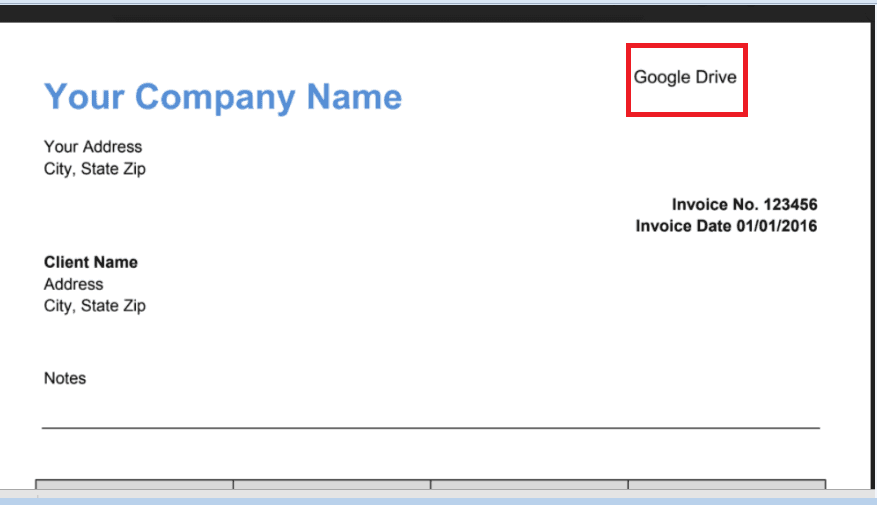
There you have it! We just learned how to add text to a PDF using the PDF.co Add Text and Images to a PDF module. We also saw the process of uploading the PDF.co generated file to Google Drive for file storage.
Video Guide
Related Tutorials


