Generate PDF with Formsite Data using PDF.co and Zapier
In this tutorial, we will guide you through the process of generating a PDF using Formsite data with the help of PDF.co and Zapier. We’ll provide a step-by-step guide to automate the workflow, allowing you to seamlessly integrate data from Formsite into a customized PDF document using raw HTML code.
If you already have a PDF template, you can refer to this guide to streamline the process using your existing template.
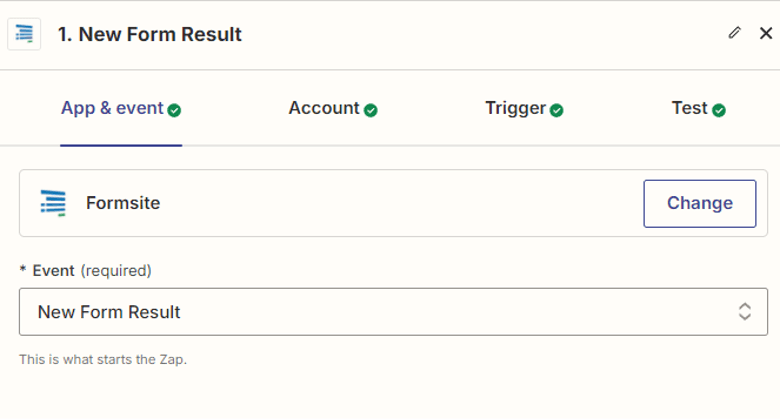
Step 1: Adding the Formsite Step
Let's begin by adding the Formsite module. Then, select the "New Form Result" trigger to retrieve data from the submitted form.
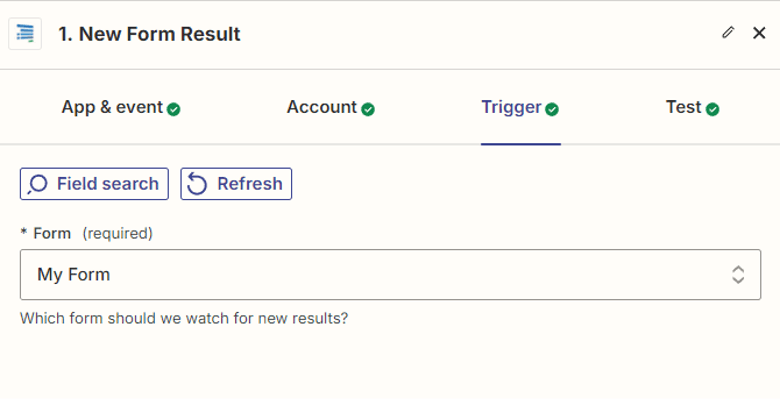
Step 2: Configure the Setup
Next, configure the setup by selecting the specific form you want to monitor for new submissions. This will ensure that Zapier retrieves the data from the correct form whenever a new result is submitted
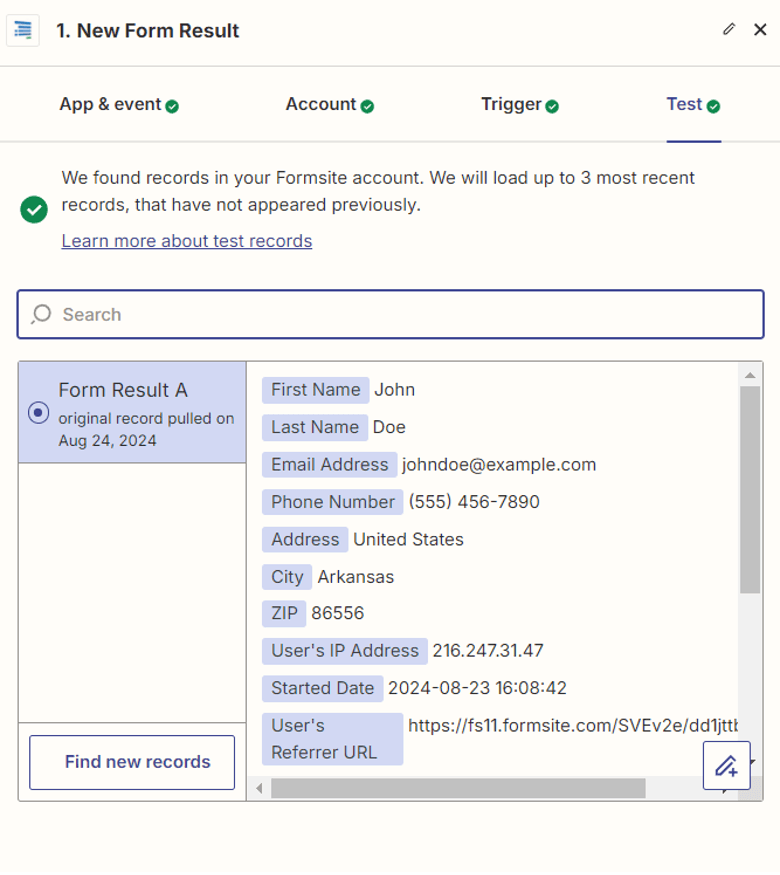
Step 3: Test the Trigger
Now, test the trigger to ensure that Zapier successfully retrieves the submitted form data from Formsite.
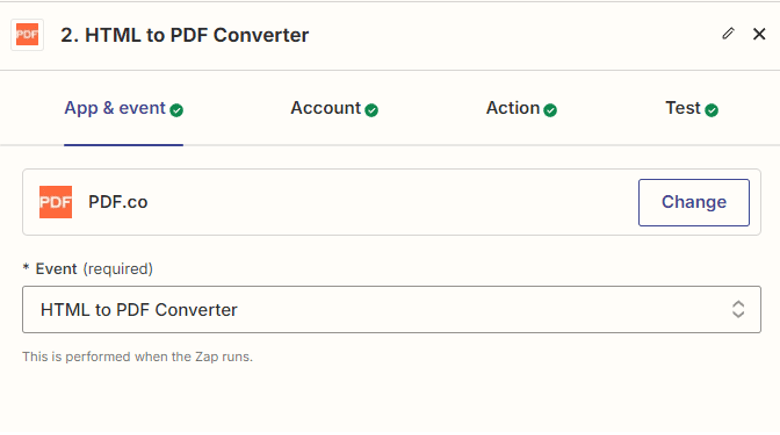
Step 4: Add the PDF.co App
Next, add the PDF.co app to your automation in Zapier. Choose the "HTML to PDF Converter" feature within PDF.co to generate a PDF document using the data submitted from Formsite.
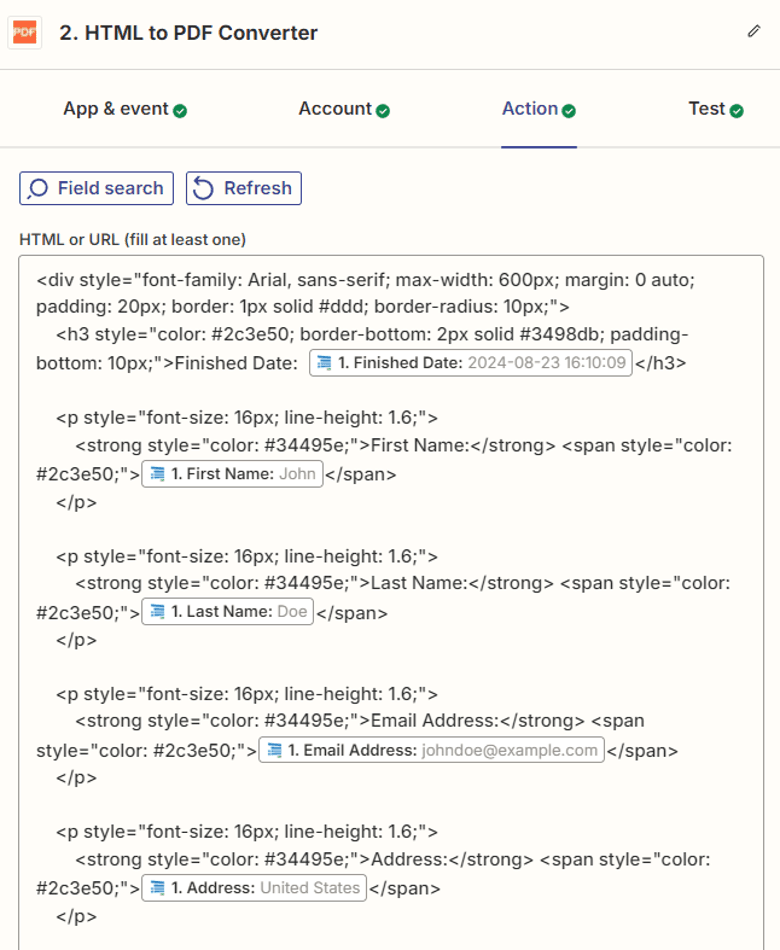
Step 5: Configure PDF.co Settings
In the HTML field, input the raw HTML code, incorporating the data submitted from Formsite.
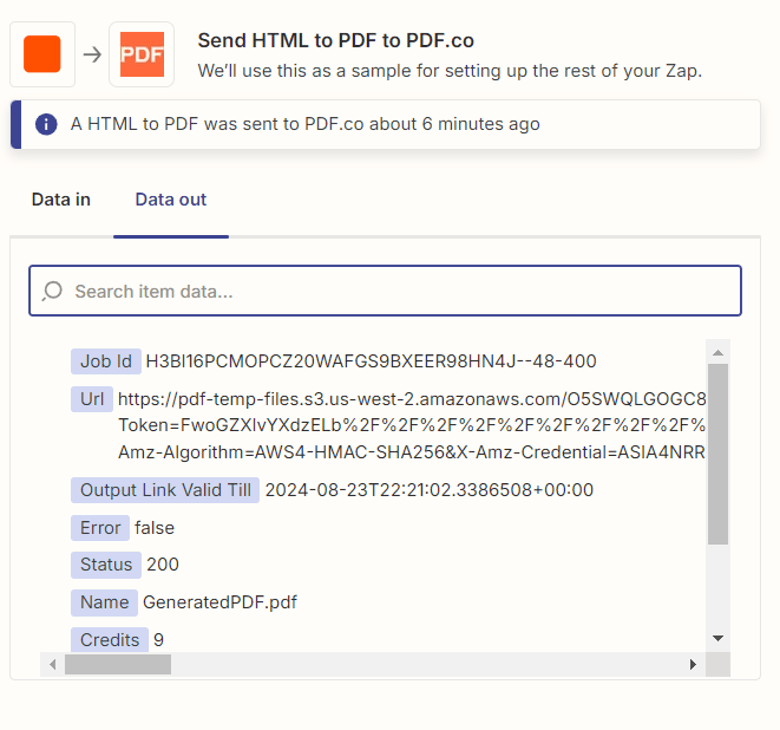
Step 6: Test the PDF.co Action
Now, proceed to test the action to ensure that a PDF document is generated successfully from the data submitted via Formsite.
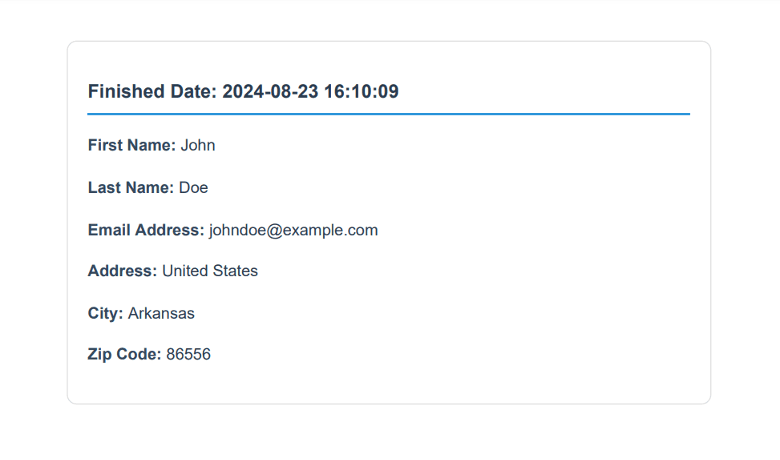
Step 7: View the Generated PDF
Copy the provided URL and paste it into your browser to view the generated PDF.
Step 8: Upload the PDF to Google Drive
Now, upload the generated PDF file to your desired Google Drive folder. This will store the document securely and make it easily accessible whenever needed.
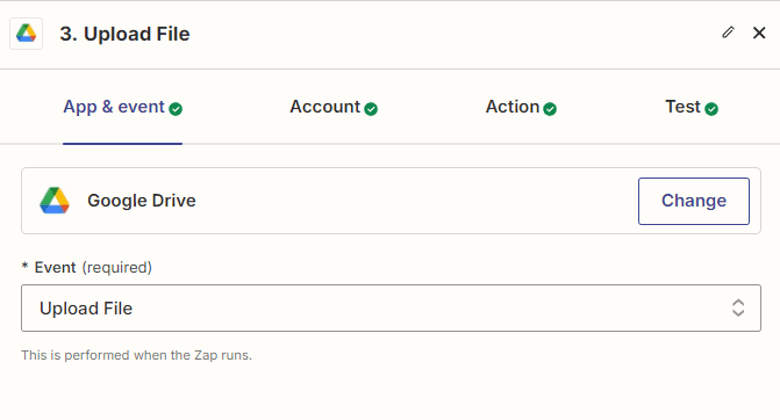
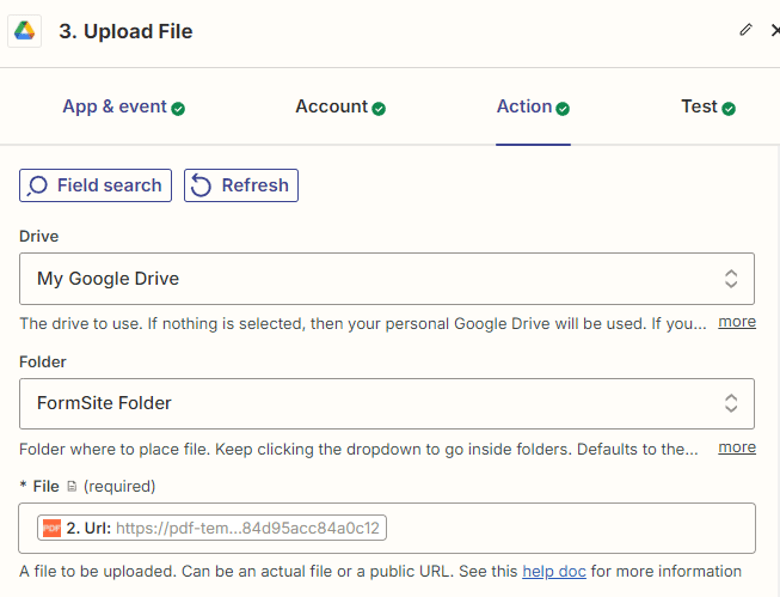
Step 9: Configure the Google Drive File Upload
- Select "My Google Drive" as the target location.
- Choose the specific folder where you want to save the generated PDF.
- Provide the URL of the generated PDF for storage in the selected Google Drive folder.
- Specify the name you want to assign to the PDF file when it is saved in Google Drive.
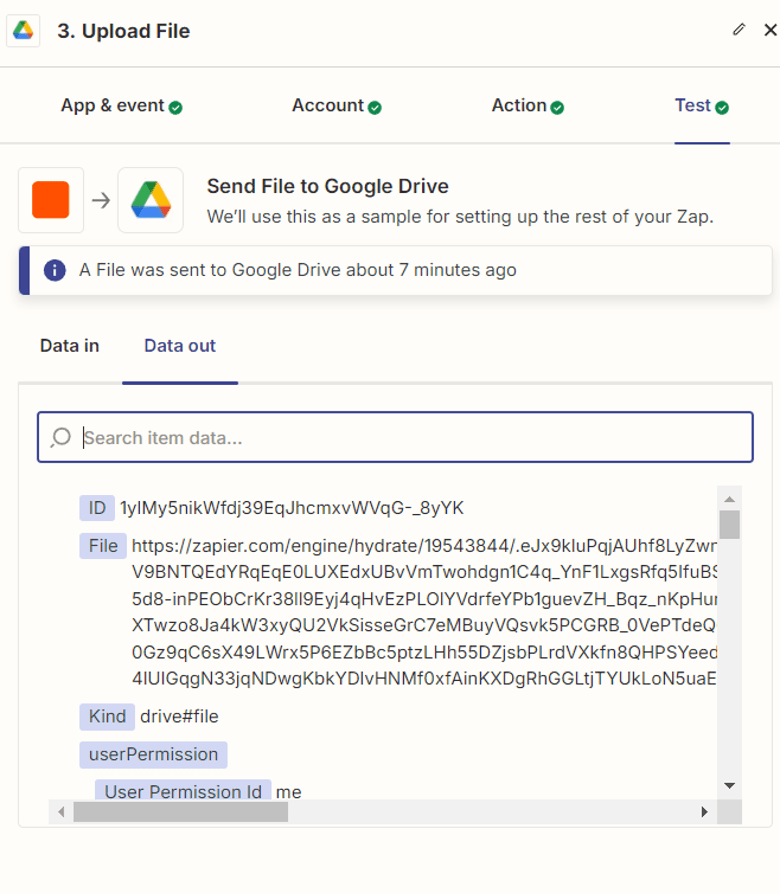
Step 10: Test the File Upload
Test the file upload by sending a request to Google Drive. This will ensure that the generated PDF is successfully saved in the specified folder.
Step 11: Check the Uploaded File
After the upload is complete, open the Google Drive folder to confirm that the file has been successfully uploaded and is correctly stored in the specified location.

In this tutorial, we’ve walked you through the process of generating a PDF using Formsite data, seamlessly integrating it into a customized document with the help of PDF.co and Zapier. By following the step-by-step guide, you can now automate your workflow, transforming raw HTML code and Formsite inputs into polished PDFs effortlessly.
But this is just the beginning! The powerful integration of PDF.co and Zapier opens up a world of possibilities. You can also:
- Generate PDFs with DocuSign Envelope Data
- Generate PDFs with SquareSpace Form Data
- Generate PDFs with Wix Forms Data
And so much more. The flexibility and ease of use offered by these two platforms make it simple to streamline your document generation processes across various tools and services.
Related Tutorials
