To connect your PDF.co account to Zapier, add your API Key. You can get the API Key in your PDF.co dashboard.
How to Split PDF Document and Save to S3 with Honeycode using PDF.co and Zapier
Sep 2, 2024·15 Minutes Read
PDF.co PDF Split is a tool that allows users to split a large PDF document into smaller files. The tool uses advanced algorithms to split the PDF based on page ranges, bookmarks, or top-level headings, making it easy for users to extract specific sections of a document or create new, smaller PDF files. PDF.co Split PDF can be used online through the PDF.co website or through an API that can be integrated into third-party applications. The tool also offers additional features such as merging, converting and compressing PDF files.
In this tutorial, we will guide you through the process of splitting a PDF document and saving the generated files to an S3 bucket using Honeycode, with the help of PDF.co and Zapier. By combining these tools, you can easily split a PDF document and save the resulting files to an S3 bucket in just a few steps. This can be useful for a variety of purposes, such as organizing large documents into smaller, more manageable files.
We will be using a sample PDF document to demonstrate how to split pages using PDF.co and save the generated file to an S3 bucket with the help of Honeycode.

Kindly follow the step-by-step guide below to split pages using PDF.co and save the generated file to an S3 bucket with Honeycode:
Step 1: Log into Zapier Account
- To start the process, log in to your Zapier account and locate the Create Zap button in the top left corner of your dashboard. Click on it to get started.
Step 2: Google Drive App
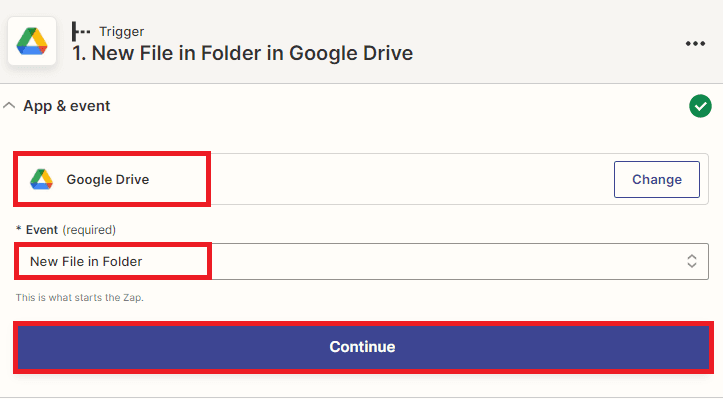
- Next, search for and select the Google Drive app from the list of available apps. Then, choose the New File in Folder trigger, which will activate when a new file is added to a specific folder.
Note: In addition to Google Drive, Zapier also supports other popular cloud storage apps like OneDrive, Dropbox, and many others. These apps have similar features to Google Drive and can be used to trigger automated workflows when new files are added to specific folders. Choose the cloud storage app that best fits your needs and select the appropriate trigger for your workflow.
Step 3: Setup Trigger
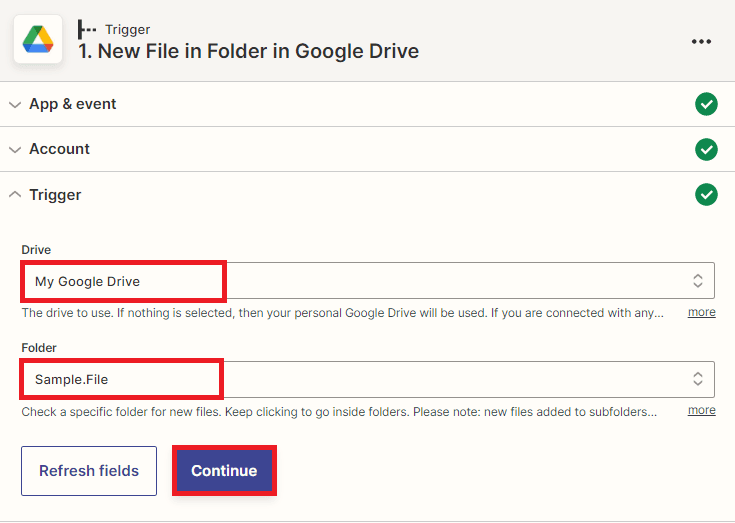
- To set up the trigger, navigate to the Google Drive app in Zapier and select My Google Drive from the dropdown menu in the Drive field.
- Then, select the specific folder where the file you want to monitor is stored by choosing it from the dropdown menu in the Folder field. This will ensure that the workflow is triggered only when a new file is added to that particular folder.
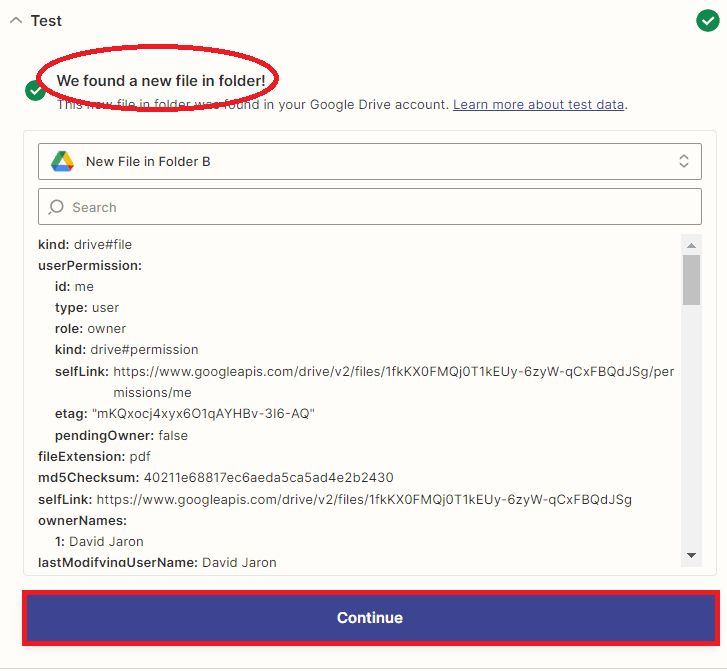
After you have set up the trigger, test it to ensure that everything is working correctly and Zapier will then automatically fetch the file from the Google Drive folder and trigger the workflow.
Step 4: Test Trigger Result
- After verifying that the trigger is working correctly and that the workflow is being triggered when a new file is added to the specified folder, it’s time to add another app to the workflow to split the PDF documents into individual files.
Step 5: Add PDF.co App
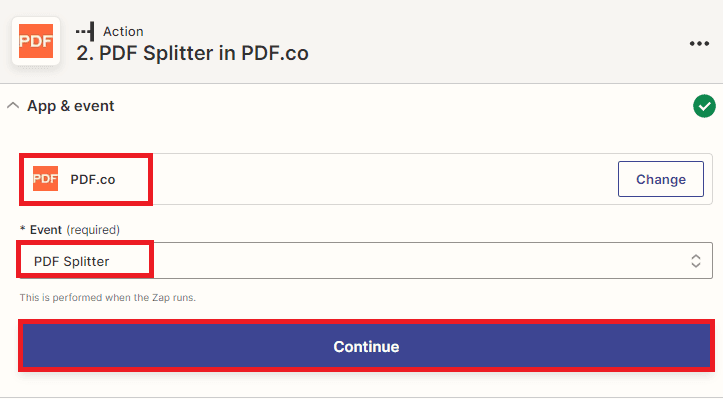
- To split the PDF documents into individual files, we will add another app to the workflow. Select the PDF.co app from the list of available apps in Zapier and choose the PDF Splitter feature. This feature allows you to split the pages of a PDF document into individual files. Once you have selected the PDF Splitter feature, configure it to your liking, including the file size, number of pages per file, and output format.
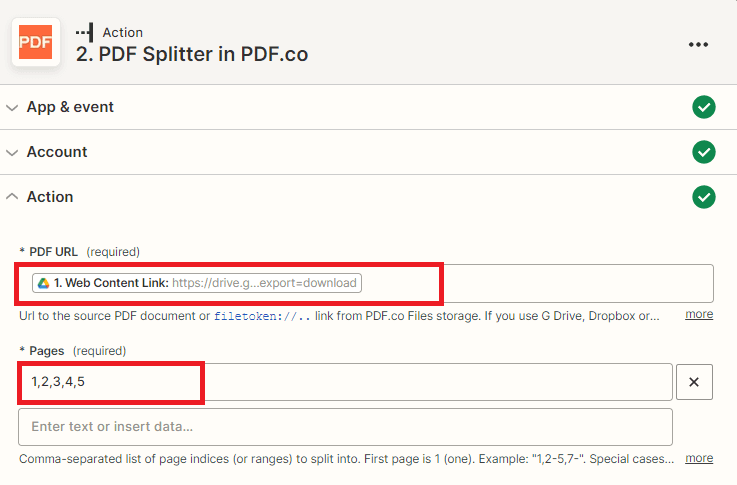
Step 6: Setup PDF.co Configuration
- In the PDF URL field, select the web content link of the PDF file from your Google Drive folder.
- Then, in the Pages field, add the list of pages that you want to split into individual files, separated by commas. This will ensure that only the specified pages are split and saved as individual files.
After you have configured the PDF.co app, it’s a good idea to test the action to ensure that everything is working as expected. You can do this by running a test workflow and checking the resulting individual files to ensure that they contain the correct pages.
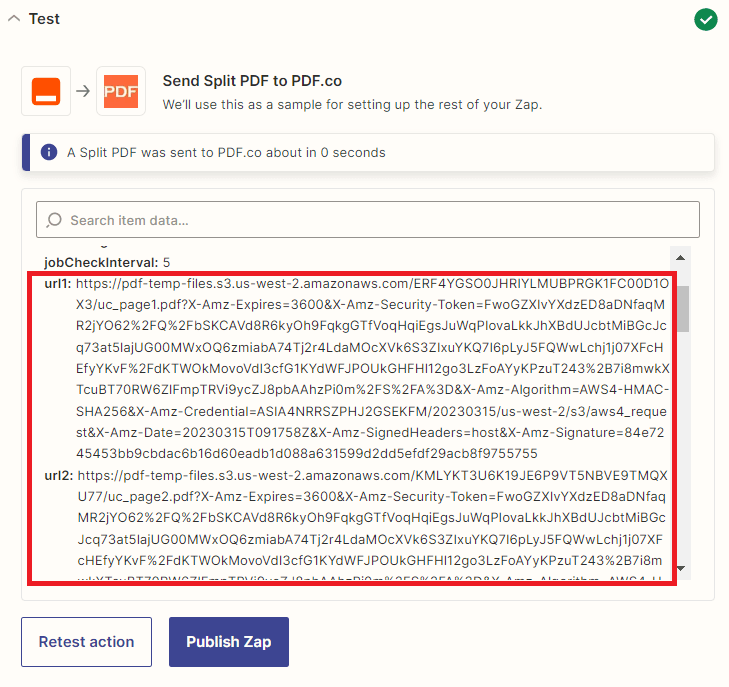
Step 7: Test Result
- Great! The test was successful, PDF.co return the URLs of the split PDF files. Copy these URLs and paste them into your web browser to view the output and verify that the pages were split correctly.
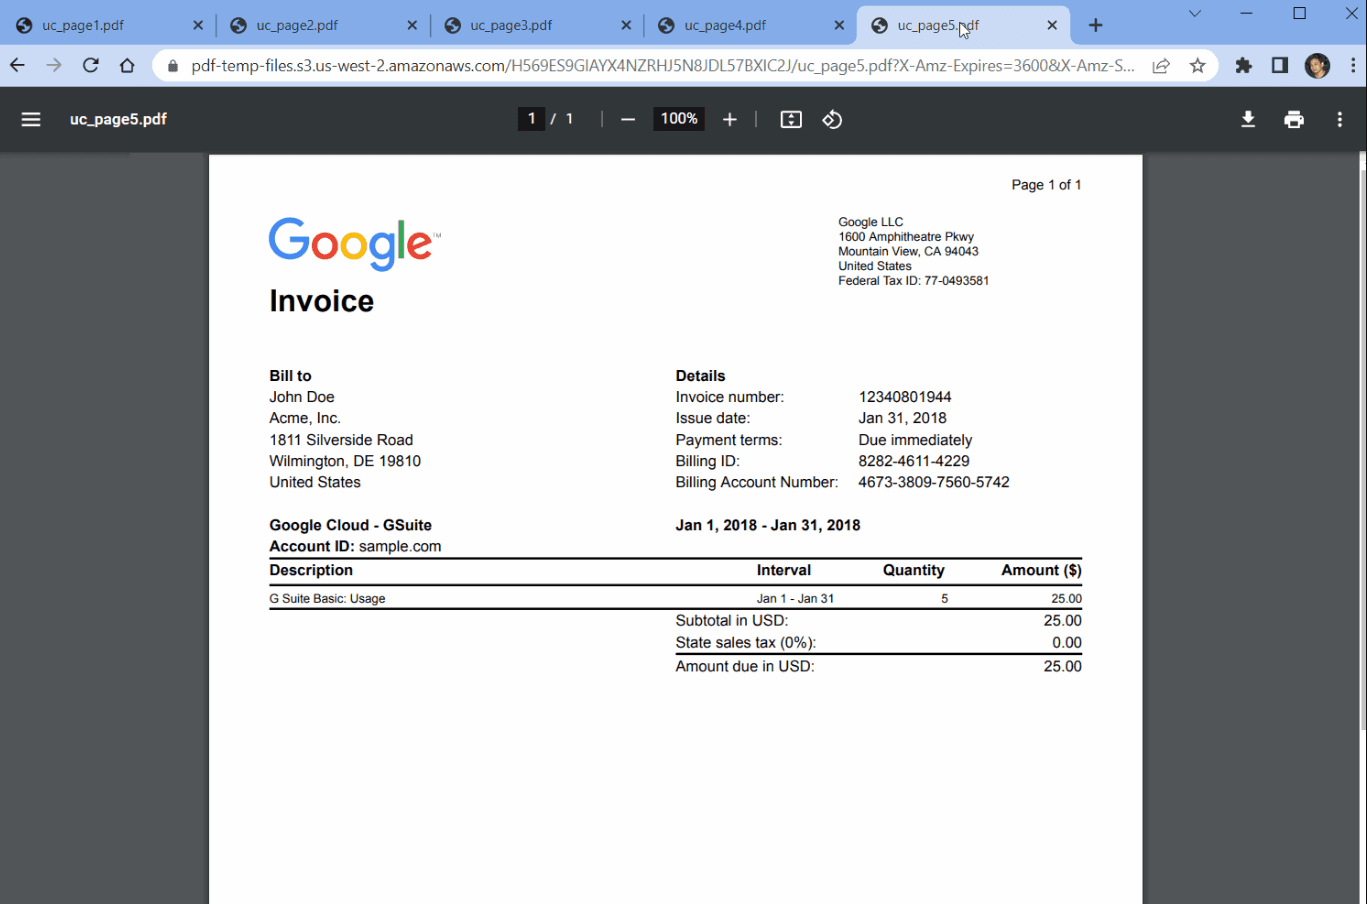
Step 8: Split PDF Files
- Here’s what the split PDF file output looks like.
Now, we will add the split PDF file URLs to your Honeycode workbook and save them to the S3 bucket.
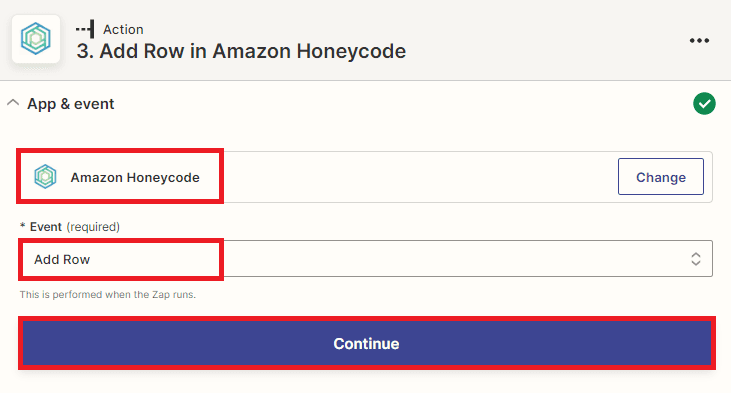
Step 9: Add Honeycode App
- In this step, let’s add the Honeycode app from the list of available apps and choose the Add row option. This will allow you to add a new row to a table in your Honeycode workbook and input the split PDF file URLs as data in the appropriate columns.
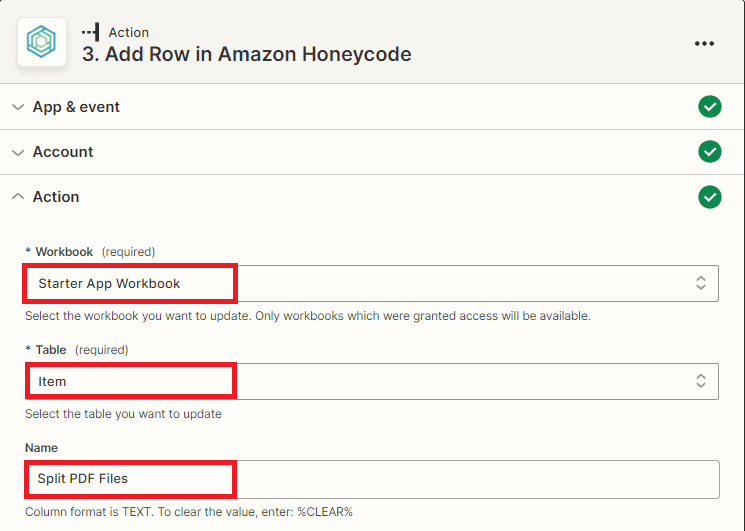
Step 10: Setup Honeycode Configuration
- In the Workbook field, enter the name of the Honeycode workbook that you want to update with the split PDF file URLs.
- In the Table field, specify the name of the table in the workbook that you want to update. This will ensure that the new row with the split PDF file URLs is added to the correct table in your Honeycode workbook.
- To create fields in your Honeycode workbook, you have the option to select from various options such as Item, Name, Date, Contact, Status, and URLs. However, the crucial field in this scenario is the field that will store the PDF File URLs after splitting.

Note: To enable the storage of generated PDF files, create a new workbook in Amazon Honeycode and add a new app to the workbook. Within the app, create a table to store generated PDF file URLs output.
After configuring Honeycode, you can test the action to send a request.
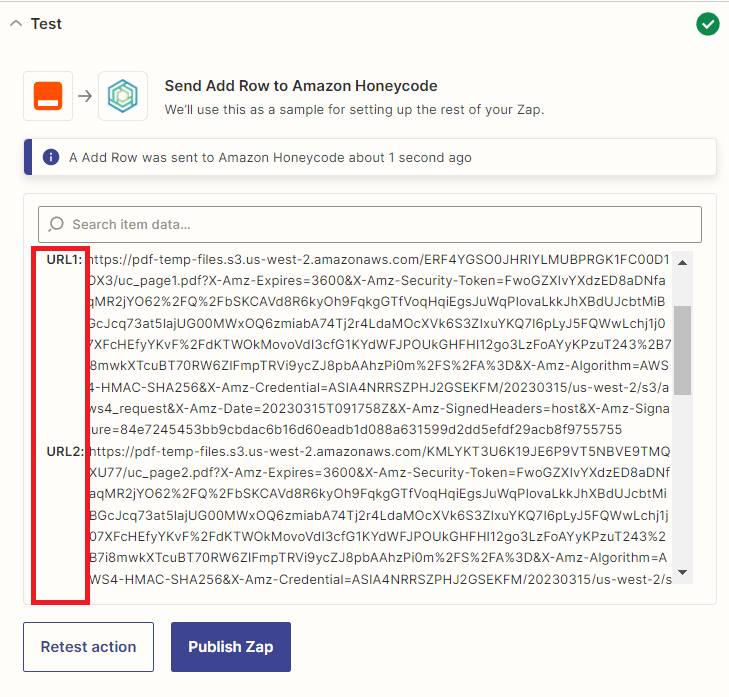
Step 11: Honeycode Test Result
- Awesome! Honeycode successfully processed the request and added a new row with the generated PDF file URLs to the designated table.
Now that we have stored the URLs of the PDF files in Honeycode, let’s go a step further and integrate another application that will allow us to save these PDF files directly to an S3 bucket.
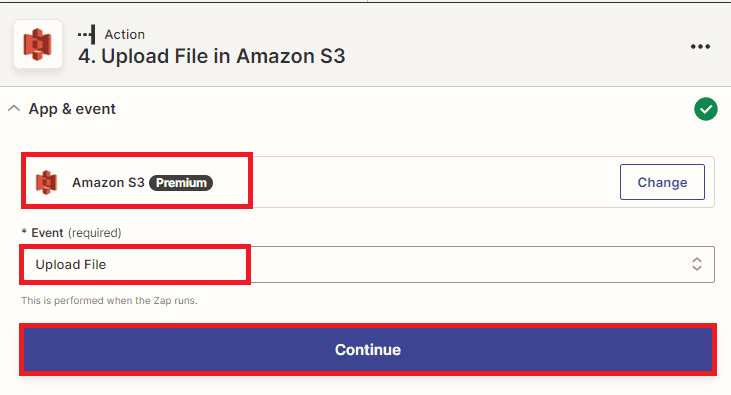
Step 12: Add Amazon S3
- Let’s add another app, we can select Amazon S3 as our target application. From there, we can choose the Upload File option to easily save the PDF files to our desired S3 bucket.
Step 13: Setup Amazon S3
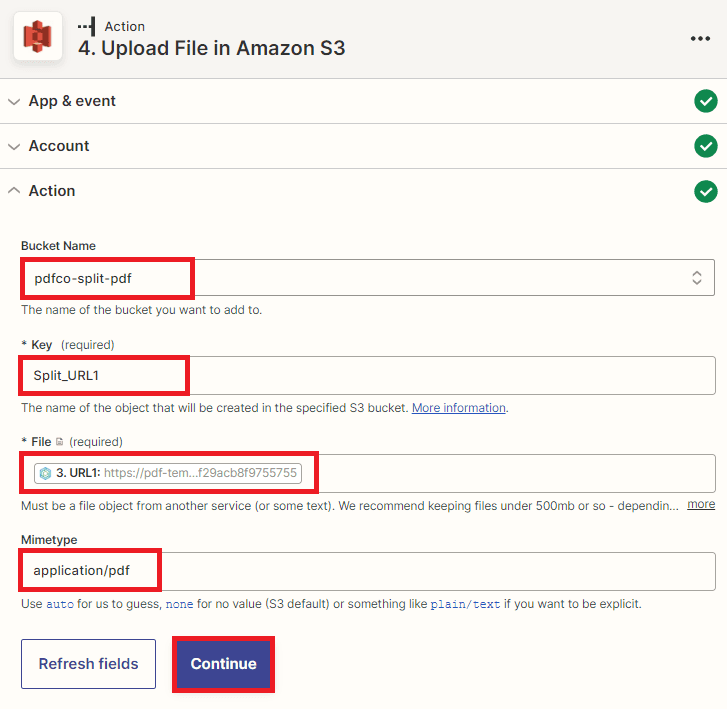
To set up the Amazon S3 configuration:
- In the configuration settings, enter the name of the S3 bucket that you want to use in the “Bucket Name” field.
- In the “Key” field, specify the name that you want to give to the object that will be created in the S3 bucket.
- In the “File” field, input the URL of the split PDF files that were retrieved from Honeycode.
- In the “Mimetype” field, add “application/pdf” to specify the file type.
Note: To save files from Honeycode URLs to an S3 bucket, we cannot simply transfer all files at once. Instead, we must add them manually, one by one. However, there is a simpler method to achieve this. By replacing the Key and file and testing again the action to successfully save a new file. Repeat this process until all the files are saved in the S3 bucket.
Once the configuration has been set up, it is recommended to test the action of saving the file to the S3 bucket. This step will ensure that the configured settings are functioning as expected and that the file is properly saved to the designated location.
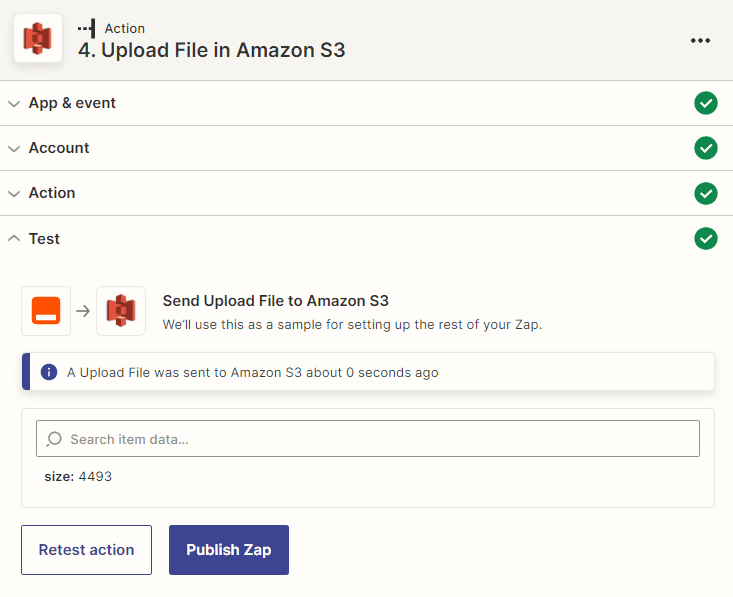
Step 14: Amazon S3 Result
- Excellent! The test was successful and the files were saved to the designated S3 bucket. This confirms that the configuration is properly set up and the file-saving action is working as expected. Go to your S3 bucket to view the saved files.
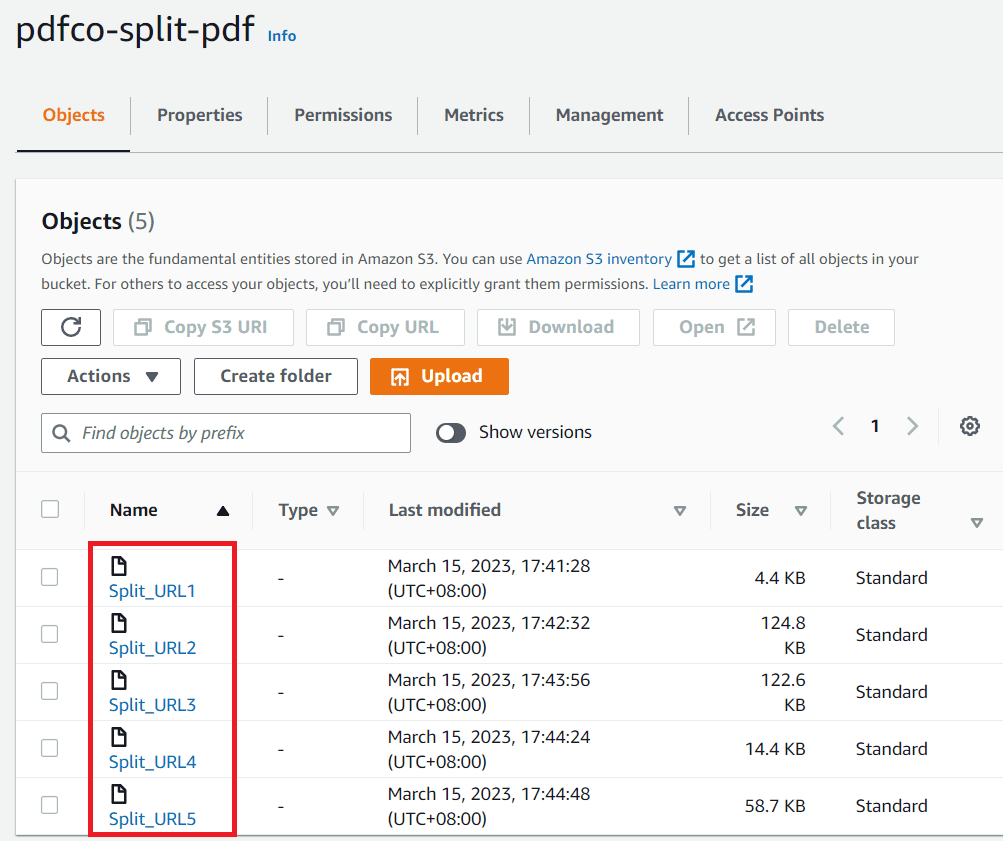
Step 15: Uploaded Files to S3
- We have successfully uploaded files to the S3 bucket from a Honeycode workbook table! This is a useful integration that allows you to store and access your files from an external location. By utilizing the S3 bucket storage, you can take advantage of its scalability, durability, and accessibility features. Additionally, by linking the file uploads to a Honeycode workbook table, you can easily track and manage the uploaded files and their associated data.
In this tutorial, you learned how to split PDF documents and save them to S3 with Honeycode using PDF.co and Zapier. You also learned how to use the PDF.co PDF Splitter to split PDF pages into individual PDF files.
Related Tutorials

How to Merge PDF files from Airtable using PDF.co and Make
Sep 9, 2024·5 Minutes Read

Convert DOC to Protected PDF using Make (Formerly Integromat)
Sep 11, 2024·5 Minutes Read
