How to Convert DOC to PDF using Zapier (So that Nobody Can Extract Text)

Convert DOC to PDF using Zapier – Step-by-Step

  1. Setup Trigger, select Google Drive as App Event
  2. Select New File in Folder as the Trigger Event
  3. Select or connect Google Drive account
  4. Select the correct Drive and Folder
  5. Test the trigger
  6. Setup Action, select PDF.co as App Event
  7. Choose Anything to PDF Converter as Action Event
  8. Select or connect PDF.co account
  9. Setup Action Parameters
  10. Test action
  11. Add another action, select PDF.co as App Event
  12. Select Custom API Call as Action Event
  13. Select or connect PDF.co account
  14. Setup the 2nd Action Parameters
  15. Testing the 2nd action
  16. Protected PDF Output
  17. Video Guide

We prepared this step-by-step tutorial with screenshots to teach you how to convert DOC to PDF so that nobody can extract text from it using Zapier.

Screenshot of Doc File

Start by clicking on Make a Zap! at the upper-left corner of your Zapier dashboard.

Step 1: Setup Trigger, select Google Drive as App Event

Choosing google drive as the trigger app

Step 2: Select New File in Folder as the Trigger Event

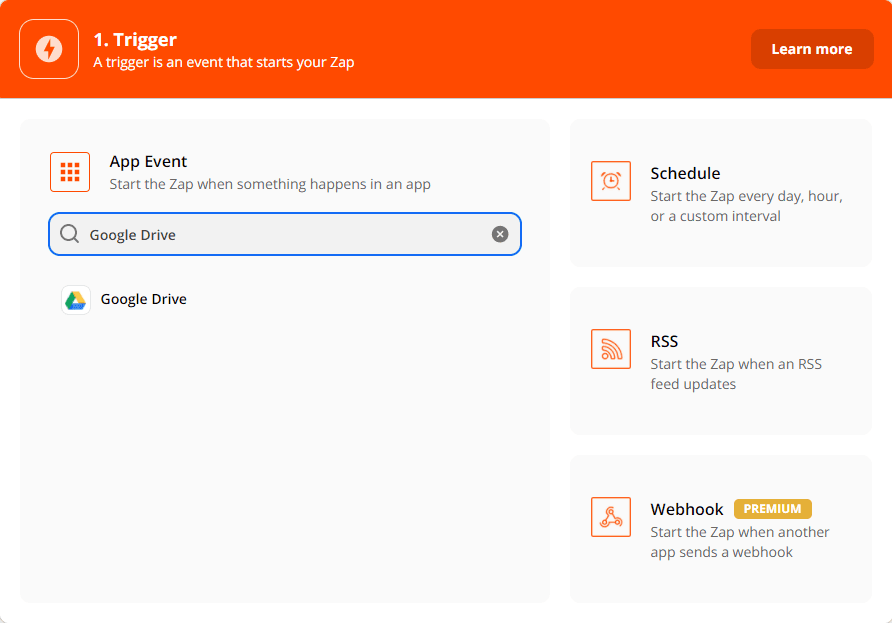
NOTE: For this tutorial, I’m using Google Drive storage. You may also use other cloud storage as your trigger, just look for a similar trigger event.

Choosing new file in folder as the trigger event

Step 3: Select or connect Google Drive account

Connecting google drive account

Step 4: Select the correct Drive and Folder

Selecting drive and folder

Step 5: Test the trigger

Test the trigger

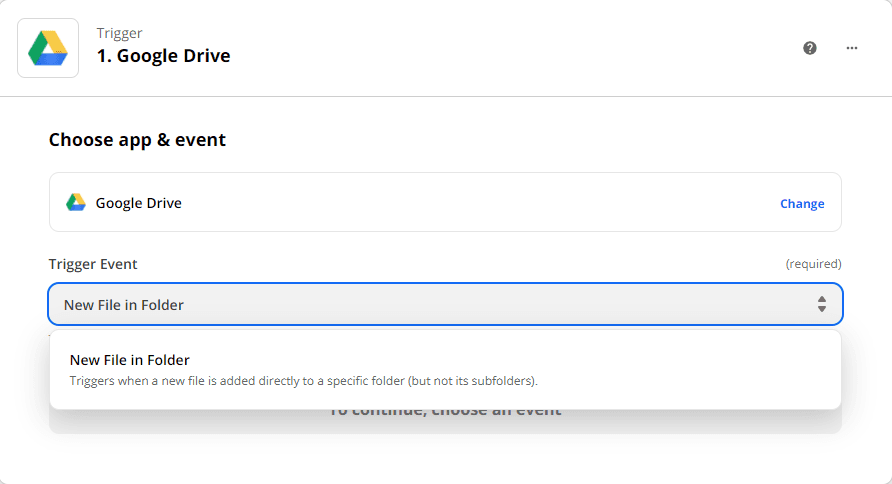
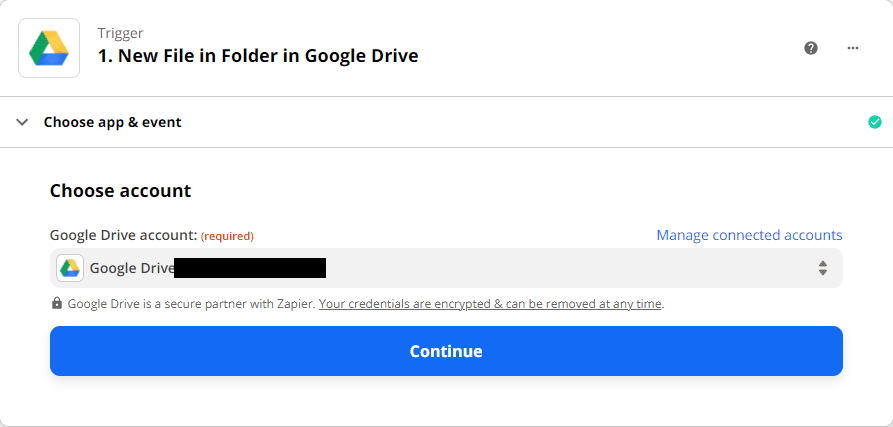
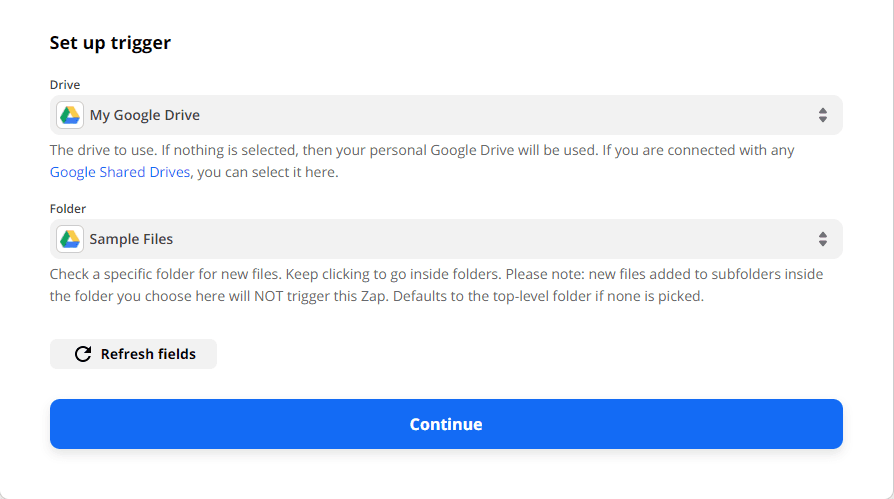
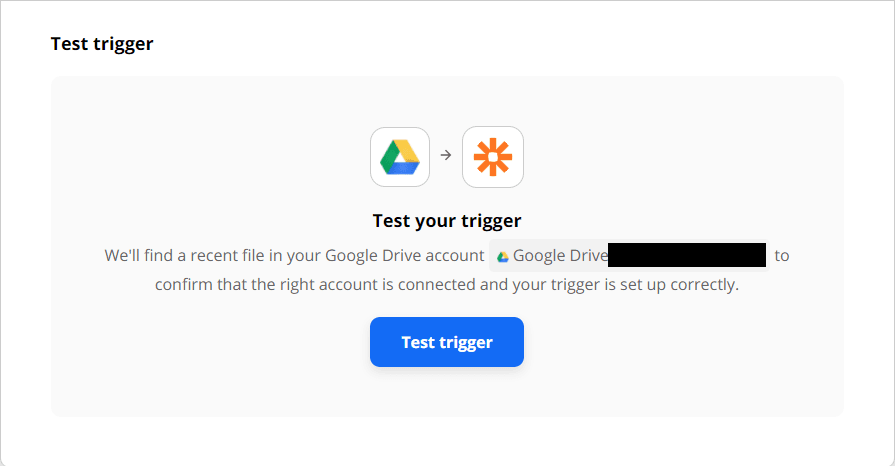
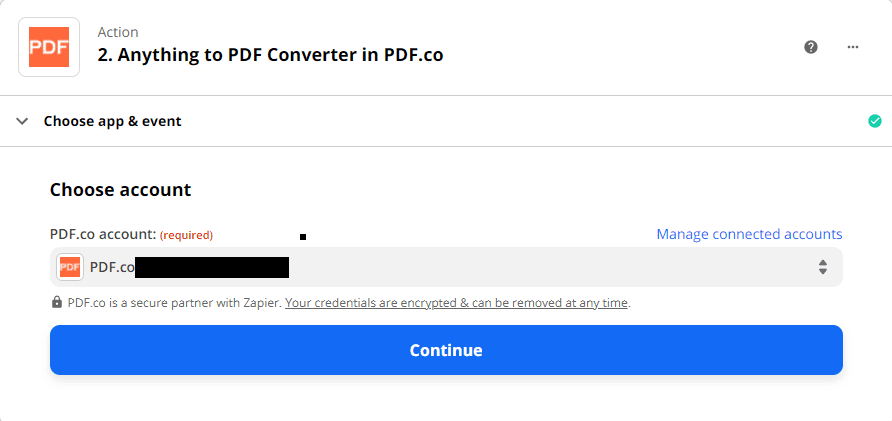
We’re now done setting up the trigger for this Zap. Let’s now move on to the action.
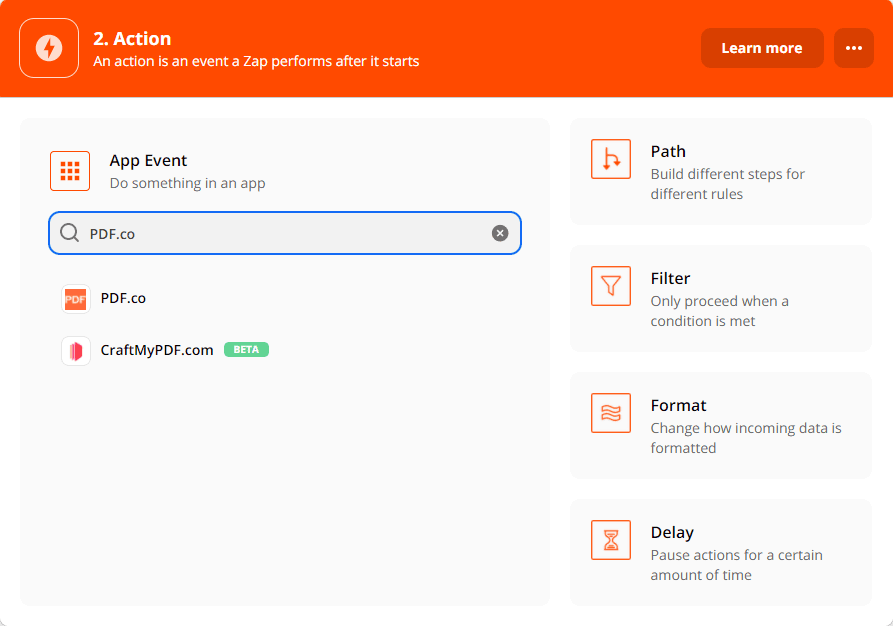
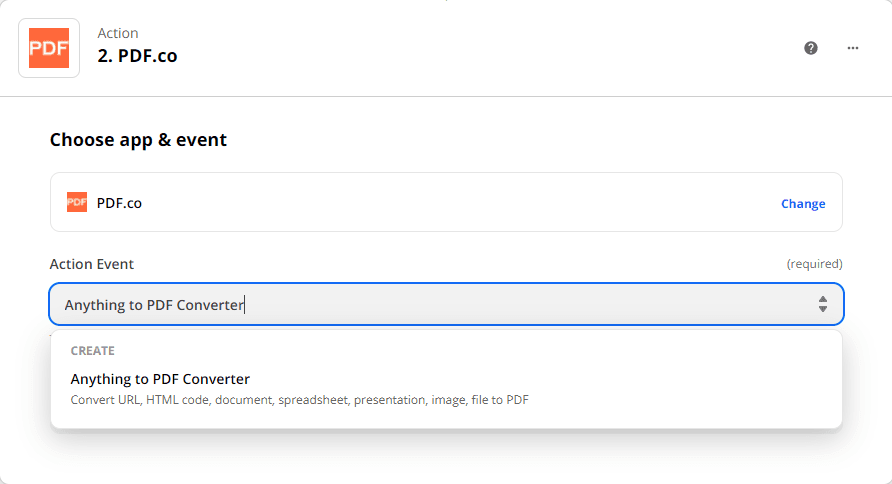
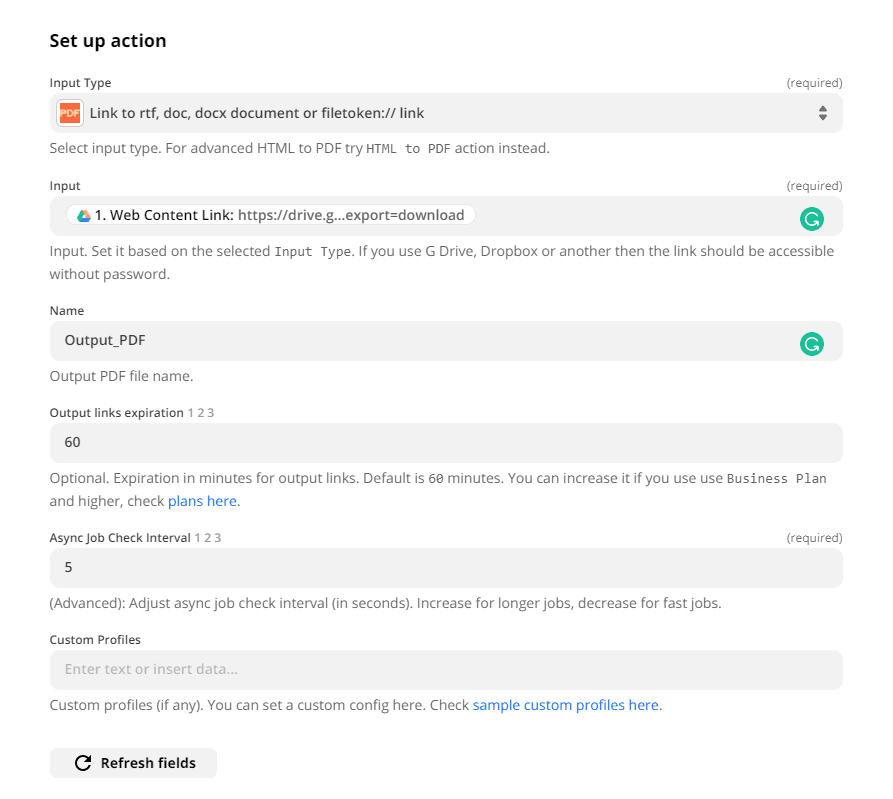
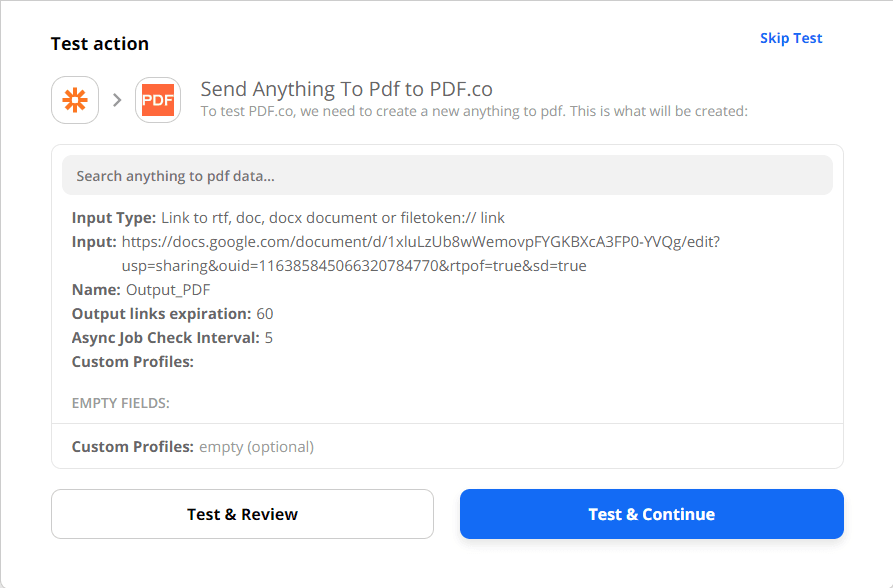
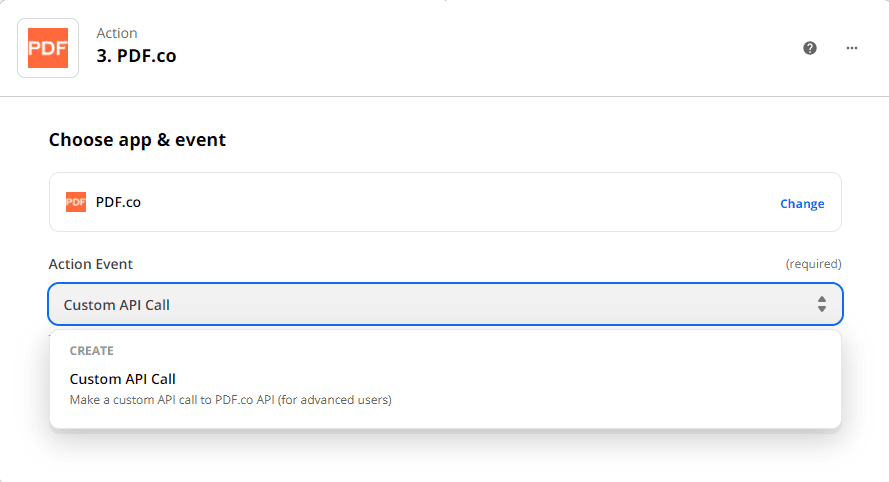
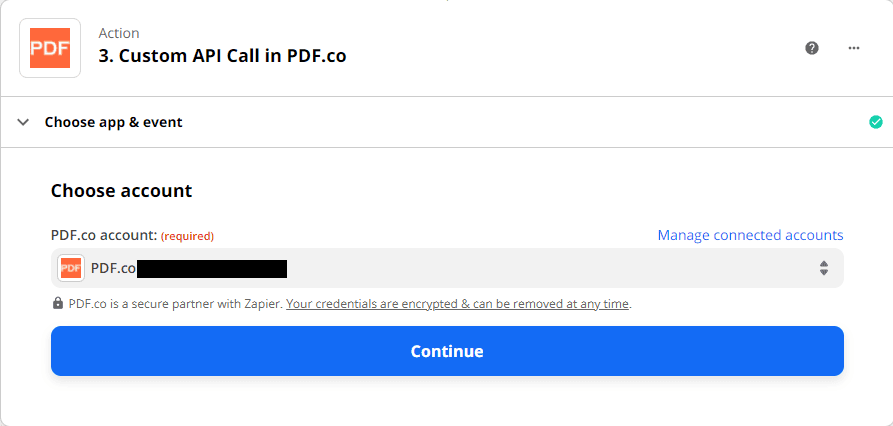
Step 6: Setup Action, select PDF.co as App Event

Select PDF.co as the action app

Step 7: Choose Anything to PDF Converter as Action Event

Choose Anything to PDF Converter as action event

Step 8: Select or connect PDF.co account

Connect PDF.co account

Step 9: Setup Action Parameters

Under Setup Action:

  • Set Input type into Link to rtf, doc, docx document or filetoken:// link
  • Set Input into Web Content Link or the link to your source file

Setup action parameters

Step 10: Test action

Testing action

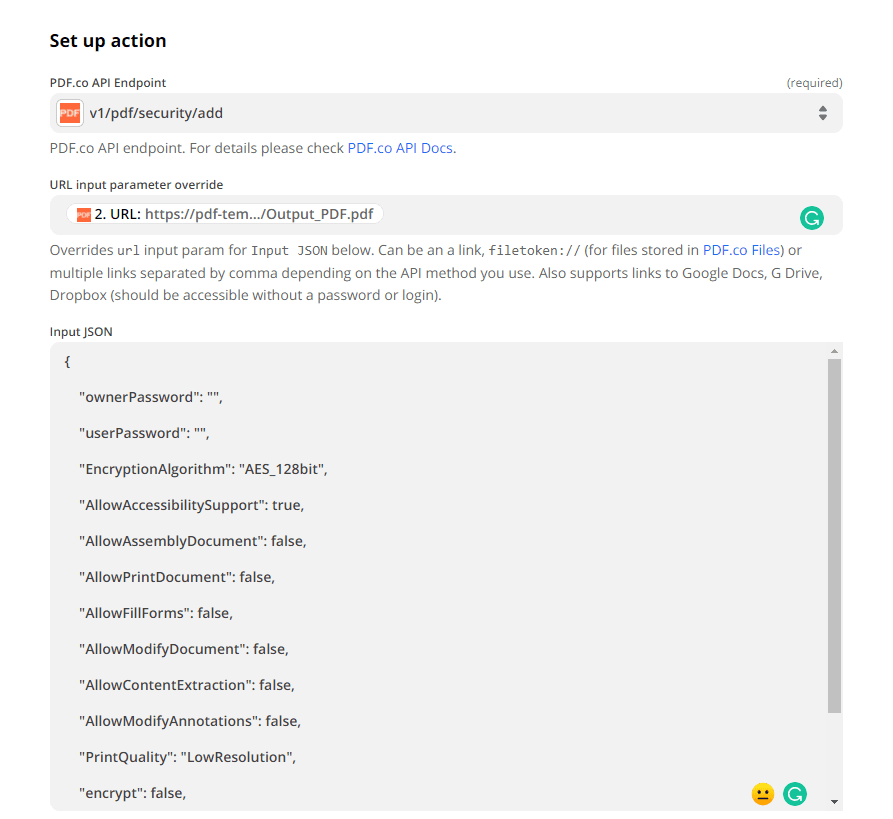
We’re done with the DOC to PDF conversion. We will now setup the action for adding security.
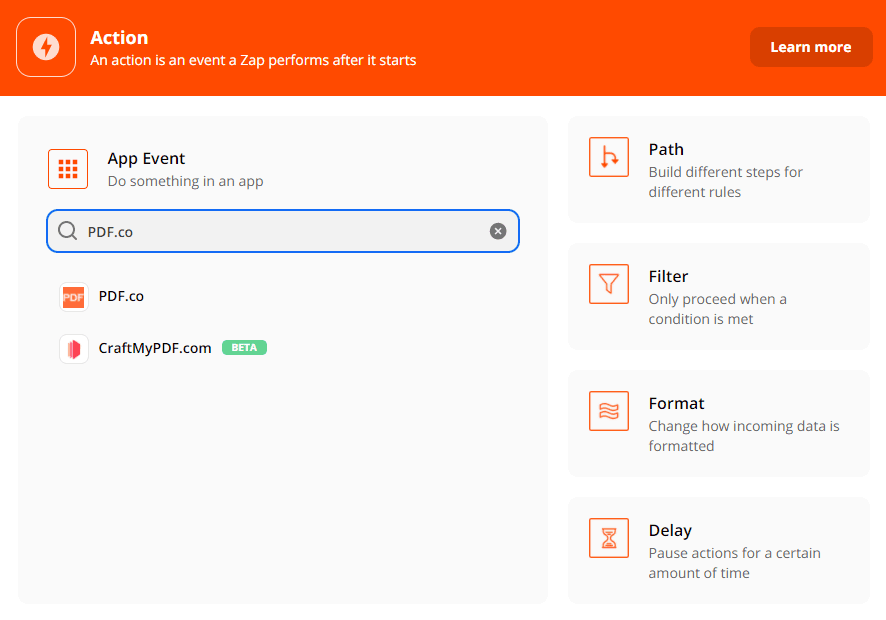
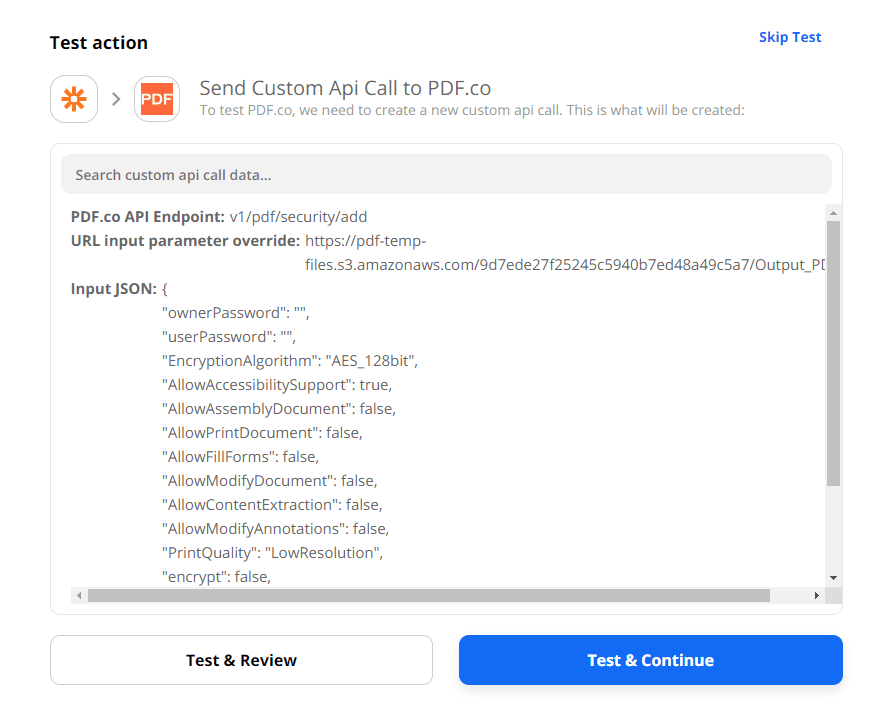
Step 11: Add another action, select PDF.co as App Event

Select PDF.co as the action app

Step 12: Select Custom API Call as Action Event

Choose Custom API Call as action event

Step 13: Select or connect PDF.co account

Connect PDF.co account

Step 14: Setup the 2nd Action Parameters

Under Setup Action:

  • Set PDF.co API Endpoint to v1/pdf/security/add
  • Set URL to 2. URL (URL of the output file from the first action)
  • Put the following code into Input JSON field: {
    "ownerPassword": "",
    "userPassword": "",
    "EncryptionAlgorithm": "AES_128bit",
    "AllowAccessibilitySupport": true,
    "AllowAssemblyDocument": false,
    "AllowPrintDocument": false,
    "AllowFillForms": false,
    "AllowModifyDocument": false,
    "AllowContentExtraction": false,
    "AllowModifyAnnotations": false,
    "PrintQuality": "LowResolution",
    "encrypt": false,
    "name": "output-protected.pdf",
    "async": false
    }

Setup action parameters

Step 15: Testing the 2nd action

Testing the action

Step 16: Protected PDF Output

This is the Protected PDF Output

Screenshot of Protected PDF Output


In this tutorial, you’ve learned how to convert DOC to PDF so that nobody can extract text from it using Zapier.