Convert a document to a protected PDF using PDF.co Web API and JavaScript (Node.js)
Sep 2, 2024·9 Minutes Read
In this tutorial, we will show you how to convert a document to a protected PDF in JavaScript using PDF.co Web API.
Step 1: Source Code
Open your text editor and create a JavaScript file with the following code:
var https = require("https");
var path = require("path");
var fs = require("fs");


// The authentication key (API Key).
// Get your own by registering at https://app.pdf.co
const API_KEY = "*************************************";


// Direct URL of source DOC or DOCX file.
// You can also upload your own file into PDF.co and use it as url. Check "Upload File" samples for code snippets: https://github.com/bytescout/pdf-co-api-samples/tree/master/File%20Upload/
const SourceFileUrl = "https://bytescout-com.s3.amazonaws.com/files/demo-files/cloud-api/doc-to-pdf/sample.docx";
// Destination PDF file name
const DestinationFile = "./result_protected.pdf";

// Document Password
const Password = "Hello12345";

// Perform Doc to PDF
ConvertDOCToPDF(SourceFileUrl);


function ConvertDOCToPDF(SourceFileUrl) {
    // Prepare request to `DOC to PDF` API endpoint
    const queryPath = `/v1/pdf/convert/from/doc`;

    // JSON payload for api request
    const jsonPayload = JSON.stringify({
        name: path.basename(DestinationFile), url: SourceFileUrl
    });

    const reqOptions = {
        host: "api.pdf.co",
        method: "POST",
        path: queryPath,
        headers: {
            "x-api-key": API_KEY,
            "Content-Type": "application/json",
            "Content-Length": Buffer.byteLength(jsonPayload, 'utf8')
        }
    };

    // Send request
    const postRequest = https.request(reqOptions, (response) => {
        response.on("data", (d) => {
            // Parse JSON response
            const data = JSON.parse(d);
            if (data.error == false) {
                // Add Password to PDF File
                AddPasswordToPDF(data.url);
            }
            else {
                // Service reported error
                console.log(data.message);
            }
        });
    }).on("error", (e) => {
        // Request error
        console.log(e);
    });

    // Write request data
    postRequest.write(jsonPayload);
    postRequest.end();
}


function AddPasswordToPDF(SourceFileUrl) {
    // Passwords to protect PDF document
    // The owner password will be required for document modification.
    // The user password only allows to view and print the document.
    const OwnerPassword = Password;
    const UserPassword = Password;

    // Encryption algorithm.
    // Valid values: "RC4_40bit", "RC4_128bit", "AES_128bit", "AES_256bit".
    const EncryptionAlgorithm = "AES_128bit";

    // Allow or prohibit content extraction for accessibility needs.
    const AllowAccessibilitySupport = true;

    // Allow or prohibit assembling the document.
    const AllowAssemblyDocument = true;

    // Allow or prohibit printing PDF document.
    const AllowPrintDocument = true;

    // Allow or prohibit filling of interactive form fields (including signature fields) in PDF document.
    const AllowFillForms = true;

    // Allow or prohibit modification of PDF document.
    const AllowModifyDocument = true;

    // Allow or prohibit copying content from PDF document.
    const AllowContentExtraction = true;

    // Allow or prohibit interacting with text annotations and forms in PDF document.
    const AllowModifyAnnotations = true;

    // Allowed printing quality.
    // Valid values: "HighResolution", "LowResolution"
    const PrintQuality = "HighResolution";

    // Runs processing asynchronously.
    // Returns Use JobId that you may use with /job/check to check state of the processing (possible states: working, failed, aborted and success).
    const async = false;


    // Prepare request to `PDF Security` API endpoint
    const queryPath = `/v1/pdf/security/add`;

    // JSON payload for api request
    const jsonPayload = JSON.stringify({
        name: path.basename(DestinationFile),
        url: SourceFileUrl,
        ownerPassword: OwnerPassword,
        userPassword: UserPassword,
        encryptionAlgorithm: EncryptionAlgorithm,
        allowAccessibilitySupport: AllowAccessibilitySupport,
        allowAssemblyDocument: AllowAssemblyDocument,
        allowPrintDocument: AllowPrintDocument,
        allowFillForms: AllowFillForms,
        allowModifyDocument: AllowModifyDocument,
        allowContentExtraction: AllowContentExtraction,
        allowModifyAnnotations: AllowModifyAnnotations,
        printQuality: PrintQuality,
        async: async
    });

    const reqOptions = {
        host: "api.pdf.co",
        method: "POST",
        path: queryPath,
        headers: {
            "x-api-key": API_KEY,
            "Content-Type": "application/json",
            "Content-Length": Buffer.byteLength(jsonPayload, 'utf8')
        }
    };

    // Send request
    const postRequest = https.request(reqOptions, (response) => {
        response.on("data", (d) => {
            // Parse JSON response
            const data = JSON.parse(d);
            if (data.error == false) {
                // Download PDF file
                const file = fs.createWriteStream(DestinationFile);
                https.get(data.url, (response2) => {
                    response2.pipe(file)
                        .on("close", () => {
                            console.log(`Generated PDF file saved as "${DestinationFile}" file.`);
                        });
                });
            }
            else {
                // Service reported error
                console.log(data.message);
            }
        });
    }).on("error", (e) => {
        // Request error
        console.log(e);
    });

    // Write request data
    postRequest.write(jsonPayload);
    postRequest.end();
}
Step 2: Add API Key
On line 21, add your API Key. You can get the PDF.co API Key from your PDF.co dashboard.

Step 3: Source URL, Result, and Password
- On line
26, enter your source file URL. If you don’t have one, you can use the built-in source URL in the sample code. - On line
28, type in your desired protected output file name. - On line
31, add your document password.

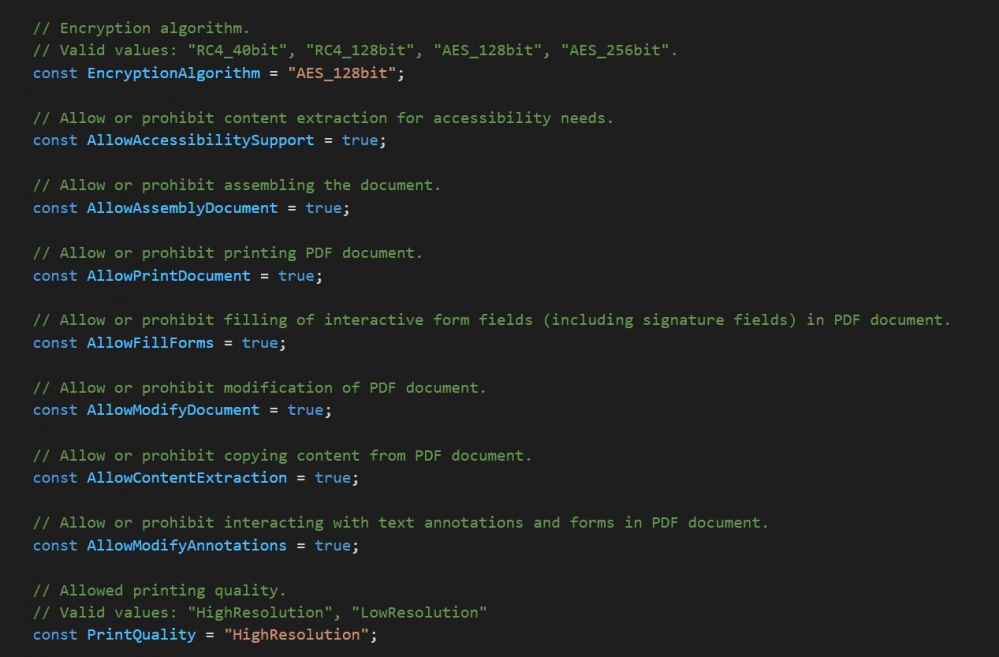
Step 4: Setup PDF Security
Now, let’s set up PDF Security.
- For
EncryptionAlgorithm, enter your usable bit values. - For
AllowAccessibilitySupport, set totrueto allow content extraction for accessibility. - For
AllowAssemblyDocument, set totrueto allow assembling of the document. - For
AllowPrintDocument, set totrueto allow printing documents. - For
AllowFillForms, set totrueto allow filling to interactive form fields. - For
AllowModifyDocument, set totrueto allow modification of PDF documents. - For
AllowContentExtaction, set totrueto allow copying content from PDF documents. - For
AllowModifyAnnotations, set totrueto allow interaction with text annotations. - For
PrintQuality, choose theHighResolutiondocument printing quality.
See the full API on our Developer Documentation.

Step 5: Run the Program
Save your JavaScript file as app.js, then in your Terminal just do:
node run app.jsIn this tutorial you learned how to convert a document to protected PDF in Javascript. You learned how to use the /pdf/convert/from/doc endpoint to convert a document to PDF. You also learned how to add security details with the /pdf/security/add endpoint.

