Automate PDF Conversion and Email Notifications with AWS, S3, Honeycode, PDF.co, and Zapier
Converting PDF documents to other formats and sending email notifications can be a tedious and time-consuming task, especially if you have to do it frequently. However, by leveraging AWS Services, S3, Honeycode, PDF.co, and Zapier, you can automate the entire process and save valuable time.
In this tutorial, we’ll use the PDF.co PDF to JPG to convert PDF documents to an image file, which can then be uploaded to an S3 bucket. PDF.co PDF to Image also supports PNG, TIFF, and WEBP. We’ll then set up a Honeycode app that triggers a Lambda function to send email notifications using AWS Simple Notification Service (SNS) when new files are uploaded to the S3 bucket.
By the end of this tutorial, you’ll have a streamlined and automated process for converting PDF documents to image files and sending email notifications, with the ability to perform additional actions as needed. With this process in place, you can focus on other important tasks and let automation do the heavy lifting for you.
With our step-by-step guide, you’ll have a streamlined and automated process for converting PDF documents to image files and sending email notifications, with the ability to perform additional actions as needed. Whether you’re a business owner or a freelancer, this process can save you valuable time and allow you to focus on other important tasks. So, let’s get started!
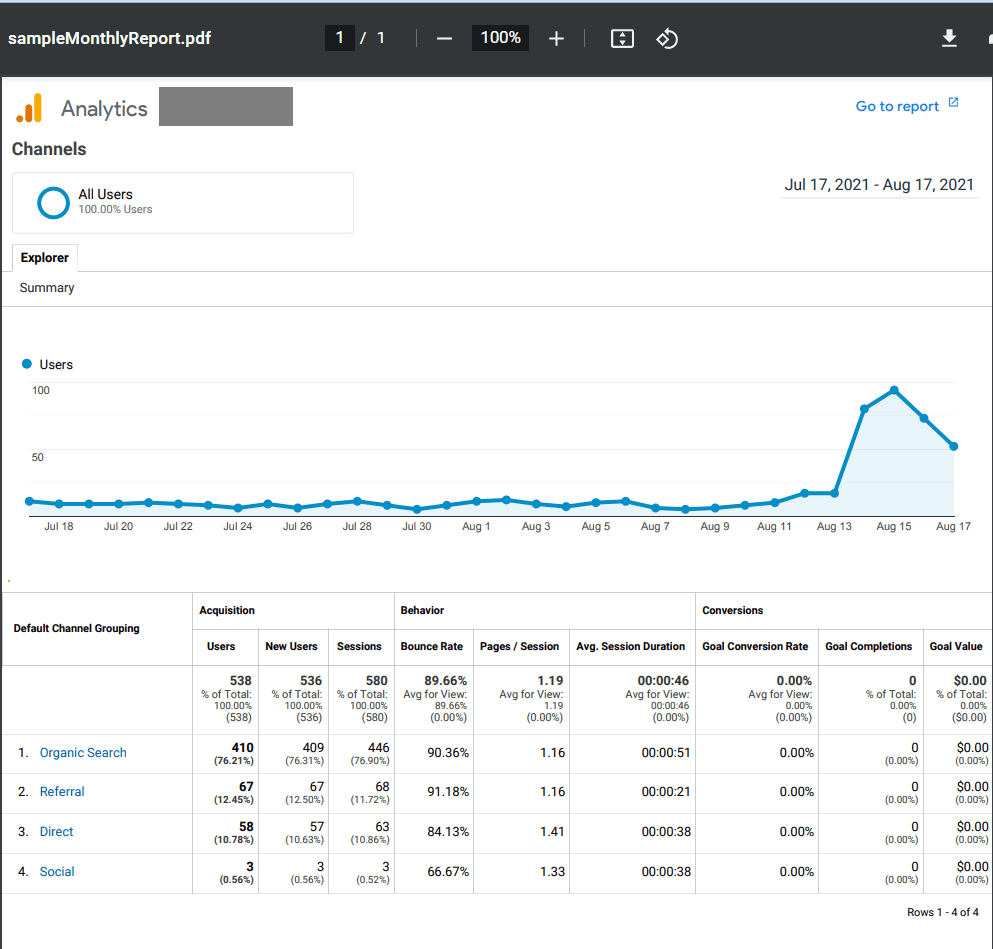
We will use a sample PDF document to demonstrate how to convert it into an image file using PDF.co PDF to Image. The converted file will be saved to an S3 bucket and set up a trigger in Honeycode to activate a Lambda function that will send email notifications. By following our simple step-by-step guide, you can easily replicate this process for your own use case.
IN THIS TUTORIAL
Log into Zapier Account
- Let’s start by logging into your Zapier account and clicking the Create Zap button.
Google Drive App
- Next, we will add the Google Drive app to our Zapier account and select the “New File in Folder” trigger, which will be activated whenever a new file is added to a designated folder in Google Drive.
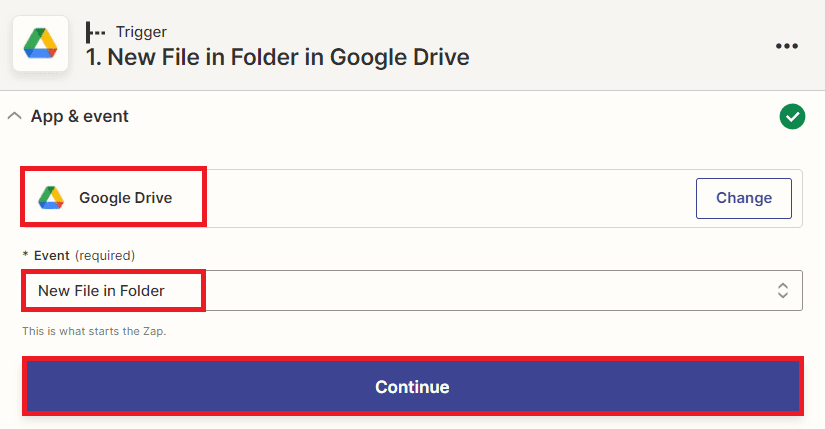
Note: Aside from Google Drive, you can also use other cloud storage services such as OneDrive, Dropbox, iCloud, Box, and many more, allowing for greater flexibility in automating your workflows.
Setup Trigger
- To set up the trigger, enter “My Google Drive” as the drive to use in the “Drive” field. Then, in the “Folder” field, choose the specific folder where the PDF file is located. This will ensure that the Zap is triggered only when a new PDF file is added to that specific folder.
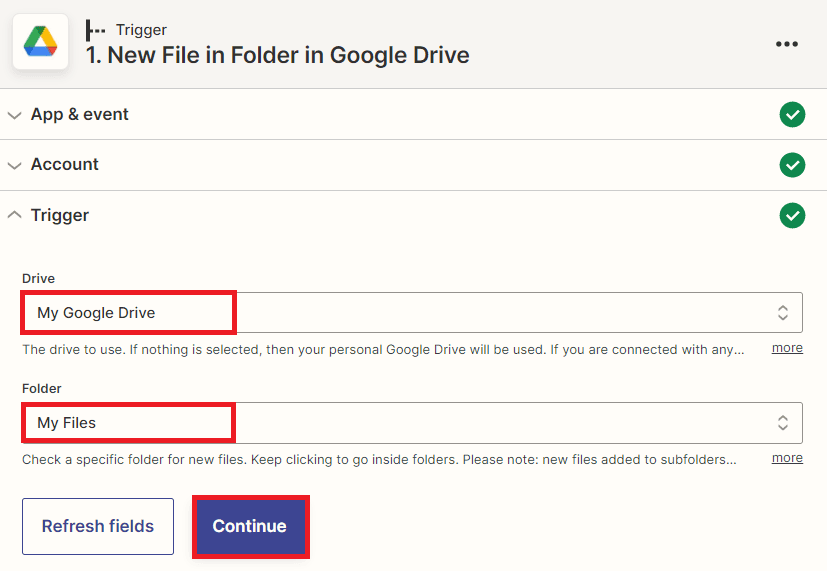
Once you have set up the trigger, it is always good practice to test it. You can do this by clicking the “Test Trigger” button to check if the trigger has been set up correctly. This will allow you to see if the Zap is correctly receiving the PDF file from the chosen folder in Google Drive.
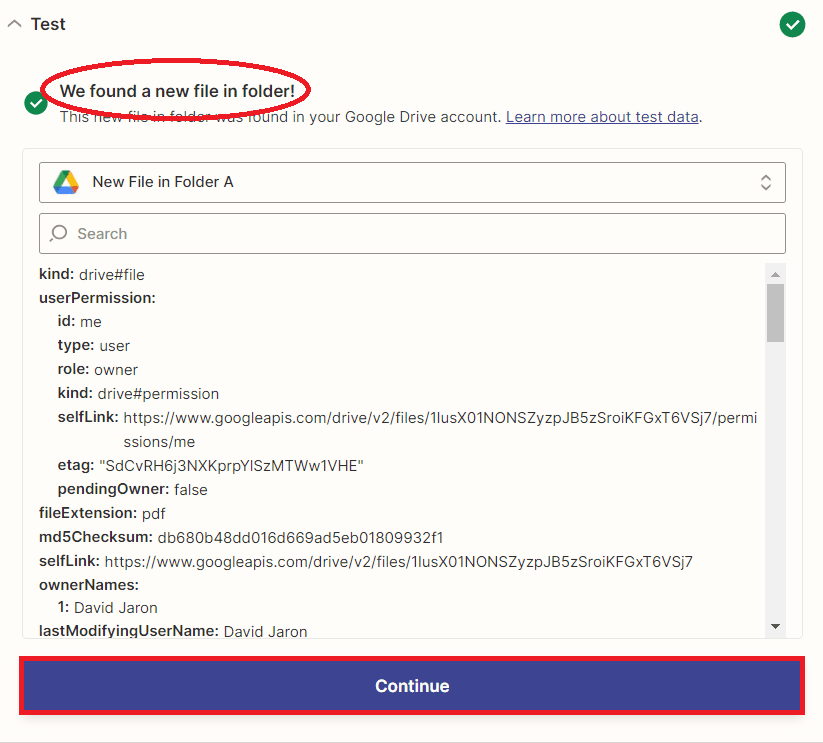
Test Trigger Result
- The test trigger was successful, which means that the Zap has successfully fetched the PDF file from the specified folder in your Google Drive account. We can now add another app to convert the PDF file to Image format.
Add PDF.co App
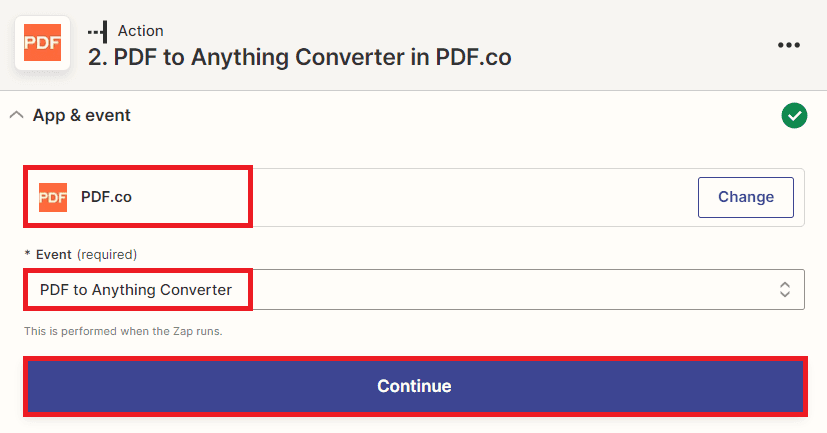
- In this step, we will integrate PDF.co and use its PDF to Image API to convert the PDF file fetched from Google Drive into an image format. First, add PDF.co as an app in Zapier, then select the PDF to Anything converter action.
Note: To connect your PDF.co account to Zapier, add your API Key. You can obtain the API Key in your PDF.co dashboard.
Setup PDF.co Action
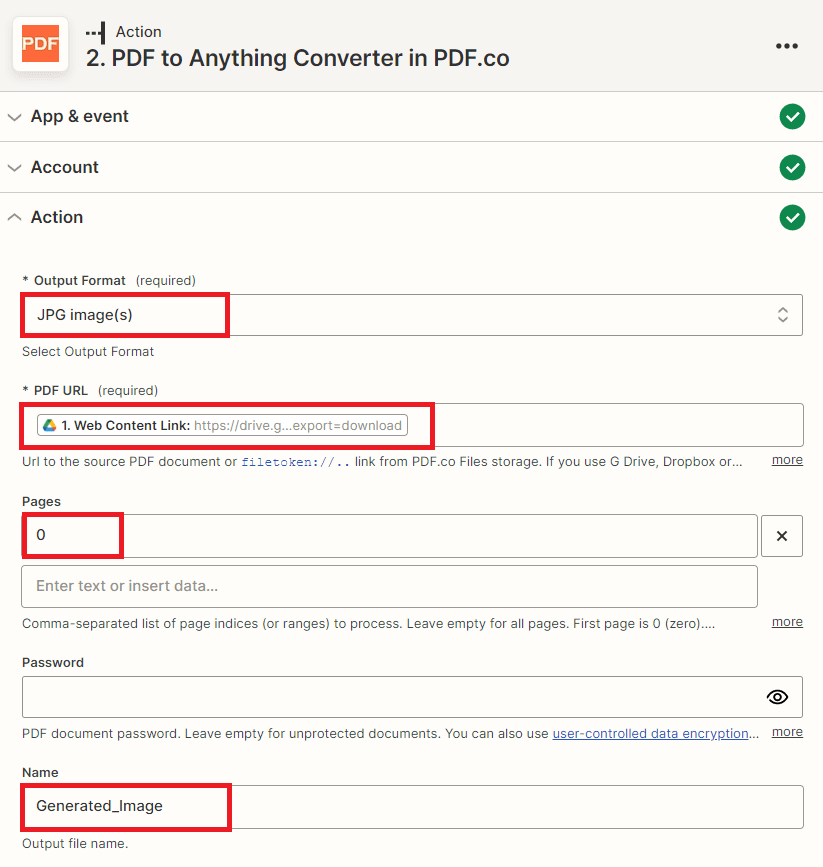
- Let’s configure the PDF.co action by setting the Output Format field to use the JPG Image option. It’s important to note that you can choose different image formats, such as PNG, TIFF, and WEBP, depending on your preference and requirements.
- Next, in the PDF URL field, select the Web Content Link from Google Drive.
- In the Pages field, specify the list of pages you want to convert, starting from the page
0. - For the Name field, enter the desired output image file name.
After configuring the PDF.co action, it is important to test the action to ensure that the PDF document can be successfully converted into an Image format. This can be done by initiating a test action and checking the output to confirm that the conversion is correct.
PDF.co Test Result
- Great! The PDF.co successfully processed our request and converted the PDF document into an Image format. You can now copy the URL and paste it into your browser to view the output.

Add Amazon S3
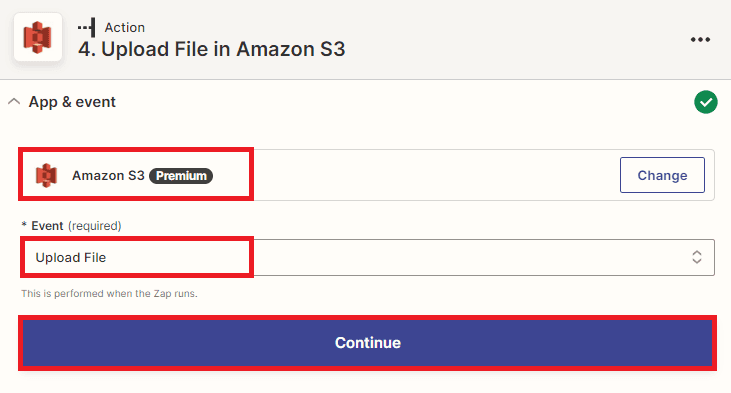
- Let’s add the Amazon S3 app and select the “Upload File” action to save the converted image file to the S3 bucket.
Setup Amazon S3
- To set up the Amazon S3 configuration, first, add the Amazon S3 app to Zapier, and then choose the Upload File option.
- In the Bucket Name field, enter the name of the S3 bucket where you want to upload the file.
- In the Key field, enter the name of the object that will be created in the specified bucket.
- In the File field, select the generated URL from the converted PDF document.
- Finally, in the Mimetype field, enter the type of document you want to upload to the S3 bucket.

After configuring the Amazon S3 app, it’s time to test the action and upload the image file to the specified S3 bucket. This step ensures that the setup is correctly implemented and the file is successfully uploaded to the desired destination.
Amazon Test Result
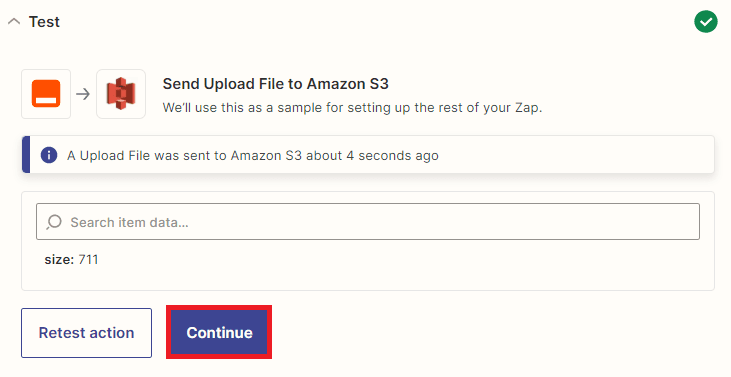
- Awesome! The test is successful and you will be able to see the uploaded image file in your S3 bucket. You can confirm this by logging into your AWS account and navigating to the S3 console to check if the file is present in the specified bucket with the name you provided.
Now that we have successfully uploaded the image file to the S3 bucket, we can proceed to add the Honeycode app. With Honeycode, we can set up the table form fields and map them to the necessary input data for the lambda function. We can use the fill-out data from the Honeycode form to trigger the lambda function and perform any desired action, such as sending an email notification or updating a database. This will help automate the workflow and streamline the process, reducing the need for manual intervention and improving efficiency.
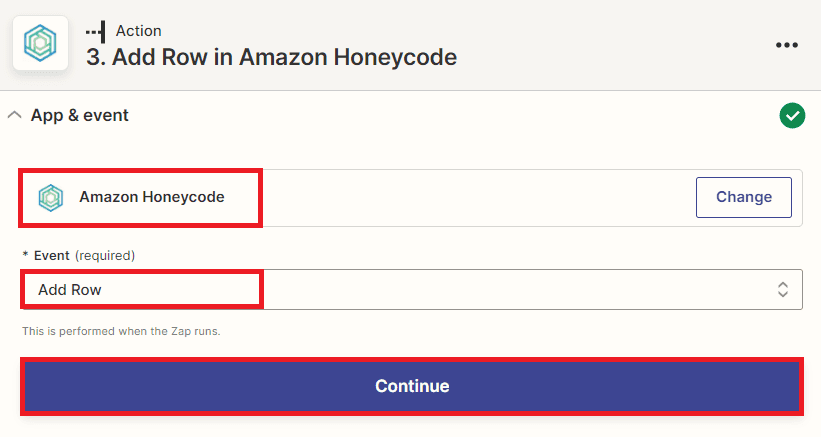
Add Honeycode App
- For this step, we will add another app and select Honeycode. From there, we will choose the Add Row option to set up the trigger that will activate the Lambda function to perform the desired action.
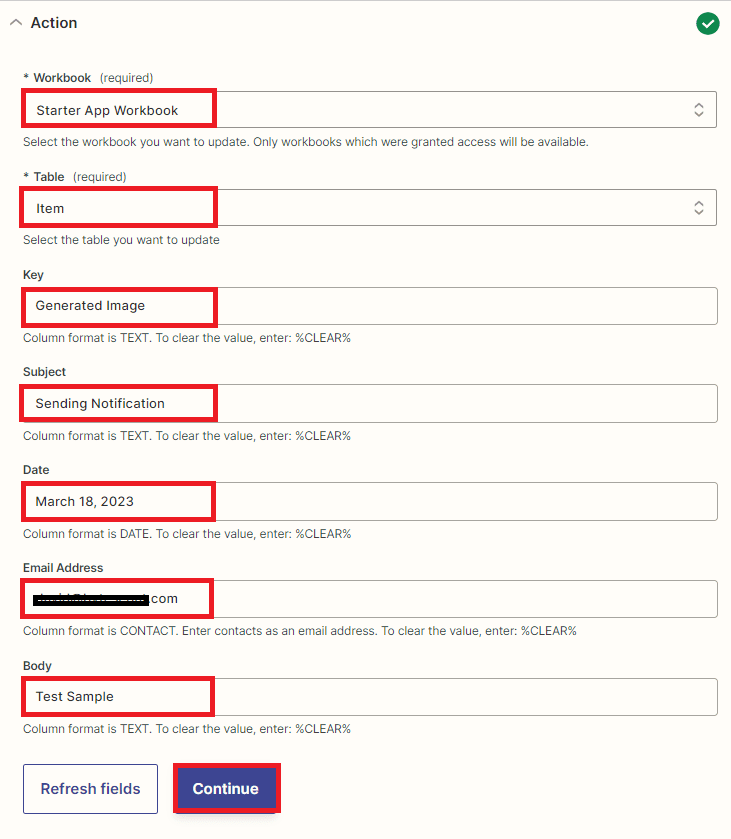
Setup Honeycode App
- Let’s set up the Honeycode app. In the Workbook field, enter the name of the workbook you created in Honeycode.
- In the Table field, enter the name of the table where you set up the form fields.
- For the Key, Subject, Date, Email Address, and Body fields, you can set up those fields from your work table and add the fields you want to perform an action, such as sending an email notification in the Lambda function.
Since we’re done setting up the Honeycode app, let’s test the action to ensure everything is working correctly and to see the result.
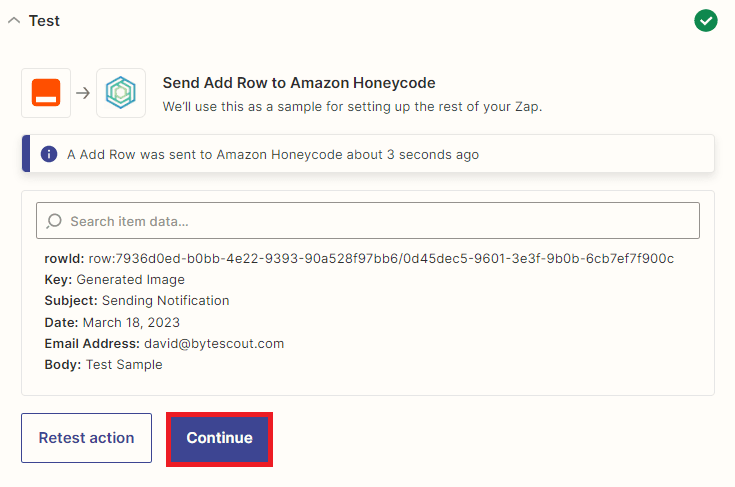
Honeycode Test Result
- The test was successful, and Honeycode successfully process our request. Let’s add another app to perform the Lambda function and send an email notification.
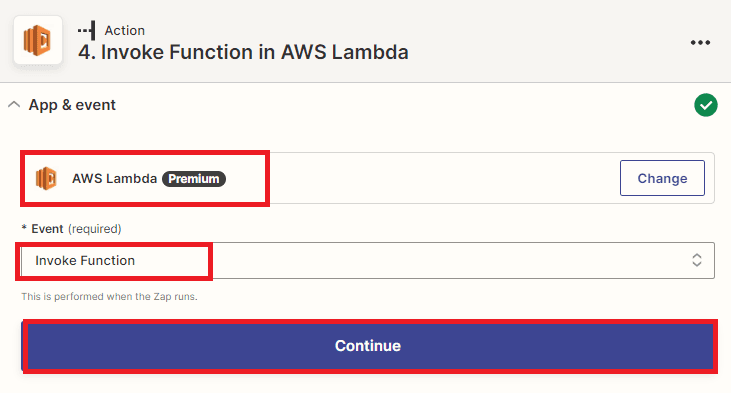
AWS Lambda App
- In this step, we’ll add another app to our workflow and select AWS Lambda in Zapier. We’ll then choose the “Invoke Function” action to trigger our Lambda function and perform actions such as sending an email notification.
Setup AWS Lambda
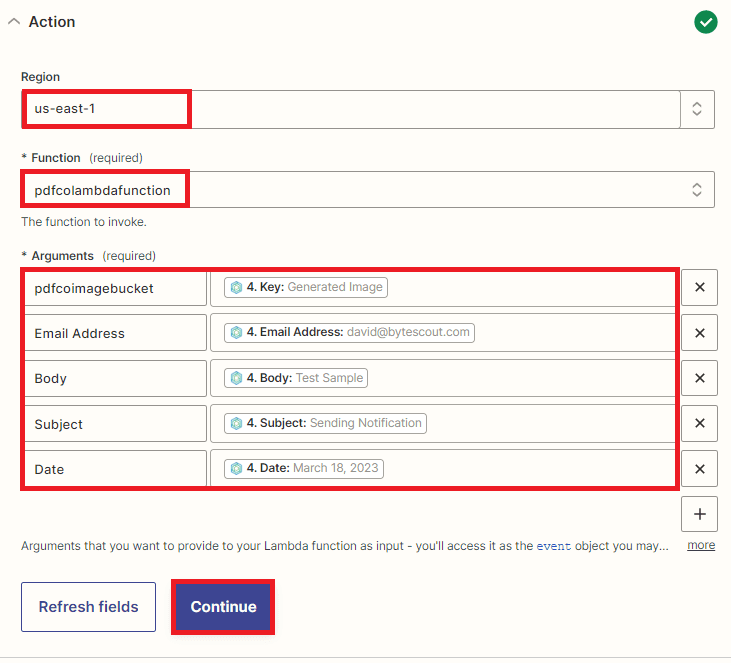
- Let’s set up the Invoke function. In the Region field, add the specific region where you created the Lambda function.
- In the Function field, add the function name that will perform the action.
- In the Arguments field, add any required input data or parameters for the Lambda function to process. For example, you can pass the S3 bucket name and the file name of the uploaded image, as well as any additional data that the Lambda function needs to perform its actions, such as the recipient email address or the email message content. The exact format and content of the arguments will depend on the specific requirements of your Lambda function.
Now that we have set up the AWS Lambda function and configured the arguments, let’s test the action to ensure that the function is triggered and the intended recipients receive an email notification.
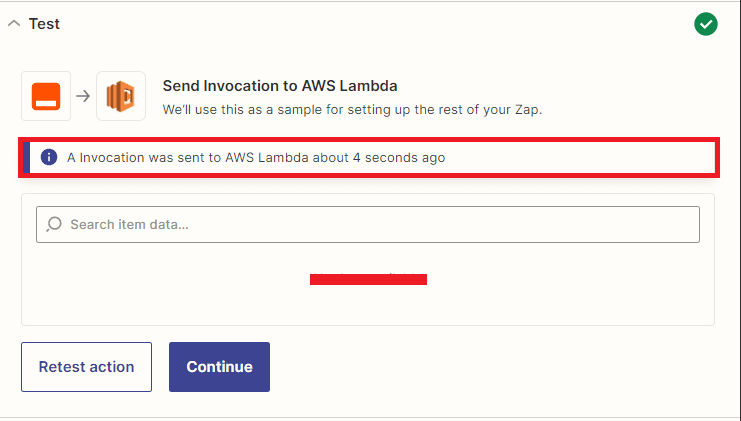
Lambda Test Result
- Excellent! The test of the entire workflow was successful, and the intended recipients received an email notification. You can now use this Zapier workflow to automate the conversion and trigger Lambda functions to send email notifications or perform other tasks.
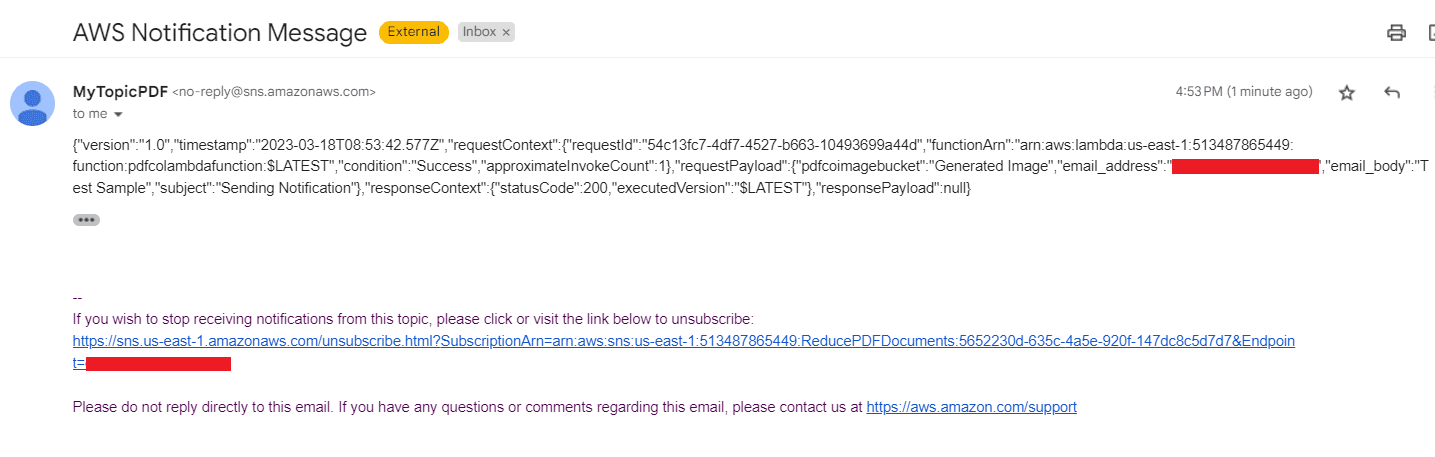
Check Email Notifications
- Here’s an example of an email notification that was successfully sent to the intended recipients using the Lambda function triggered by the Honeycode app. This demonstrates how the various apps and services can be integrated and automated using Zapier, allowing for seamless workflows and efficient processes.
This automation workflow provides a seamless and efficient way of converting PDF documents into image files, saving them in an Amazon S3 bucket, and triggering a Lambda function to perform an action such as sending an email notification using data from a Honeycode app. This workflow can be beneficial for businesses or individuals who regularly deal with PDF files and want to streamline their document processing and email notification tasks. It can save time and effort, reduce errors, and improve overall productivity by automating repetitive tasks. Overall, this workflow demonstrates the power and flexibility of Zapier in connecting different apps and services to create a customized and automated workflow.
Related Tutorials

