Are you a developer? Check out our API Documentation to use the API directly from your app.
How to Delete Pages from PDF with PDF.co using Zapier
4 Minutes Read
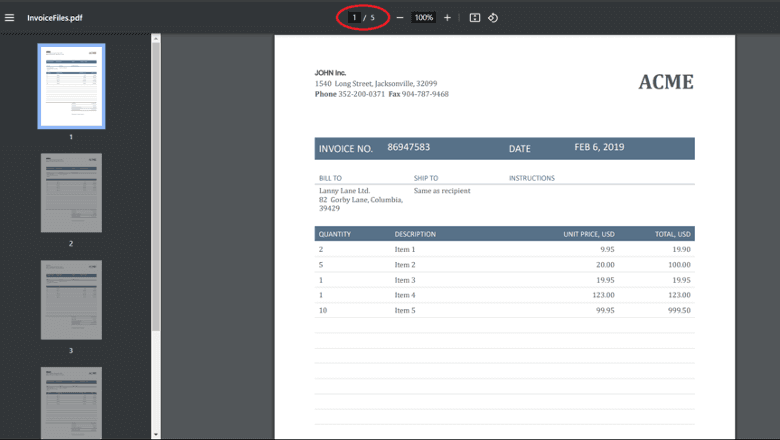
In this tutorial, we’ll demonstrate how to delete specific pages from a PDF document. Our source PDF contains 5 pages, and we will delete pages 1 and 2. The resulting output PDF will include only the remaining pages, 3 through 5.
Below is the sample PDF file with 5 pages that we will use in this tutorial.
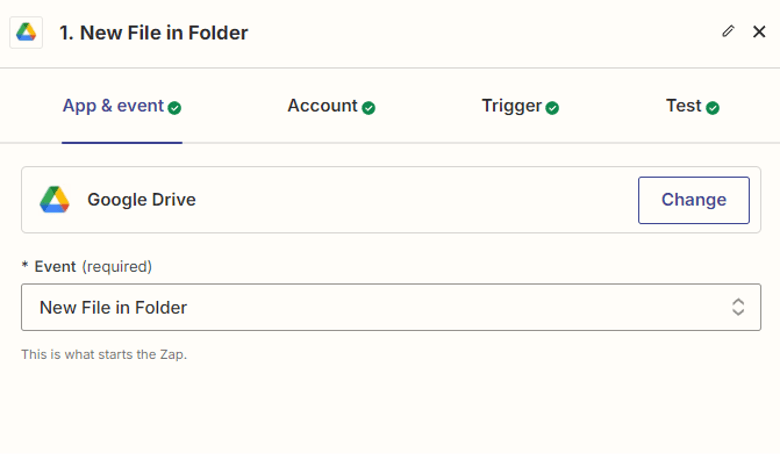
Step 1: Google Drive New File in Folder
To get started, use the Google Drive "New File in Folder" option to select the specific PDF file stored in your Google Drive folder.
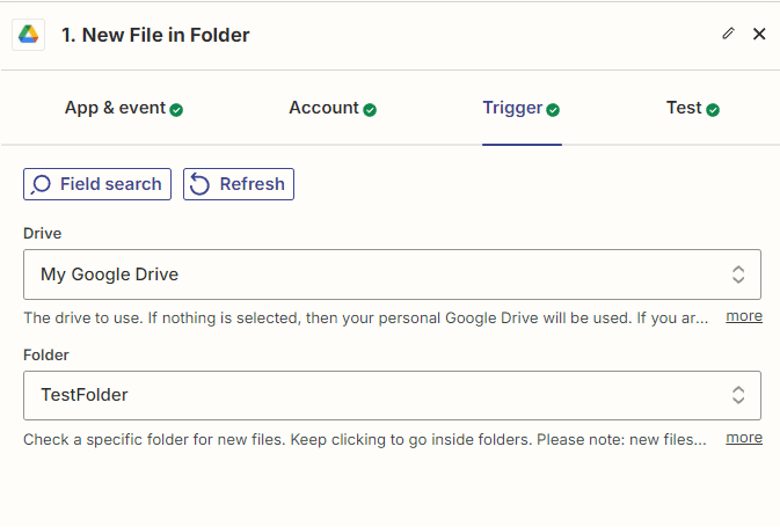
Step 2: Setup Google Drive Configuration
- Select "My Google Drive" as the drive to be used for this automation.
- Choose the specific folder within your Google Drive where the PDF file is located.
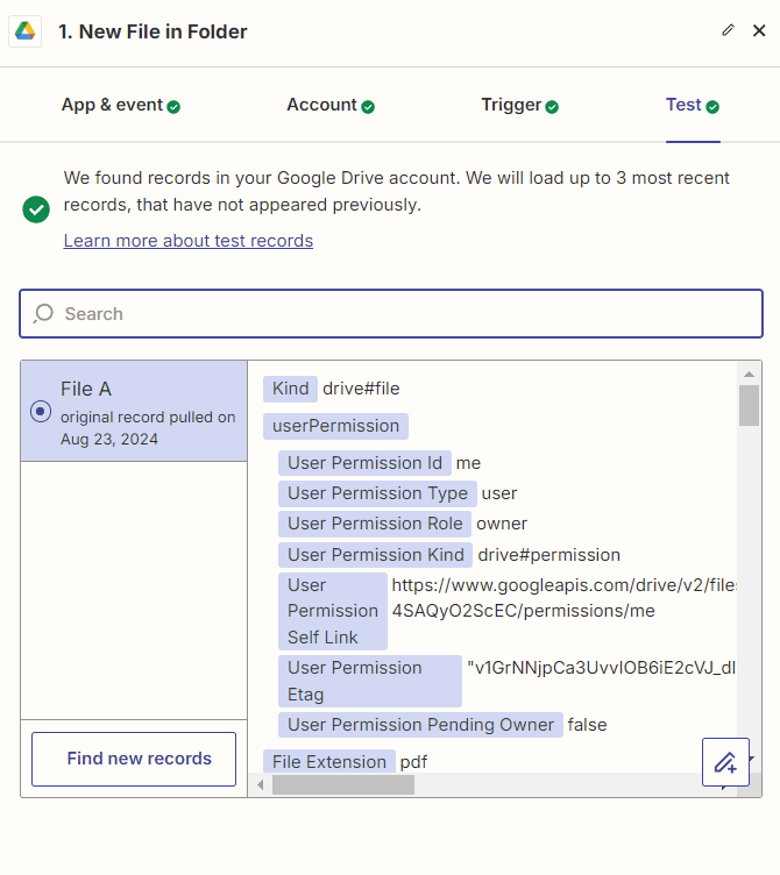
Step 3: Test Trigger
Test the trigger to retrieve the PDF file from your Google Drive folder.
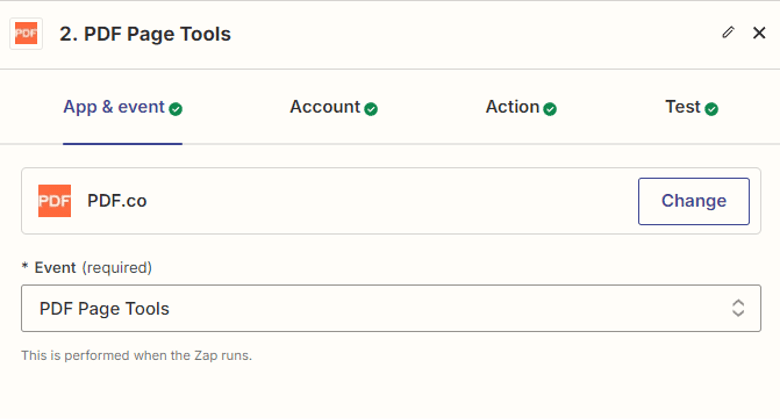
Step 4: Add PDF.co App
- Next, Add the PDF.co app to your automation.
- Select the PDF Page Tools feature within PDF.co to delete the specific pages from the PDF document.
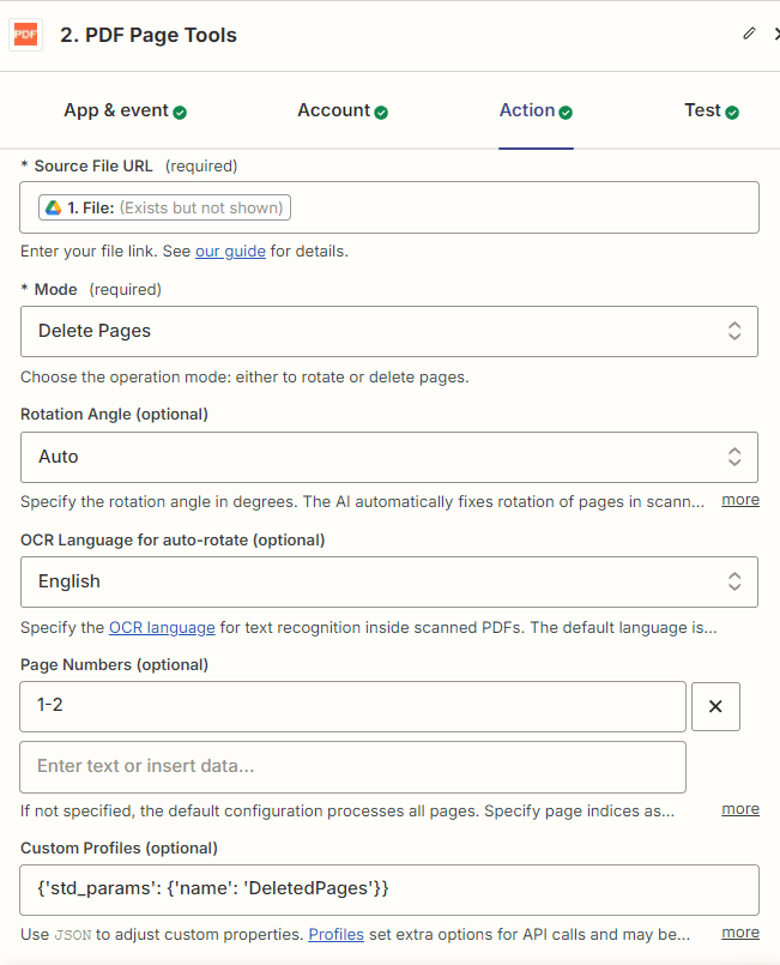
Step 5: Setup PDF.co Configuration
- In the Source File URL field, choose the File property to retrieve files, enabling PDF.co to access the file required for processing.
- In the Mode field, select the delete pages option.
- In the Page Numbers field, enter the page numbers you want to delete.
- In the Custom Profiles field, enter the value
{'std_params': {'name': 'DeletedPages'}}to set the output file name as "DeletedPages" for the resulting PDF.
Step 6: Test PDF.co Action
Now, let’s proceed to test the action to delete the specific pages from the PDF document.

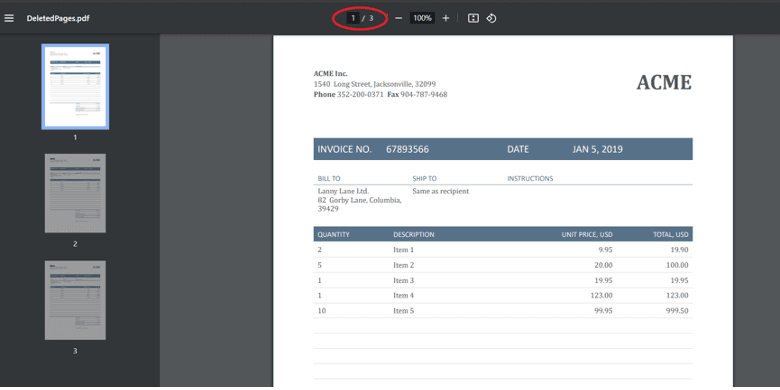
Step 7: View Output
Copy the generated URL and paste it into your browser to view the output PDF.
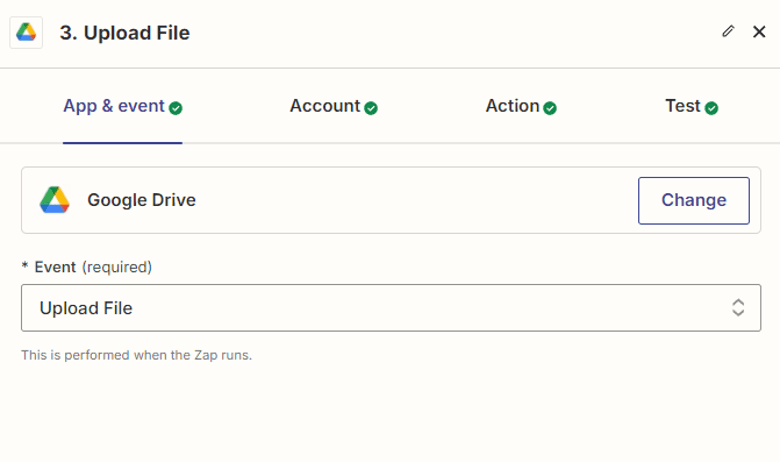
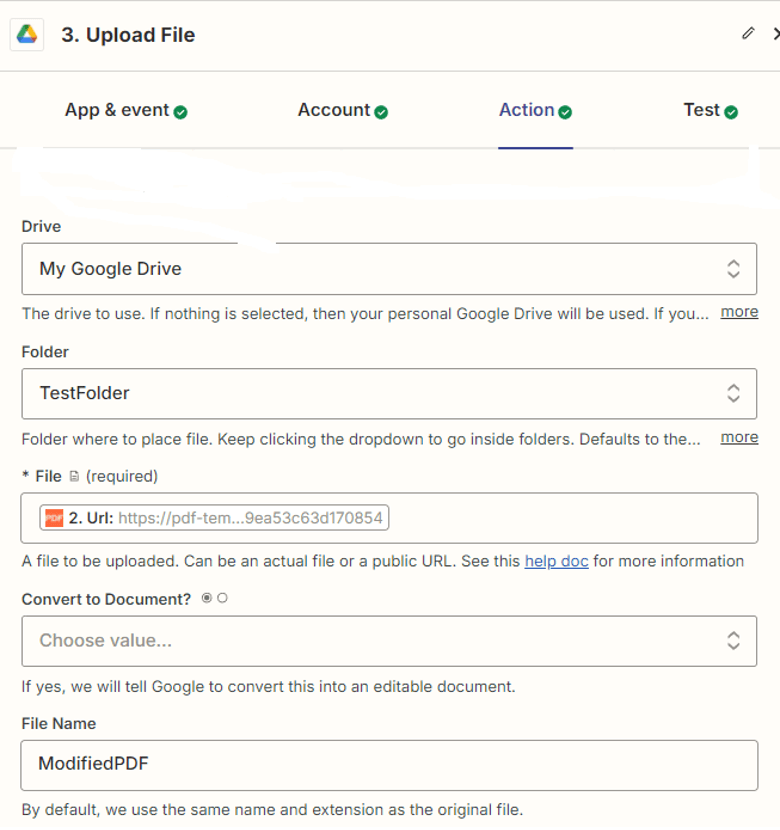
Step 8: Google Drive Upload File
Finally, upload the generated output file to the desired Google Drive folder.
Step 9: Configure Upload File
- Select My Google Drive as the target drive.
- Indicate the folder name where you want to save the generated file.
- Provide the generated PDF URL for storage in the Google Drive folder.
- Specify the file name you want to use for the PDF saved in Google Drive.
Step 10: Test File Upload
Test the file upload by sending a request to Google Drive.
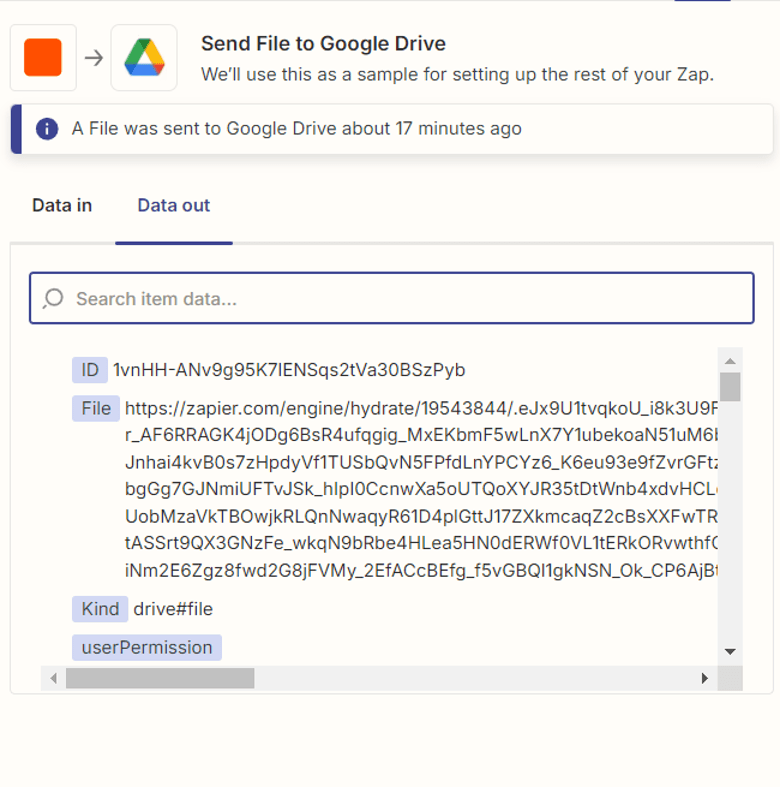
Step 11: Open Google Drive Folder
After a successful upload, open the Google Drive folder to verify the uploaded file.

In conclusion, this tutorial has walked you through the process of deleting specific pages from a PDF document, leaving you with a customized file that retains only the content you need. By following these steps, you’ve successfully removed pages 1 and 2 from your original PDF, resulting in a streamlined document that now contains only pages 3 through 5. The final output has been conveniently saved to your Google Drive folder, ensuring easy access and secure storage. Whether for decluttering, reorganizing, or preparing a document for sharing, this method offers a straightforward solution to managing your PDF content.
Related Tutorials
See Related Tutorials
