How to Convert PDF to JSON Using PDF.co and Zapier
Overview
In this tutorial, you will learn how to automatically convert a PDF file into JSON format using PDF.co and Zapier.
This workflow is useful when you want to extract structured information from PDF documents, such as invoices, receipts, reports, or forms, and save the result as a JSON file in Google Drive.
The automation starts when a new PDF file is added to a selected Google Drive folder. Zapier then sends the PDF file to PDF.co, PDF.co converts the PDF into JSON, and Zapier uploads the generated JSON file back to Google Drive.
Workflow Diagram
Google Drive (New File in Folder) → PDF.co (PDF to Anything Converter) → Google Drive (Upload JSON File)
PDF.co Endpoint Used
This workflow uses the PDF.co PDF to JSON conversion endpoint.
PDF.co API Endpoint: /v1/pdf/convert/to/json
Endpoint Documentation: https://developer.pdf.co/api/reference/pdf-to-json
This endpoint converts a PDF document into a JSON file containing extracted document data.
PDF.co Zapier Module Used
In Zapier, this endpoint is used through the PDF.co app action below:
App: PDF.co
Action Event: PDF to Anything Converter
Output Format: JSON
The PDF.co Zapier module sends the PDF file to PDF.co and returns a JSON output URL after the conversion is complete.
Before You Start
Make sure you have the following:
- A Zapier account.
- A PDF.co account.
- Your PDF.co API Key.
- A Google Drive folder where the converted JSON file will be saved.
- A PDF file stored in Google Drive.
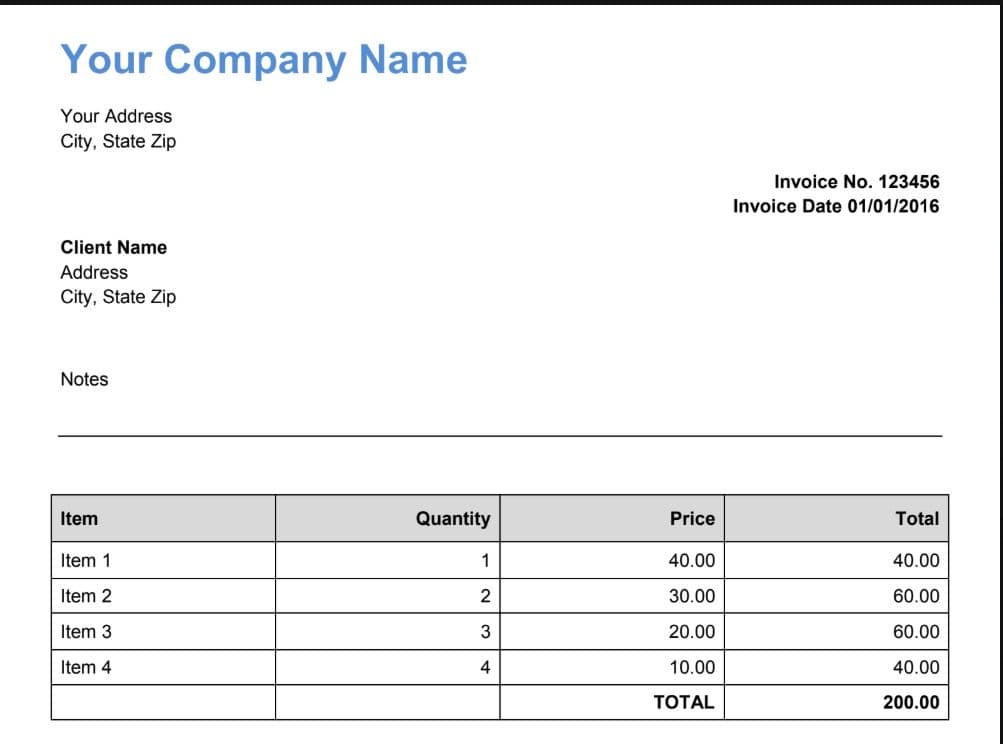
Sample Source File
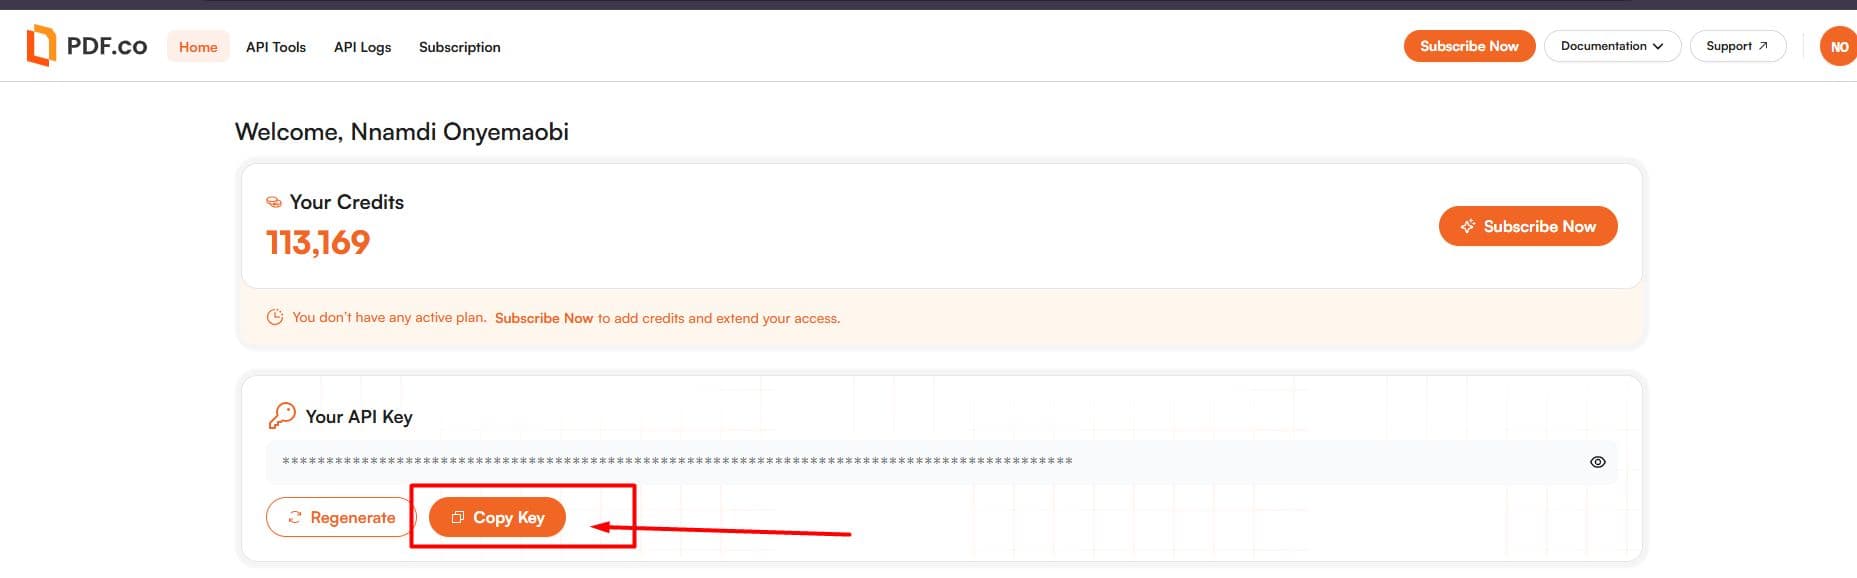
To get your PDF.co API Key:
- Go to https://app.pdf.co.
- Log in to your PDF.co account.
- Open your PDF.co dashboard.
- Copy your API Key.
IN THIS TUTORIAL
Step 1: Create a New Zap
What this step does
This step creates the automation workflow in Zapier.
Instructions
- Log in to your Zapier account.
- Click Create.
- Select Zaps.
- Zapier will open the Zap editor.
- Give your Zap a clear name, such as:
Convert PDF to JSON and Save to Google Drive
Step 2: Set Up the Google Drive Trigger
What this step does
This step tells Zapier when the automation should start. In this tutorial, the Zap will run when a new PDF file is added to a specific Google Drive folder.
Instructions
- In the first step of the Zap, click Trigger.
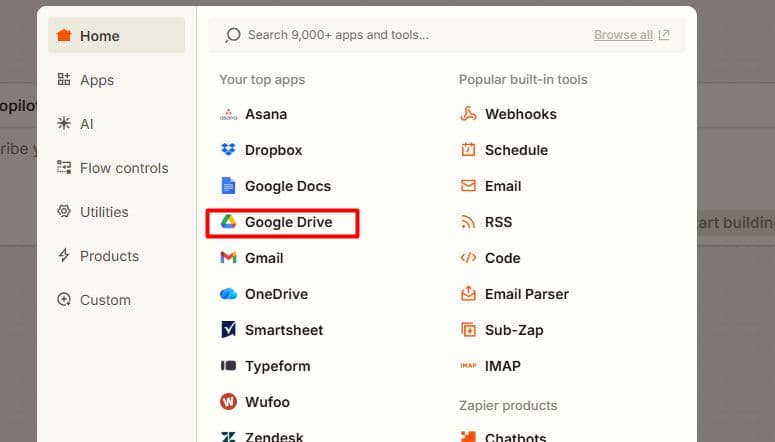
- Search for Google Drive.
- Select Google Drive as the trigger app.
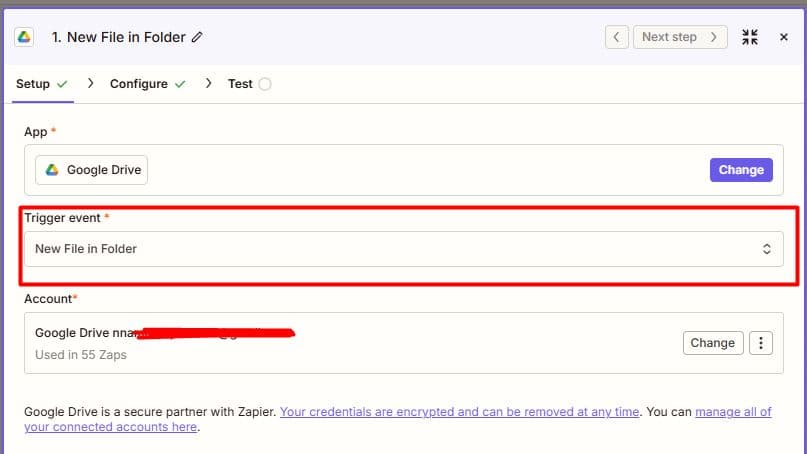
- For the trigger event, choose New File in Folder.
Step 3: Connect Your Google Drive Account
What this step does
This step allows Zapier to access the Google Drive folder that contains the PDF file.
Instructions
- Select your Google Drive account.
- If your account is not connected yet, click Sign in.
- Follow the prompts to connect your account.
- Click Continue.
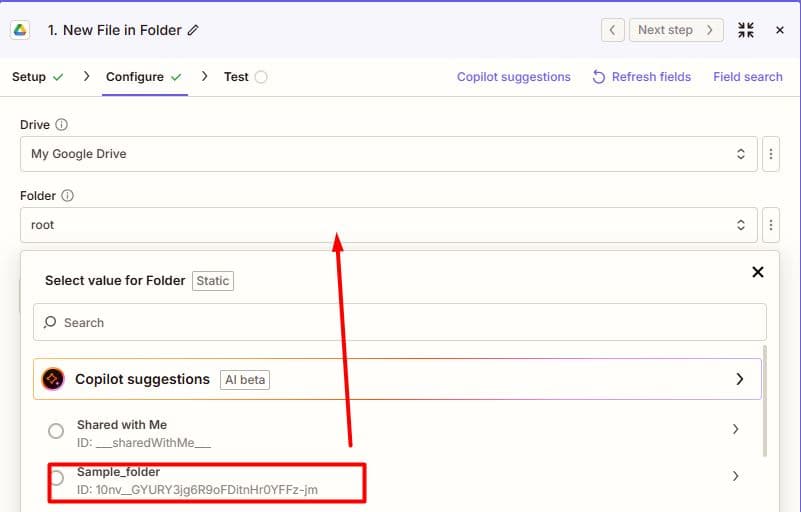
Step 4: Choose the Google Drive Folder
What this step does
This step tells Zapier which folder to monitor for new PDF files in the selected folder.
Instructions
- In the Drive field, select My Google Drive or the correct shared drive.
- In the Folder field, choose the folder where the PDF files will be added.
- Click Continue.
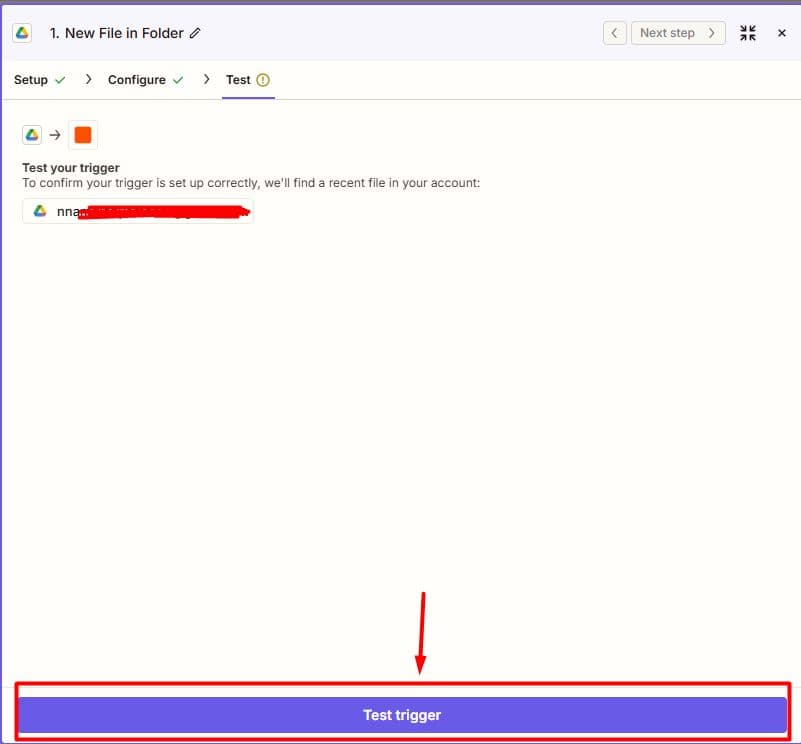
Step 5: Test the Google Drive Trigger
What this step does
This step confirms that Zapier can find a PDF file from the selected Google Drive folder.
Instructions
- Click Test trigger.
- Zapier will search the selected folder for a recent file.
- Select the correct PDF sample file from the test result.
- Click Continue with selected record.
Check that the sample file is a PDF before moving to the next step.
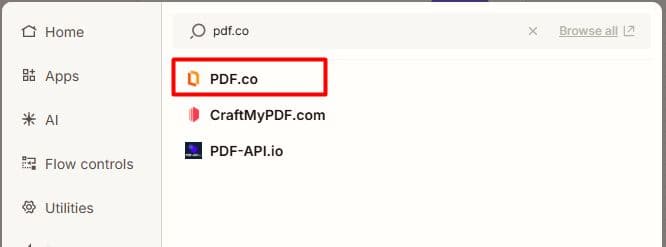
Step 6: Add the PDF.co Action
What this step does
This step adds PDF.co to the Zap so the PDF file can be converted into JSON.
Instructions
- Click the + button to add the next step.
- Search for PDF.co.
- Select PDF.co as the action event.
- For the action event, choose PDF to Anything Converter.
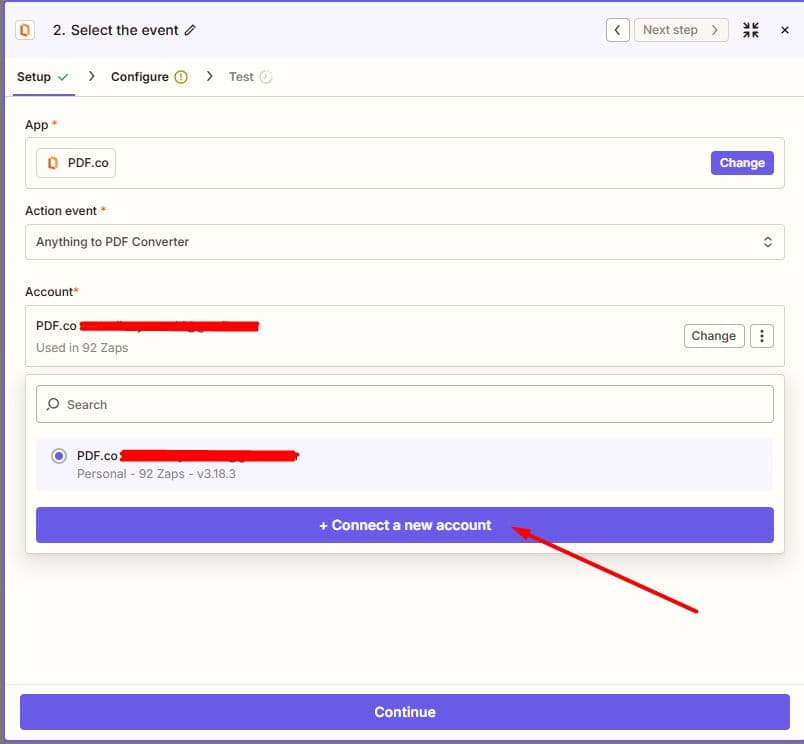
Step 7: Connect Your PDF.co Account
What this step does
This step connects Zapier to your PDF.co account using your PDF.co API Key.
Instructions
- Select your PDF.co account.
- If PDF.co is not connected yet, click Connect a new account.
- Paste your PDF.co API Key.
- Click Yes, Continue.
- After Zapier confirms the connection, click Continue.
You can copy your API Key from your PDF.co dashboard: https://app.pdf.co
Step 8: Configure the PDF.co PDF to JSON Conversion
What this step does
This step tells PDF.co which PDF file to convert and what output format to generate.
Instructions
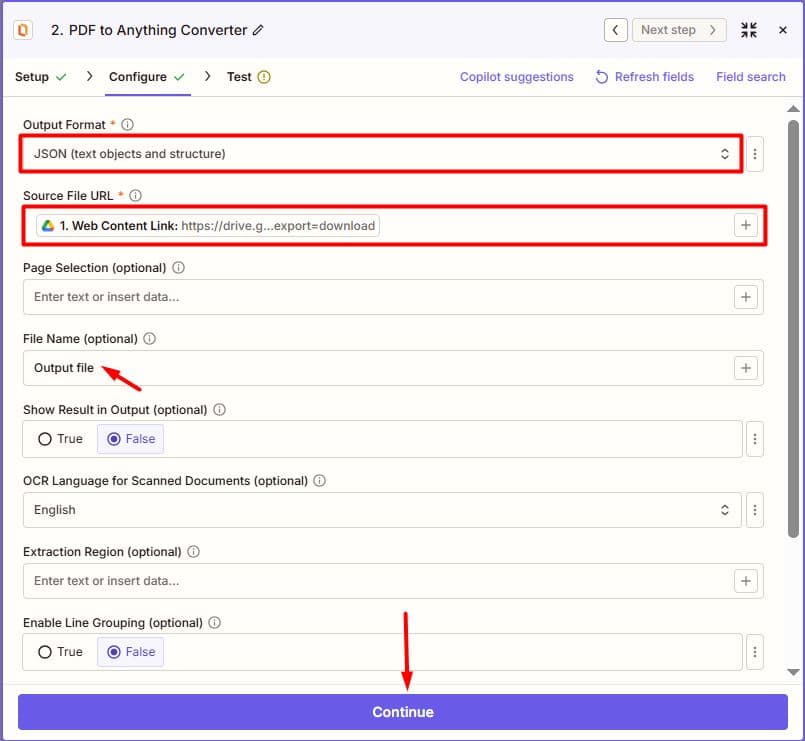
In the PDF.co action setup, configure the fields below.
Output Format
Select: JSON (text objects and structure)
This tells PDF.co to convert the PDF file into JSON format.
Source File URL
In the Source File URL field, select the File value from the Google Drive trigger. To do this click on the + icon in the URL field and select the “web content link” from the google drive step.
This is important because PDF.co needs the actual file URL to access and process the PDF document.
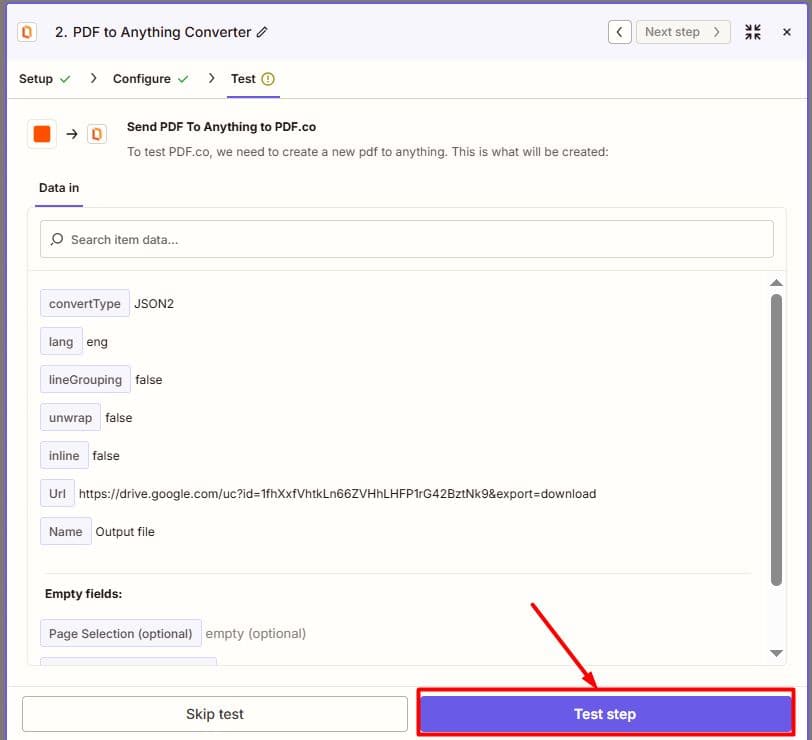
Step 9: Test the PDF.co Action
What this step does
This step confirms that PDF.co can convert the sample PDF into JSON.
Instructions
- Click Test step.
- Wait while Zapier sends the PDF file to PDF.co.
- When the test is successful, review the returned data.
- Look for the output URL returned by PDF.co.
- Open the output URL in a new browser tab to confirm that the JSON file was created.
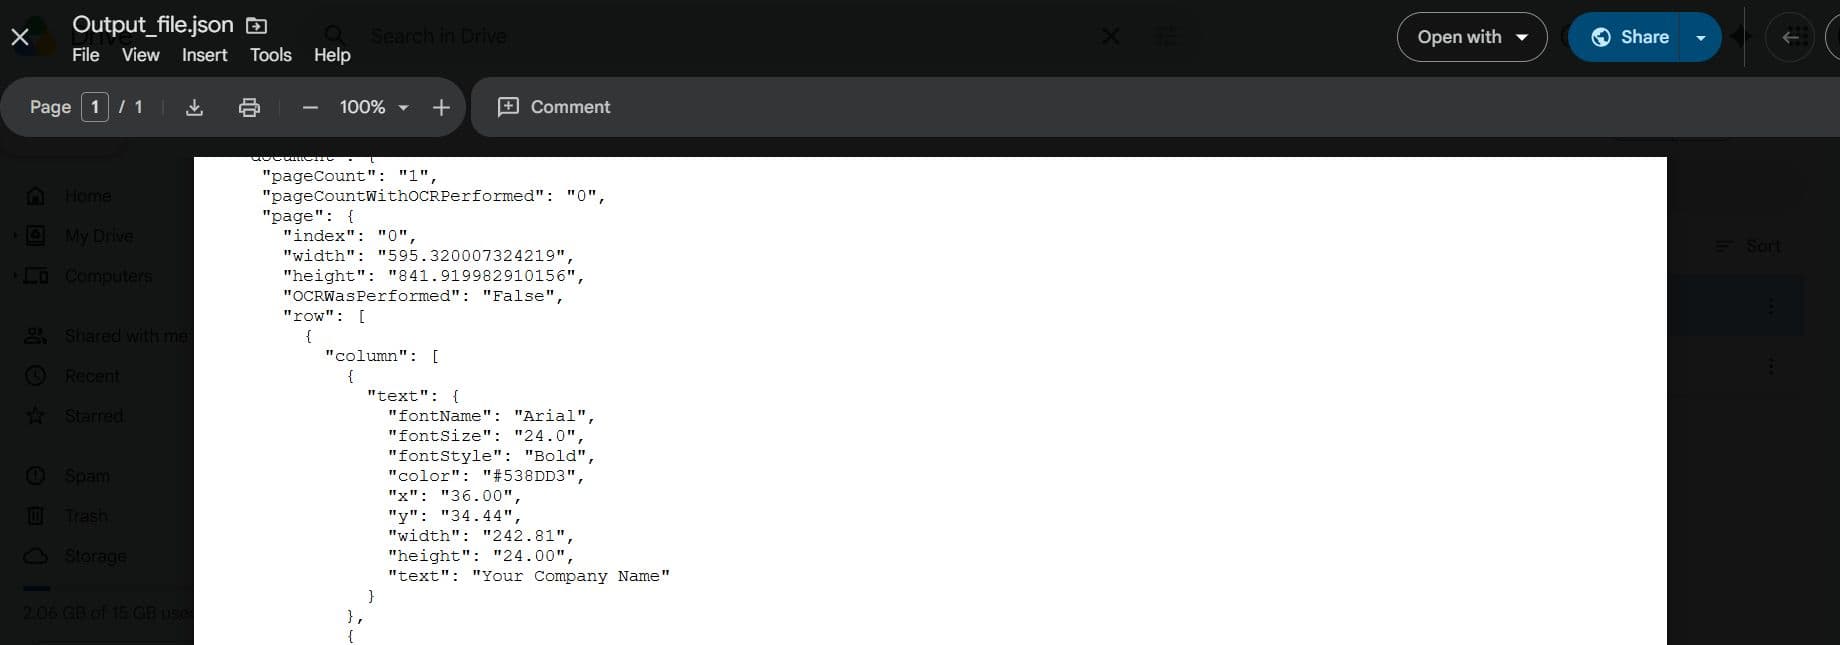
The output file URL should contain extracted PDF data in JSON format.

Step 10: Add Google Drive to Save the JSON File
What this step does
This step saves the generated JSON file into Google Drive.
PDF.co output links may be temporary, so saving the JSON file to Google Drive helps keep a permanent copy.
Instructions
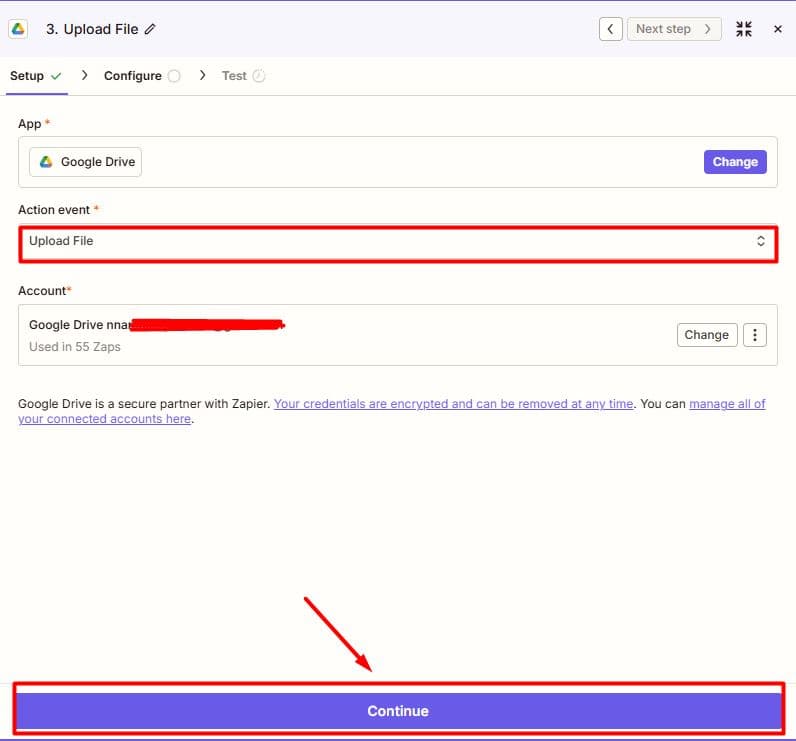
- Click the + button to add another action step.
- Search for Google Drive.
- Select Google Drive.
- For the action event, choose Upload File.
- Click Continue.
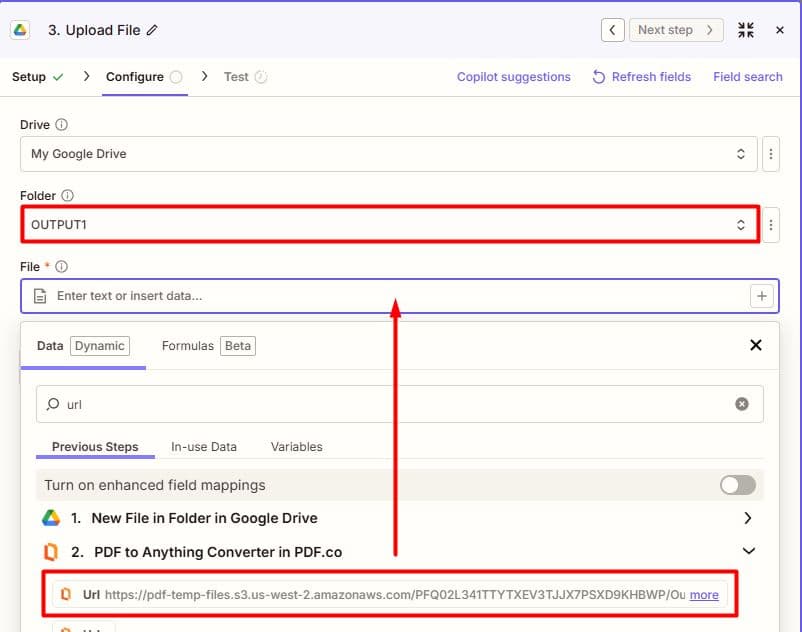
Step 11: Configure the Google Drive Upload
What this step does
This step tells Zapier where to save the JSON file and which file should be uploaded.
Instructions
- Select your Google Drive account (since you are already signed in).
- In the Drive field, choose My Google Drive or the correct shared drive.
- In the Folder field, choose the folder where the JSON file should be saved.
- In the File field, select the output URL returned by the PDF.co step.
- In the File Name field, enter a clear file name.
Example: output_file
You can also use the original PDF file name from the trigger.
Step 12: Test the Google Drive Upload
What this step does
This step confirms that the JSON file can be uploaded successfully to Google Drive.
Instructions
- Click Test step.
- Wait for Zapier to upload the file.
- Open the selected Google Drive folder.
- Confirm that the JSON file is saved there.
- Open the uploaded JSON file to confirm that it contains the converted PDF data.

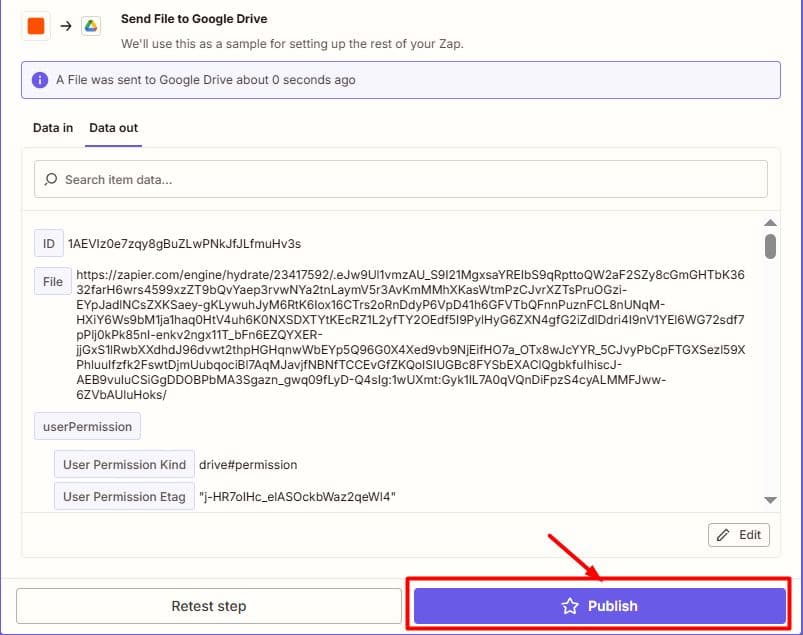
Step 13: Publish the Zap
What this step does
This step turns on the automation so it can run automatically.
Instructions
- Review all Zap steps.
- Confirm that the Google Drive trigger test is successful.
- Confirm that the PDF.co conversion test is successful.
- Confirm that the Google Drive upload test is successful.
- Click Publish.
Once the Zap is published, every new PDF file added to the selected Google Drive folder will be sent to PDF.co, converted into JSON, and saved back to Google Drive.
Summary
In this tutorial, you created a Zap that automatically converts a PDF file into JSON using PDF.co and Zapier.
The workflow starts when a new PDF file is added to a Google Drive folder. Zapier sends the PDF file to PDF.co using the PDF to Anything Converter action, with the output format set to JSON. PDF.co then returns a JSON output URL, and Zapier uploads the generated JSON file to Google Drive.
This automation helps users extract PDF content into a structured format and store the result without manually downloading, converting, and uploading files.


