How to Generate PDF Invoice from Scratch using PDF.co API (Template Sample 2)
Mustache and Handlebars templates can be used to produce HTML to PDF inside PDF.co. Both Mustache and Handlebars are logic-less template syntax used to create semantic templates effectively with no hassle.
Learn how to generate PDF from scratch using a template sample. This tutorial is all about Invoice Template Sample 2. You can compare it with Invoice Template Sample 1 and Template Sample 3.
You can also make a PDF Invoice from scratch by adding text and images to an empty PDF.
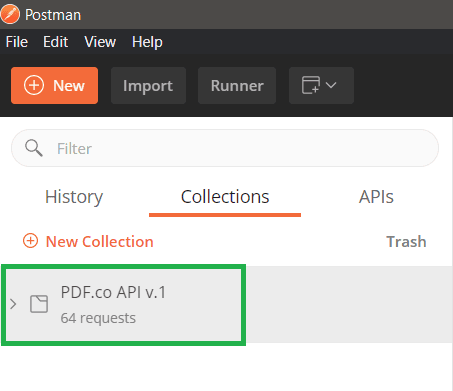
Step 1: Select PDF.co API v. 1 Folder
Inside the Postman app, click on the PDF.co API v.1 folder.
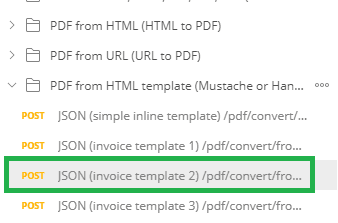
Step 2: Expand the HTML Template Folder and Select JSON (Invoice Template 2)
.
Step 3: Request in cURL
curl --location --request POST 'https://api.pdf.co/v1/pdf/convert/from/url' \
--header 'x-api-key: {{x-api-key}}' \
--header 'Content-Type: application/json' \
--data-raw '{
"url": "https://bytescout-com.s3-us-west-2.amazonaws.com/files/cloudapi-templates/template-invoice-2.html",
"name": "newInvoice.pdf",
"margins": "5px 5px 5px 5px",
"paperSize": "Letter",
"orientation": "Portrait",
"printBackground": true,
"header": "",
"footer": "",
"async": false,
"encrypt": false,
"templateData": "{\r\n \"invoice\": {\r\n \"id\": \"0021\",\r\n \"date\": \"August 29, 2041\",\r\n \"dateDue\": \"September 29, 2041\"\r\n },\r\n \"issuer\": {\r\n \"name\": \"Sarah Connor\",\r\n \"company\": \"T-800 Research Lab\",\r\n \"address\": \"435 South La Fayette Park Place, Los Angeles, CA 90057\",\r\n \"website\": \"www.example.com\",\r\n \"email\": \"info@example.com\"\r\n },\r\n \"client\": {\r\n \"name\": \"Cyberdyne Systems\",\r\n \"company\": \"Cyberdyne Systems\",\r\n \"address\": \"18144 El Camino Real, Sunnyvale, California\",\r\n \"website\": \"www.example.com\",\r\n \"email\": \"sales@example.com\"\r\n },\r\n \"items\": [\r\n {\r\n \"name\": \"T-800 Prototype Research\",\r\n \"price\": \"$1000.00\"\r\n },\r\n {\r\n \"name\": \"T-800 Cloud Sync Setup\",\r\n \"price\": \"$300.00\"\r\n },\r\n {\r\n \"name\": \"Skynet Domain Setup\",\r\n \"price\": \"$50.00\"\r\n },\r\n {\r\n \"name\": \"T-800 OS License\",\r\n \"price\": \"$350.00\"\r\n },\r\n {\r\n \"name\": \"T-800 Vision Testing\",\r\n \"price\": \"$150.00\"\r\n },\r\n ],\r\n \"discount\": \"$100.00%\",\r\n \"tax\": \"$126.88 (7.5%)\",\r\n \"total\": \"$1876.88\",\r\n \"paid\": true,\r\n \"note\": \"Thank you for your business with us.\",\r\n \"primaryColor\": \"#E4135A\",\r\n \"secondaryColor\": \"#00538B\",\r\n \"textColor\": \"#3F4254\"\r\n }"
}'
Step 4: Use JSON Code to Create Invoice
Inside raw under the Body menu, is a pre-filled JSON code that contains the invoice details.
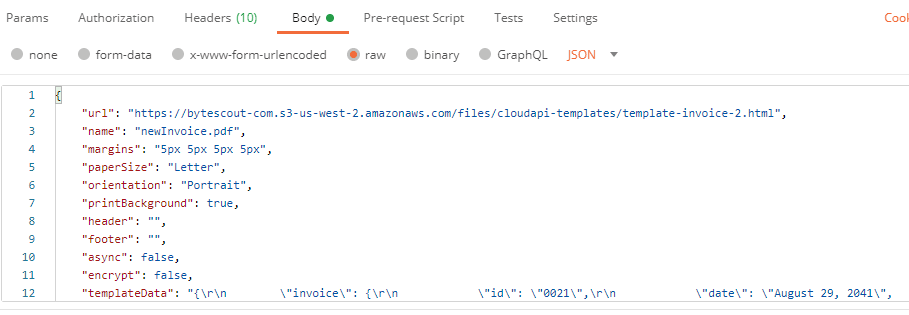
This is the templateData parameter that you will find in the JSON code above.
{
"invoice": {
"id": "0021",
"date": "August 29, 2041",
"dateDue": "September 29, 2041"
},
"issuer": {
"name": "Sarah Connor",
"company": "T-800 Research Lab",
"address": "435 South La Fayette Park Place, Los Angeles, CA 90057",
"website": "www.example.com",
"email": "info@example.com"
},
"client": {
"name": "Cyberdyne Systems",
"company": "Cyberdyne Systems",
"address": "18144 El Camino Real, Sunnyvale, California",
"website": "www.example.com",
"email": "sales@example.com"
},
"items": [
{
"name": "T-800 Prototype Research",
"price": "$1000.00"
},
{
"name": "T-800 Cloud Sync Setup",
"price": "$300.00"
},
{
"name": "Skynet Domain Setup",
"price": "$50.00"
},
{
"name": "T-800 OS License",
"price": "$350.00"
},
{
"name": "T-800 Vision Testing",
"price": "$150.00"
},
],
"discount": "$100.00%",
"tax": "$126.88 (7.5%)",
"total": "$1876.88",
"paid": true,
"note": "Thank you for your business with us.",
"primaryColor": "#E4135A",
"secondaryColor": "#00538B",
"textColor": "#3F4254"
}
Step 5: Generate the Invoice then Click Send
The invoice generation goes through a process. First, the engine takes the HTML template. Then, the template takes what’s inside the templateData parameter. Lastly, it generates the invoice using the provided data.
Click the Send button on the top right.
Step 6: Check Status
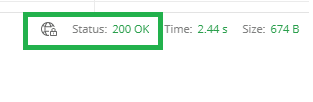
Scroll down and check if the Status says 200 OK.
Step 7: See the Result
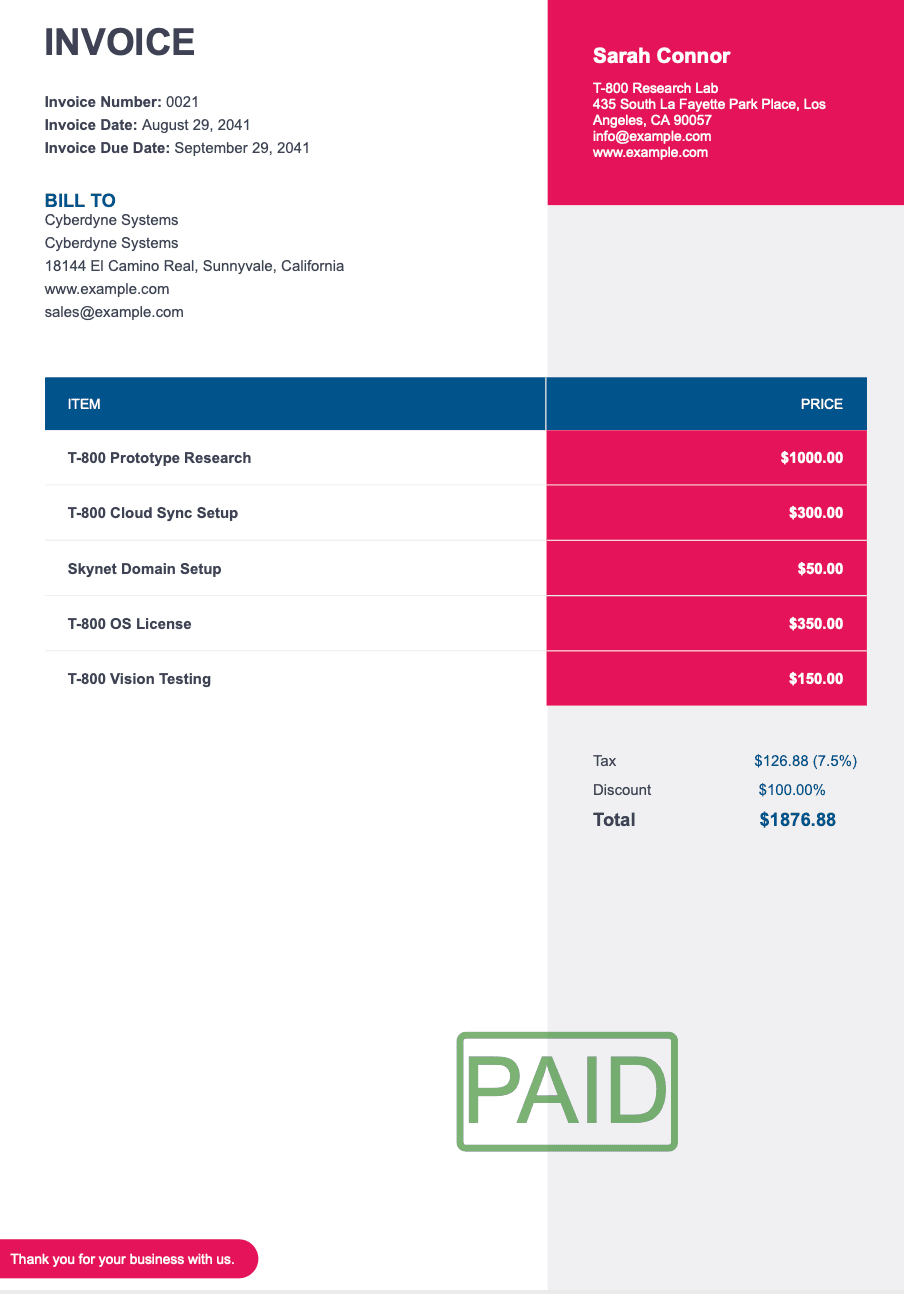
The result contains the URL to access the PDF Invoice.
Excellent! We have created our PDF Invoice.
Related Tutorials