You can set up the next step to save the generated file in Google Drive or Dropbox depending on your requirement.
How to Add Annotations using Custom API Calls to PDF.co from Zapier?
In this tutorial, we will show you how you can add text, images, text fields, unchecked checkbox, checked checkbox to an existing PDF file using the Custom API Call. To do this, we will call the /pdf/edit/add endpoint which is also known as PDF Filler in PDF.co for Zapier. You can read about the other endpoints in our API Docs.
The Custom API Call is designed for advanced users. There are additional customizations available here compared to PDF Filler in PDF.co Action plugin for Zapier. If you are not looking for advanced settings, you can use the PDF Filler in PDF.co Action in the plugin. Here is the tutorial to see it in action: How to Add Text and Images with Links to a PDF using Zapier.
Step 1: Set Up Zapier Action
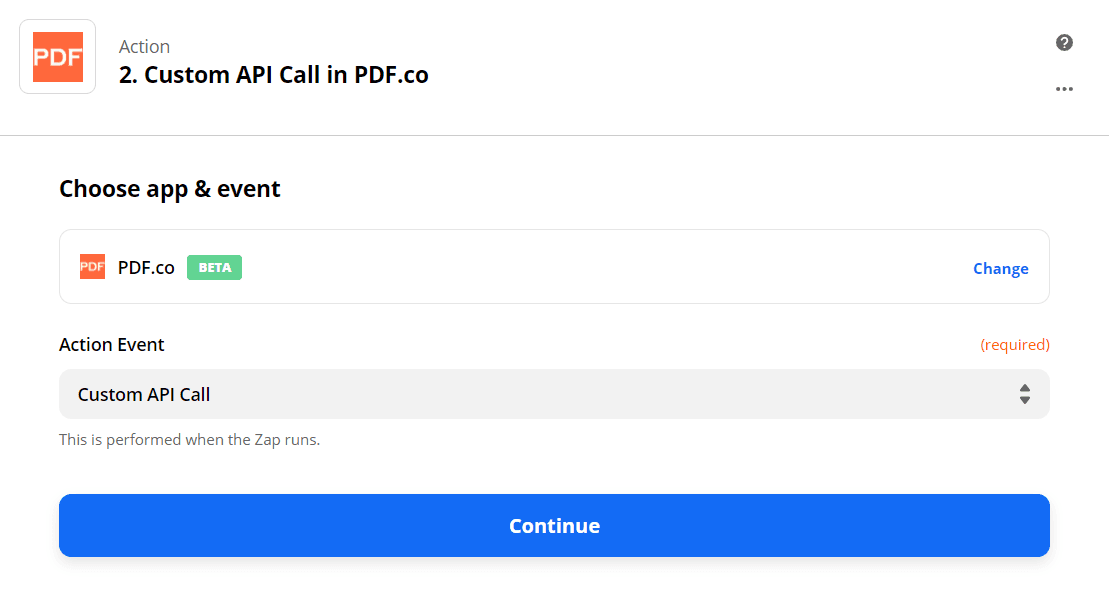
Kindly select PDF.co as the App and Custom API Call as the Action Event.
Step 2: Set Up Zapier Action
Select PDF.co as the App and Custom API Call as the Action Event.

Step 3: Configure the Custom API Call
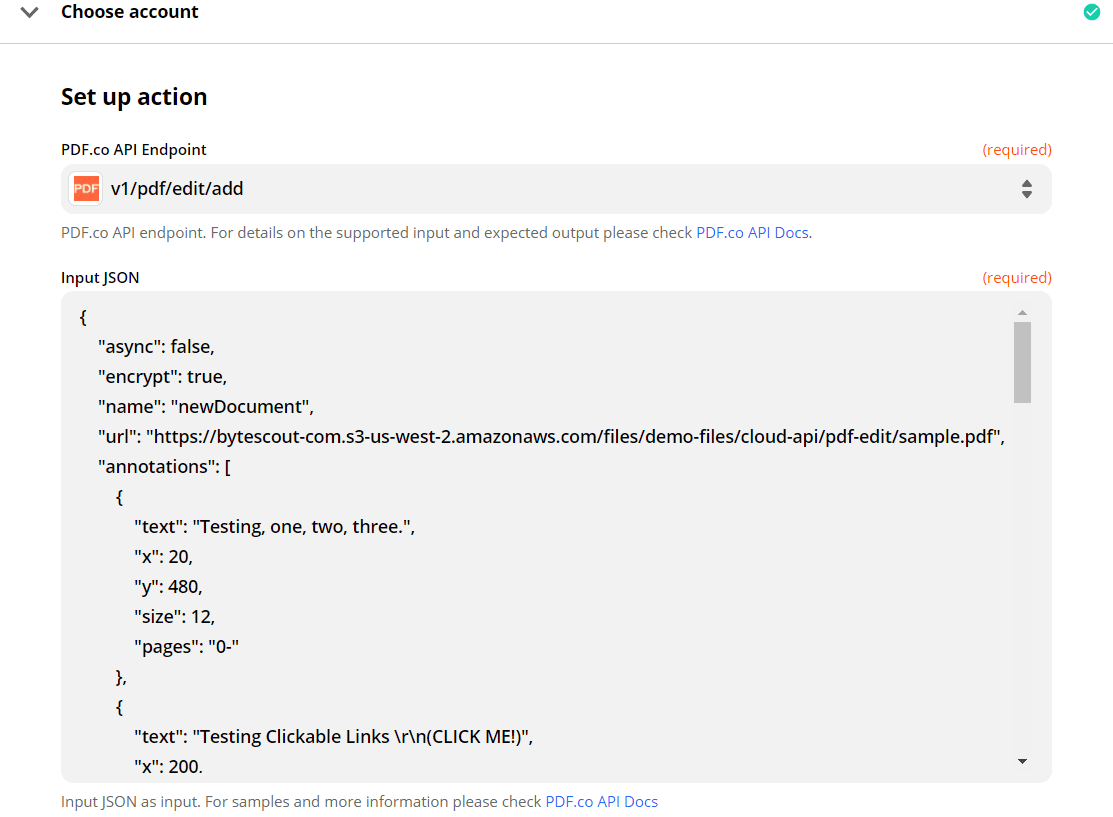
- In the PDF.co API Endpoint field, select v1/pdf/edit/add.
- In the Input JSON field, enter the JSON code. Below is the complete JSON code that we will use to add our annotations. Check out the API docs for more information about PDF.co API endpoints and its samples in the API Docs.
{
    "async": false,
    "encrypt": true,
    "name": "newDocument",
    "url": "https://bytescout-com.s3-us-west-2.amazonaws.com/files/demo-files/cloud-api/pdf-edit/sample.pdf",
    "annotations": [
        {
            "text": "Testing, one, two, three.",
            "x": 20,
            "y": 480,
            "size": 12,
            "pages": "0-"
        },
        {
            "text": "Testing Clickable Links \r\n(CLICK ME!)",
            "x": 200,
            "y": 170,
            "size": 24,
            "pages": "0-",
            "color": "CCBBAA",
            "link": "https://bytescout.com/"
        },
        {
            "text": "Simple text label (default type)",
            "x": 100,
            "y": 520,
            "size": 12,
            "pages": "0-",
            "type": "Text"
        },
        {
            "text": "sample prefilled text",
            "x": 10,
            "y": 500,
            "size": 12,
            "pages": "0-",
            "type": "TextField",
            "id": "textfield1"
        },
        {
            "x": 100,
            "y": 550,
            "size": 12,
            "pages": "0-",
            "type": "Checkbox",
            "id": "checkbox2"
        },
        {
            "x": 100,
            "y": 570,
            "size": 12,
            "pages": "0-",
            "link": "https://bytescout-com.s3-us-west-2.amazonaws.com/files/demo-files/cloud-api/pdf-edit/logo.png",
            "type": "CheckboxChecked",
            "id": "checkbox3"
        }
    ],
    "images": [
        {
            "url": "https://bytescout-com.s3-us-west-2.amazonaws.com/files/demo-files/cloud-api/pdf-edit/logo.png",
            "x": 350,
            "y": 30,
            "pages": "0"
        },
        {
            "url": "https://bytescout-com.s3-us-west-2.amazonaws.com/files/demo-files/cloud-api/pdf-edit/logo.png",
            "x": 350,
            "y": 100,
            "width": 50,
            "height": 50,
            "pages": "0"
        },
        {
            "url": "bytescout-com.s3-us-west-2.amazonaws.com/files/demo-files/cloud-api/pdf-edit/logo.png",
            "x": 200,
            "y": 250,
            "pages": "0",
            "link": "www.pdf.co"
        }
    ]
}
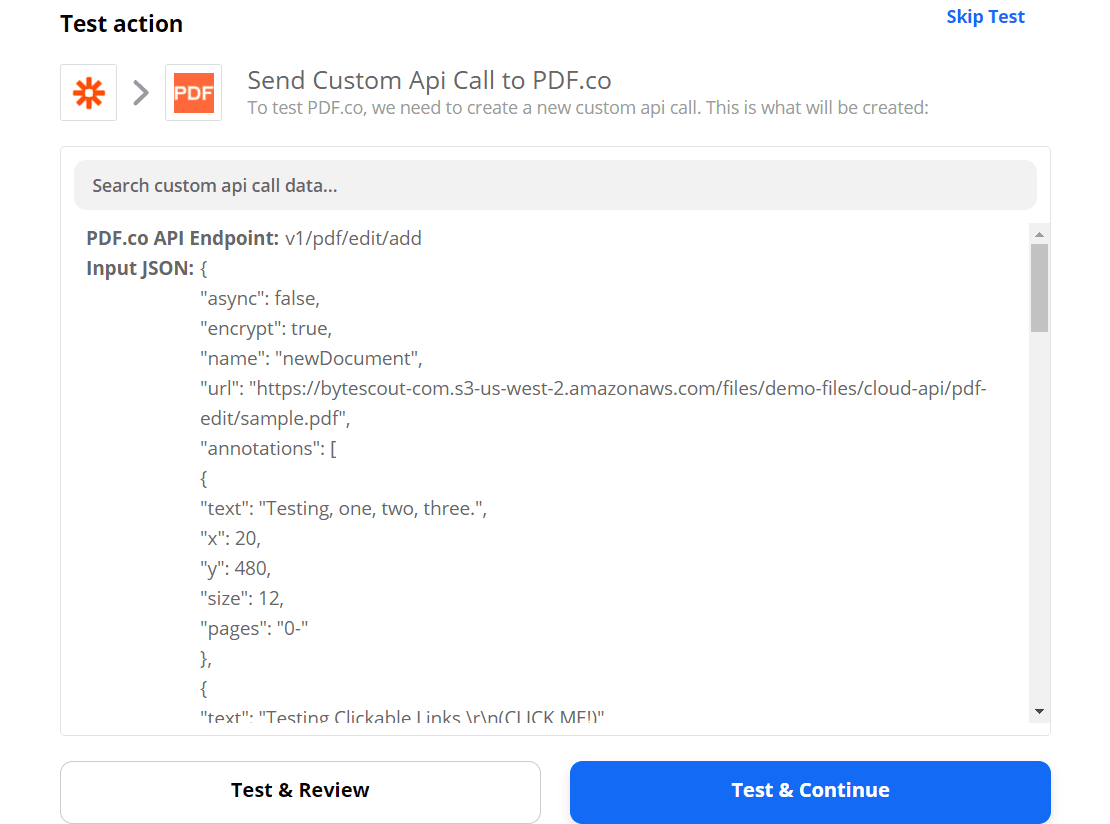
Step 4: Test & Review
Now, let’s send our Custom API call to PDF.co to Test & Review our data.
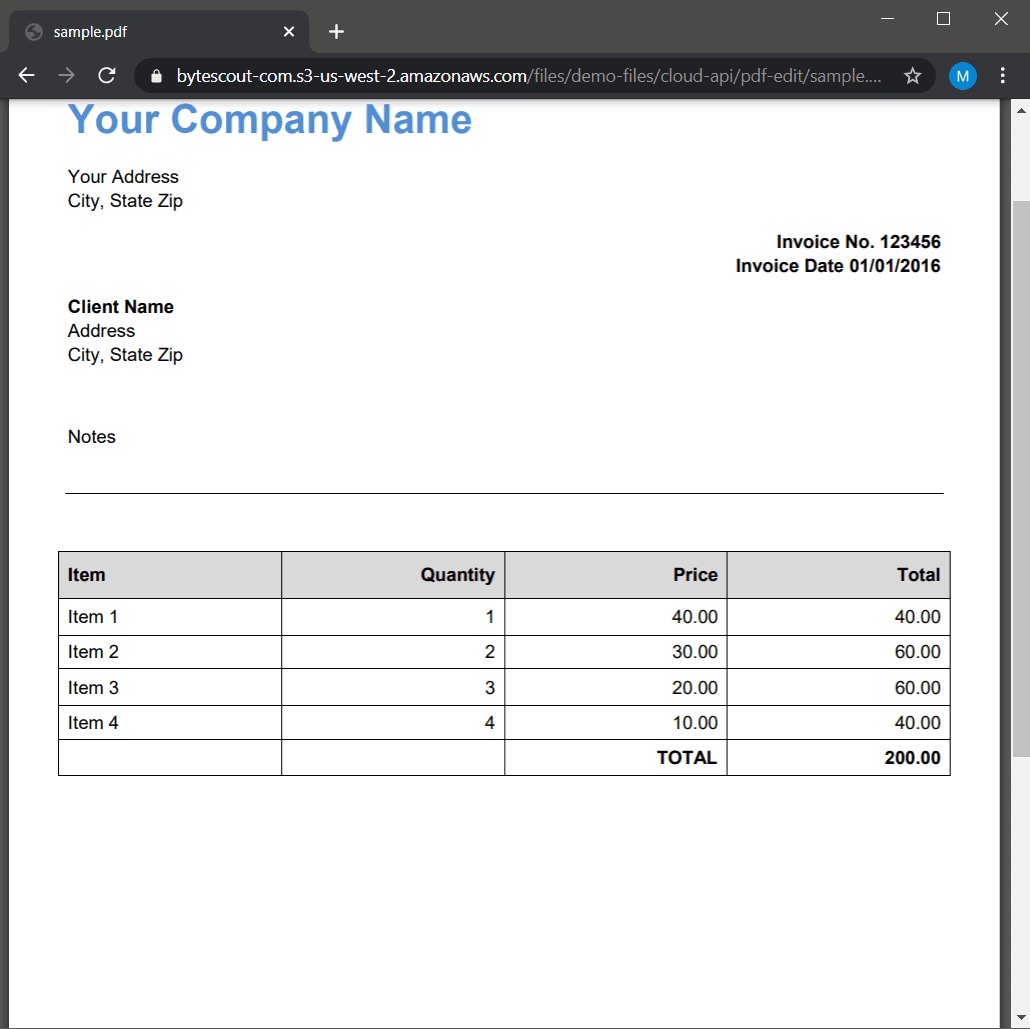
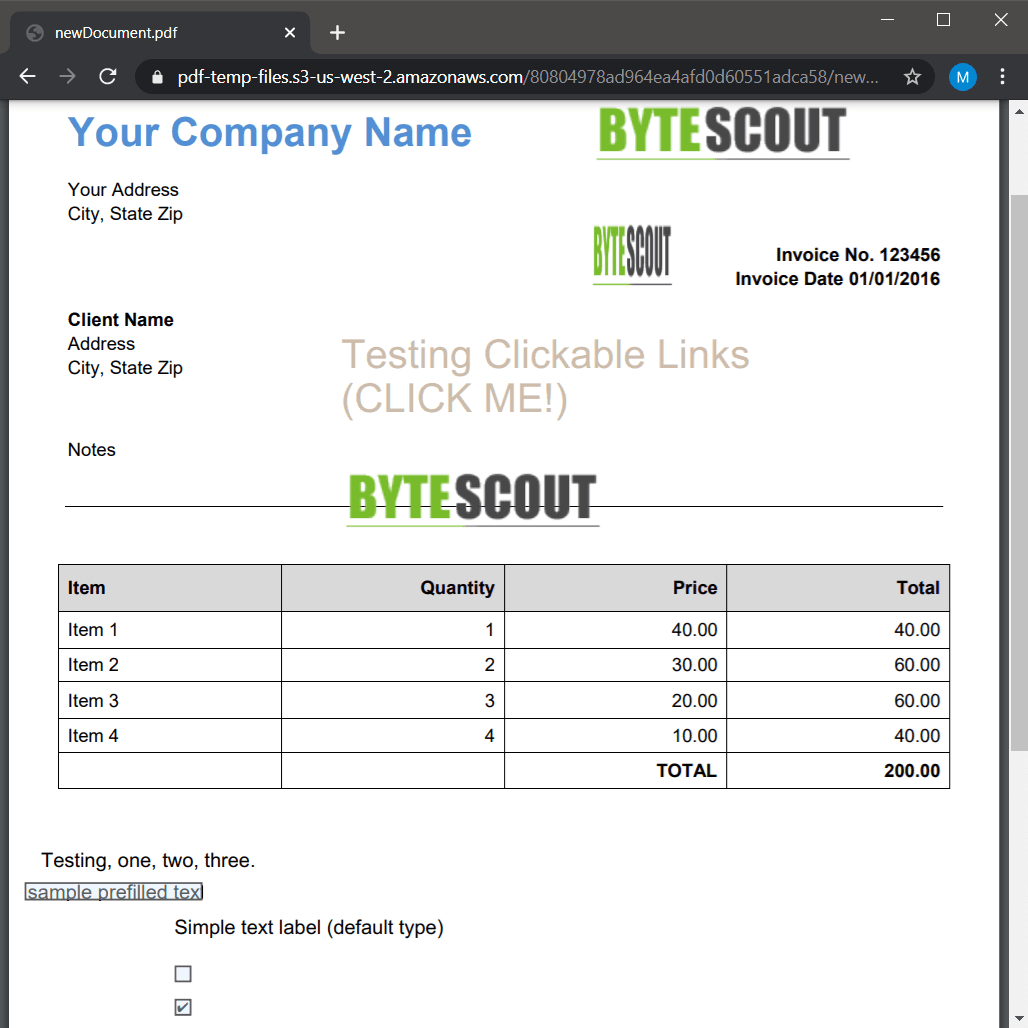
Step 5: Copy & Paste URL to Browser to See Output
A successful test returns a temporary URL to access the generated PDF file. Kindly copy and paste the URL on your browser’s address bar.
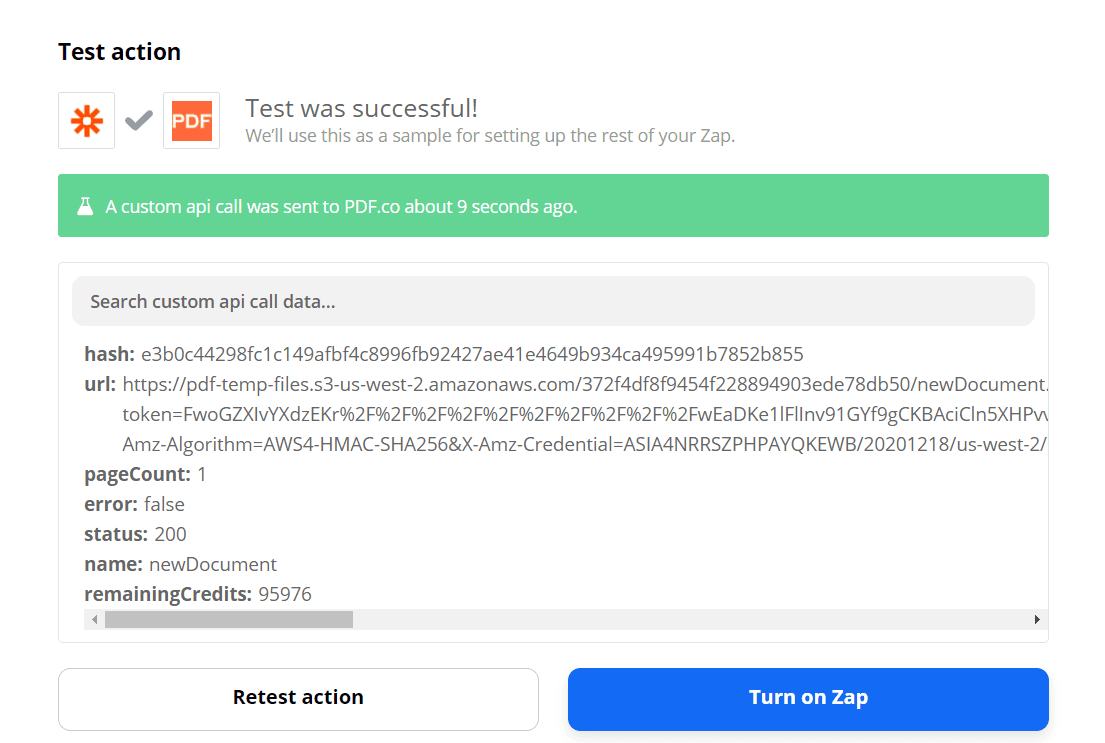
Terrific! We have successfully made a Custom API Call to PDF.co using the /pdf/edit/add endpoint to add annotations to a PDF document.
Related Tutorials


