How to Add a Signature to a PDF Using PDF.co and Zapier
Introduction
In this tutorial, we’ll walk you through how to affix your handwritten signature to a PDF document automatically using PDF.co and Zapier — no manual editing needed.
You can use your handwritten signature by embedding a scanned image or a clear photo of it. To do this, first capture your signature on paper, then scan or photograph it and save the image (preferably in PNG format) in a file storage location such as:
- Google Drive
- Microsoft OneDrive
- PDF.co File Storage (https://app.pdf.co/tools/files)
Make sure the file is accessible via a public or shareable URL, which will be used to embed the signature into the PDF automatically.
By the end of this guide, you will:
- Extract X and Y coordinates to position your signature accurately
- Upload and store your signature securely
- Use PDF.co’s PDF Filler in Zapier to insert signatures and text
- Automate the saving of your signed PDF to cloud storage
Example Use Case
Imagine you receive a legal agreement in PDF format that needs your signature at the bottom. Instead of printing, signing, and scanning, you can:
- Upload your signature once.
- Create a Zap in Zapier to automatically place it in the correct spot.
- Save the final signed PDF to Google Drive.
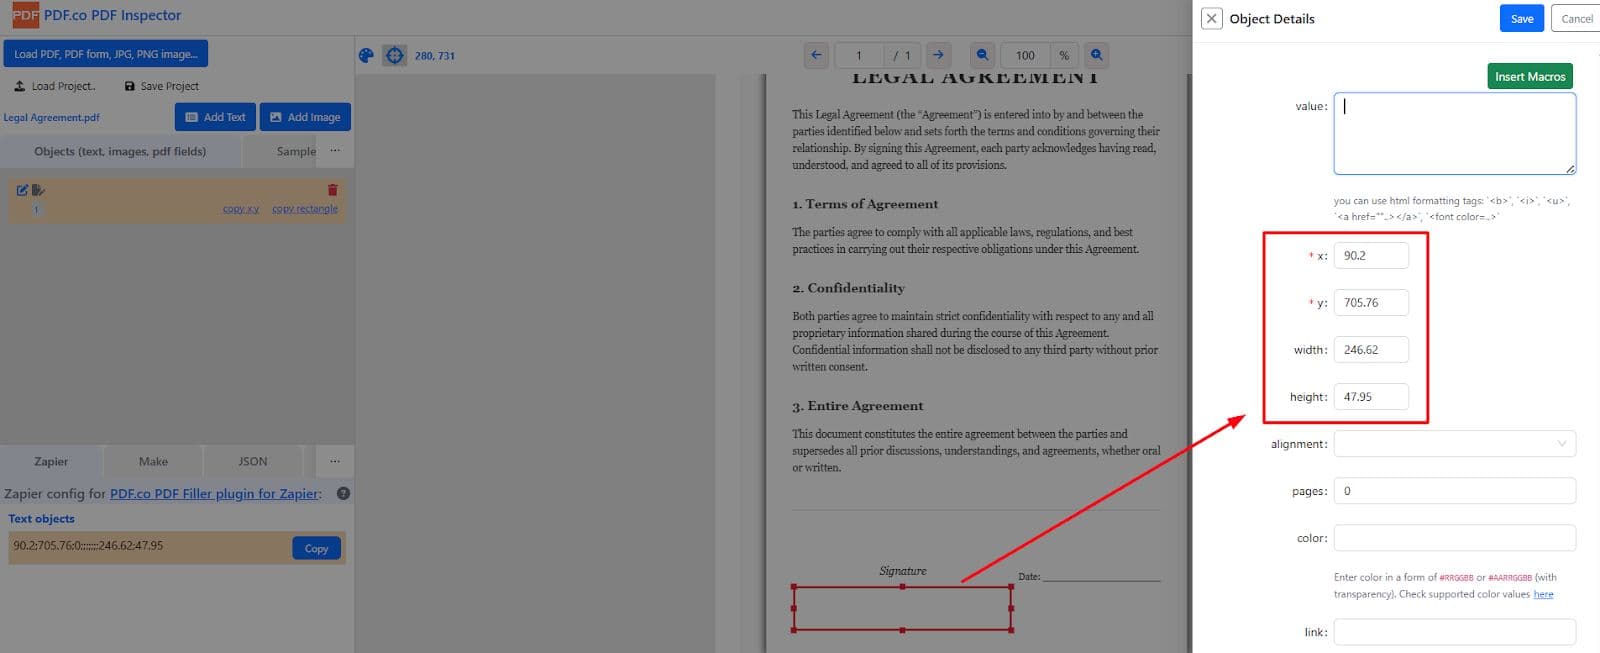
Step 1: Get the Coordinates for Adding the Signature
Before placing the signature, we need to know exactly where on the PDF page to put it.
- Go to the PDF.co PDF/Edit/Add Helper tool: https://app.pdf.co/pdf-edit-add-helper
- Upload your PDF file (local, Dropbox, or URL).
- Hover your mouse over the area where you want to add the text or signature image.
- The X and Y coordinates will display on the right side of the screen.
- Note down the coordinates — we’ll use them when configuring PDF Filler.
Step 2: Upload Your PNG Signature to File Storage
You have two options for storing your signature image:
Option 1: Using PDF.co File Storage (Recommended)
- Go to https://app.pdf.co/files.
- Click “Upload” and select your PNG signature.
- Copy the private file URL/token generated by PDF.co.
Why this is recommended: It provides a stable and secure file URL.
Step 3: Set Up the Trigger in Zapier
The trigger determines when the signing process starts. In this tutorial, the trigger will fire whenever a new file is added to a Google Drive folder.
- Log in to your Zapier account.
- Click “Create Zap”.
- Choose Google Drive as the trigger app.
- Select “New File in Folder” as the Trigger Event.
- In the Configure tab:
- Under “My Drive”, select your Google Drive.
- In the Folder field, choose the source folder where input files will be uploaded.
- Click “Test Trigger”. Zapier will confirm the connection and retrieve a sample file.

How it works: Whenever a new PDF is added to that folder, this Zap will be triggered automatically.
Step 4: Configure the PDF Filler App in Zapier
Once the trigger is set, we’ll configure PDF.co to insert the signature and optional text.
- Click the “+” icon to add an Action.
- Choose PDF.co as the app.
- Select “PDF Filler” as the Action Event.
- Connect your PDF.co account to Zapier. You can get your API Key from your PDF.co dashboard.
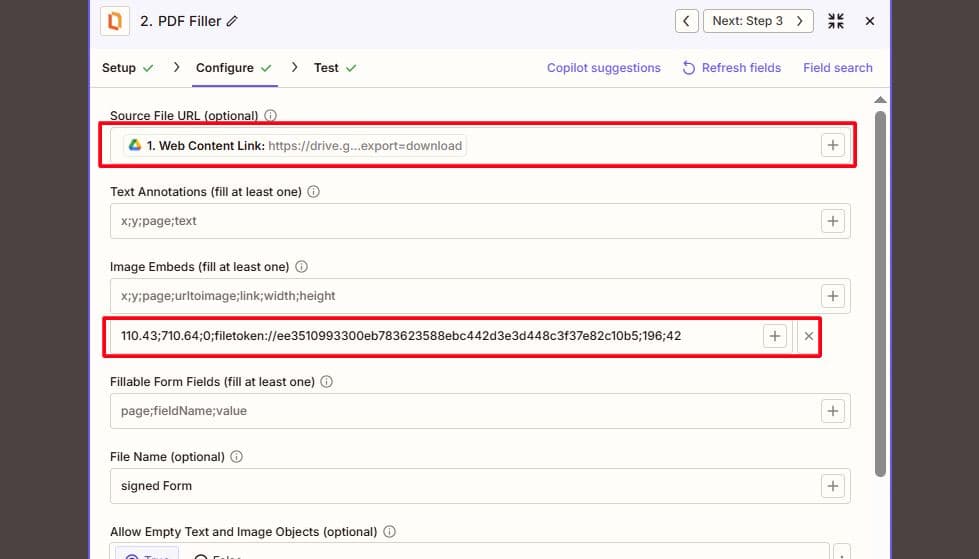
- In the Configure tab:
- Map the Input File using the Web Content Link from the Google Drive trigger (previous step).
- This allows PDF.co to process the uploaded file.
Text Object Field (Optional – if you want to add your name)
Format:
x;y;pageNumber;text;fontSize;fontName
Example:
200;700;0;John Doe;12;Times New Roman
This places the text “John Doe” at coordinates X = 200, Y = 700 on page 1 (page 0 in indexing).
Images Field (For your signature)
Format:
x;y;pageNumber;imageURL;linkToOpen;width;height
xandy: coordinates from Step 1pageNumber: zero-indexed (0 = first page)imageURL: URL of your signature (from Step 2)linkToOpen: optional (leave blank if not needed)widthandheight: signature size (optional)
Example:
110.43;710.64;0;filetoken://ee3510993300eb783623588……;196;42
This places your signature image at X = 110.43, Y = 710.64, Width = 196, Height = 42 on page 1.
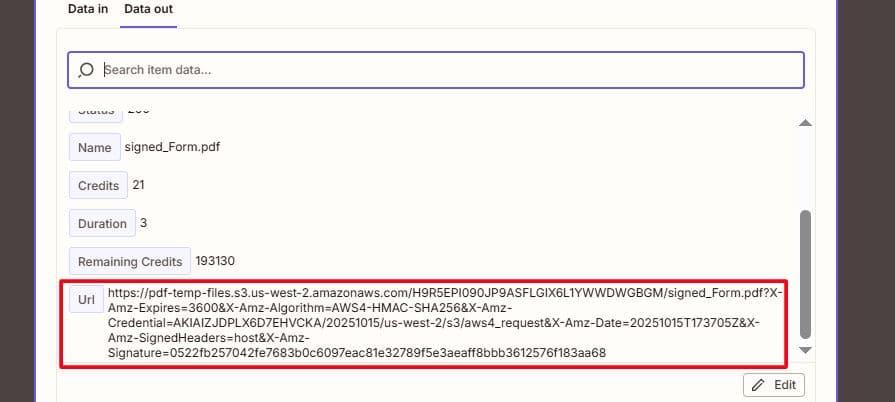
Step 5: Test and Review the Output
- Click “Test & Review” in Zapier.
- Zapier will send the data to PDF.co.
- If successful, PDF.co will return a temporary URL for the signed PDF.
- Open the URL to verify signature placement and quality.
If the placement isn’t perfect, tweak your coordinates and test again.
Step 6: Save the Signed PDF to Google Drive
To make sure your signed PDF is saved permanently:
- Add another Action Step after PDF Filler.
- Select Google Drive as the app.
- Choose “Upload File” as the Action Event.
- In the File field, map the output URL from PDF.co.
- In the Folder field, select the destination folder where the signed files should be stored.
- Test this step to confirm the upload works.
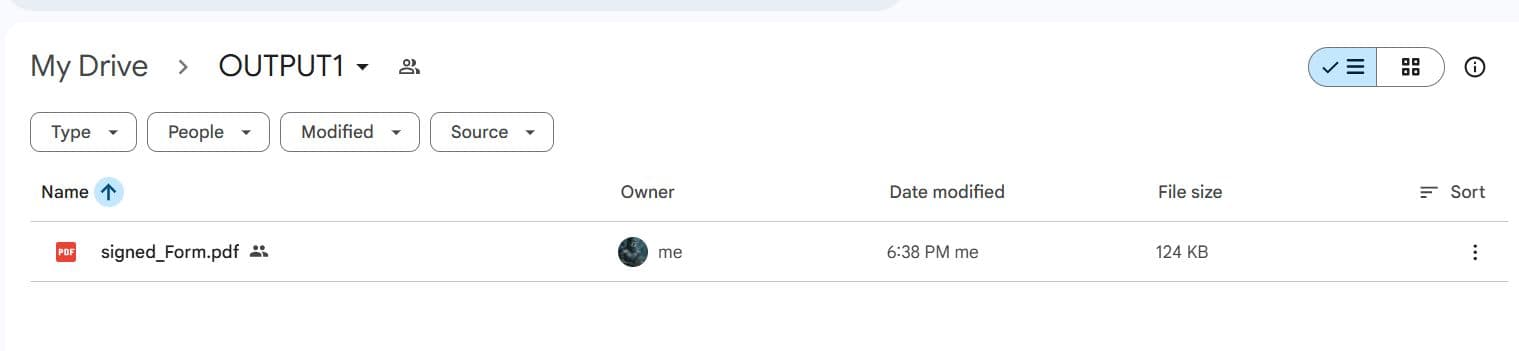
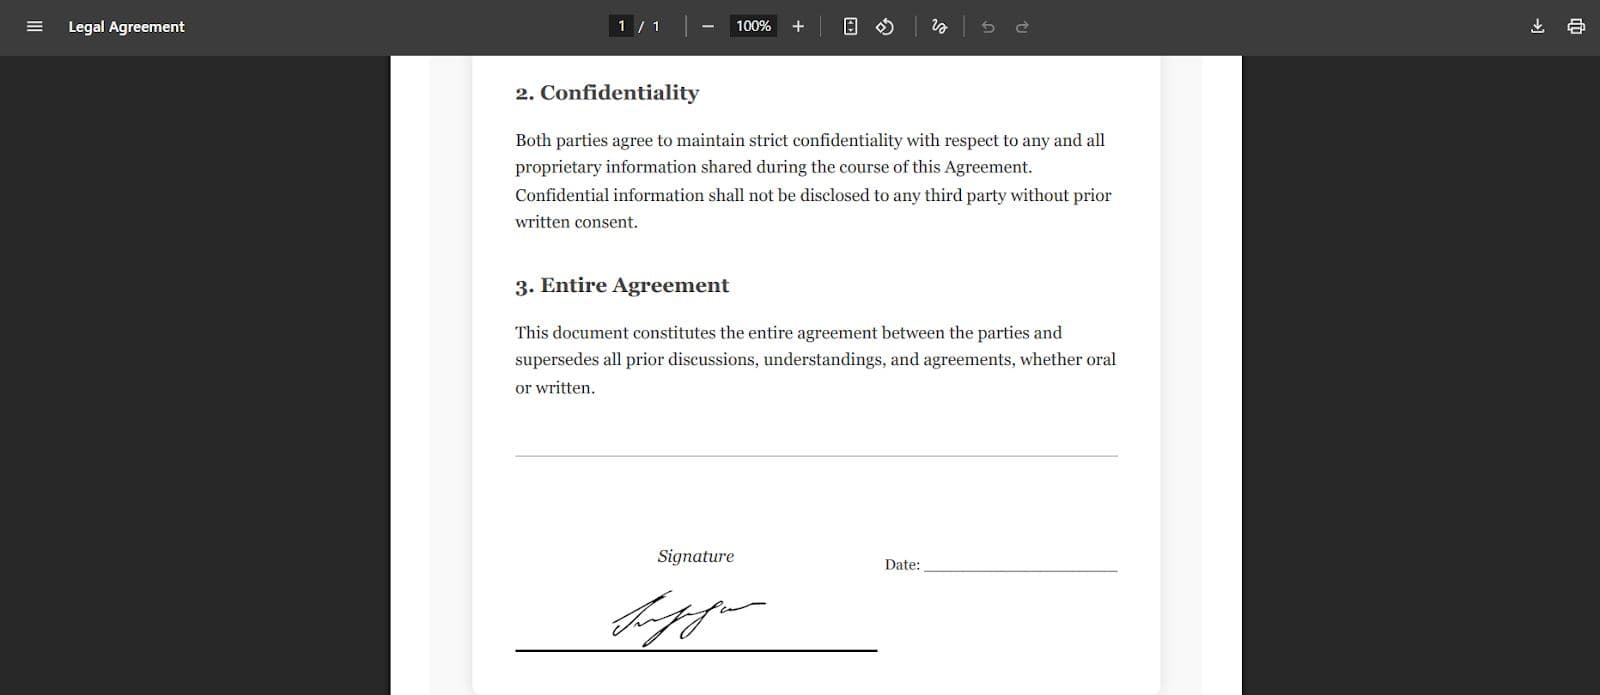
Final Result
You have successfully:
- Triggered the workflow when a new file is added to Google Drive
- Inserted your handwritten signature using PDF.co
- Saved the final signed PDF automatically to Google Drive
No more manual signing or uploading. Your signing process is now fully automated.
Troubleshooting & Tips
- Signature not visible? Check your coordinates, image URL, and page number.
- Signature too large or too small? Adjust width and height in the Images field.
- PDF not saving to Drive? Verify folder permissions and the mapping of the file URL.
Additional Resources
Related Tutorials

