Create QuickBooks Online Invoices from Parsed PDF Data using PDF.co and Zapier
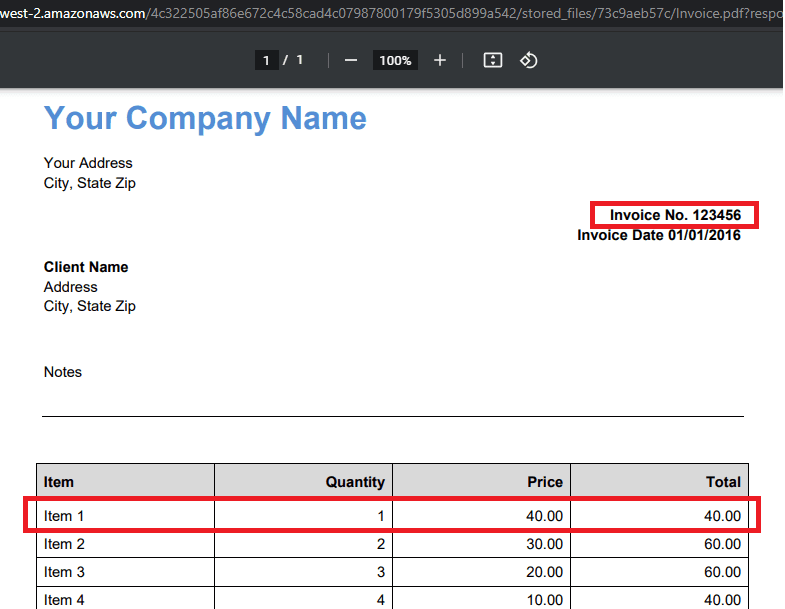
In this tutorial, we will show you how to create a QuickBooks Online Invoice from parsed PDF data using PDF.co and Zapier. We will extract the Invoice Number and a table line item in the sample Invoice below to use in the QuickBooks Invoice that we will create.
Step 1: Extract Data with PDF.co Document Parser
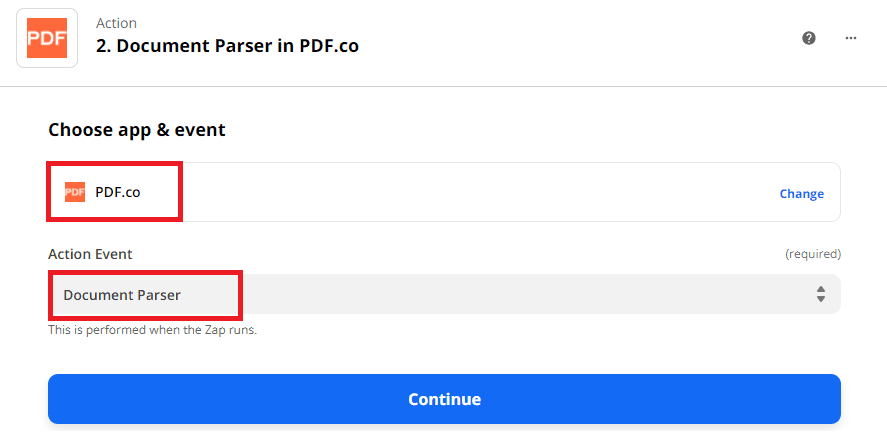
To get started, let’s extract the data that we need in the sample Invoice. In Zapier, kindly set PDF.co as the App and the Document Parser as the Action Event.
Step 2: Set Up Document Parser Action
Next, let’s set up the Document Parser Action Event.
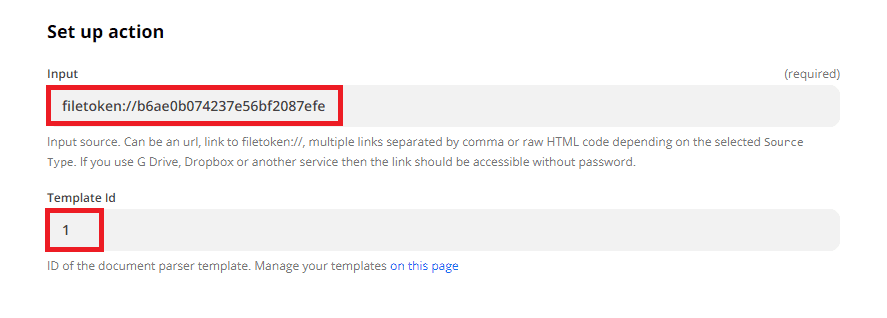
- In the Input field, enter the source file URL. I stored the sample Invoice in PDF.co’s built-in File Storage and copied the direct link. To learn more about PDF.co built-in File Storage, check out this tutorial.
- In the Template Id field, enter the Id of the template you create through the Document Parser Template Editor.
Step 3: Test the Document Parser Set Up
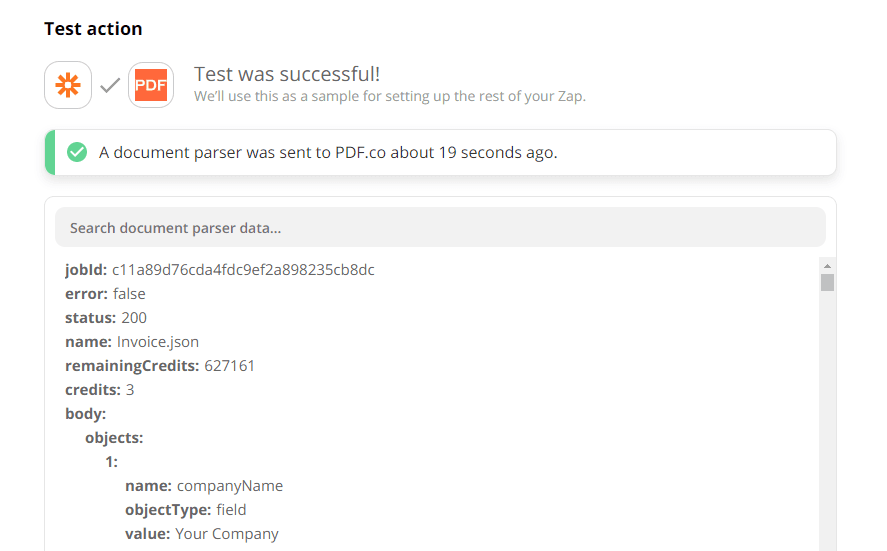
Let’s test the Document Parser to make sure that we set it up correctly.
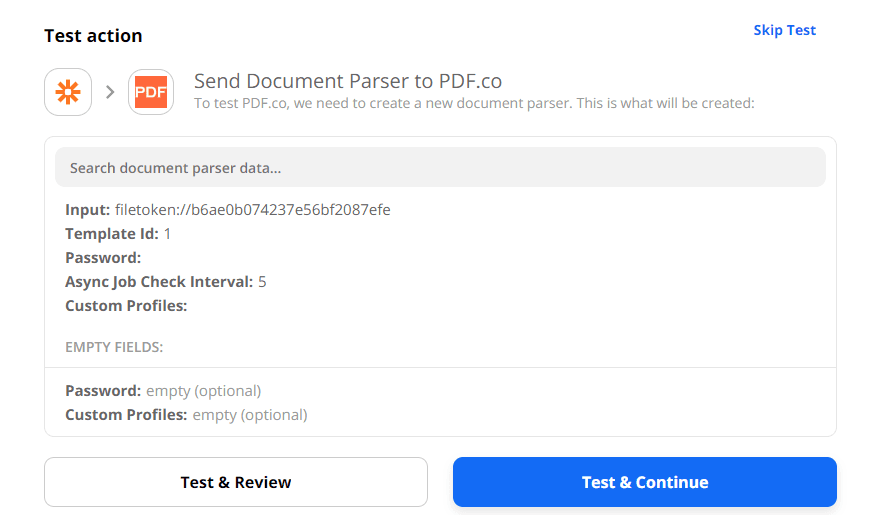
Great! Our test was a success. PDF.co returned the extracted text that we will use in the Quickbooks Invoice creation.
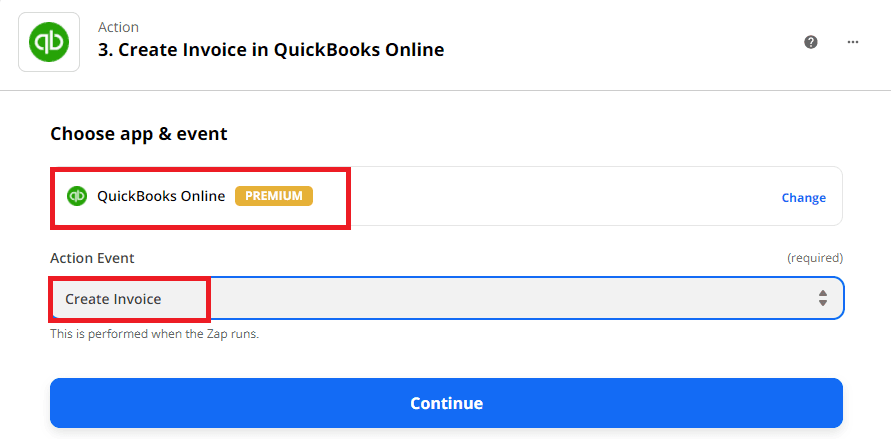
Step 4: Create Invoice in QuickBooks Online
Now we are ready to create the QuickBooks Online Invoice using the data that we extracted from the sample PDF Invoice. Let’s select QuickBooks Online as the App and the Create Invoice as the Action Event.
Step 5: Configure Create Invoice Action
Then, let’s configure the Create Invoice Action Event.
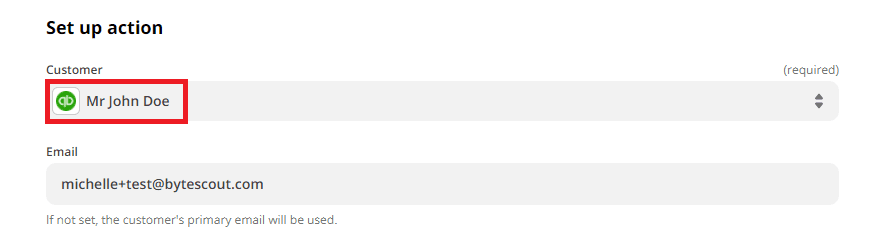
- We already have Customer Information created in Quickbooks, so we will choose the Customer Name under Customer field.
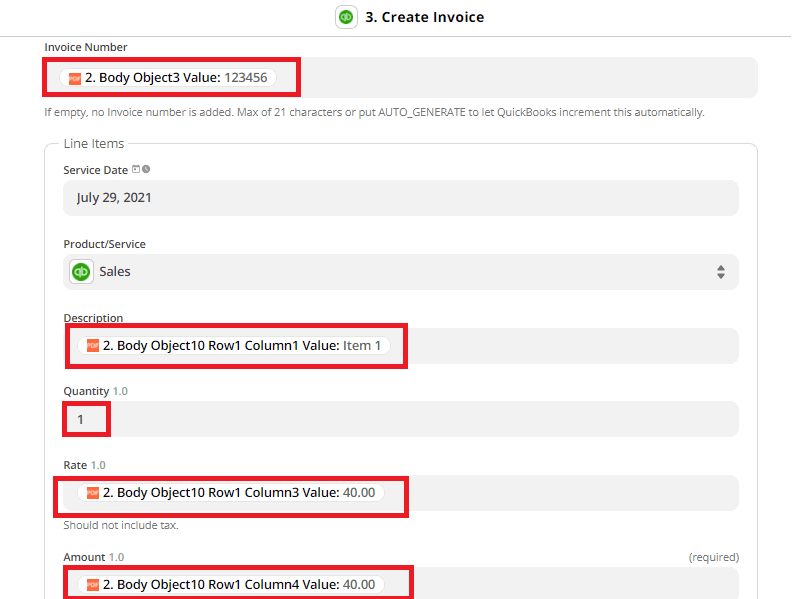
- In the Invoice Number field, select the Invoice Number extracted by PDF.co.
- In the Description field, choose Item 1 from the PDF Invoice table.
- In the Rate field, select the Price value.
- In the Amount field, choose the amount under the Total column.
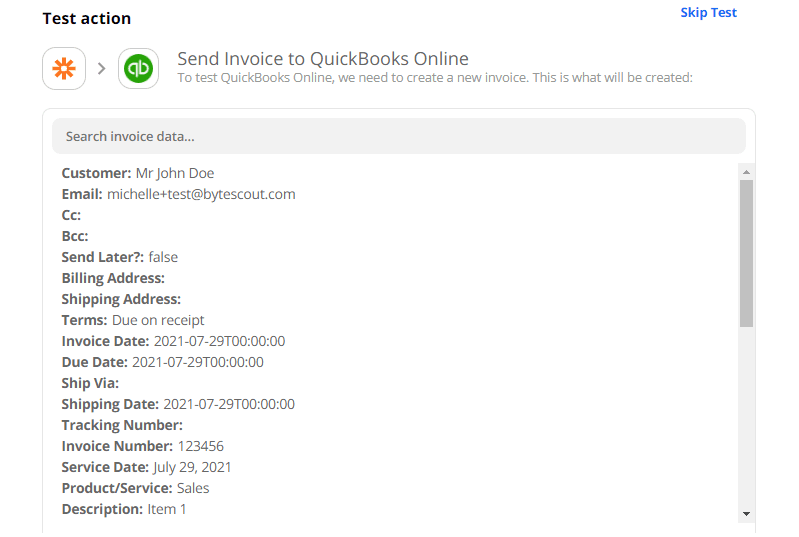
Step 6: Send the Data to QuickBooks for Test & Review
Let’s send it to Quickbooks Online to Test & Review.
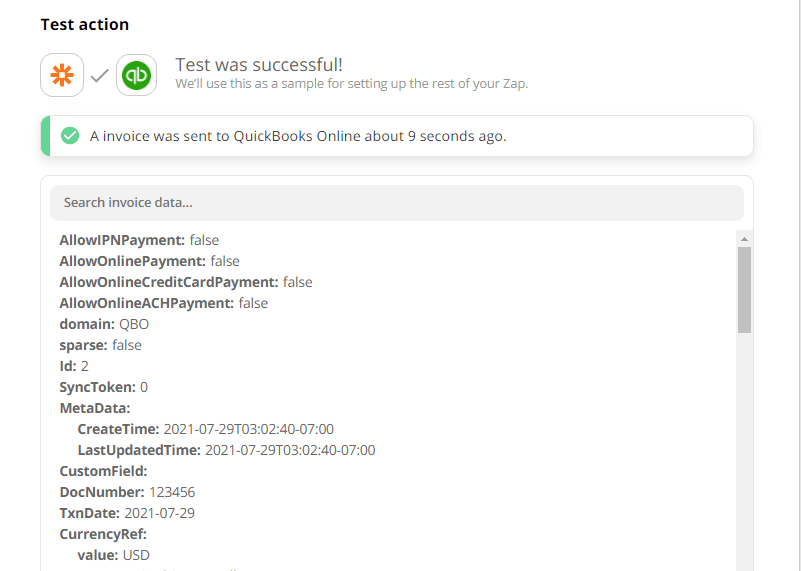
Terrific! We configured the Event correctly.
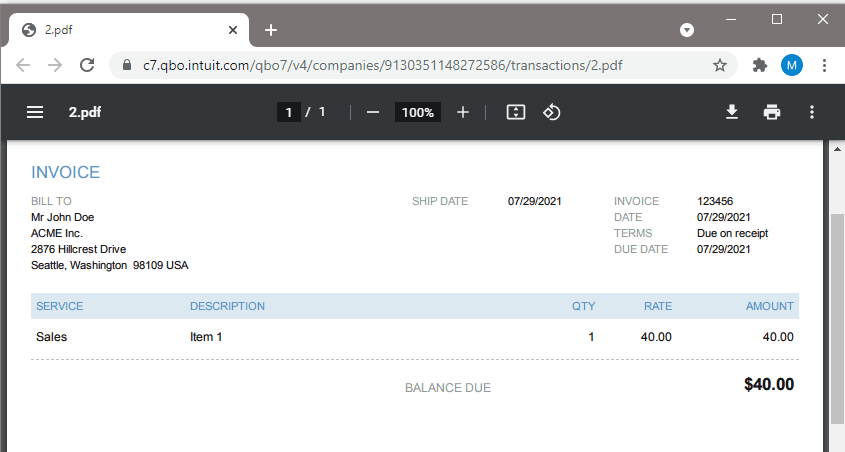
Here’s what the created Quickbooks Online Invoice looks like:
In this tutorial, we learned how to extract text from PDF using PDF.co Document Parser. We also learned how to use the extracted data to create an Invoice in Quickbooks Online.
Video Guide
Related Tutorials
