How to Add Barcode in a Specific Place in a PDF with PDF.co using Zapier
In this tutorial, we will show you how you can add a Barcode to PDF files by choosing a specific area. We assume that you have done the Barcode generation step on Zapier. In case you haven't, here’s a tutorial on how to generate a Barcode using Zapier: https://pdf.co/how-to-generate-barcode-using-zapier
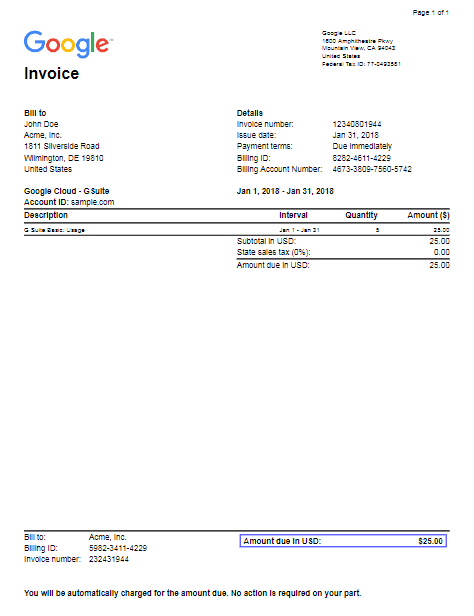
NOTE: Aside from QR Code, you can also add Datamatrix, PDF 417, Code 128, and other supported Barcode types.
Step 1: Open PDF.co and Select PDF Filler Function
Let’s start by choosing PDF.co as the app and select PDF Filler as the action event. The PDF Filler makes it possible for us to fill out PDF forms and add texts and images to a PDF file.
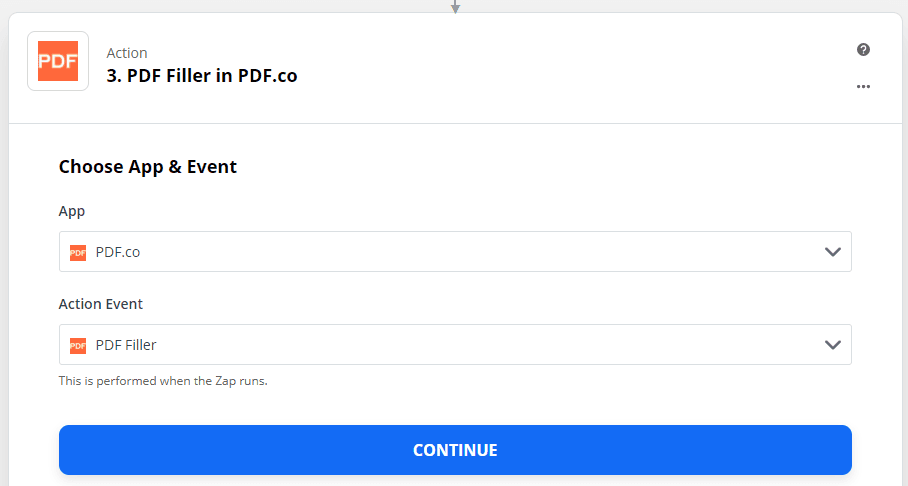
Step 2: Customize the PDF Filler
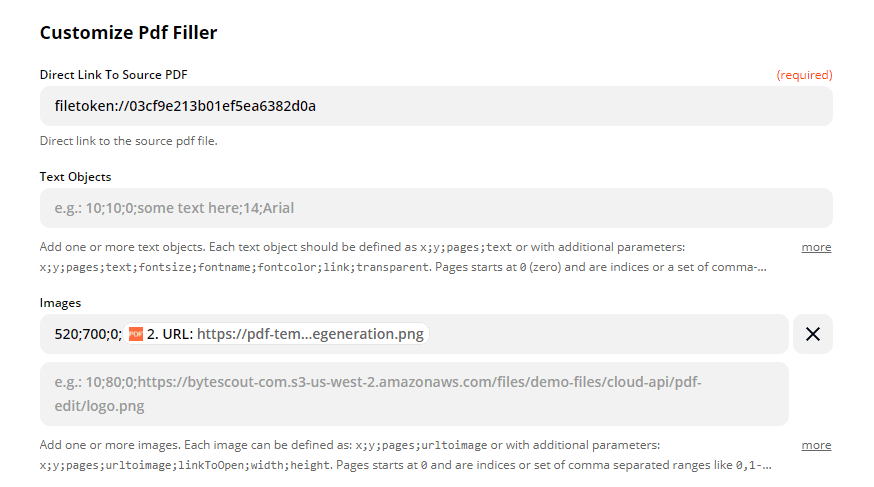
In here, we will enter and specify the Google Invoice location, the Barcode Image, and the area we want to put the Barcode in.
- In the Direct Link to Source PDF field, enter the source PDF file link. In this case, we will enter the Google Invoice direct link.
- In the Images field, enter x;y;pages;urltoimage.
x and y are coordinates of a page. pages refer to the page number. A page number starts from 0. urltoimage is the location of the image or Barcode. For urltoimage, we picked the Barcode Generator in PDF.co link. Keep on tweaking the coordinates until you get your desired location.
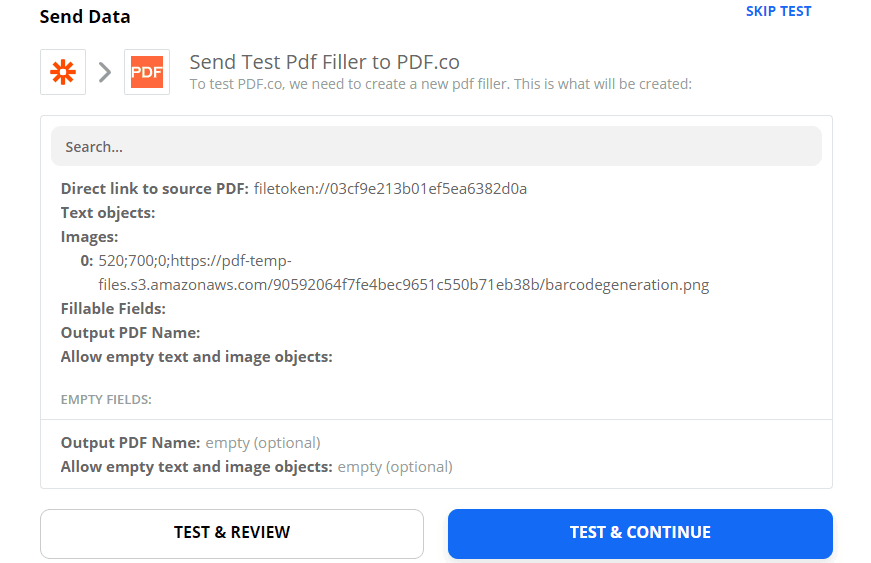
Step 3: Test & Review
We are now ready to Send our data for Test & Review.
Step 4: Copy & Paste URL to Browser to See Output
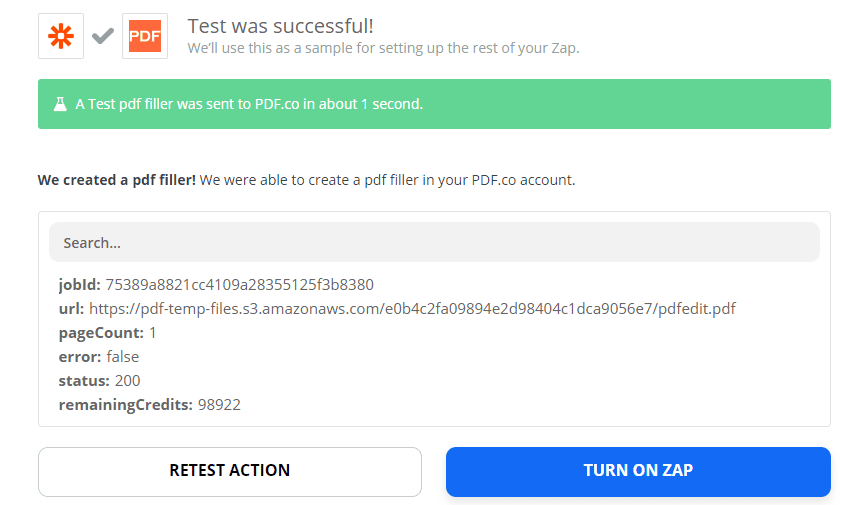
A successful test will return a URL of the file. Copy and paste the URL link to see the PDF file output.
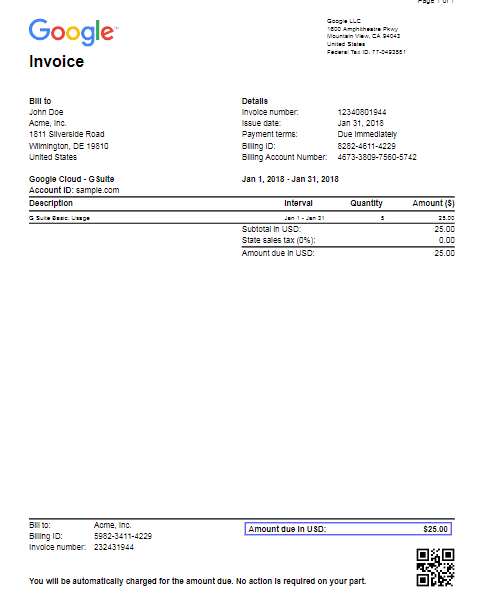
Yay! We have successfully added a QR code in a specific place in the Google Invoice PDF file.
NOTE: You can set up the next step to save the generated file in Google Drive or Dropbox depending on your requirement.
Here, we’ve shown how to add a barcode to PDF in a specific area of the document. We’ve used PDF.co and Zapier integration.


