How to Generate Barcode with PDF.co using Zapier
In this brief tutorial, you will see the step-by-step process of generating barcodes or QR codes with PDF.co API using Zapier.
Setup Zapier & PDF.co
If you haven't already then first create a free account with PDF.co and Zapier. Once you have your accounts ready, start with making a Zap (top-right corner button in Zapier dashboard).
Sign Up to PDF.coSign Up to ZapierChoose the PDF.co action
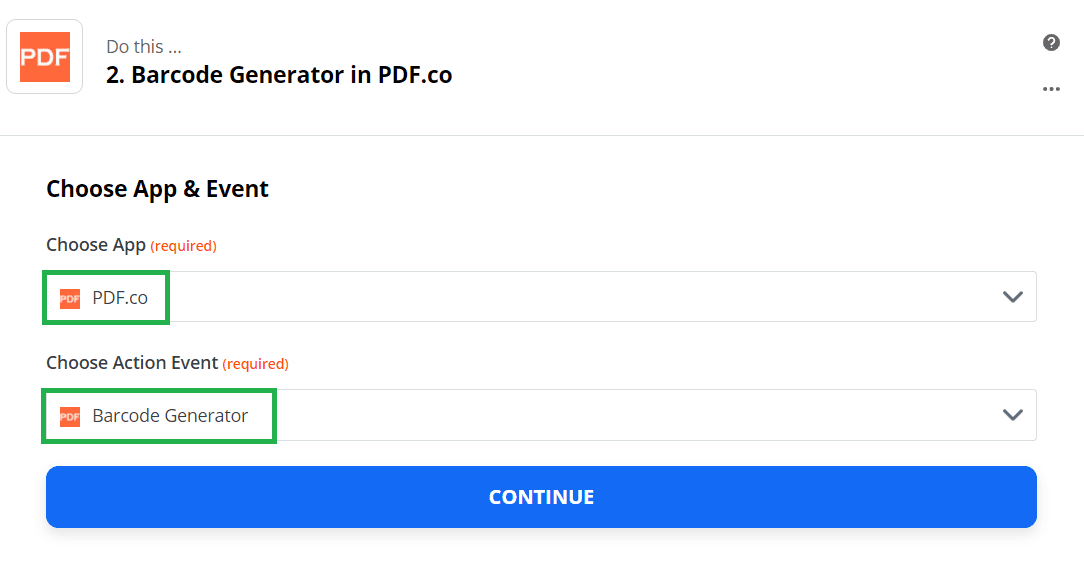
- Select the Barcode Generator in PDF.co
Configure Barcode Generator
- Under Choose Action Event, select Barcode Generator
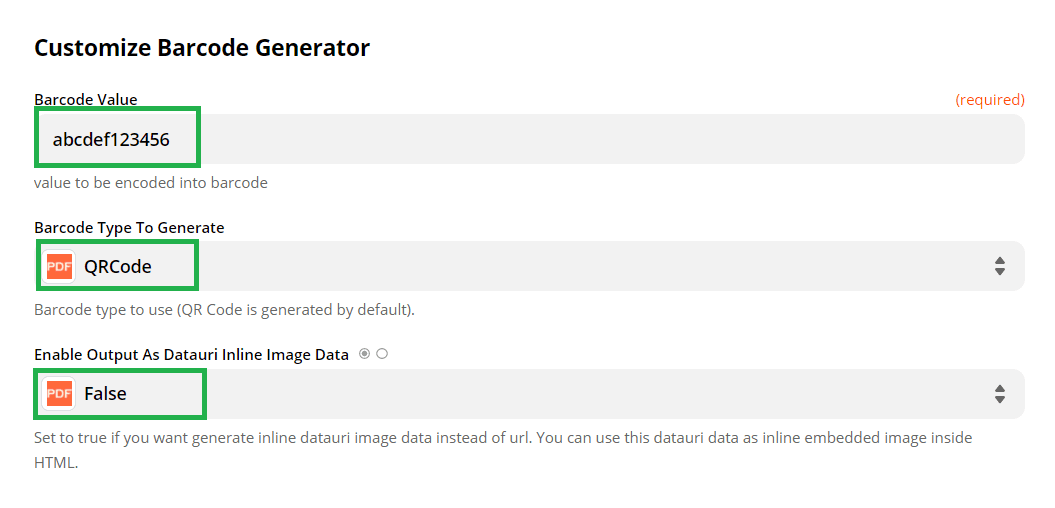
- Under Customize Barcode Generator, enter your desired Barcode value
- Under Barcode type to generate, select the Barcode type you would like to create
- Under Enable Output As Datauri Inline Image Data, you can choose false if you would like to generate a URL to access your Barcode
You should see something similar to this:
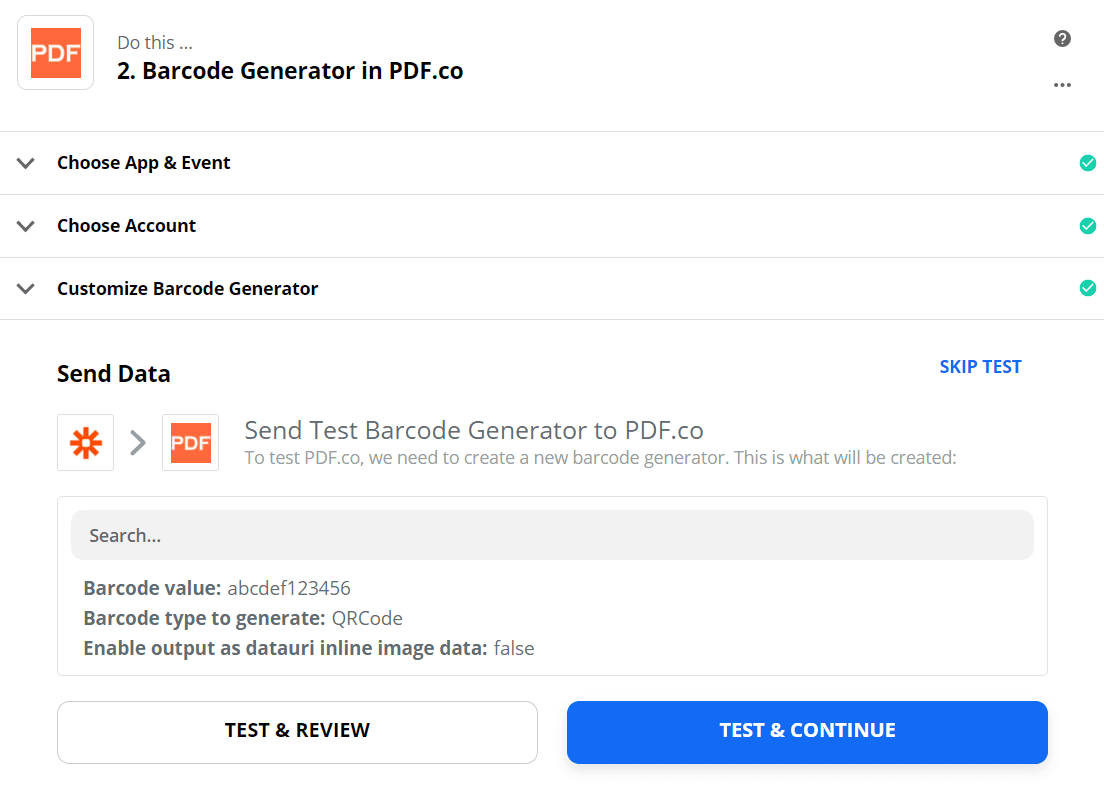
Test & Review
On the Send Data step, click TEST & REVIEW.
See Generated QR Code
You will get the output PNG with your Barcode generated for Zapier.

Retest, Continue and Finish Editing
Check if everything works correctly and without errors then hit RETEST & CONTINUE
Give a name to your Zap at the top-left corner, then hit Done Editing, you can then TURN ZAP ON
You can set up the next step to save the generated barcode in Google Drive or Dropbox depending on your requirement.
Note: The URL generated is only accessible for 1 hour. Once the time has elapsed, you may need to regenerate a new one. Be sure to move your output to permanent storage.
In this quick and easy tutorial, you learned the detailed process of generating barcodes or QR codes with PDF.co API using Zapier integration.
Related Tutorials
