Zapier Scenario: Splitting a PDF into Individual Invoices & Taking Actions Based on Keywords
Dive into this intriguing tutorial as we explore an automation scenario that promises to replace hours of manual work with a few minutes of setup. Our aim? To split a multi-invoice PDF and take specific actions based on embedded keywords.
IN THIS TUTORIAL
Understanding the Task Ahead
First things first, let’s understand what we're dealing with. Imagine you have a PDF that contains multiple invoices. Each invoice might be a single page, or it might sprawl over several pages.
We want to:
- Divide the PDF into its individual invoices.
- Seek out specific keywords in these invoices – like "email".
- Perform tasks based on these keywords, like sending the invoice to an email address mentioned within.
If you find yourself drowning in this task week after week, you're in luck. With the magic of pdf.co and Zapier, we're about to automate the whole thing!
Getting to Know Our Document
Before any automation, we need to understand our document. For simplicity's sake, our demo PDF is straightforward. It’s got:
- An invoice number.
- An email.
- Special invoice instructions.
- A page number.
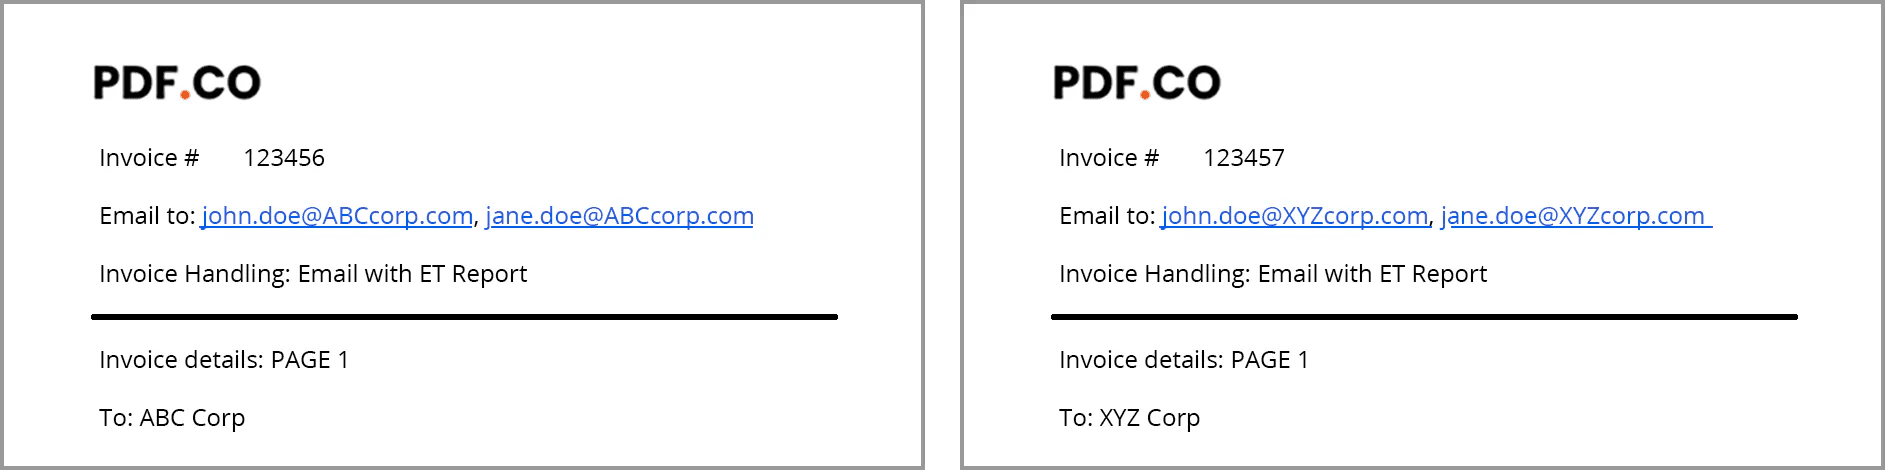
Sometimes, an invoice might spread across more than one page, like this:

So we need to consider that it isn't necessarily "one page per invoice", our automation process needs to produce individual invoices which could be multiple pages.
The Power of PDF.co
Splitting the PDF
PDF.co is your go-to tool here. It lets you split a PDF in several ways. For our needs, splitting by text is perfect. Specifically, by the phrase "Page 1".
Extracting Key Information
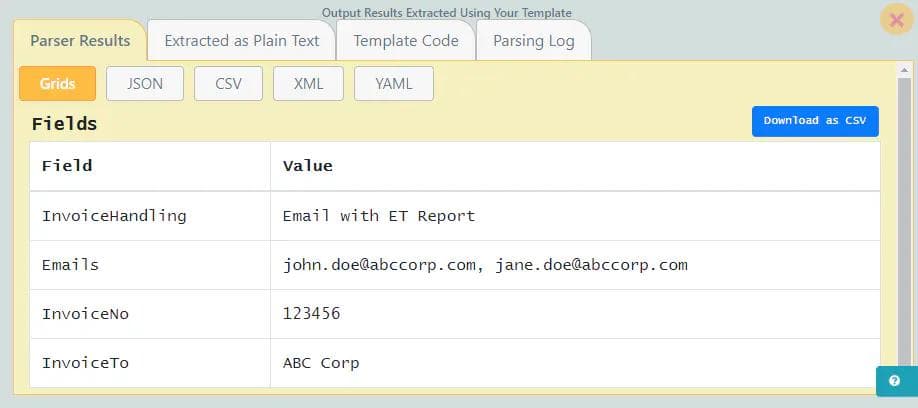
Next up, the PDF.co Document Parser. This powerful tool lets you pull specific info from a PDF, like email addresses and special instructions. I’ve already set up a template on pdf.co to guide this extraction. Here's what it looks like:
Creating a template for Document Parser Editor is easy. We need to:
- Load sample PDF by using “Load Test PDF or Image” button.
- From the left panel, Add a new object by selecting a rectangle over data and give it an appropriate name. Example “InvoiceNo”.
- Repeat this process for all fields we want to retrieve.
- At last, save this template and get template Id for further reference.

A quick test run, and voilà!
Don’t forget to save your template and keep the template ID handy. We'll need it for the Zapier steps.

Zapier in Action
Trigger Set Up
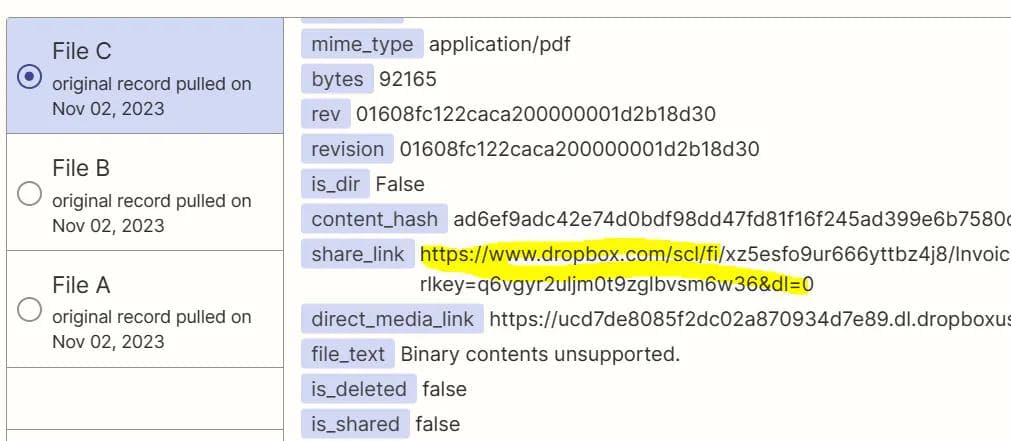
Kick-starting our automation journey, the initial trigger is defined by a new PDF being added to a specific Dropbox folder.
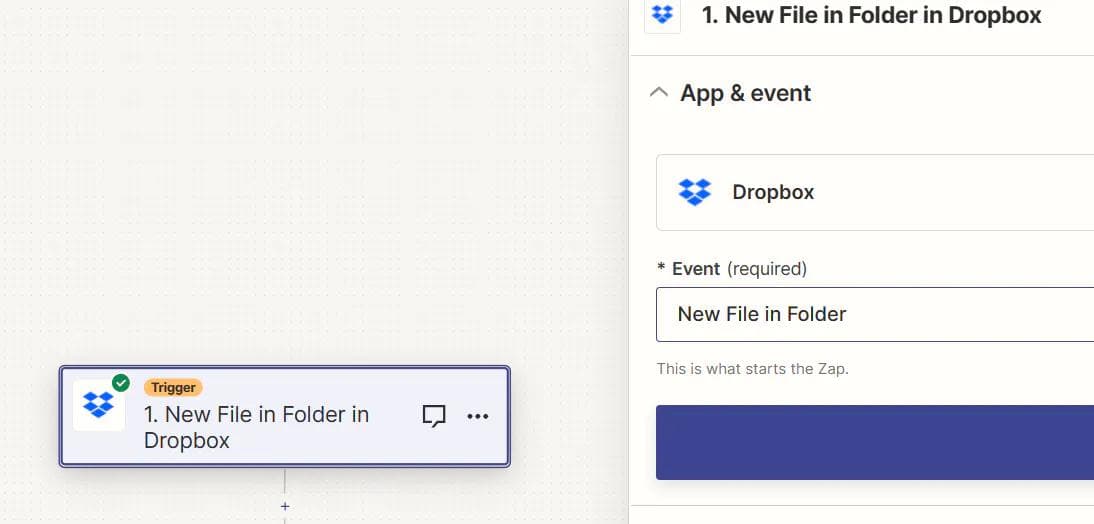
The outcome? A shared link ready for the subsequent steps.
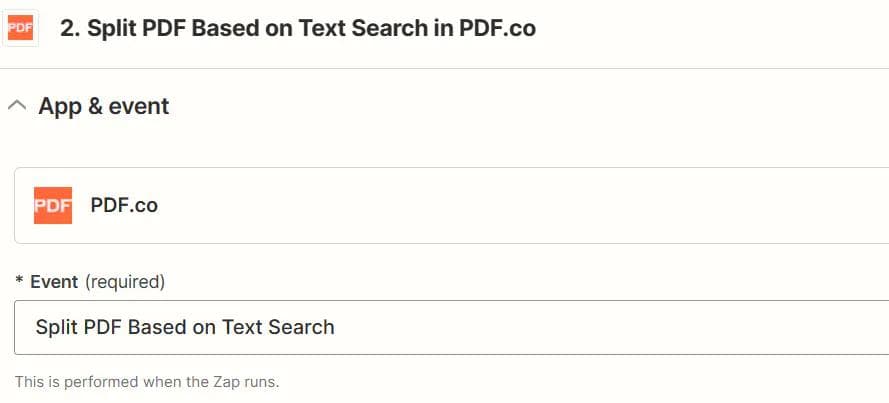
Engage PDF.co for PDF Splitting
We bring PDF.co into play with its "Split PDF Based on Text Search" function. Given our goal, we focus on the keyword “Page 1” as our cue to split the PDF.
We’re configuring its action to use “Source PDF URL” from the received URL from Dropbox. As we’ll be splitting PDF based on “Page 1” we have configured the input field “Text Search String” such.
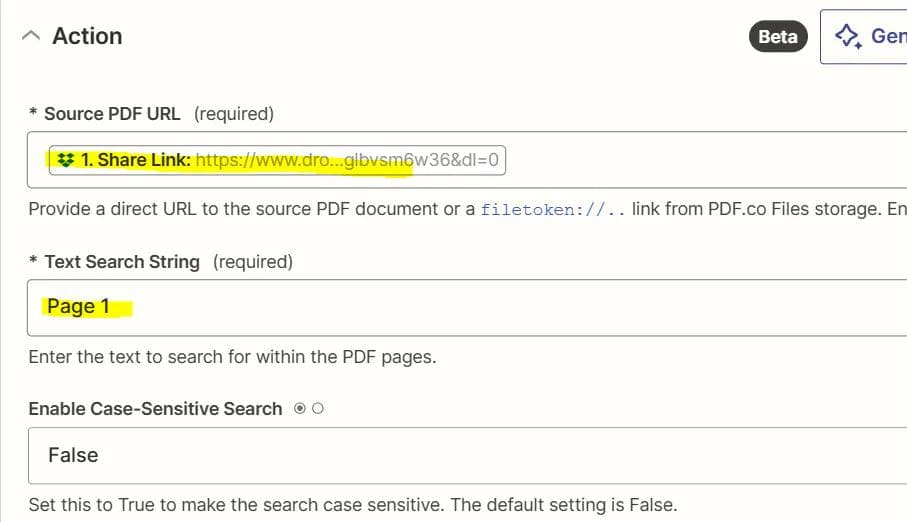
The Text Search String field will search for specific text in a PDF document and will split the PDF where it finds the specific text. Here, we are splitting based on text “Page 1” because this text is only available on the first page which makes it safer to identify the start of an invoice.
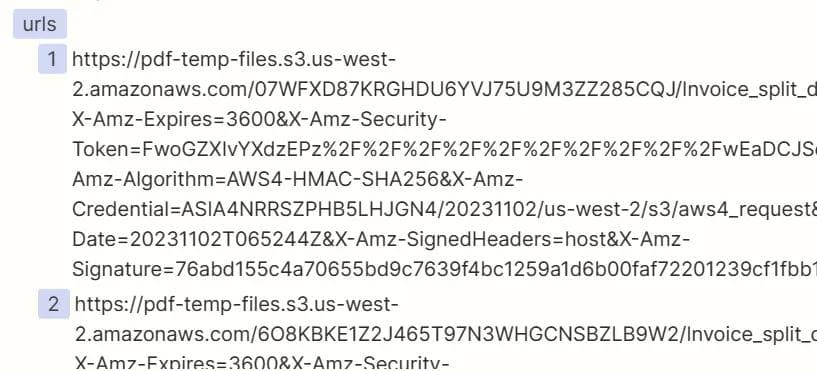
The result? An array of URLs pointing to individual split PDFs, waiting to be processed further.
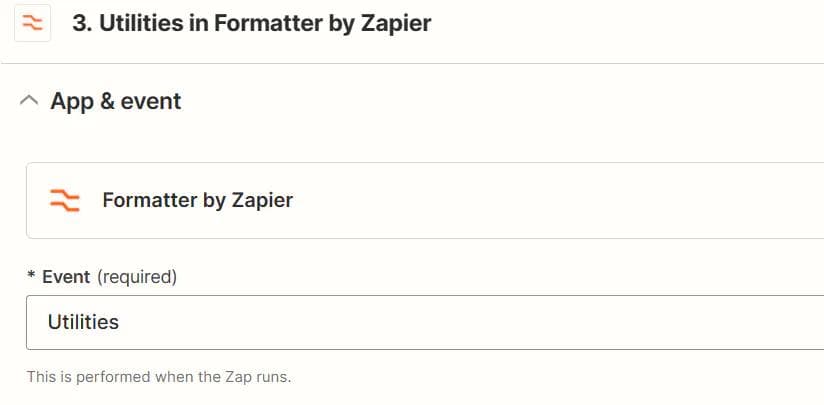
Format the Output for Easy Processing
Zapier has a unique way of dealing with output arrays. To ensure seamless integration in the next steps, I've transformed the URLs into a string format. By choosing the "Line-item To Text" transformer, we separate each URL using a unique “||” delimiter.
In the previous step, we’re returning an array of URLs. One shortcoming of Zapier is that we can not directly loop through this, as this output will be obtained as a comma separated string. If the output URL also has a comma into it, it’ll still add comma as delimiter. Hence, we need to choose delimiter which won’t be present in URL array; for example “||”.
To configure this action, we’re selecting “urls” array as input and providing “||” as a separator. We have selected the “Line-item To Text” transformer.
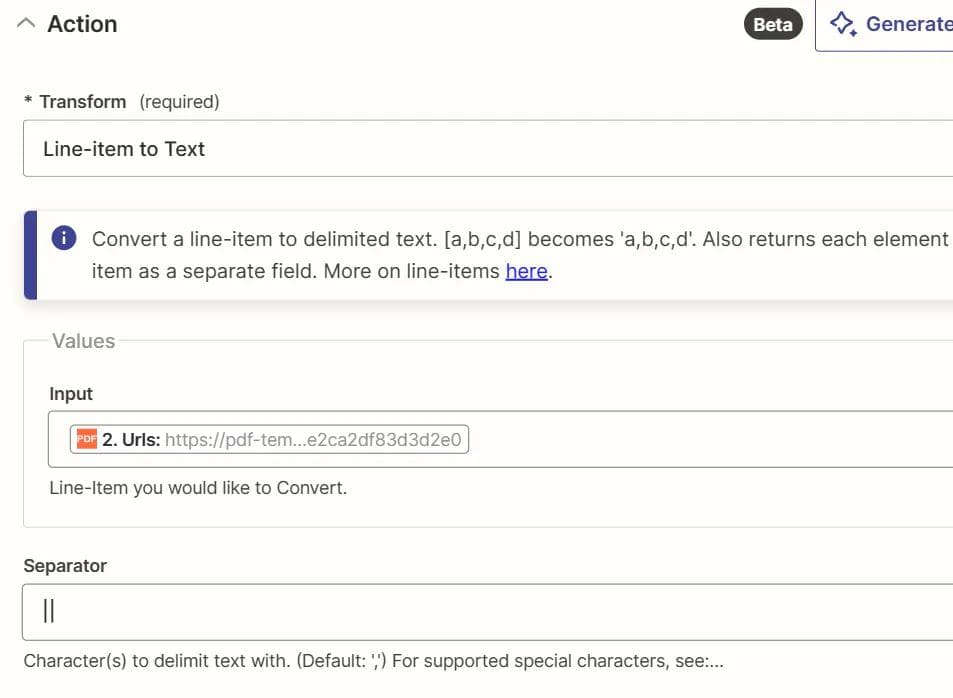
This format ensures each URL stands out, ready for extraction.

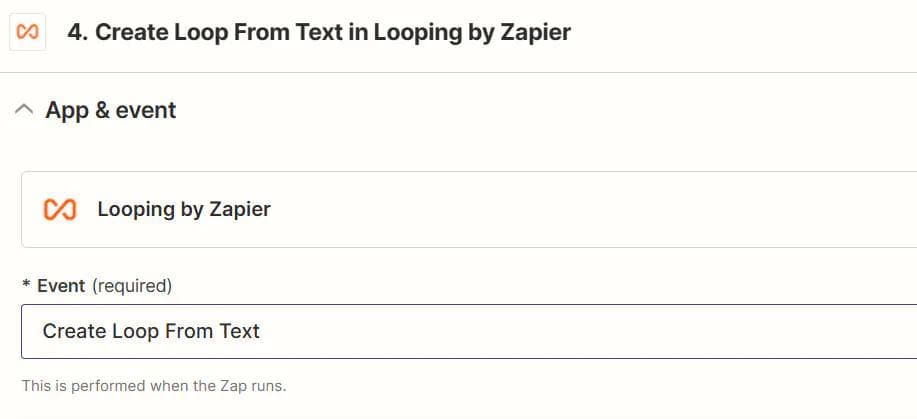
Looping Through Each Invoice URL
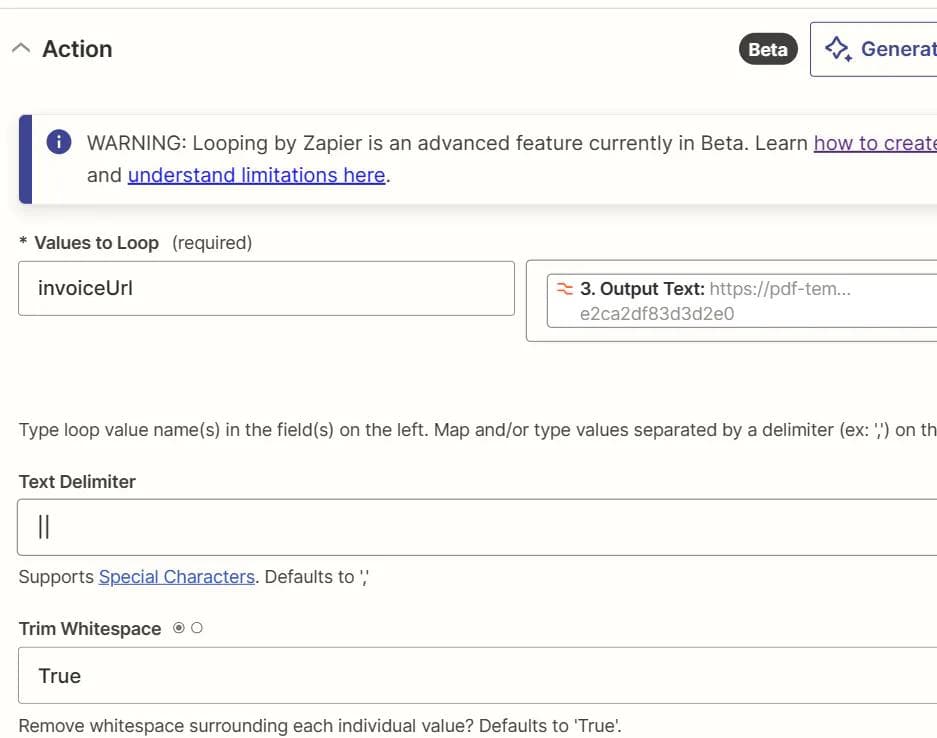
For each of the split PDFs, we initiate a loop to individually process every invoice. The “Create Loop From Text” feature in Zapier is our tool of choice here.
Each loop iteration yields a unique "Invoice URL" variable.
Now, we need to extract information from each of these individual invoices and for that we’ll be using the document parser template which we created earlier.
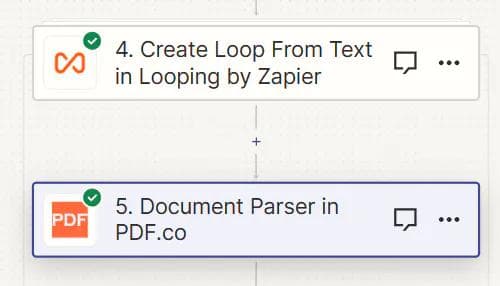
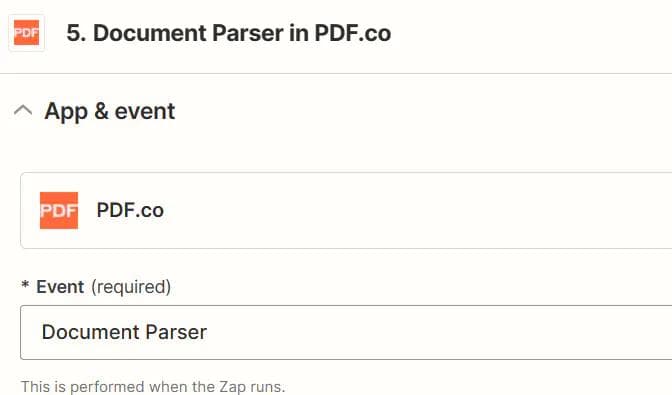
Data Extraction with PDF.co Document Parser
Within the loop, we deploy our Document Parser template from pdf.co. This template, designed earlier, aids in extracting the required data from each individual invoice.
Please select PDF.co Document Parser event and configure its variables in action.
Inject the "Invoice URL" alongside the Document Parser template ID, and watch the magic unfold.
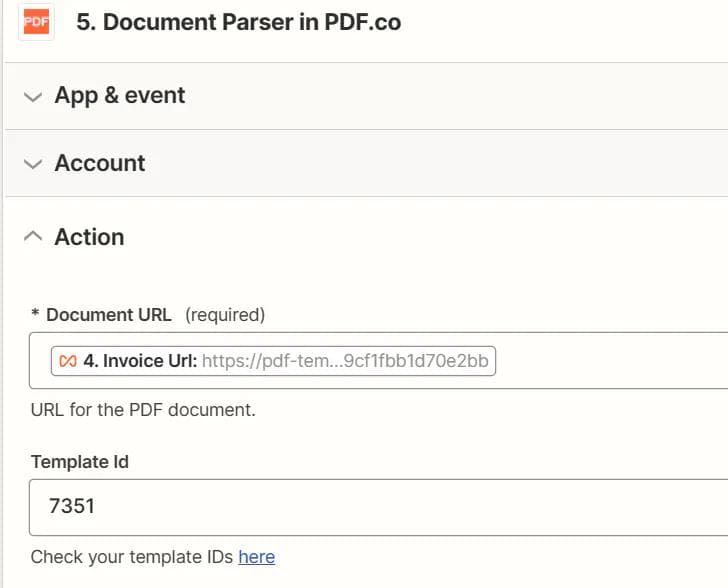
In the output, we’ll be able to retrieve defined variables in the document parser template. It’s suggested to use variables from the “simplifiedData” object.

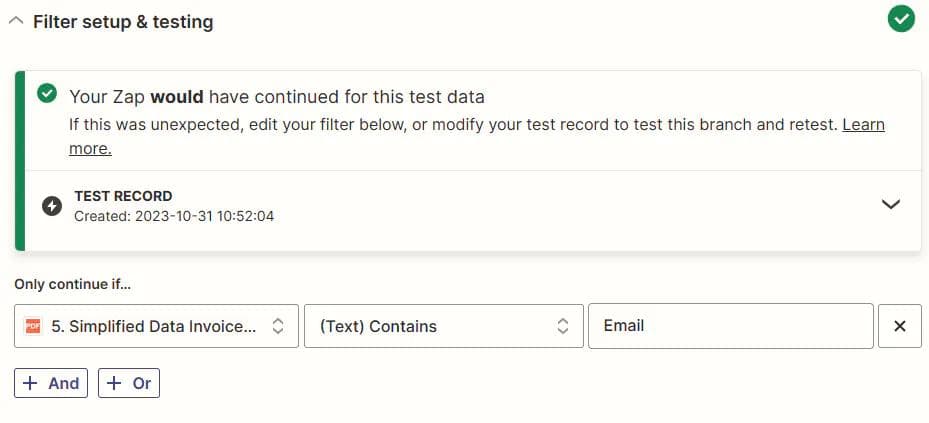
Filtering Invoices Based on Keywords
Here’s where precision comes in. We sieve out invoices containing specific triggers. Say, the word "Email". This filter ensures that only “invoice handling” section containing this keyword passes onto the next step.
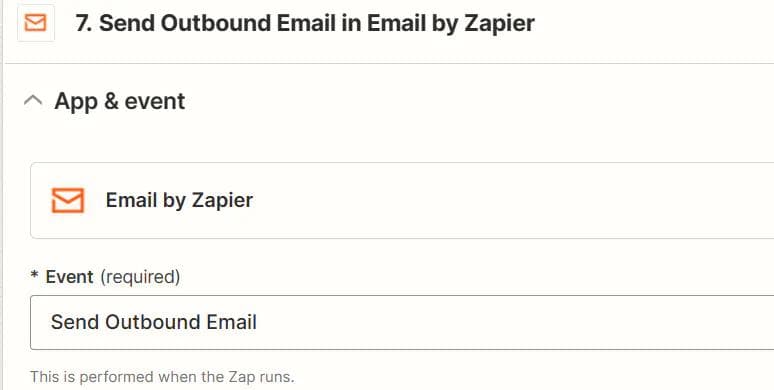
Time to Send Those Emails
Our last lap in the automation race! If an invoice navigates through our filter, it triggers an email sending action. For this tutorial, we've employed Zapier’s native email tool. But remember, the choice is yours!
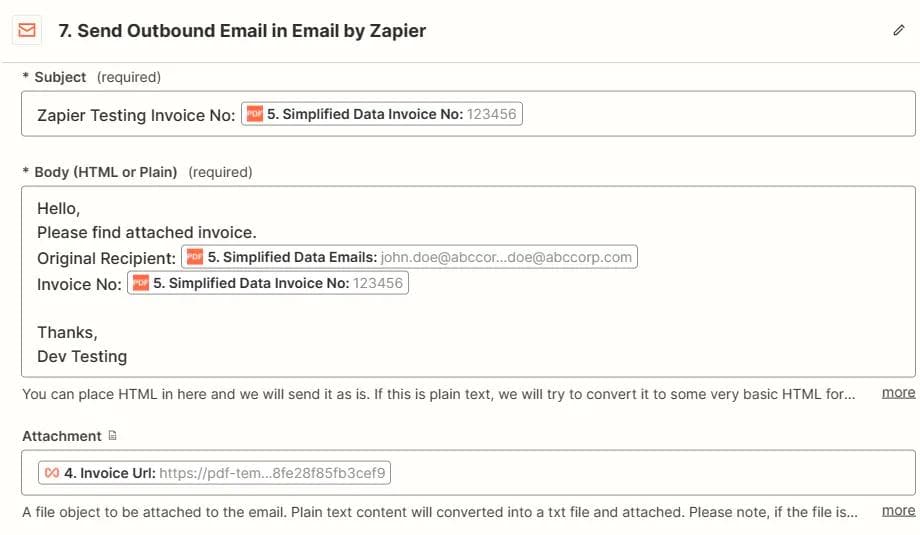
Here, we have configured the Subject, Body as well as Attachment parameters from previous steps’ outputs.
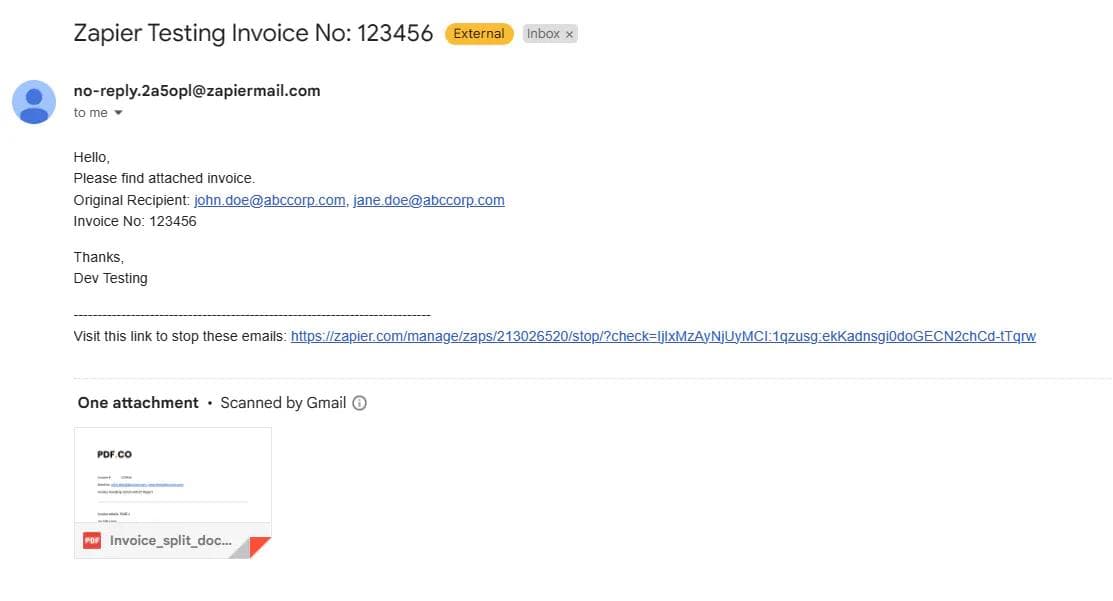
Upon successful configuration and execution, here's a snapshot of an email sample that gets dispatched.
Summary
Look at what we’ve achieved! Here’s a snapshot of our automation process:
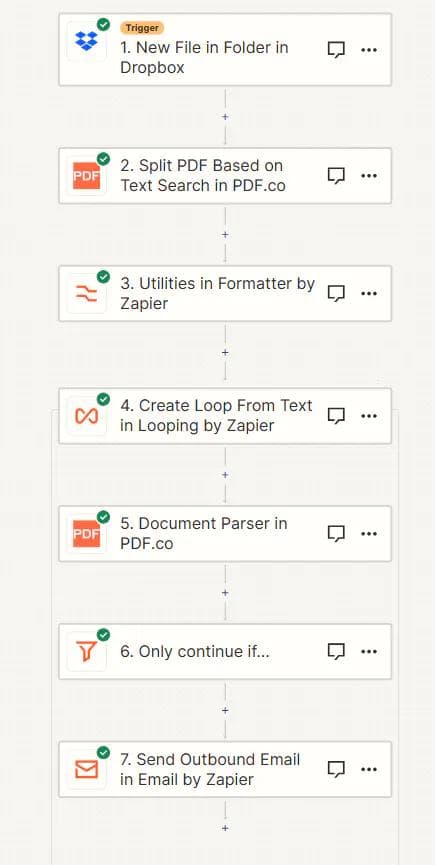
And just like that, what once took hours can now be set up in minutes. Automation really is a beautiful thing!
Related Tutorials

