Summarize PDF with ChatGPT and Send to Slack using PDF.co and Zapier
Summarizing a PDF can be a time-consuming process when done manually. It involves reading through the entire source text, identifying the key points, condensing the information, and formatting it into a presentable summary. This manual approach requires careful attention and effort to ensure the accuracy and quality of the summary.
By using an advanced language model like ChatGPT, the task of extracting key information and generating a summary become more efficient. These models can quickly analyze and comprehend the source text, highlighting the most important aspects and producing a concise summary.
With the combination of PDF.co and Zapier, it offers a powerful and flexible solution for generating summarized PDF documents from various data sources, making the process efficient, customizable, and easily adaptable to your specific needs.
In this tutorial, we will explore how ChatGPT, PDF.co, and Zapier automate the process of creating summaries for PDF documents and sending them as Slack messages.
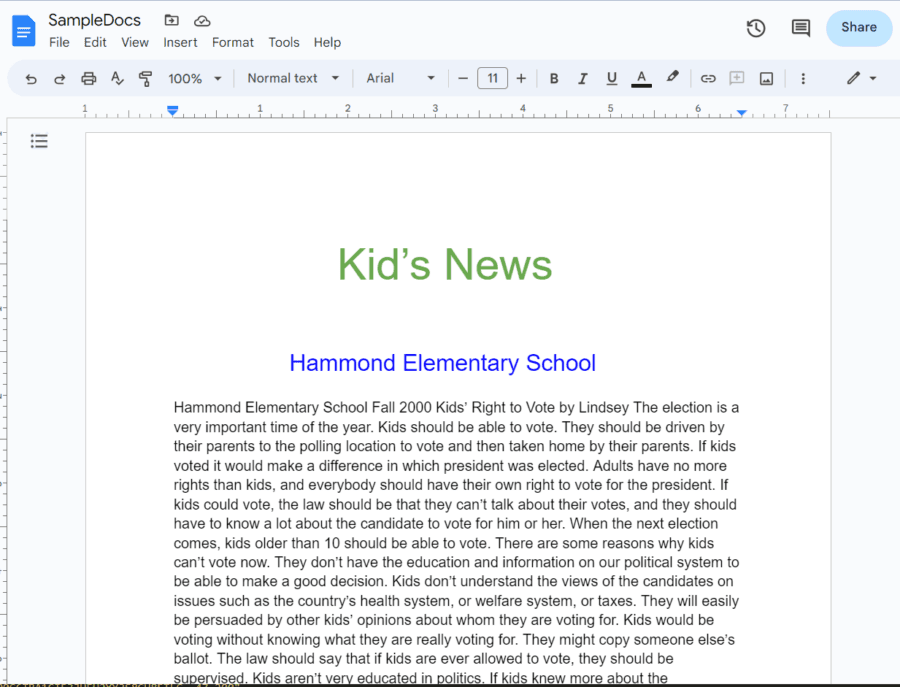
We will use this provided sample document, convert it into a PDF, generate a summary using ChatGPT, and then send the summary as a Slack message with PDF.co and Zapier.
IN THIS TUTORIAL
Step 1: Create a Zap
To start the process, log into your Zapier account and locate the Create Zap button.
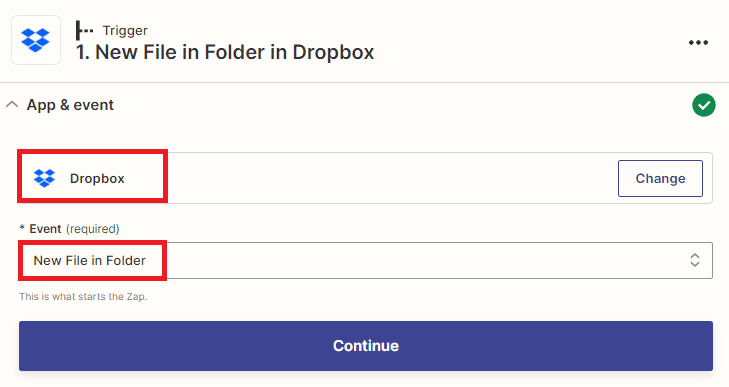
Step 2: Add Dropbox App
After logging in, search and select the Dropbox app. Then, choose the New File in Folder option to enable the trigger for whenever a new file is added to a folder.
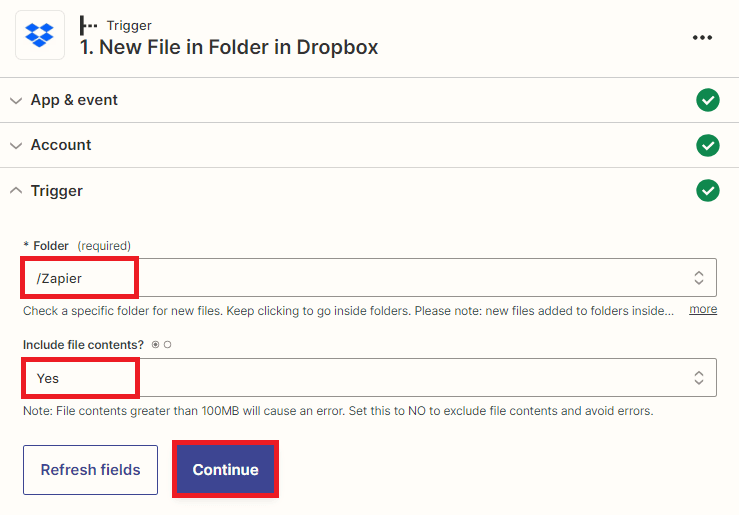
Step 3: Setup the Trigger
Let’s set up the trigger.
- First, enter the folder name where you want to retrieve the source file that you wish to convert into a PDF.
- Next, select either Yes or No to indicate whether you want to include the file contents in the PDF conversion.
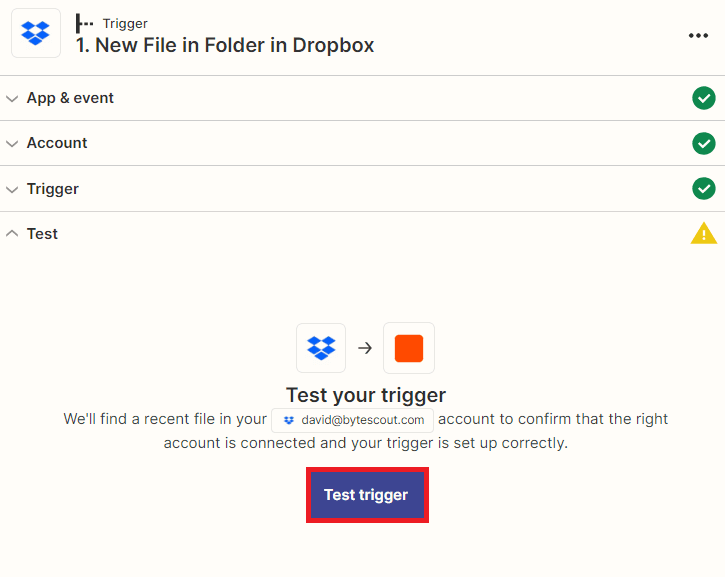
Step 4: Test Trigger
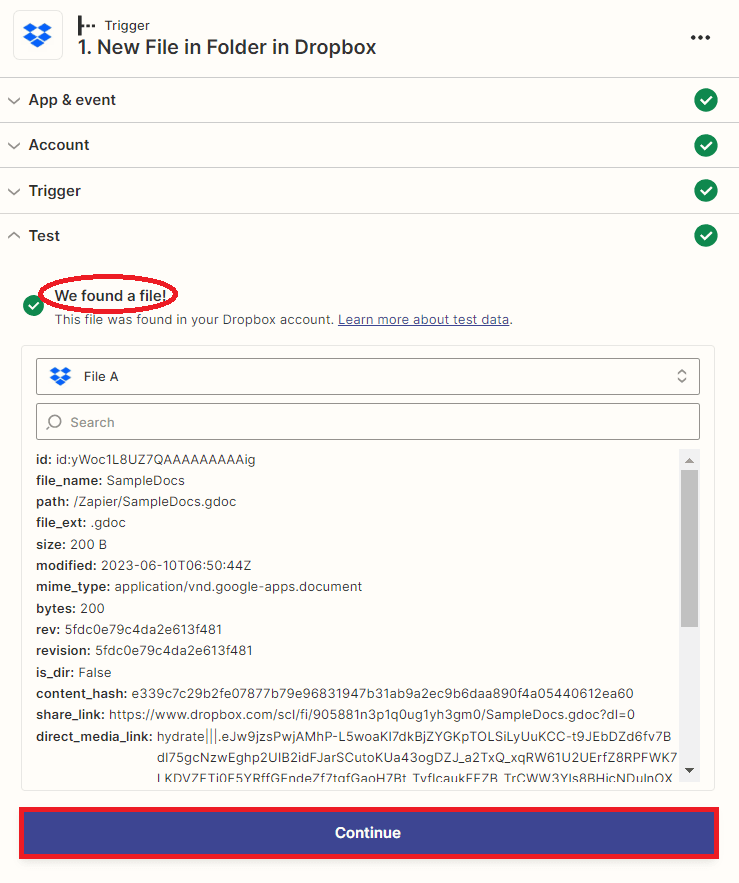
After setting up the trigger, you can now test it by retrieving a file from the Dropbox folder.
Step 5: Test Trigger Result
Great! The test trigger was successful and you were able to retrieve the file from the Dropbox folder. Now, let’s proceed to the next step of converting the file into PDF format.
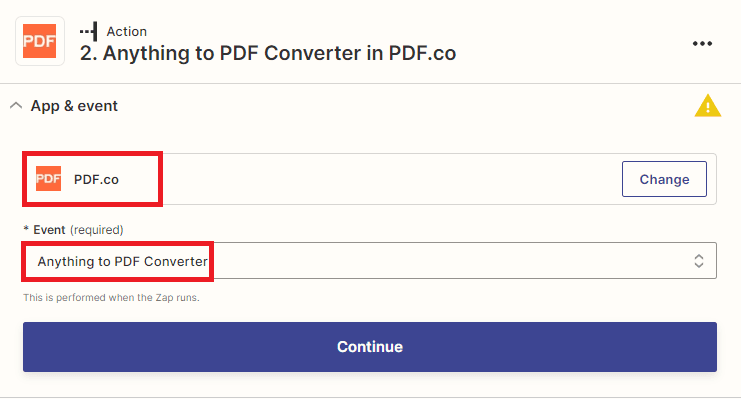
Step 6: Add PDF.co App
In this step, we will add another app and select PDF.co. Then, choose the Anything to PDF Converter option. This feature allows you to convert various documents into PDF format.
Note: To connect your PDF.co account to Zapier add your API Key. You can obtain the API Key from your PDF.co dashboard or by signing up at this link.
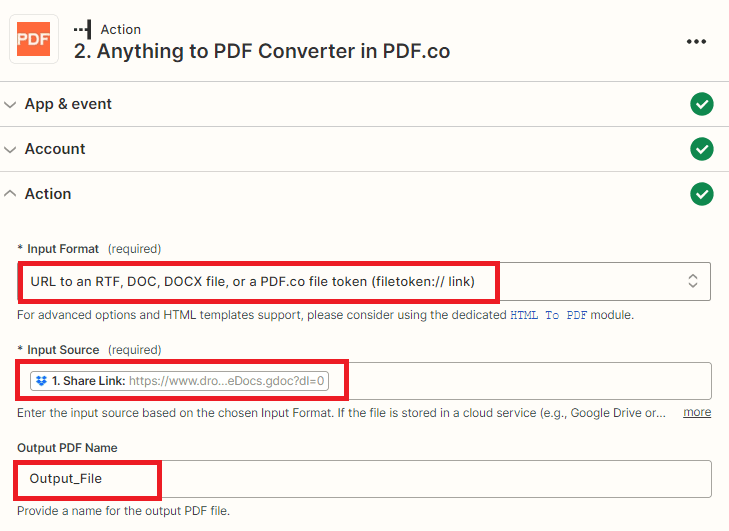
Step 7: Setup PDF.co Configuration
Let’s configure the PDF.co settings.
- First, select the appropriate format of your source file from the available options.
- Next, choose the link of your source file from Dropbox. This could be the direct link to the file or the shared link.
- Then, enter the desired name for your generated PDF file.
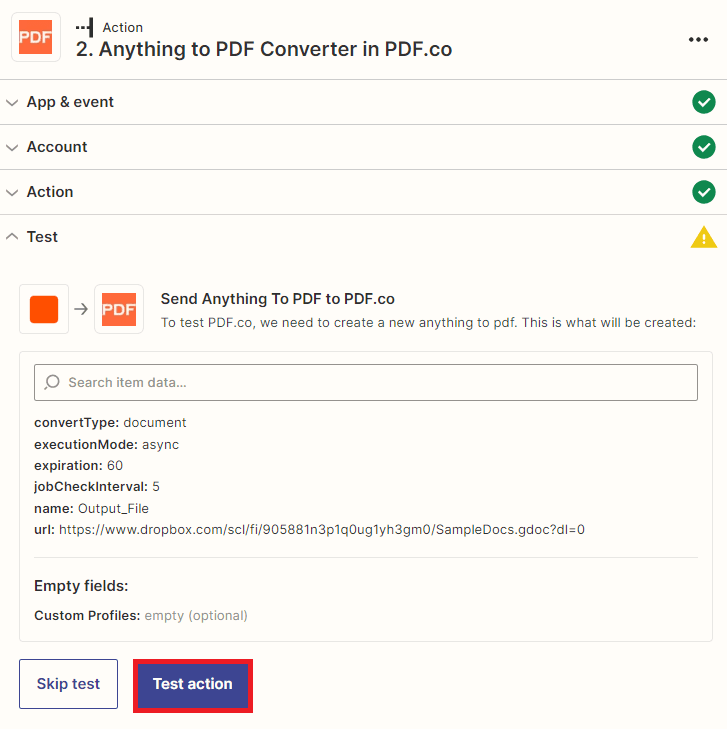
Step 8: Test Action
Now, let’s proceed with testing the action to convert the source document into a PDF format.
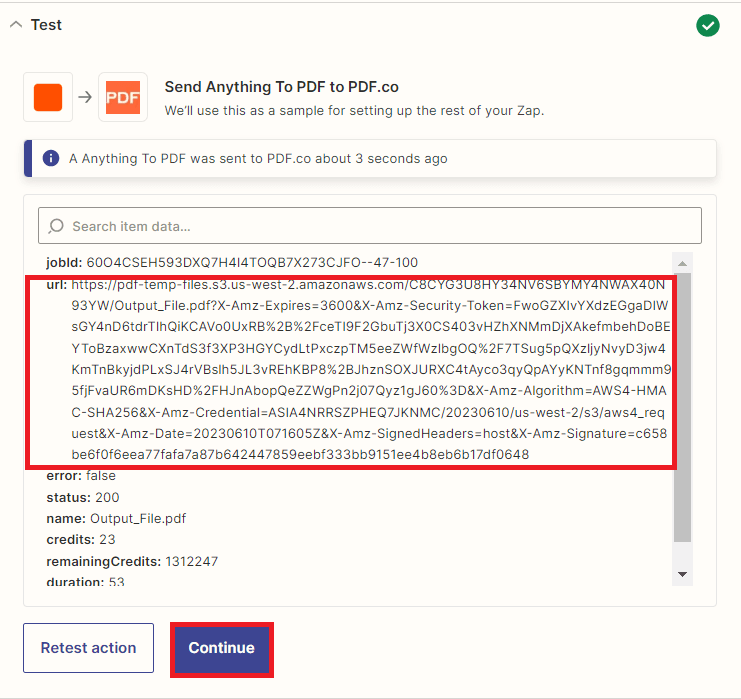
Step 9: Test Result
Excellent! The test was successful and converted the document into a PDF format. Copy the URL and paste it into your browser to view the output.
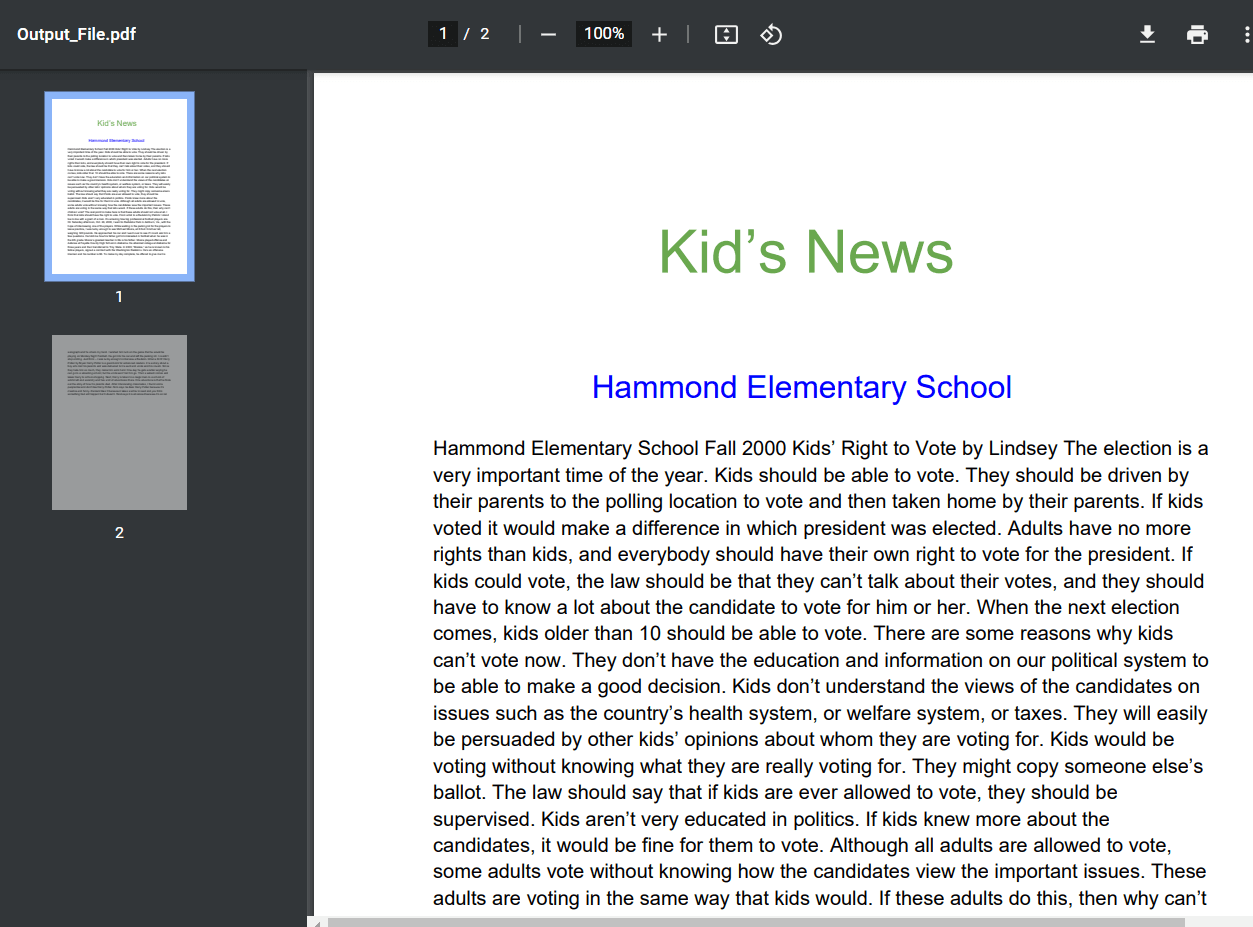
Step 10: Generated PDF Document
Here’s the generated PDF document from Docs document.
Now that we have successfully converted the document into a PDF format, copy the text content from the PDF and use it to generate a summary.
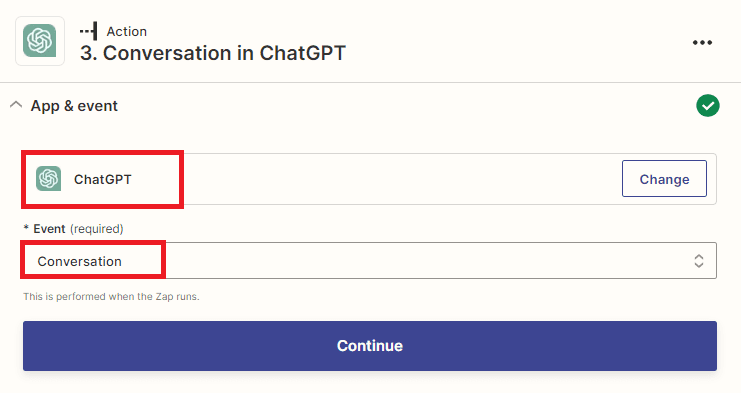
Step 11: Add ChatGPT App
In this step, we will add the ChatGPT app and enter the Conversation to send a chat to OpenAI and generate a completion.
Step 12: Setup ChatGPT Configuration
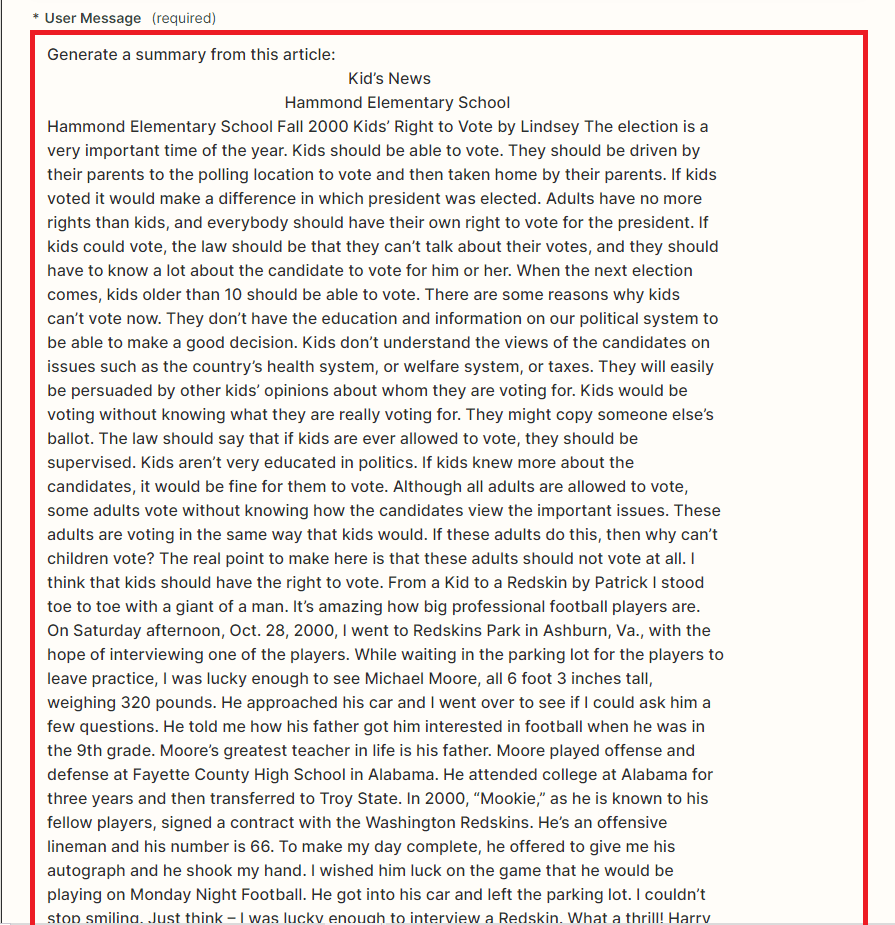
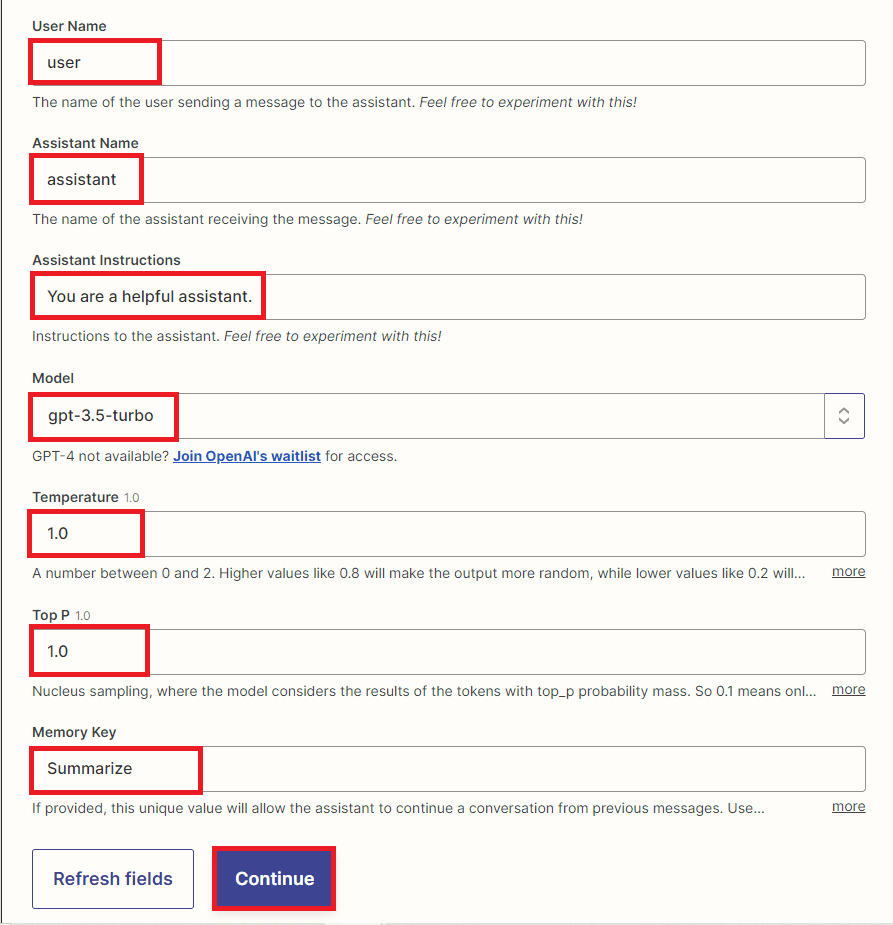
Let’s set up the ChatGPT configuration.
- In the User Message field, enter the command to instruct ChatGPT to summarize the text content from the converted PDF document.
- In the User Name field, enter your desired user name for the conversation.
- For the Assistant Name field, enter a name for the assistant, if you want to customize it.
- For the Assistant Instruction field, specify the instruction for the assistant to summarize the text.
- In the Model field, you can use the default model provided by ChatGPT or specify a particular model version if desired.
- In the Memory Key field, enter a unique value to allow the assistant to maintain context and continue the conversation seamlessly.
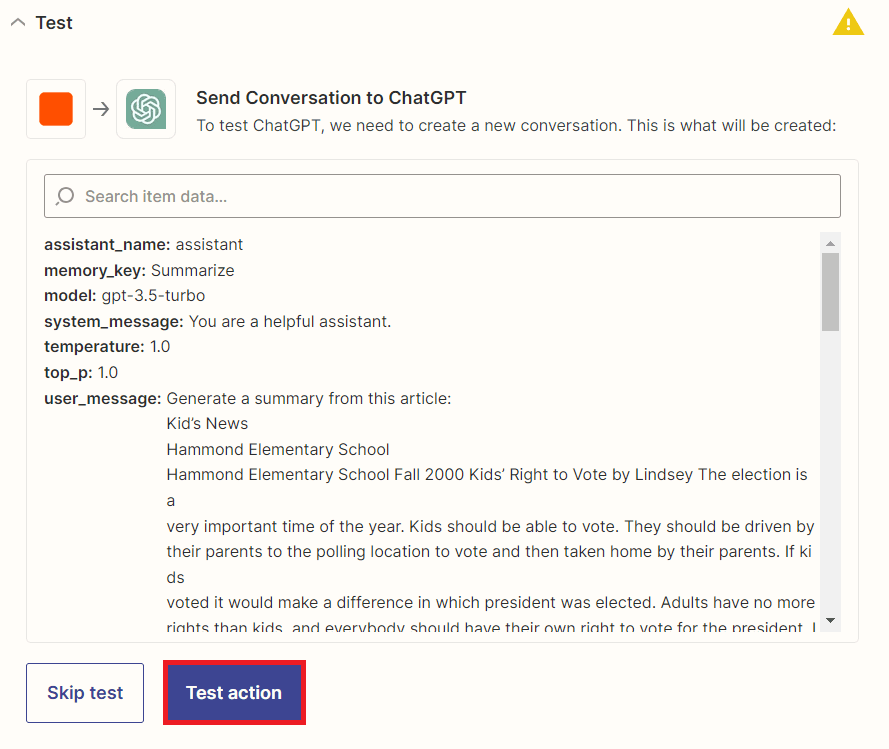
Step 13: Send Request to ChatGPT
Once the configuration is completely set up, we can proceed to test the action by sending a request to ChatGPT, asking it to generate a summary from the text content of the PDF document.
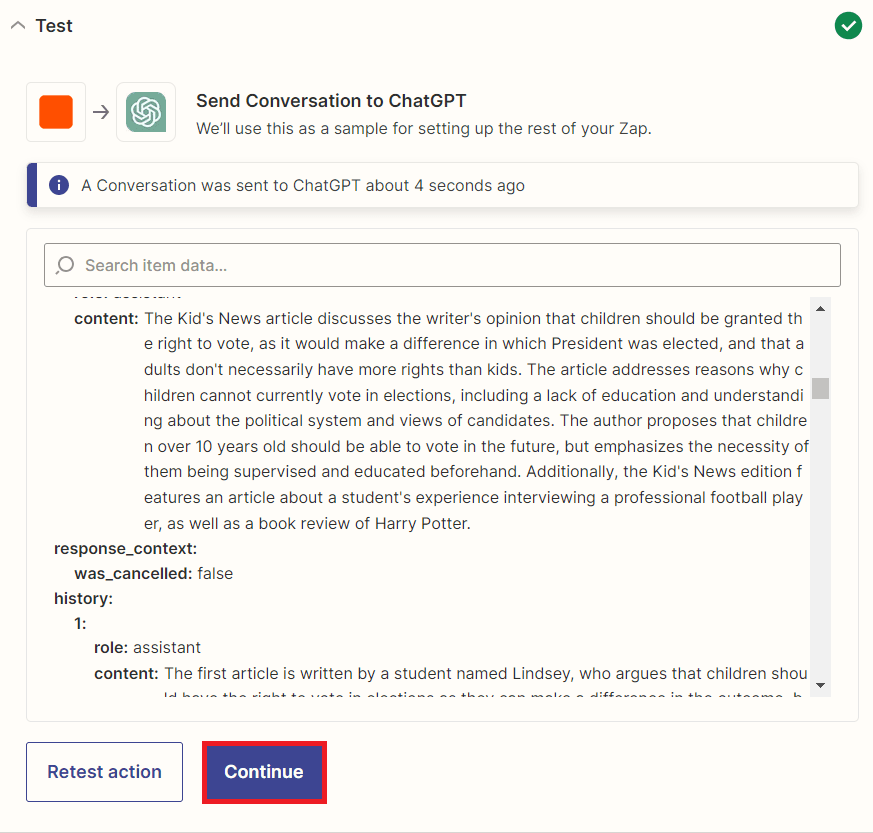
Step 14: ChatGPT Summary Result
Awesome! ChatGPT has successfully generated a summary of the text content from the PDF document. Now, we can proceed to add another app and send this summary to Slack as a message.
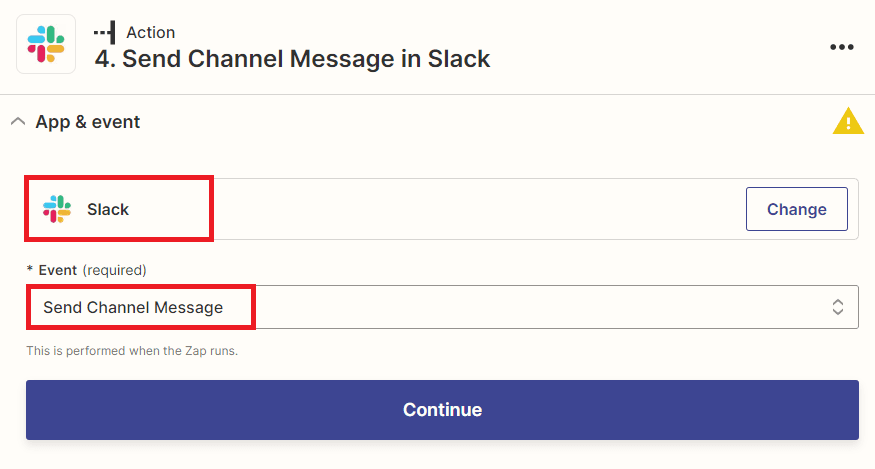
Step 15: Add Slack App
In this final step, we will integrate the Slack app and utilize the Send Channel Message option to send the generated summary from ChatGPT as a message to Slack.
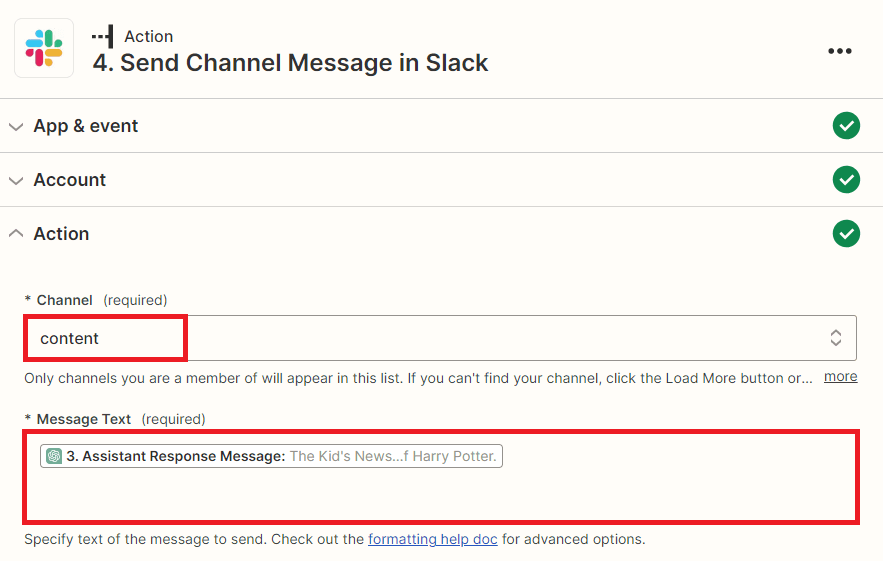
Step 16: Setup Slack Configuration
Let’s set up the Slack configuration.
- In the Channel field, specify the name of the channel where you want to send the summarized PDF.
- In the Message Text field, select the Assistant Message Response from ChatGPT that contains the summarized text. This will be the content of the message sent to Slack.
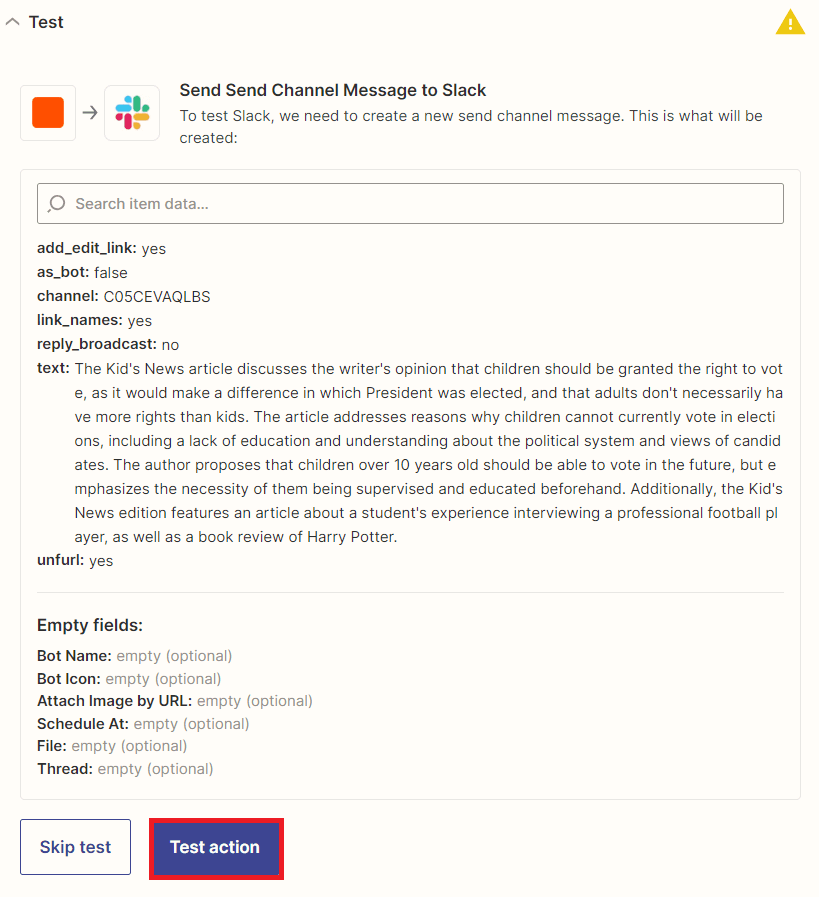
Step 17: Send Summary to Slack
Now that the configuration is set up, we can proceed to execute the action and send the summary generated by ChatGPT to Slack as a message.
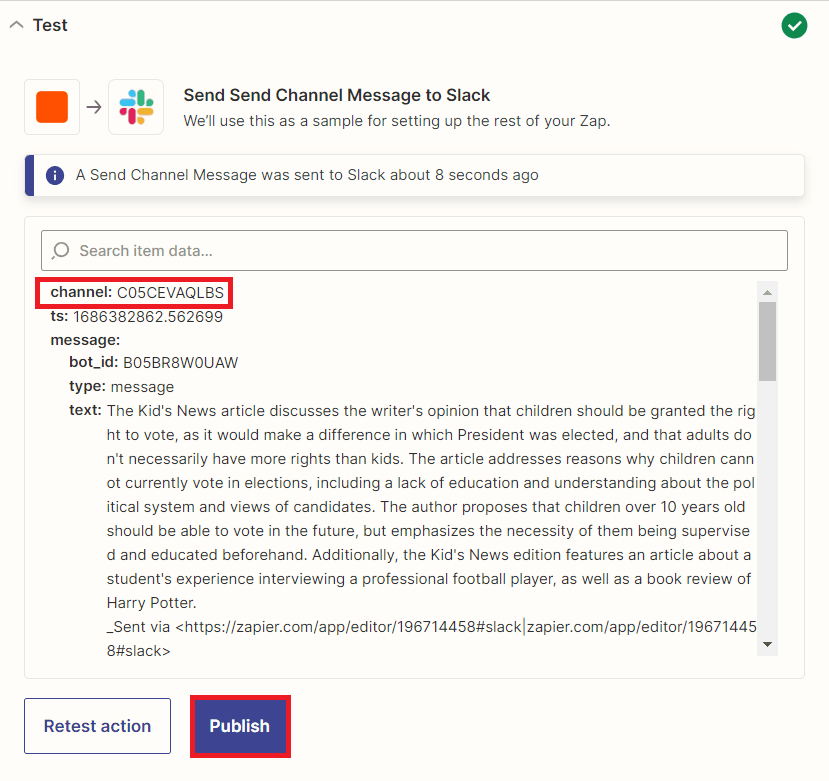
Step 18: Sending Summary Result
Congratulations on successfully sending the summary from ChatGPT to Slack as a message! You can now open your Slack workspace to view the summarized text in the specified channel.
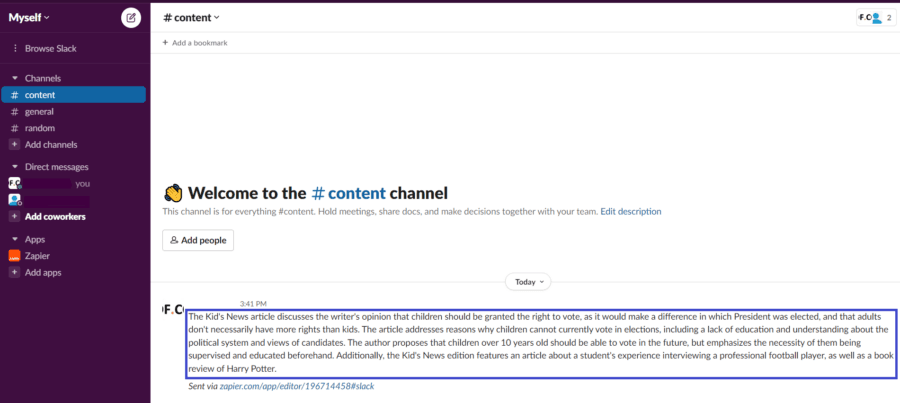
Step 19: Slack Content Channel
Here is the summary text that has been successfully sent as a message to the Slack channel.
In this tutorial, you learned how to summarize PDF with ChatGPT and send it to Slack using PDF.co and Zapier. You learned how to use PDF.co Web API to convert any document to PDF format.


