TOP-5 Workflows to Automate PDF Report Generation
PDF Report Generation simplifies the task of creating informative and visually appealing reports for various purposes such as business analytics, project updates, and data summaries. Produce smooth and comprehensive PDF reports easily, saving time and effort while ensuring accuracy and professionalism.
Here are the Top-5 Workflows for report generation using PDF.co:
Create Pipedrive CRM New Deal Report
Generate customized reports for new deals in Pipedrive CRM. By following the steps outlined below, you will learn how to filter and select relevant deal data, organize it in a structured format, and generate professional PDF reports.
Here’s a workflow to create a Pipedrive CRM new deal report using PDF.co and Zapier:
- Start by logging into your Zapier account and clicking on the Create Zap button.
- Next, search and select the Pipedrive app. Then, choose the New Deal option to trigger when a new deal is created.
- Then, test the trigger to retrieve the data from the new deal.
- Once the test trigger was successful and retrieved the data from the new deal. You may now add another app to generate a PDF report.
- To create the PDF report, we will use PDF.co as the app and Anything to PDF Converter as the event. Anything to PDF Converter can convert formats such as HTML, documents, spreadsheets, presentations, and URLs to PDF.
- Connect your PDF.co account to Zapier by adding your API key. You can obtain the API Key from your PDF.co dashboard or by signing up at this link.
- Let’s set up the PDF.co configuration.
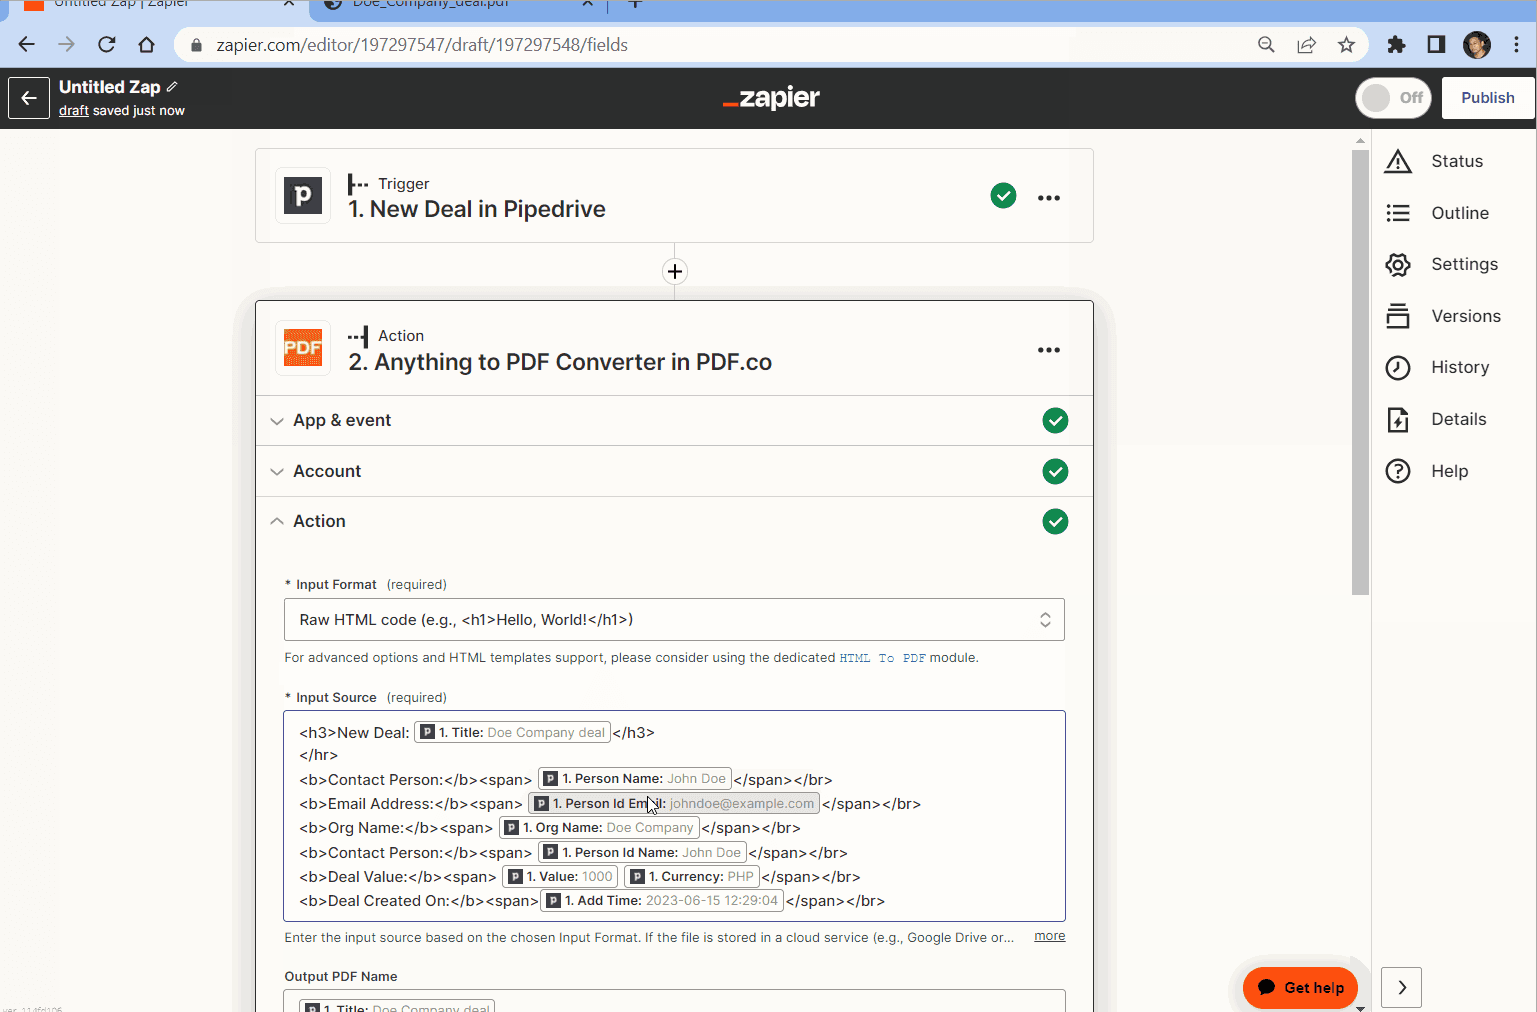
- First, select Raw HTML code as the Source Type.
- In the Input field, provide the basic HTML report that includes the deal information.
- Finally, enter the desired output file name.
- After setting up the PDF.co configuration, test the action to convert the raw HTML code along with the deal information into a PDF format.
- Once the test is successful, copy the URL and paste it into your browser to view the output.
Generate Report with Data from Monday.com
Extract relevant data from Monday.com boards, select specific columns or attributes, and generate professional PDF reports.
Here’s a workflow to generate a report with data from Monday.com using PDF.co and Zapier:
- To get started, log into your Zapier account and click on the Create Zap button.
- Next, let’s choose Monday.com as the app and New User as the trigger event.
- Then, we will test the trigger to retrieve the data from Monday.com.
- Once the test trigger was successful, let’s move on to add another app to generate a PDF report with the data from Monday.com.
- In this step, we will add the PDF.co app and choose the Anything to PDF Converter option.
- Connect your PDF.co account to Zapier by adding your API key. You can obtain the API Key from your PDF.co dashboard or by signing up at this link.
- Let’s set up the PDF.co configuration.
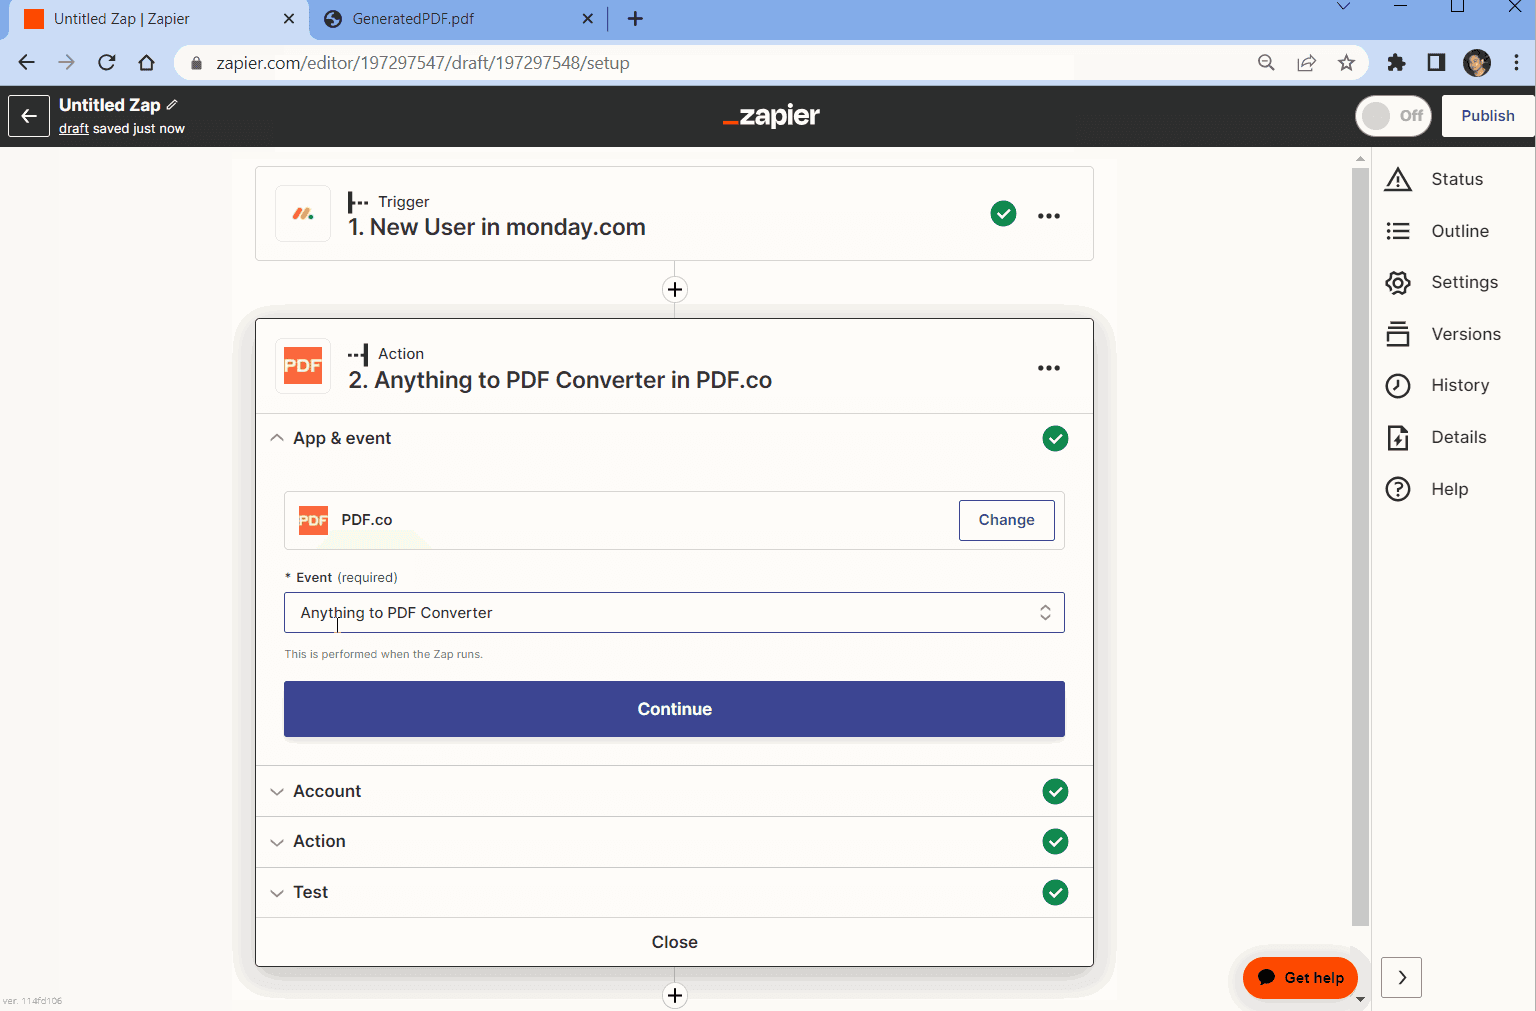
- In the Input Type field, select Raw HTML code.
- In the Input field, enter the HTML code and select the corresponding Name and ID Number.
- We can now send the Anything to PDF Converter data to PDF.co to test the action.
- PDF.co will return a temporary URL to view and download the PDF Report. Copy and paste the URL to your browser to see the generated PDF Report.
Create PDF Reports with Airtable Data
Extract data from Airtable, design customizable report templates, and convert them into professional PDF documents.
Here’s how to create PDF reports with Airtable data using PDF.co and Zapier:
- First, log into your Zapier account and click on the Create Zap button.
- The next step is to add the Airtable app to Zapier and select the New Record option. This will trigger the automation whenever a new record is added to your Airtable database.
- Let’s set up the trigger in Zapier.
- First, in the Base field, enter the name of the base you created in Airtable.
- Then, in the Table field, select the table where the data for your report is located.
- If you want to limit the automation to specific records, you can enter the name of the view in the Limit to View field. This will return records in the order they appear in the view.
- Finally, in the Include file contents field, select false to avoid errors and return an extra file field with file contents.
- Now that we’ve set up the trigger in Zapier, let’s test it to make sure everything is working as expected.
- The test trigger was successful, and Zapier has fetched the report data from your Airtable table. Now, let’s move on to the next step, creating a customized PDF report using this data.
- In order to create the PDF report from the Airtable data, we need to add another app to Zapier. Let’s select PDF.co and choose the HTML to PDF Converter option.
- Connect your PDF.co account to Zapier by adding your API key. You can obtain the API Key from your PDF.co dashboard or by signing up at this link.
- Now, we need to set up the action to create the PDF report from the Airtable data.
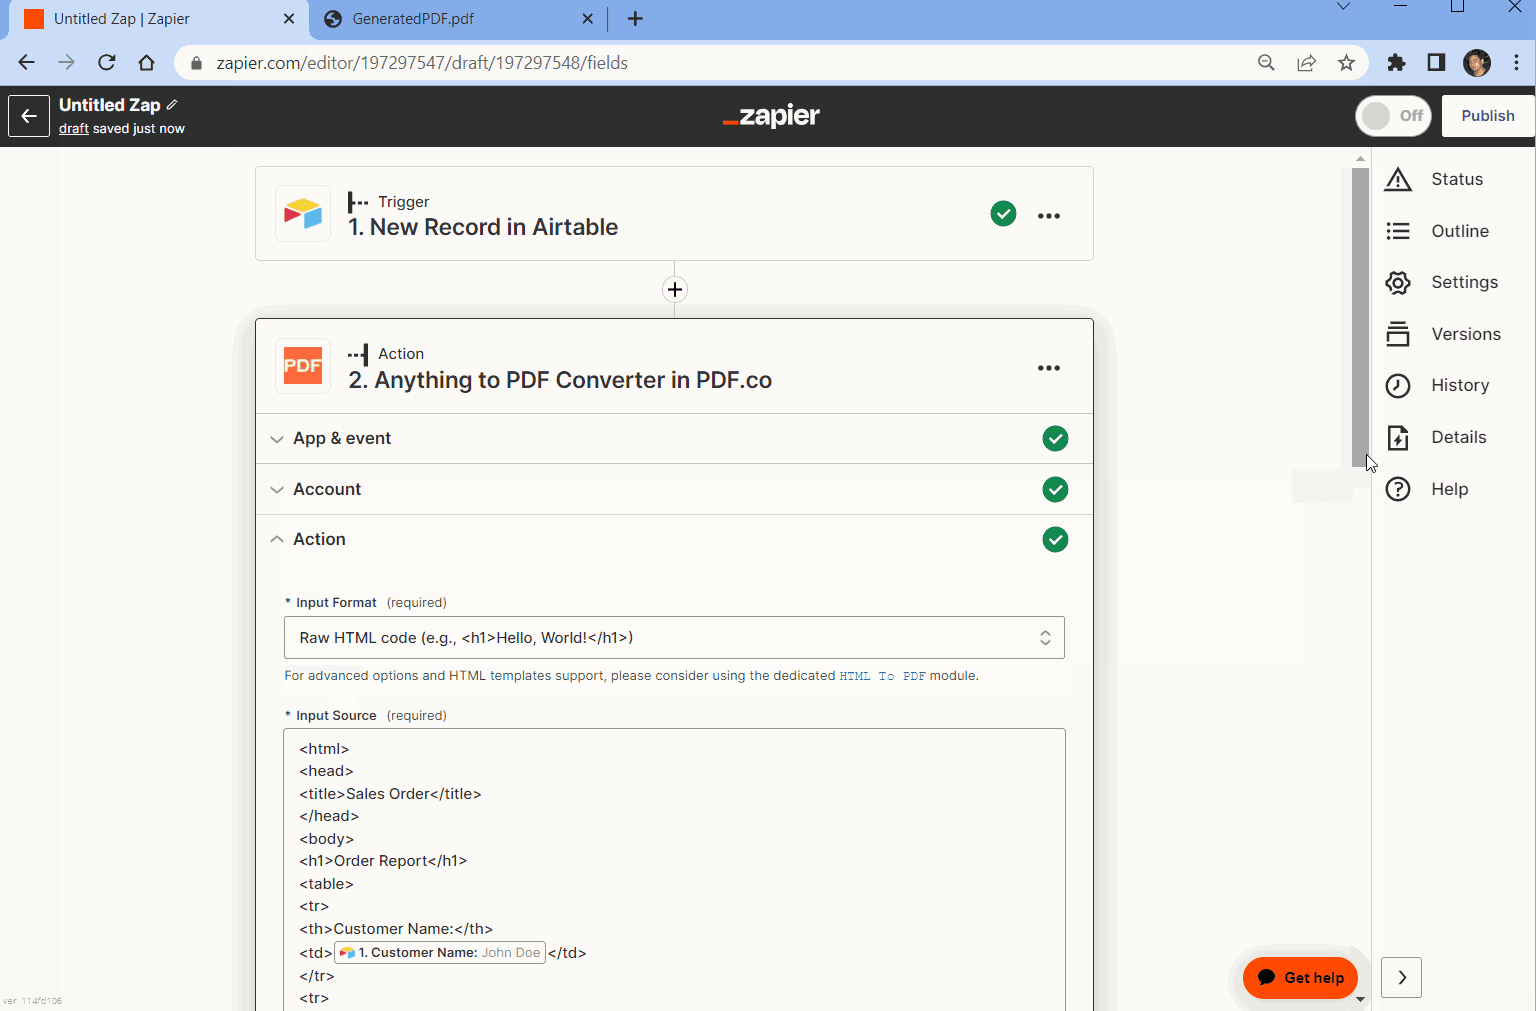
- In the Input HTML or URL to Convert field, we will input the HTML code along with the data from Airtable to create the PDF report.
- You can customize the page orientation, size, margins, and other settings as desired, but for this tutorial, we will use the default values.
- Next, we need to enter a name for our PDF output file in the Name field. This will be the name of the file that we will download and save to our computer or cloud storage.
- After setting up the configuration, test the action to make sure that we set it up correctly.
- The test was successful in generating a PDF report containing data from an Airtable table. This is a valuable achievement as it enables you to organize and present your data in a professional and structured manner. Copy the URL and paste it into your browser to view the generated PDF report.
Create PDF Report Based on Google Sheets Data, Analyze with ChatGPT, and Send via Gmail
This guide will walk you through the process of extracting data from Google Sheets, designing a visually appealing report template, converting it into a PDF format, and leveraging ChatGPT for insightful analysis.
Here’s the step-by-step guide and demo workflow to Create a PDF Report Based on Google Sheets Data, Analyze it with ChatGPT, and Send it via Gmail using PDF.co and Zapier:
- Let’s start by logging in to your Zapier account and creating a Zap.
- Next, add the Google Sheets app to Zapier and choose the New Spreadsheet option. This will allow you to trigger automation when you create a new spreadsheet.
- Set up the Google Sheets configuration by entering My Google Drive as the drive to use for the spreadsheet storage.
- Once you have set up the Google Sheets configuration, test the trigger to ensure that everything is working correctly.
- Now that you have tested the trigger and confirmed that the automation process is working correctly, you can proceed to the next step, which is to add an app that will convert the Google Sheet spreadsheet to a PDF format.
- For the next step, integrate the PDF.co app and select the Anything to PDF Converter option. This will enable you to instantly transform your Google Sheets spreadsheet into a top-quality PDF file.
- Connect your PDF.co account to Zapier by adding your API key. You can obtain the API Key from your PDF.co dashboard or by signing up at this link.
- To configure the settings for converting a Google Sheets spreadsheet into PDF format, follow these steps:
- In the Input Type field, select the Link to a CSV, XLS, XLSX, TXT spreadsheet file or filetoken:// link option. This will allow you to convert the spreadsheet to PDF format.
- For the Input field, select the Direct Link from Google Sheets spreadsheet. This will ensure that the app can access the spreadsheet and convert it to PDF format.
- In the Name field, enter your preferred output PDF file name. This will help you keep track of the converted files and ensure that they are easily identifiable in your storage system.
- Once you’ve configured the settings, it’s time to test the action to ensure its seamless functionality. This step will allow you to verify that your automation workflow is working correctly and producing the desired outcome.
- The PDF.co conversion action has processed your request, transforming the Google Sheets spreadsheet into a PDF format. To access the converted file, just copy the generated URL and paste it into your preferred web browser.
- Once you have reviewed the generated PDF report, please copy the text content. We will then proceed to analyze the copied text using ChatGPT.
- In this step, we will integrate the ChatGPT app into your automation workflow and enter the Conversation to send a chat to OpenAI.
- Let’s configure the ChatGPT settings to enable the app to analyze the text content from a PDF document and generate responses based on the user’s message.
- First, enter the text command that will trigger the analysis and response generation for the PDF text content in the User Message field. You should also include the actual text content from the generated PDF document.
- For the Model, Temperature, Assistant Instructions, User Name, and Assistant Name fields, you can use the default values provided by ChatGPT. These default settings ensure that the app is using the appropriate language model and settings to generate accurate and helpful responses for your customers.
- In the Memory Key field, add a unique value that will allow the assistant to continue the conversation and store any relevant information for future reference.
- Once you have configured the ChatGPT app, you can test it by sending a message with the trigger text command and the text content from the PDF document.
- The ChatGPT was able to analyze and generate responses based on the text content from the PDF document. Now, let’s add another app to generate a PDF based on the analysis response from ChatGPT.
- In this step, we will add the PDF.co app and select the HTML to PDF Converter option.
- Next, select the Assistant Response Message which contains the analysis response from ChatGPT.
- Now, let’s test the action to generate a PDF based on the analysis response from ChatGPT.
- The test was successful and PDF.co converted the response analysis to PDF format. Now, let’s add another app and send the generated PDF as an attachment to an email.
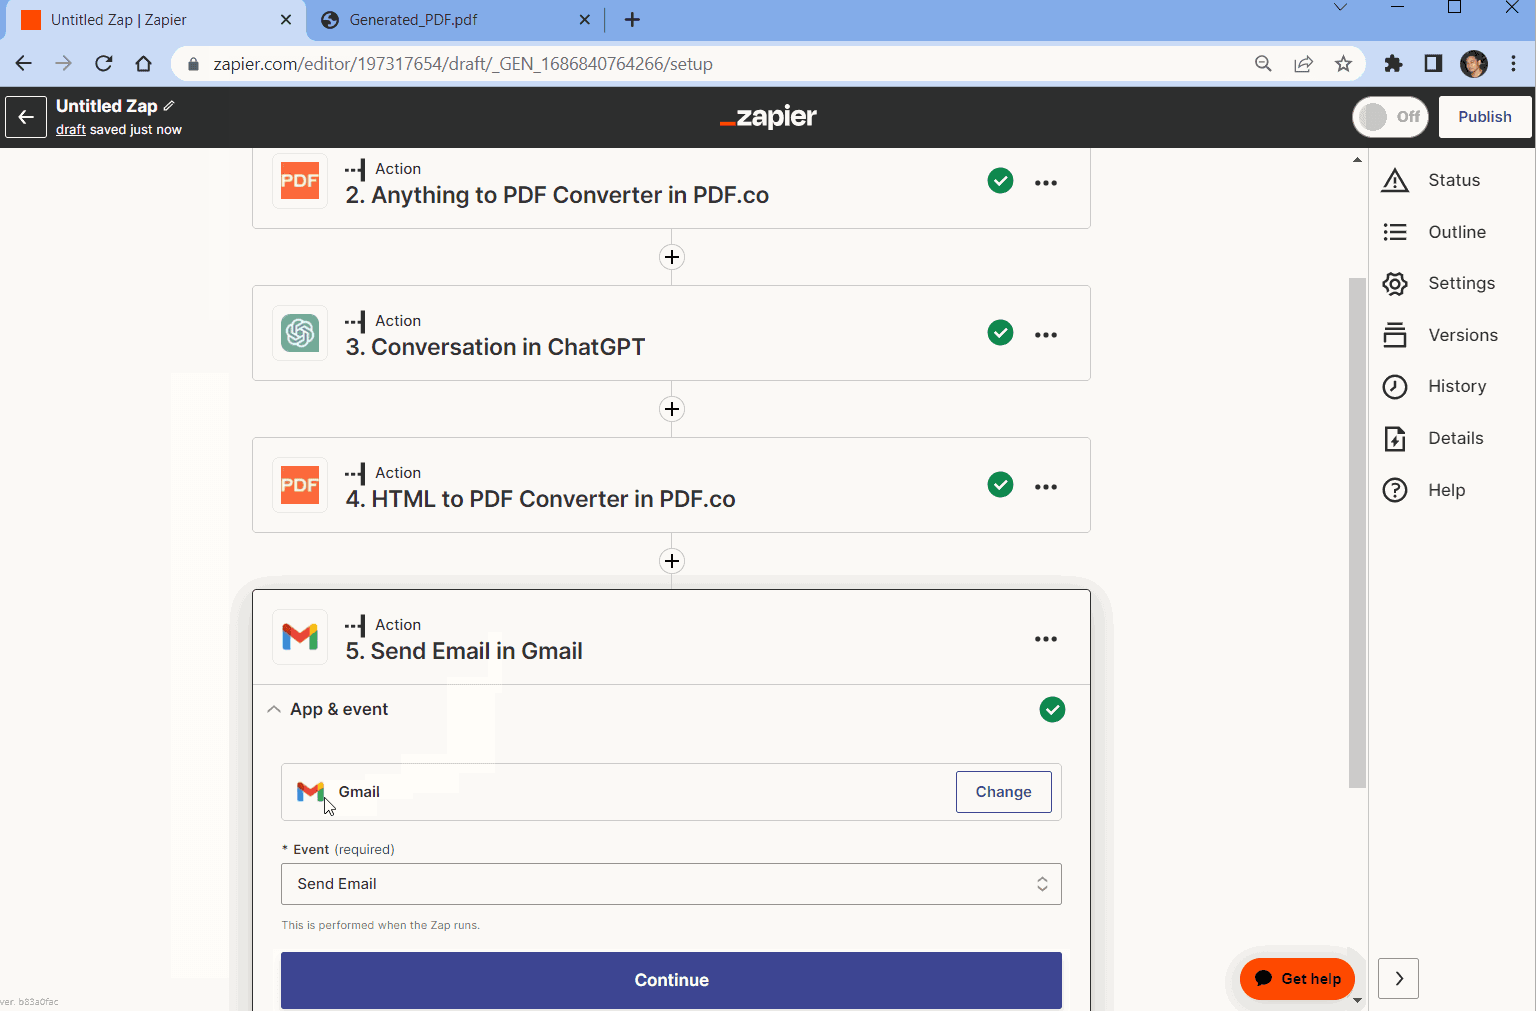
- In this step, we will add the Gmail app and select the Send Email option.
- To set up the Send Email configuration, follow these steps.
- First, enter the customer’s email address in the To field to ensure that the email is sent to the correct recipient.
- Next, add your email address to the From field to identify who the sender is and to ensure that the recipient knows where the email is coming from.
- Then, provide a clear and informative Subject line that accurately reflects the content of the email. This will help the recipient understand the purpose of the email and prioritize it accordingly.
- Select the Plain option for the Body Type field. This will ensure that the email is easy to read and does not contain any unnecessary formatting that could cause issues with the email client.
- For the Attachments field, select the output URL of the generated PDF from the response analysis. This will ensure that the PDF document is included as an attachment in the email.
- After you have done setting up the configuration, let’s initiate a test to send an email to a Gmail account.
- Once the test was successful the email will be sent to the intended recipient’s email address.
Generate PDF Report Based on SalesForce data
This guide will take you through the steps of extracting relevant data from SalesForce, customizing the report template, and generating professional PDF documents.
Here’s the step-by-step guide and demo workflow to generate a PDF report based on Salesforce data using PDF.co and Zapier:
- First, log into your Zapier account and create a Zap.
- Next, select Salesforce as the app and the New Record as the trigger event.
- Then, let’s set Lead as the Salesforce Objects.
- Now, test the trigger to search a record in Salesforce.
- Once the test trigger was successful and found a New Salesforce Record that we will use to create our PDF Report. Let’s add another app to generate a PDF report based on the Salesforce record.
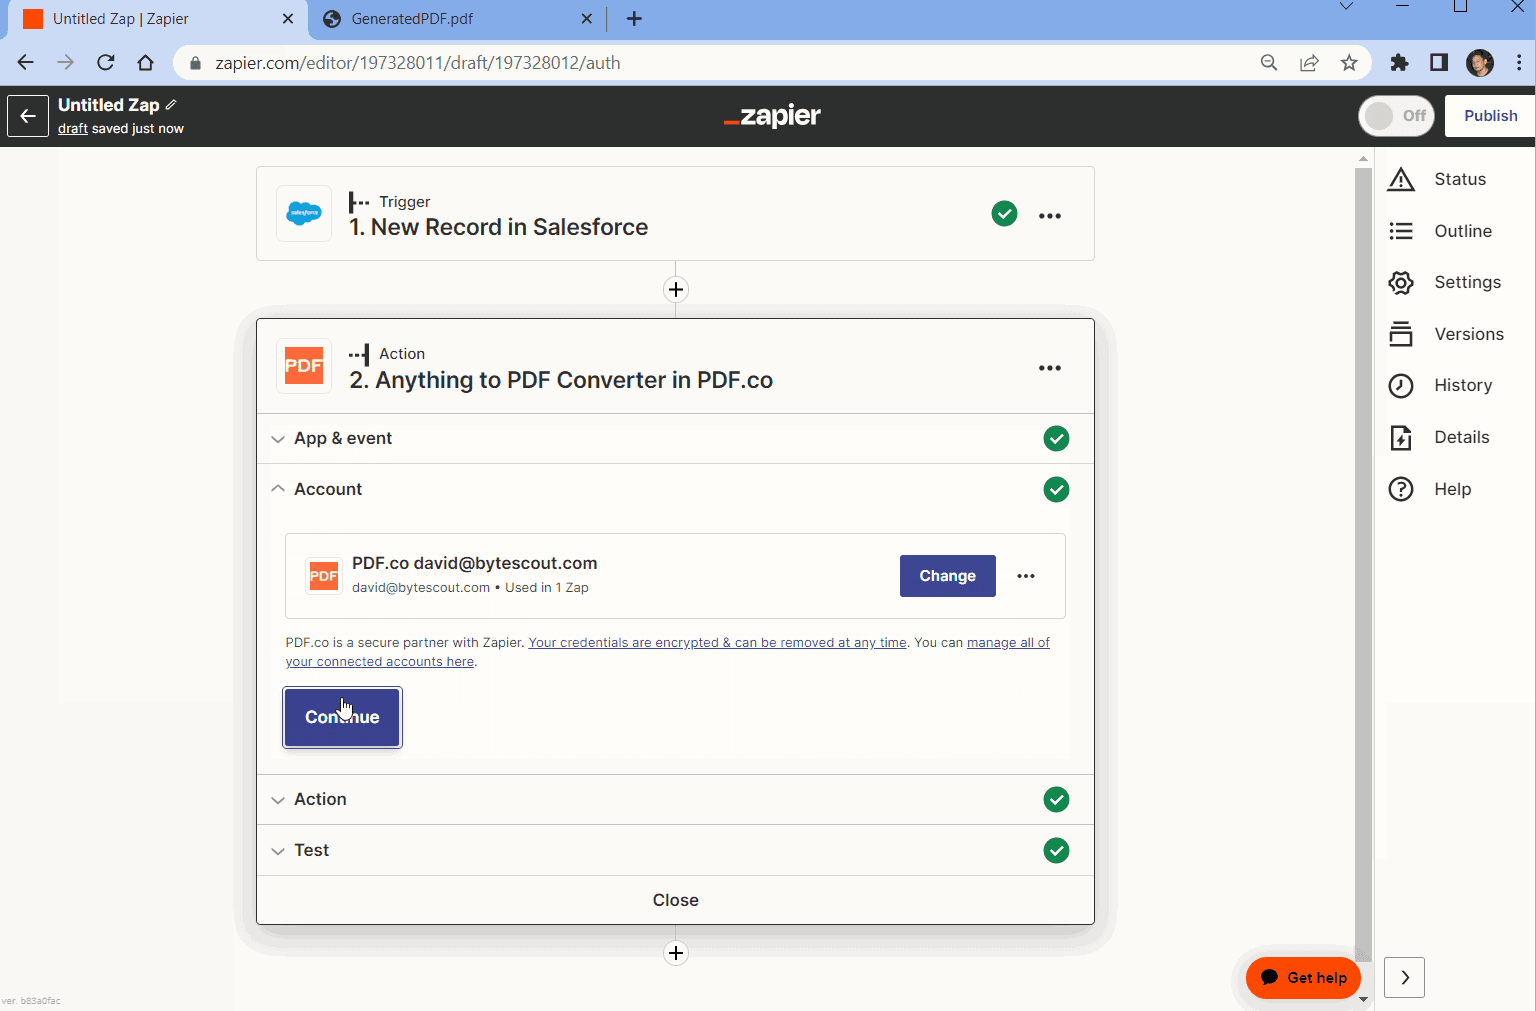
- In this step, we will add the PDF.co app and choose the Anything to PDF Converter to convert the Salesforce record into a PDF document.
- Connect your PDF.co account to Zapier by adding your API key. You can obtain the API Key from your PDF.co dashboard or by signing up at this link.
- Let’s set up the PDF.co configuration.
- In the Input Type field, select Raw HTML Code.
- In the Input field, enter the basic HTML Code and the corresponding Salesforce data.
- In the Name field, enter your desired output file name.
- We are now ready to test the action to generate a PDF from Salesforce data.
- Once the test was successful, copy the URL and paste it into your browser to view the generated PDF report from Salesforce data.
In conclusion, this topic covers various scenarios related to generating PDF reports with data from different sources. We explored creating a new deal report in Pipedrive CRM, generating reports using data from Monday.com, creating PDF reports with Airtable data, analyzing PDF reports based on Google Sheets data using ChatGPT, and generating PDF reports based on SalesForce data. These scenarios demonstrate the versatility and flexibility of generating informative and customized PDF reports from various platforms, allowing businesses to effectively analyze and present their data in a professional manner.
Related Tutorials


