How to Generate PDF from Email in JavaScript
This tutorial and accompanying sample source code demonstrate how to create PDF files from emails using PDF.co Web APIs in JavaScript (Node.js). Users can employ this Web API to convert email files stored locally or on cloud services, such as in MSG or EML formats, into PDF files. Additionally, this API is capable of extracting email attachments and embedding them into the resulting PDF files, providing a comprehensive solution for email-to-PDF conversions.
Features of Generating PDF From Email Endpoint
Users can utilize the "PDF from Email" endpoint of PDF.co Web API to generate a PDF from an email file. This endpoint requires a URL link and accepts other optional parameters to produce a link to a PDF file, which includes the email attachments in various formats according to user preferences. Additionally, users have the option to download and store the generated PDF file on their local storage using different file management modules, such as "fs".
Endpoint Parameters
Following are the parameters of the PDF From Email endpoint:
url: Required parameter. A string that specifies the link to the source email file, which can have an "EML or MSG" extension. Users can also provide links to files hosted on online storage platforms like Google Drive, Dropbox, and PDF.co's own cloud storage. Additionally, there is the option to temporarily upload files before invoking this API endpoint. For more information on uploading and managing files, users are encouraged to consult the "File Upload" section of the PDF.co API Documentation.embedAttachments: Optional parameter. A string that accepts boolean values, "true" or "false," to determine whether attachments from the source email files should be embedded into the output PDF file. By default, its value is set to "true," meaning attachments will be embedded. However, users have the option to explicitly set this parameter to "false" if they wish to prevent the embedding of attachments into the final PDF document.convertAttachments: Optional parameter. A string that accepts boolean values, "true" or "false," to dictate whether the email attachments from the source email file should be converted. By default, its value is "true," meaning the API will convert attachments into PDF format. Users can change this parameter to "false" if they prefer the API to embed the original files as PDF attachments without conversion. The API endpoint is compatible with commonly used file extensions such as "DOC, DOCX, HTML, PNG, JPG," etc., converting them into individual PDF files before incorporating them into the final PDF document. For unsupported file types, the API embeds them as PDF attachments, which might require Adobe Reader or another document viewer for access.async: Optional parameter. Allows users to set the task to run asynchronously by setting it to "true". It is recommended for processing large or heavy documents, as it enables the task to be executed in the background, allowing the user to continue with other tasks without waiting for the immediate completion of the document processing.margins: Optional parameter. Allows users to specify the margins of the output PDF file, similar to how margins are set in CSS styling. Users can define the top, right, bottom, and left margins by providing values in a format like "2px, 2px, 2px, 2px". This flexibility enables users to customize the appearance of the PDF document to suit their preferences or requirements.paperSize: Optional parameter. Allows users to define the paper size of the output PDF file. By default, the size is set to "Letter," but users have the option to select from standard sizes such as "Letter," "Legal," "Tabloid," "Ledger," "A0," "A1," "A2," "A3," "A4," "A5," or "A6." Additionally, users can specify custom dimensions for the paper size. Custom sizes can be expressed in pixels (px), millimeters (mm), or inches (in), allowing for precise control over the document's dimensions. For example, users can set the width and height to "100px, 200px" respectively, to achieve their desired output size.orientation: Optional parameter. Allows users to specify the orientation of the pages in the output PDF file. They have the choice between "Portrait" and "Landscape" orientations. By default, the orientation is set to "Portrait."profiles: Optional parameter. Must be a string. Enables users to apply additional configurations and tuning options to further customize their PDF generation process. Read more about profiles and find examples in the API Documentation.expiration: Optional parameter. Determines the expiration time of the output file's link, expressed in minutes. By default, the link expires after 60 minutes, but users can adjust this duration according to their subscription plan. After the set period, the files are automatically deleted from the cloud. For those needing permanent storage, users can opt to save the files using PDF.co's built-in file storage feature, ensuring their documents remain accessible beyond the default expiration timeframe.
Query Parameter
Query parameters are the parameters of the API endpoint URLs that users need to append to customize their requests. For this particular endpoint, no query parameters are needed, meaning users can proceed without appending additional information to the endpoint URL.
Endpoint URL
Below is the endpoint URL to generate a PDF from an Email file:
URL: /v1/pdf/convert/from/emailGenerate PDF from Email using Javascript
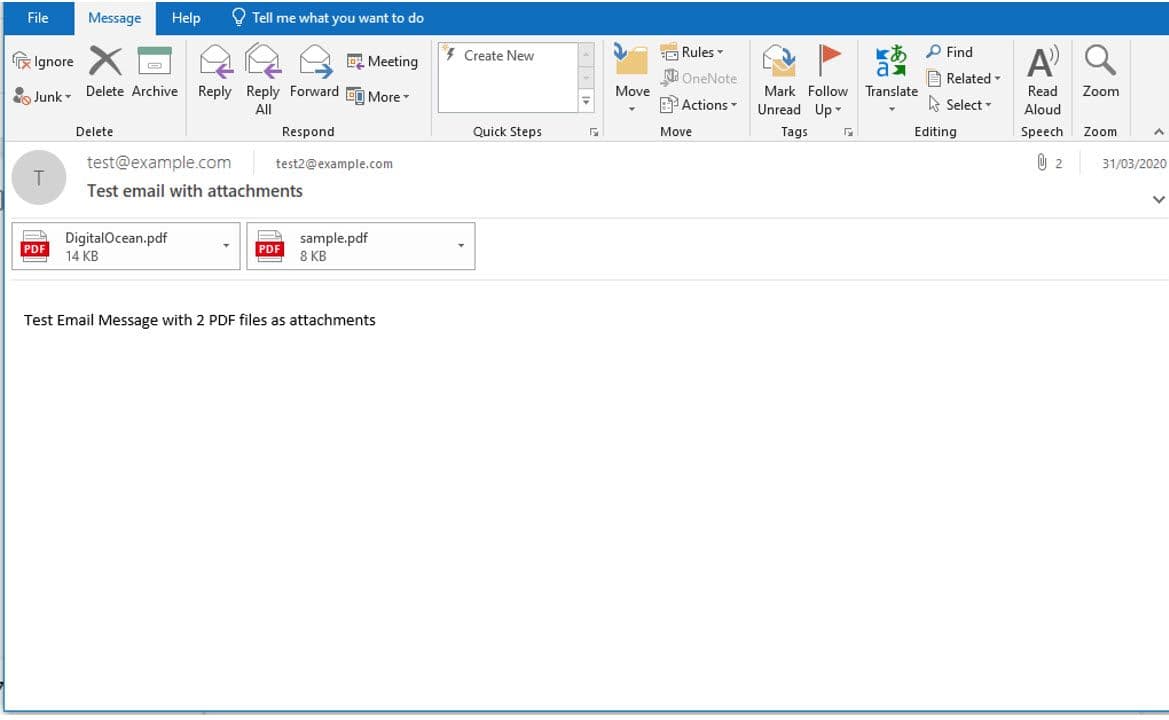
This source code demonstrates how to convert email files in EML and MSG formats into PDF files. Specifically, it shows the conversion of an EML file with two attachments and sample text into a PDF. The parameters "embedAttachments" and "convertAttachments" are both set to "true," enabling the embedding of attachments within the PDF and their inclusion as original files. The "async" parameter is set to "false," indicating that the task will run synchronously. Additionally, the code uses the "expiration" parameter to define the lifespan of the resulting file's link.
Upon execution, users can view details such as the size and URL of the output PDF file in the terminal. This URL allows them to access the resulting PDF file. Alternatively, users can employ file management modules like "fs" to download the content of the file and save it to their local storage, providing a convenient way to retain a copy of the converted file.
Sample Code in JavaScript
Below is the sample code to generate a PDF from an email file:
var request = require('request');
var API_KEY = "********************";
var fileUrl = "https://bytescout-com.s3-us-west-2.amazonaws.com/files/demo-files/cloud-api/email-to-pdf/sample.eml";
var options = {
   'method': 'POST',
   'url': 'https://api.pdf.co/v1/pdf/convert/from/email',
   'headers': {
     'x-api-key': API_KEY
   },

   formData: {
    "url": fileUrl,
    "embedAttachments": "true",
    "convertAttachments": "true",
    "name": "email-with-attachments",
    "async": "false",
    "encrypt": "false",
    "expiration" : "12"
   }

 };

 request(options, function (error, response) {
   if (error) throw new Error(error);
   console.log(response.body);
 });
Step-by-Step Guide to Generate PDF from Email
To generate a PDF from email files using this guide, follow these steps:
- Install the Request Module: Use the command
npm install requestin your terminal to install the "request" module, which facilitates making HTTP calls in Node.js. - Configure
package.json: Ensure yourpackage.jsonfile is set up to run and test your JavaScript file. This may involve specifying the entry point of your application and any test scripts. - API Key Initialization:
- Declare and initialize the
API_KEYvariable with the API key obtained by signing up or logging into your PDF.co dashboard. This key will be used to authenticate your API requests. - For added security, consider storing your API key in an environment file (
.env). This approach keeps sensitive information out of your codebase.
- Declare and initialize the
- Source File URL: Initialize a variable named
fileUrlwith the URL of your source email file (EML or MSG format). This setup allows you to convert different email files by simply updating this variable without modifying the underlying code or API logic. - Setting API Options: Declare a variable called
optionsand assign it the configuration for your API request. This includes the HTTP method, API endpoint URL, headers (which should contain your API key), and the form data.- The form data is an object where you specify the values for the various API parameters, such as
async, which is set tofalsein this example. You can adjust these parameters based on your specific conversion requirements.
- The form data is an object where you specify the values for the various API parameters, such as
- Making the API Call: Use the
requestmethod you imported to make the API call with the options you've set. Handle the response by printing it to the terminal or processing it further, such as by streaming the resulting PDF file content for download.
Source File
Below is the screenshot of the source file:

Output File
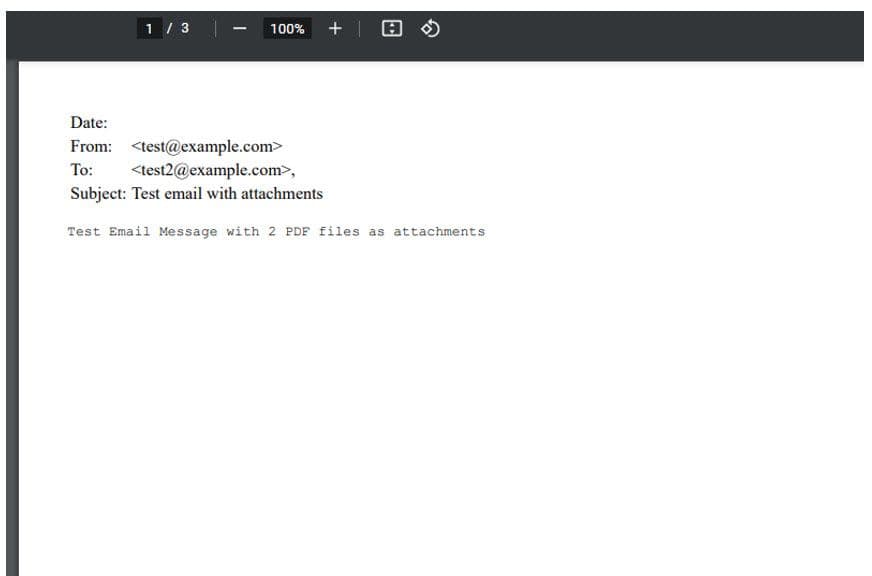
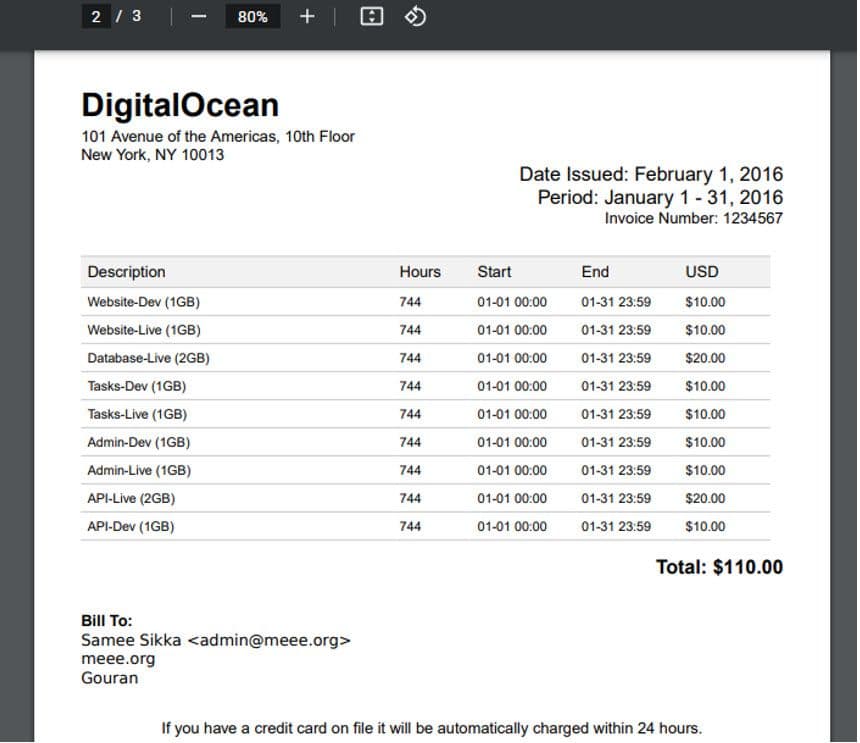
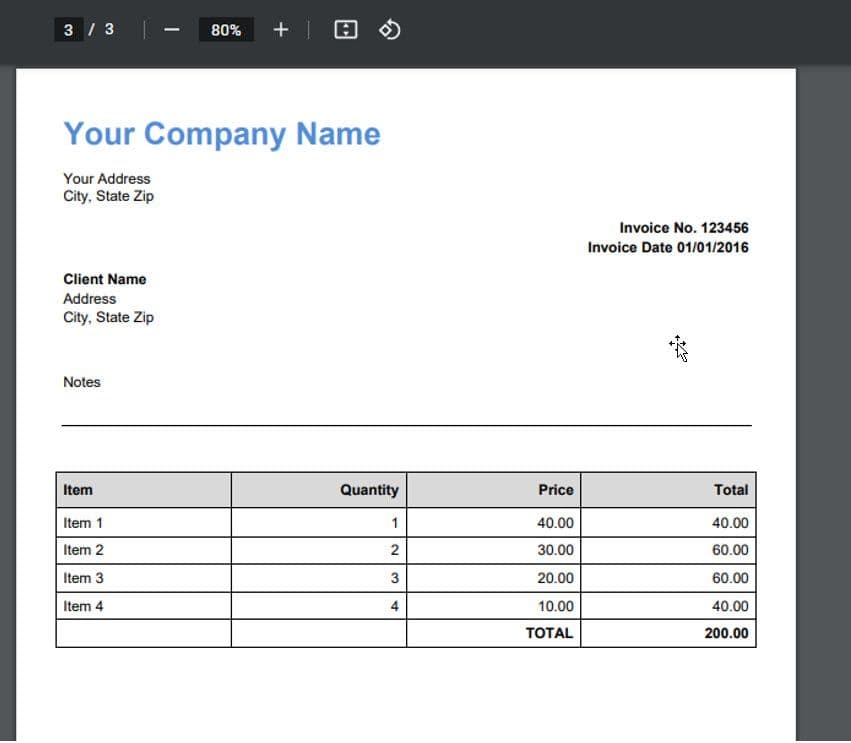
Below are the screenshots of the output file obtained in the API response:


Related Tutorials


