How to Compress a PDF Using PDF.co and Zapier (End-to-End Workflow)
In this tutorial, you will learn how to automatically compress PDF files using PDF.co and Zapier, starting from a file uploaded to Google Drive and ending with the compressed PDF being saved back to Google Drive.
This workflow is useful if you regularly receive large PDF files and want to reduce their size automatically for storage, sharing, or faster downloads.
We will use a sample PDF document stored in Google Drive for this tutorial.
IN THIS TUTORIAL
Step 1: Create a New Zap in Zapier
- Log in to your Zapier account.
- From the Zapier dashboard, click the “Create Zap” button.
- This will open the Zap editor where you can begin building your automation.
Step 2: Set Google Drive as the Trigger App
- In the Trigger step, search for and select the Google Drive app.
- For the Trigger Event, choose “New File in Folder”.
- This trigger activates whenever a new file is added to a specific Google Drive folder.
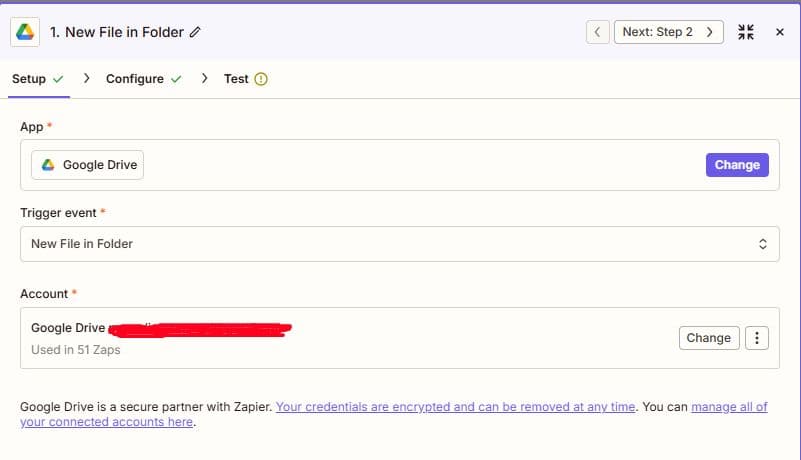
Step 3: Configure the Google Drive Trigger
- In the Drive field, select “My Google Drive”.
- In the Folder field, choose or enter the folder where PDFs will be uploaded for compression.
- Example:
/INPUT-1
- Example:

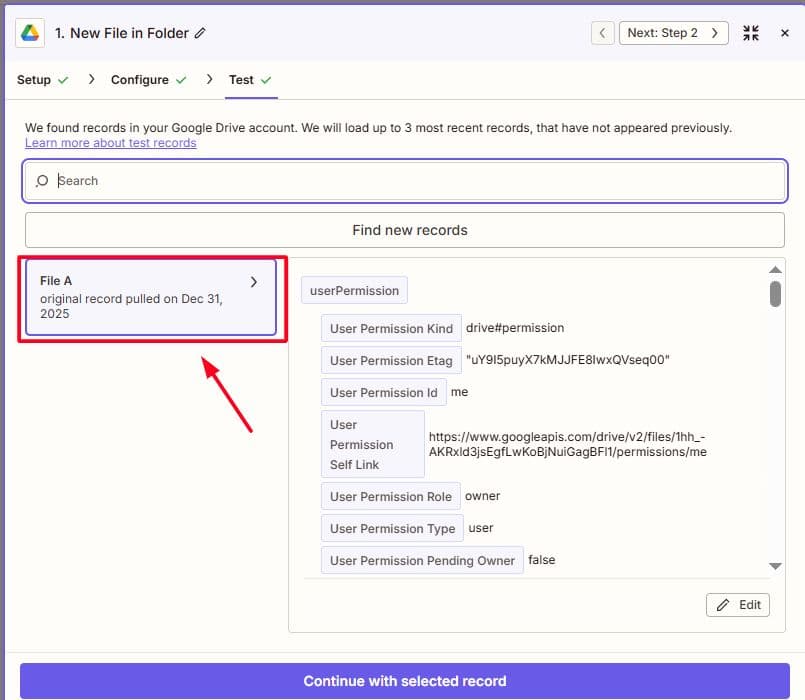
Step 4: Test the Trigger
- Click “Test Trigger”.
- Zapier will look for a recent PDF file in the selected folder.
- Once the test is successful, you should see file details such as:
- File name
- File ID
- Web Content Link (this will be important later)
This confirms that Zapier can correctly detect new PDFs in your folder.
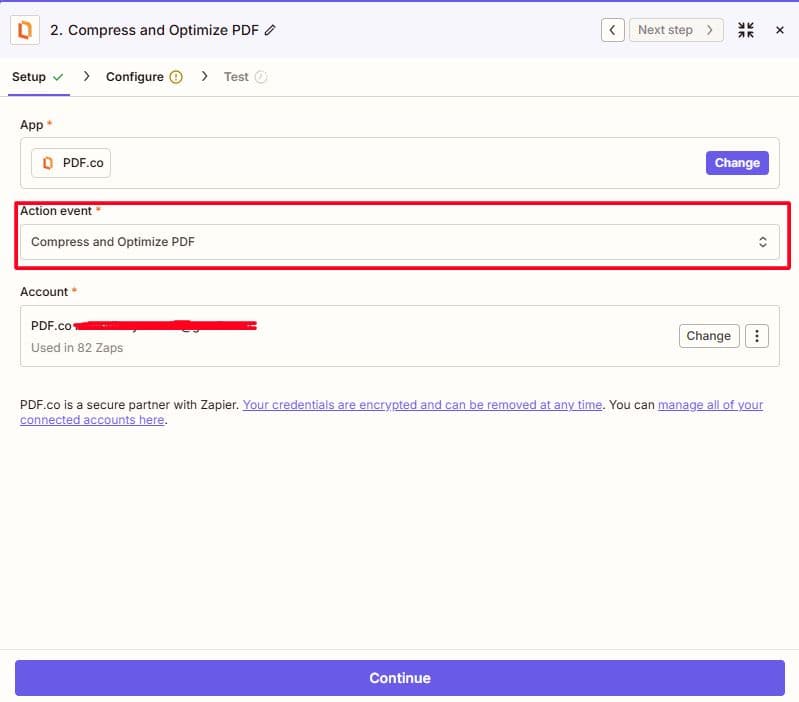
Step 5: Add PDF.co as the Action App
- Click the “+” button to add a new action.
- Search for and select the PDF.co app.
- For the Action Event, choose “Compress and Optimize PDF”
- Connect your PDF.co account to the app using your API Key. You can access your API Key via your dashboard.
This action will compress the PDF file using PDF.co’s compression engine.
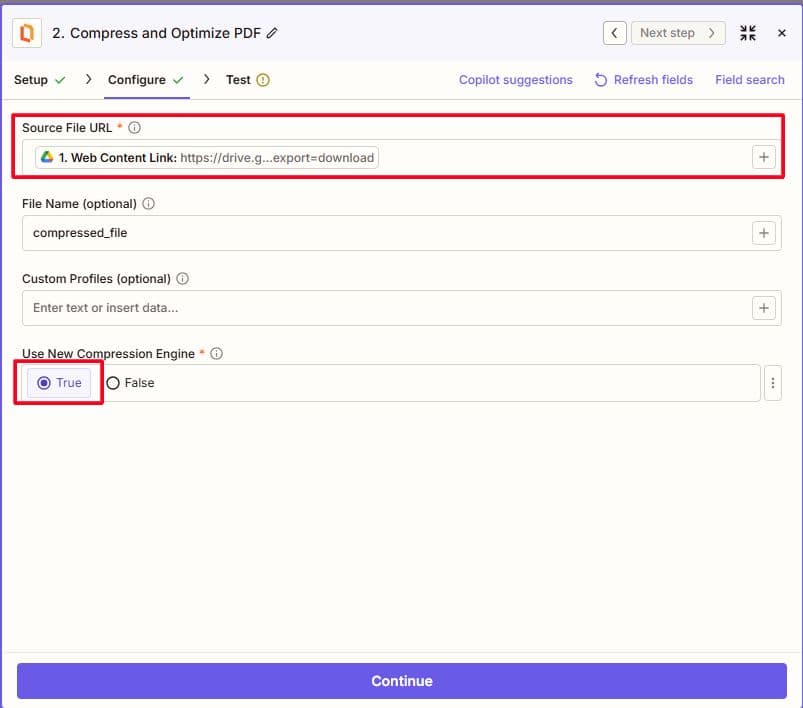
Step 6: Configure the PDF.co PDF Compressor Action
In this step, you’ll tell PDF.co which PDF to compress and how the output should be named.
- Input PDF URL:
- Select the “Web Content Link” field from the Google Drive trigger.
- This provides PDF.co with a publicly accessible temporary link to the file.
- Output File Name:
- Enter a name for the compressed PDF.
- Example: compressed_{{File Name}}
- (Optional) Compression Profile:
- You may leave this empty to use the default compression settings.
- Advanced users can later customize compression settings if needed.
- Set the “Use New Compression Engine” option to true. This ensures the system uses the new and improved PDF compression endpoint, /v2/pdf/compress
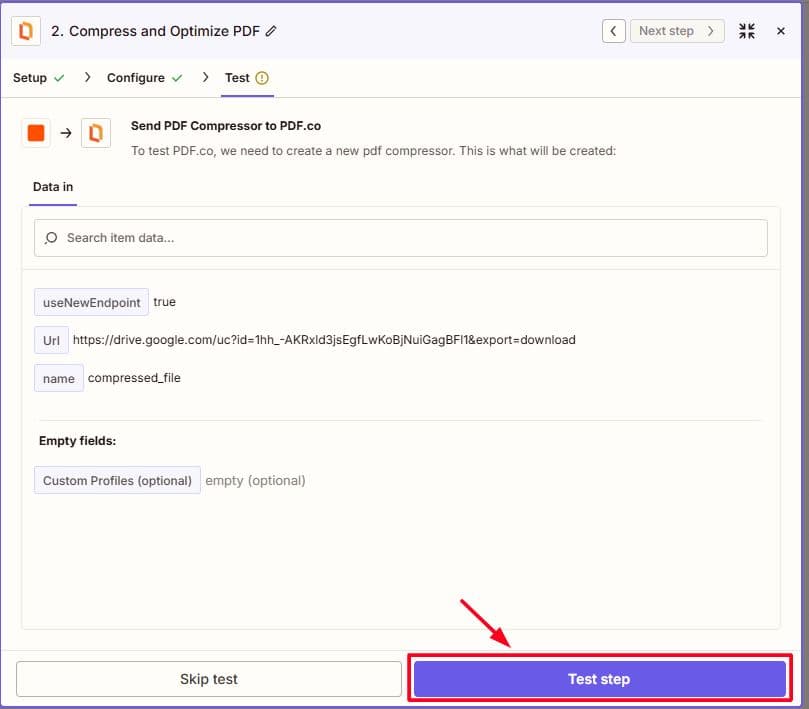
Step 7: Test the PDF.co Action
- Click “Test Step”.
- Zapier will send the PDF to PDF.co for compression.
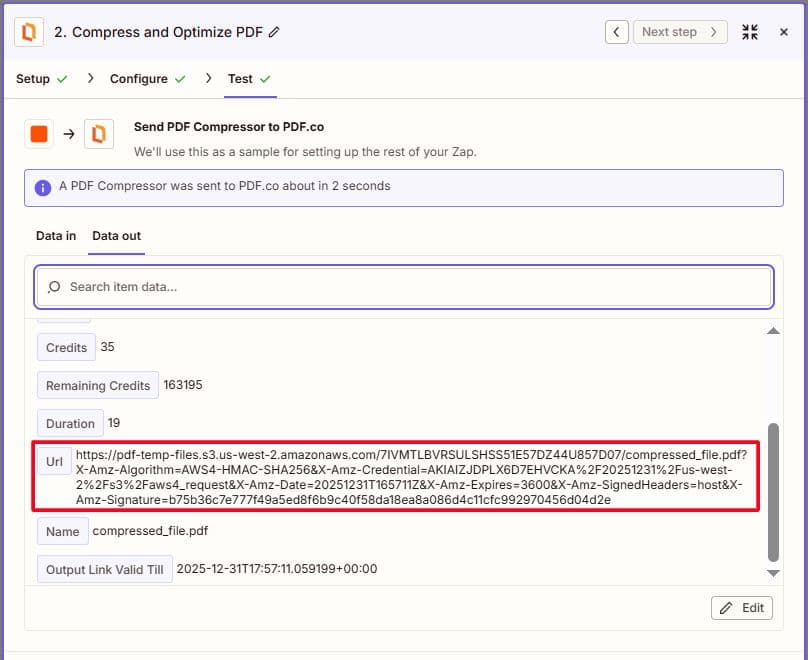
- If successful, PDF.co will return a Temporal Output PDF URL.
This URL points to the compressed PDF file generated by PDF.co.
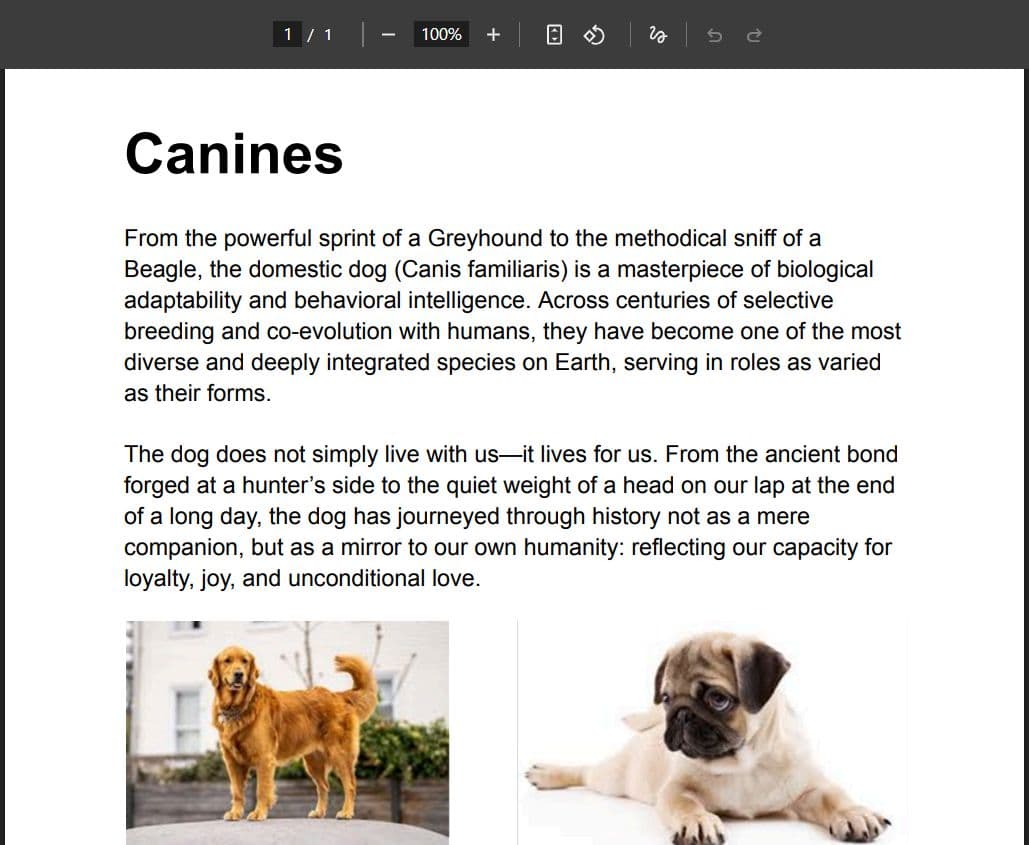
Step 8: Verify the Compressed PDF Output
- Copy the Output PDF URL returned by PDF.co.
- Paste it into your browser.
- Confirm that:
- The PDF opens correctly
At this point, the PDF is compressed but not yet saved permanently.
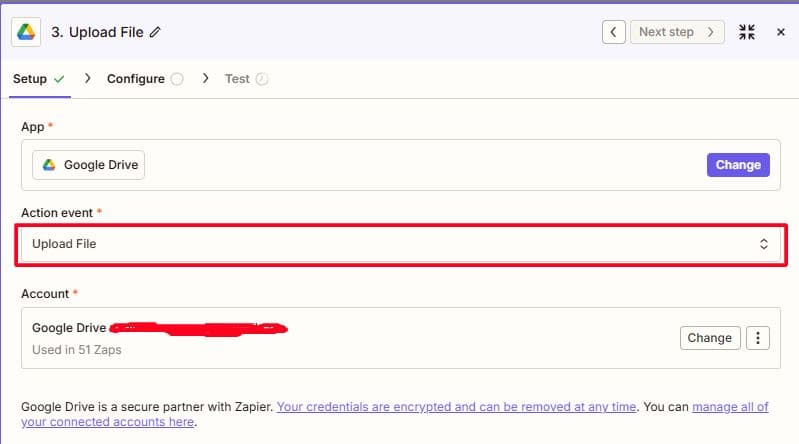
Step 9: Add Google Drive Action to Save the Compressed PDF
To complete the workflow, you’ll now save the compressed PDF back to Google Drive.
- Click the “+” button to add another action.
- Select the Google Drive app.
- Choose the Action Event “Upload File”.
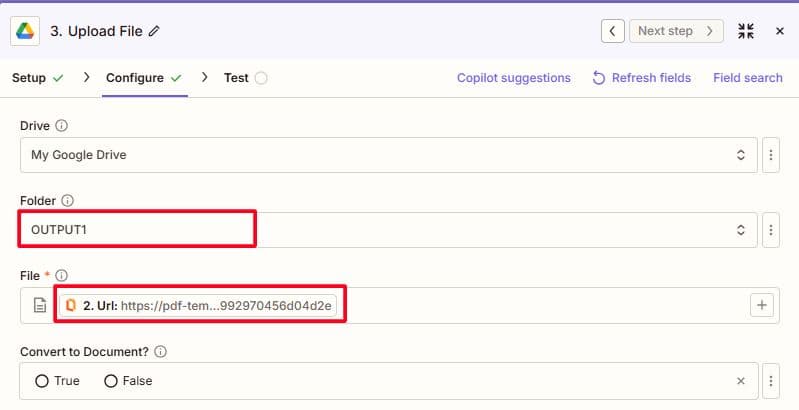
Step 10: Configure the Google Drive Upload Action
- Drive:
- Select “My Google Drive”.
- Folder:
- Choose the destination folder for compressed PDFs.
- Example:
/OUTPUT1
- File:
- Map the “Output PDF URL” from the PDF.co step.
- File Name (Optional):
- Enter a meaningful name, such as:
compressed_{{File Name}}
- Enter a meaningful name, such as:
- (Optional) Convert to Document:
- Set this to “No”.
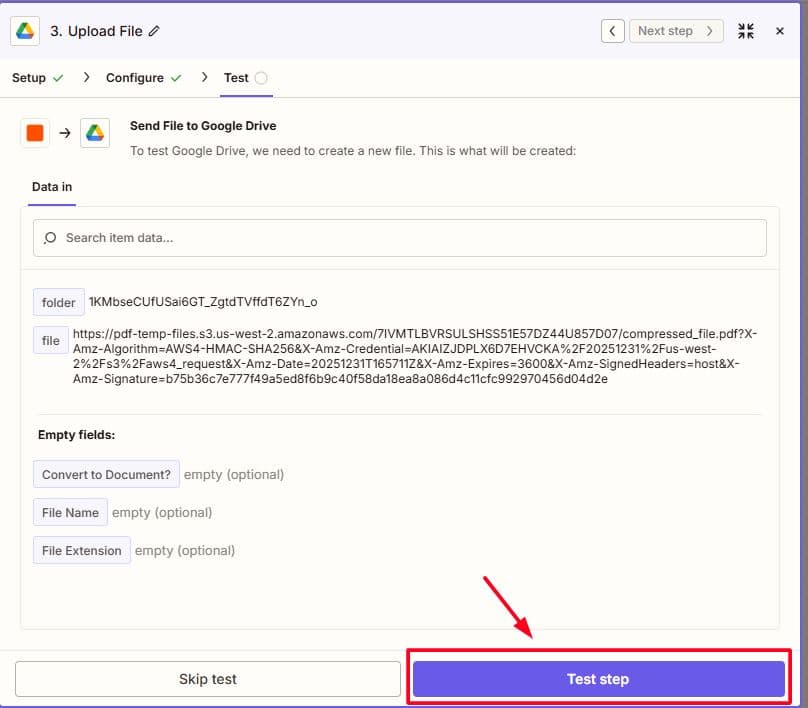
Step 11: Test the Google Drive Upload Action
- Click “Test Step”.
- Zapier will download the compressed PDF from PDF.co and upload it to Google Drive.
- Once successful, check the destination folder in Google Drive to confirm the file is saved. You can Confirm that the file size is reduced compared to the original
Input File Before Compression

Input File After Compression

Step 12: Turn On Your Zap
- Click “Turn on Zap”.
- Your automation is now live.
From this point onward:
- Any new PDF added to the specified Google Drive folder
- Will be automatically compressed using PDF.co
- And saved back to your chosen Google Drive folder
Final Result
You now have a complete, end-to-end automation that:
- Detects new PDF files in Google Drive
- Compresses them using PDF.co
- Saves the compressed PDFs back to Google Drive for permanent storage
This workflow helps reduce file sizes automatically, improves storage efficiency, and eliminates the need for manual PDF compression.
Related Tutorials
