How to Process Large HTML to PDF or URL to PDF Conversions in Zapier
In this tutorial, we will demonstrate how to convert HTML code and a web page URL into PDF format using PDF.co and Zapier. We will be using the sample HTML code and web page URL provided in the spreadsheet below as examples.
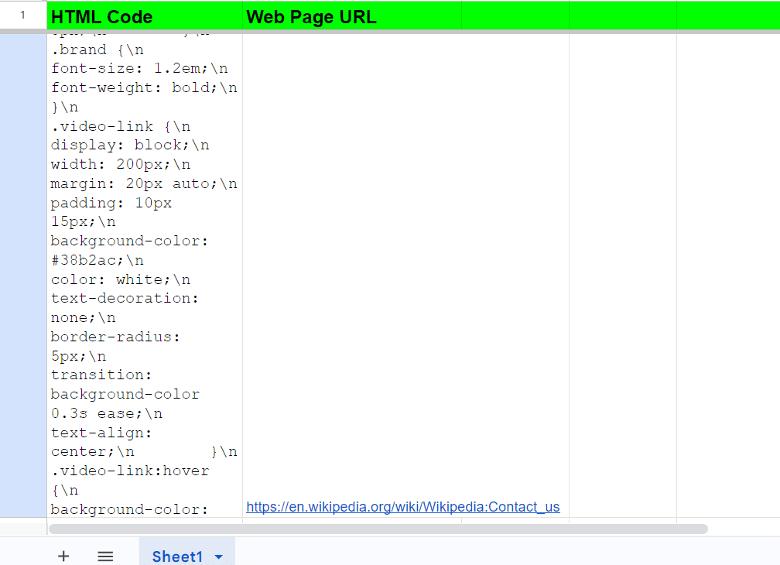
Here’s a step-by-step guide on how to automate the process of converting HTML code and a web page URL into PDF format:
IN THIS TUTORIAL
Step 1: Google Sheets App
Let’s start by integrating the Google Sheets app and using the "New Spreadsheet Row" feature to retrieve the HTML code and web page URL stored in the spreadsheet.
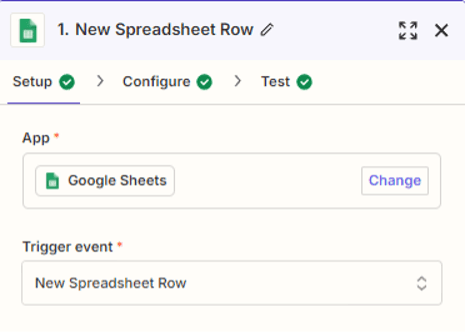
Step 2: Setup Google Sheet Configuration
Next, let’s configure the setup by selecting the specific spreadsheet and worksheet where the HTML code and web page URL are located.
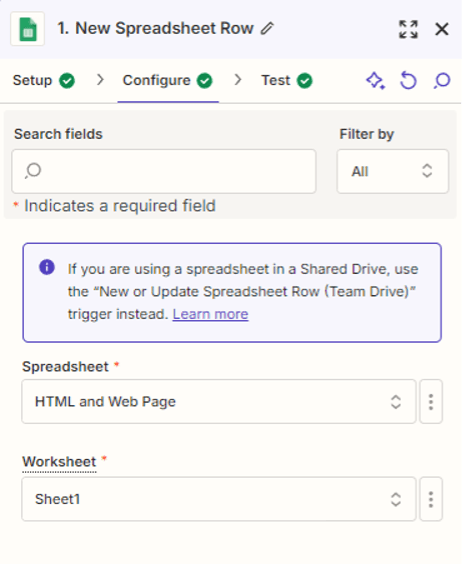
Step 3: Test the Trigger
Now, let's test the trigger to retrieve the spreadsheet row. Select the specific row that contains the HTML code and web page URL, ensuring the correct data is captured for the conversion.
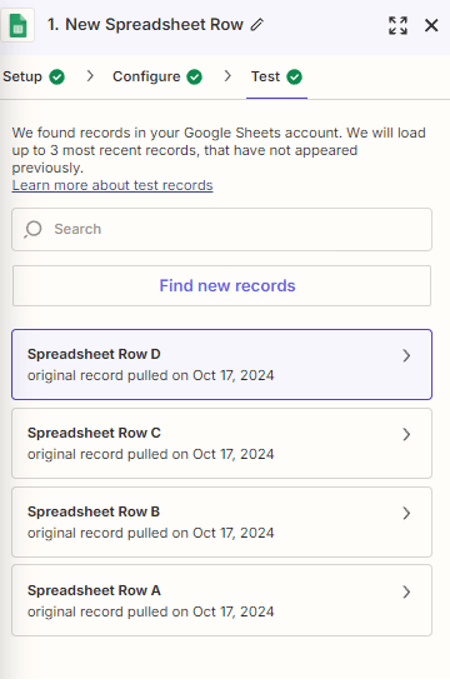
Step 4: Add PDF.co App
We will now integrate the PDF.co app and choose the HTML to PDF Converter action. This will allow us to convert both the HTML code and web page URL into PDF format seamlessly.
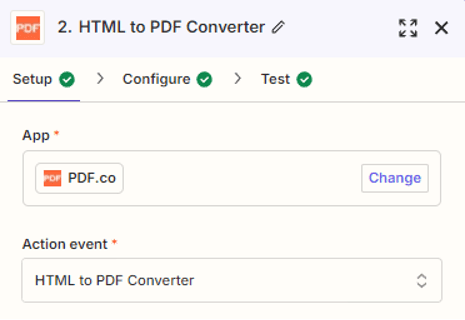
Step 5: Setup PDF.co Configuration
Now, let’s configure the setup by entering the HTML code and web page URL into the appropriate fields.
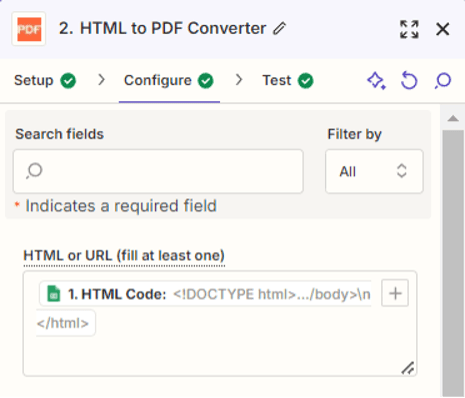
Step 1: HTML Code Input
Map the HTML code from the spreadsheet to the designated field in the PDF.co HTML to PDF converter.
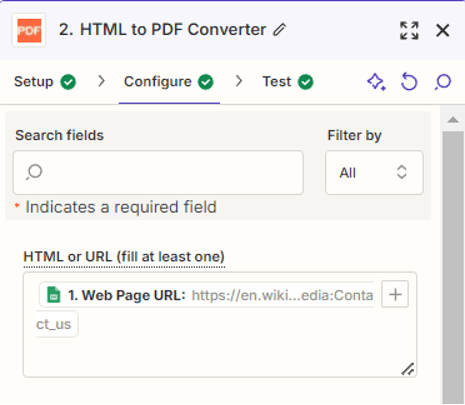
Step 2: Web Page URL Input
Similarly, map the web page URL from the spreadsheet to the URL field in the converter.
Step 3: Additional Settings (Optional)
Customize any additional settings like page size, orientation, or margins if needed.
Step 4: HTML to PDF Conversion Setup
Step 5: URL to PDF Conversion Setup
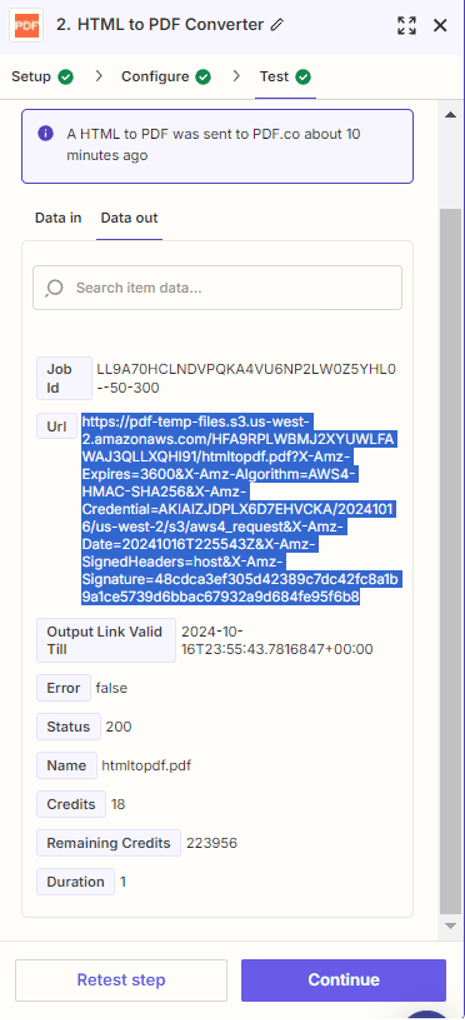
Step 6: Test PDF.co Action
Once you have successfully tested the action, copy and paste the generated PDF URL into your browser to view the output.
Step 7: Generated PDF Output
Here’s the HTML code or web page content rendered as a PDF, displaying the structure and formatting as expected.
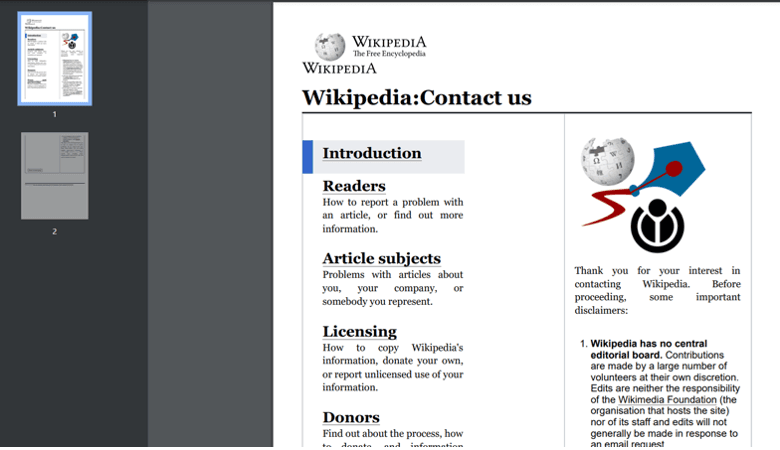
Now that we have successfully generated the PDF, we will proceed to upload the PDF file to cloud storage for future reference. You can choose any type of cloud storage that you prefer, such as Google Drive, Dropbox, OneDrive, or any other service supported by your workflow.
Step 8: Google Drive App
Next, let’s integrate the Google Drive app and use the Upload File feature to save the generated PDF file into a designated Google Drive folder.
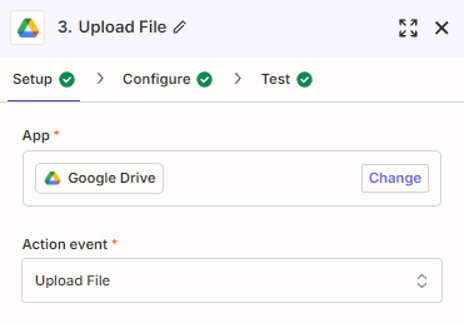
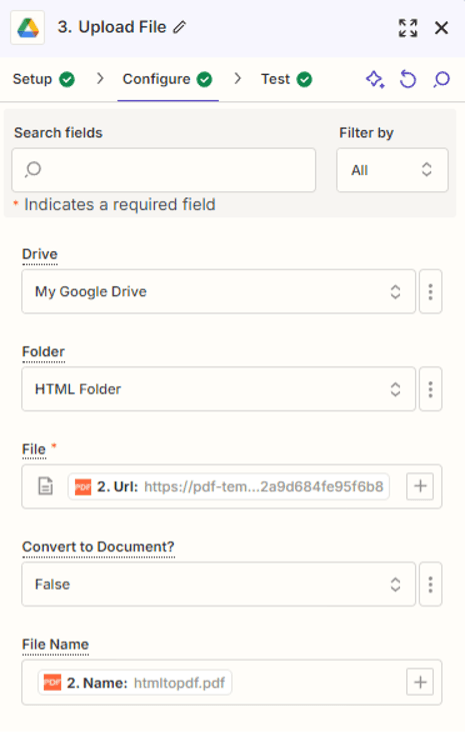
Step 9: Setup Google Drive Configuration
- Select My Google Drive as the drive to be used for uploading files.
- Enter the name of the folder where you want to upload the generated PDF file.
- Input the generated URL from PDF.co to upload the PDF file.
- Enter the desired name for the uploaded file, ensuring it is easy to identify later.
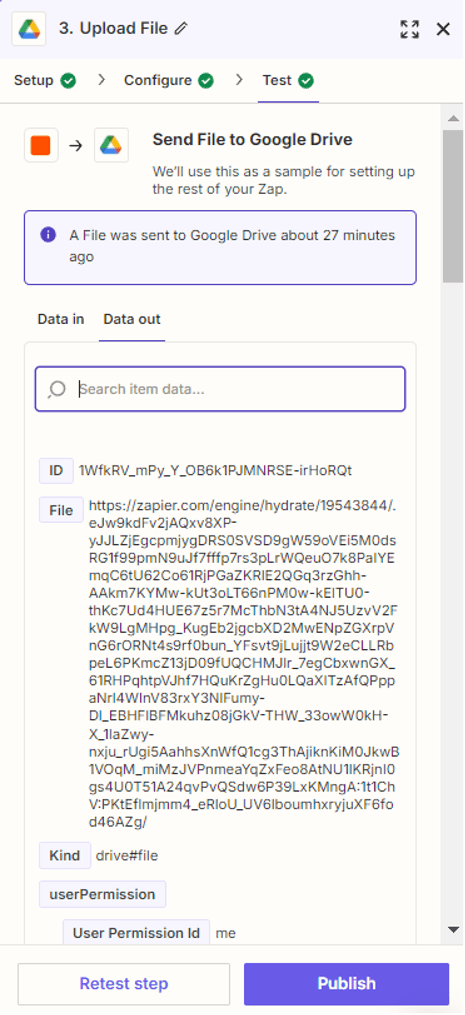
Step 10: Test Google Drive
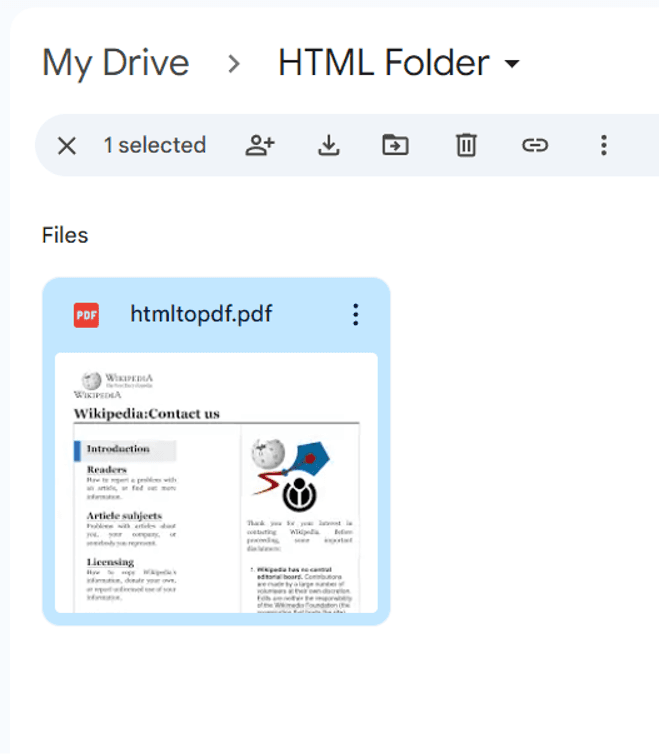
Once you have successfully tested the Google Drive action and uploaded the file to the specified folder, open your Google Drive folder to verify that the file has been uploaded.
Step 11: Google Drive Folder
Here’s the generated PDF file that we successfully uploaded to the specified folder in Google Drive. You can now access and view the PDF directly from the folder for future reference or sharing purposes.
You’ve learned how to process large HTML to PDF or URL to PDF conversions in Zapier.
Related Tutorials


