How to Use File Storage on PDF.co

PDF.co Built-In Files Storage Benefits

  • Store documents for use in API.
  • Store PDF forms for re-use with PDF.co Form Filler
  • No download limit.
  • No throttling like Google Drive and Dropbox.
  • Private and exclusive access of stored documents to PDF.co API only.
  • Available in Free and Business plans.

Preliminary Steps

Step 1: Log on to PDF.co and select File

Let’s start by logging in to our PDF.co account.

Next, click on Files inside your PDF.co dashboard.

Step 2: 
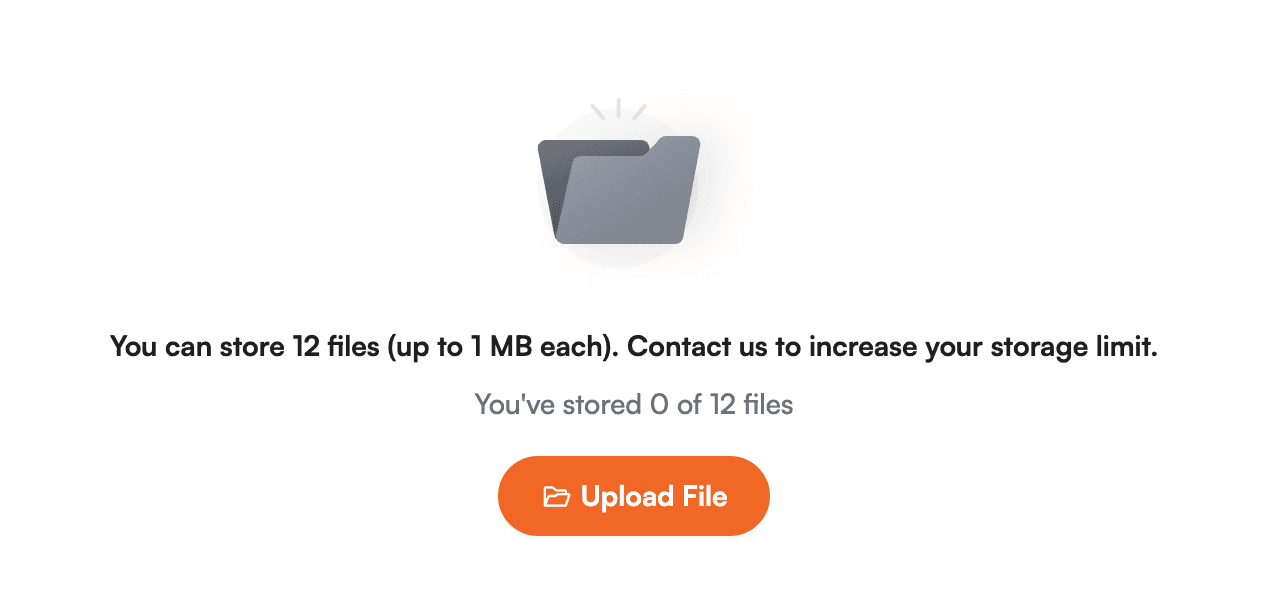
Click Upload New File

The PDF.co interface is user-friendly and easy to navigate. Once you are inside Files, you will see the Upload New File button. Click on it to start uploading your files.

Screenshot of Upload New File button

Step 3: Copy the Link to Use for the Project

The table below lists all of your uploaded files. Now that your file is ready, you can copy the link and use it in your project.

Table of uploaded files

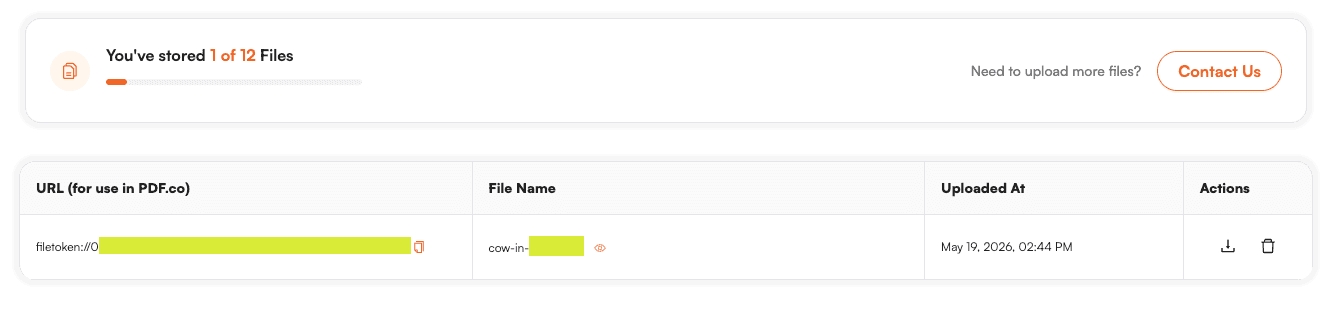
URL(for use in PDF.co)

The URL is the link that you will use to access your file. The Private URL has a unique format. It is preceded with filetoken://.

Filename

The Filename column displays the filenames. When you click on the filename, it will open the file in a new tab to quickly check and confirm that you have the correct file. It also includes the ability to download the file.

Upload At

The Uploaded At column shows the time and date the files were uploaded.

Actions

The Actions column houses the icons that will let you delete your files. When you delete your file and confirm it on the confirmation dialogue box, it is considered final and can no longer be retrieved. Please make sure to double-check the file you want to remove.

File Size

The individual file size limit is 10MB for the Free plan and up to 120MB for the Business plan and higher. If you are on a Free plan and have files larger than 10MB, you may upgrade your subscription here https://app.pdf.co/subscriptions or contact us to discuss your needs or if you require a custom plan.

PDF to TEXT Demo using the Private URL

In this demonstration, we will use the Postman app to show you how you can use the URL of a file inside the PDF.co File Storage.

Step 1: Upload File in the PDF.co File Storage

First, let’s upload our file in the PDF.co built-in File Storage and copy the file link.

Screenshot of PDF.co built-in Files Storage’s upload button and uploaded file URL

Step 2: Open PDF.co API v. 1 in Postman

Next, open the PDF.co API v. 1 folder on the Postman app. The folder contains all the PDF.co API requests.

Screenshot of PDF.co API v. 1 folder inside the Postman app

Step 3: Click PDF to TEXT Folder and Open JSON

Then, click on PDF to TEXT folder and open JSON /pdf/convert/to/text. This folder contains a PDF to TEXT pre-filled request that you can easily configure according to your requirements.

Screenshot of PDF to Text folder and JSON /pdf/convert/to/text

Step 4: Replace Current URL with PDF.co File URL and Set Inline to True

Under the Body menu, select raw, and you will see the JSON code that we will send for this request. We are going to replace the current URL with our PDF.co file URL and set inline to true. Setting inline to false will make the resulting TEXT file downloadable.

{
  "url": "filetoken://956570cdf1588e6d17b6eaa4",
  "inline": true
}
Screenshot of the JSON code

cURL Option

You can send the same request with cURL using the following:

curl --location --request POST 'https://api.pdf.co/v1/pdf/convert/to/text' \
--header 'Content-Type: application/json' \
--header 'x-api-key: INSERT_YOUR_KEY_HERE' \
--data-raw '{
  "url": "filetoken://956570cdf1588e6d17b6eaa4",
  "inline": true
}'

Checking Credit

Creating a call to access the link is equivalent to 1 credit. You can check your API Log on PDF.co to see the requests that you have made, its status, and credit.

Screenshot of PDF.co’s API Log

Step 5: Send Request

We are now ready to send our request. Click on the Send button.

Screenshot of the Send button

Step 6: Final Check

Check and make sure that the status says 200 OK.

Screenshot of Status 200 OK

Hooray! We have demonstrated how to use the URL of our uploaded file in the PDF.co built-in Files Storage and converted our PDF file to TEXT.

Screenshot of the converted PDF to TEXT’s JSON result.