How to Generate Barcode and Save to Dropbox with PDF.co Using Zapier
This demo teaches the step-by-step process of generating barcode and saving it to Dropbox using an integration of PDF.co and Zapier applications.
Useful Resources:
- How to generate Barcode with PDF.co using Zapier https://pdf.co/how-to-generate-barcode-using-zapier
IN THIS TUTORIAL
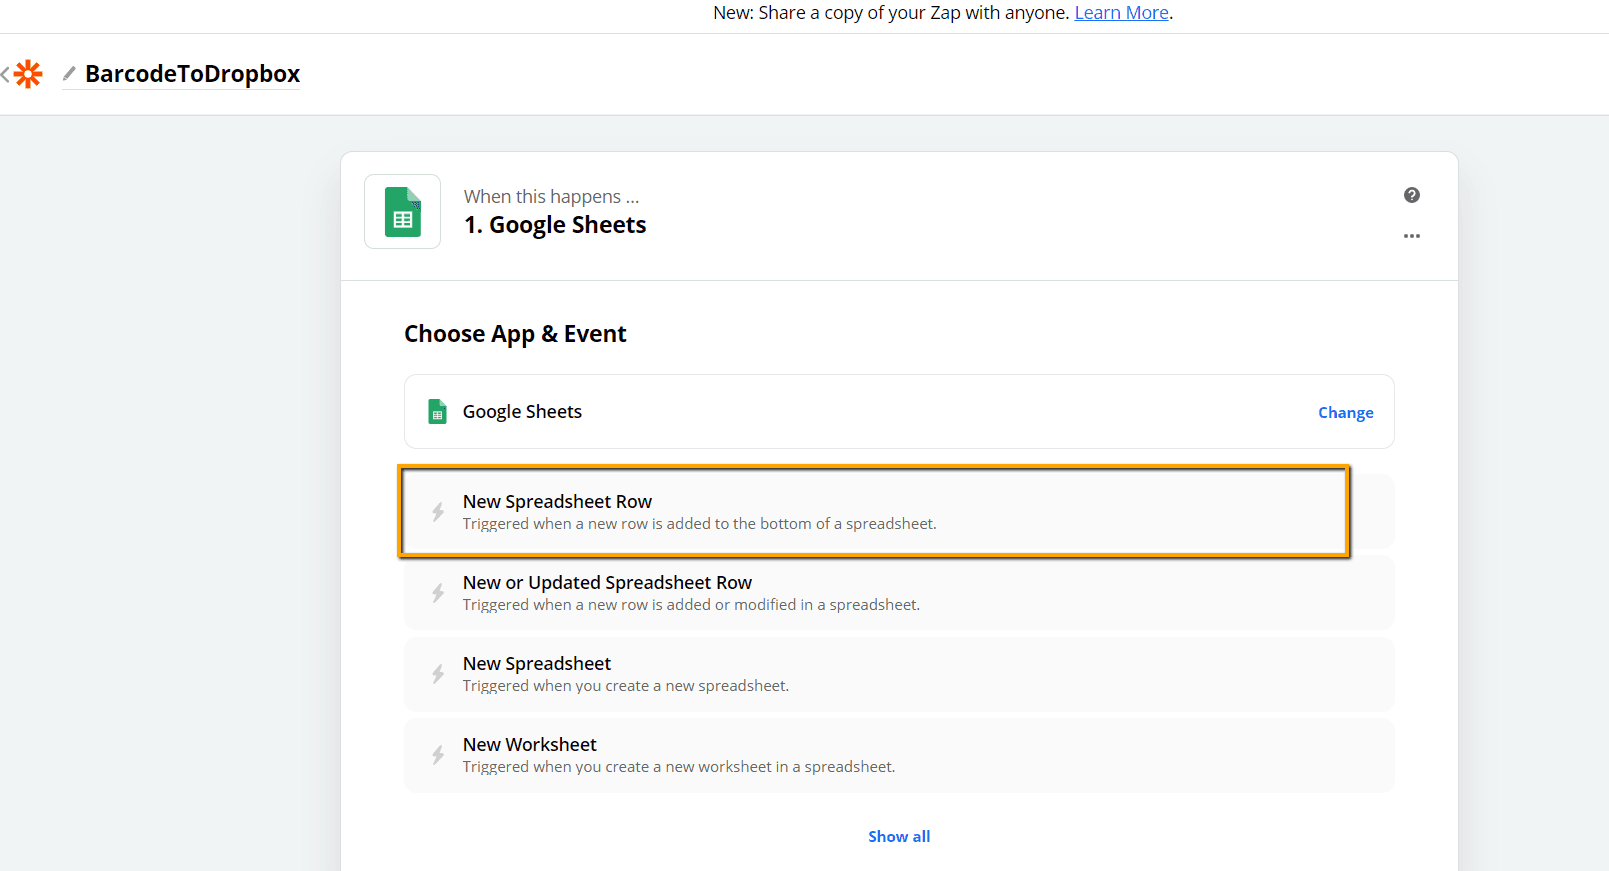
Step 1: Create a New Zap and Trigger
To begin, let’s create a new zap and have Google Sheet as input. We’ll have New Spreadsheet Row as the trigger.
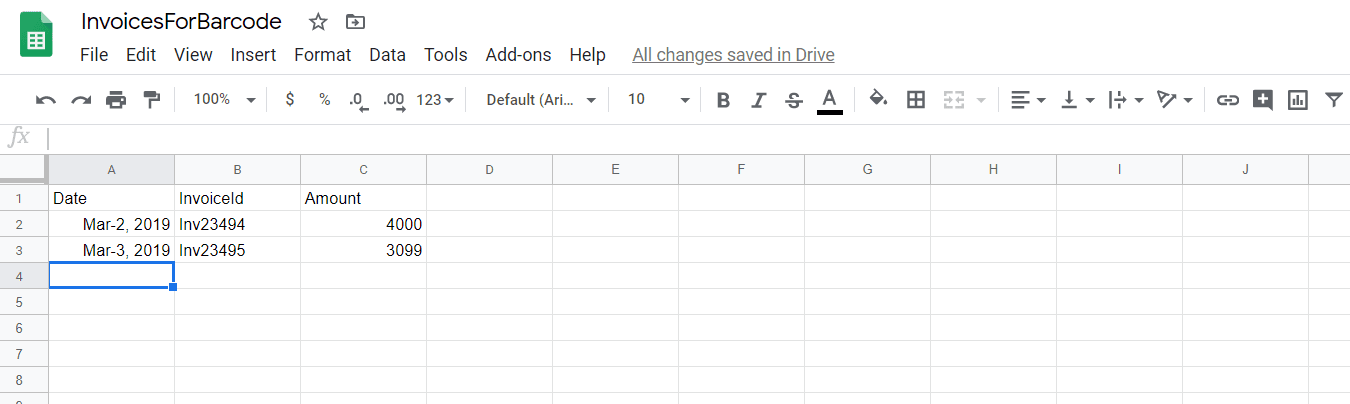
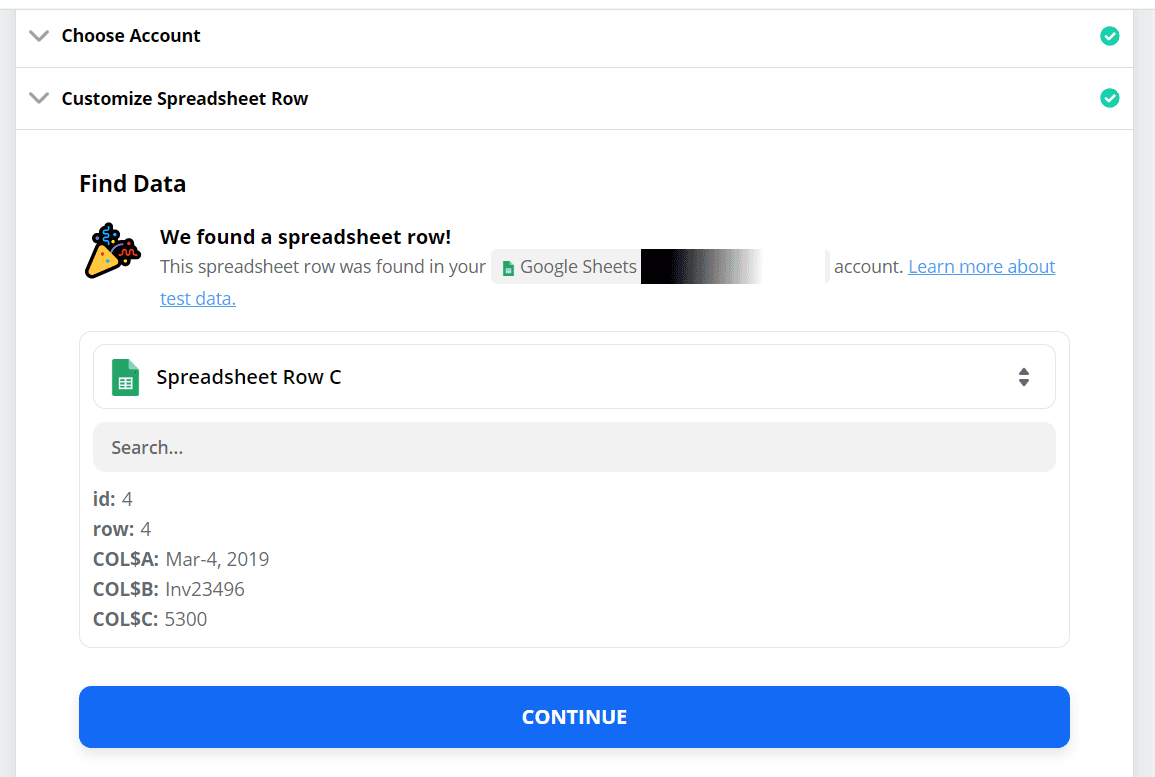
The input spreadsheet looks similar to this. Specify the trigger to every new row added to the worksheet. The end goal is to have a QR code generated for every new row by utilizing the Invoice No field.
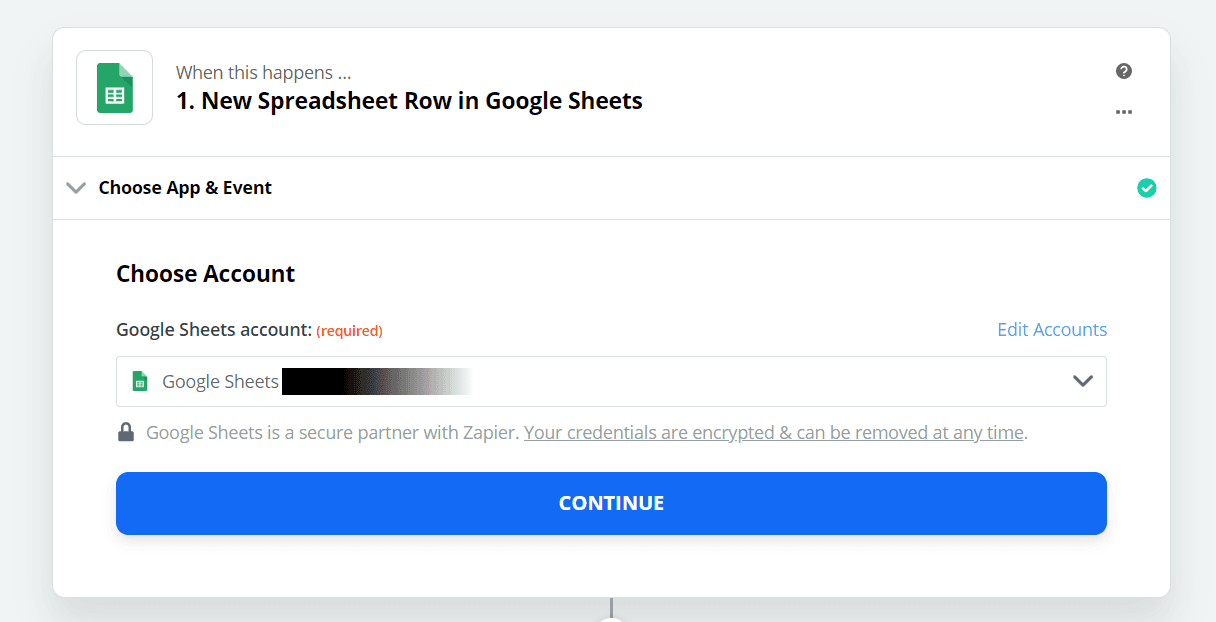
Step 2: Set Google Sheet Account Connection to Zapier
Once App & Event are specified, you need to set the Google sheets account.
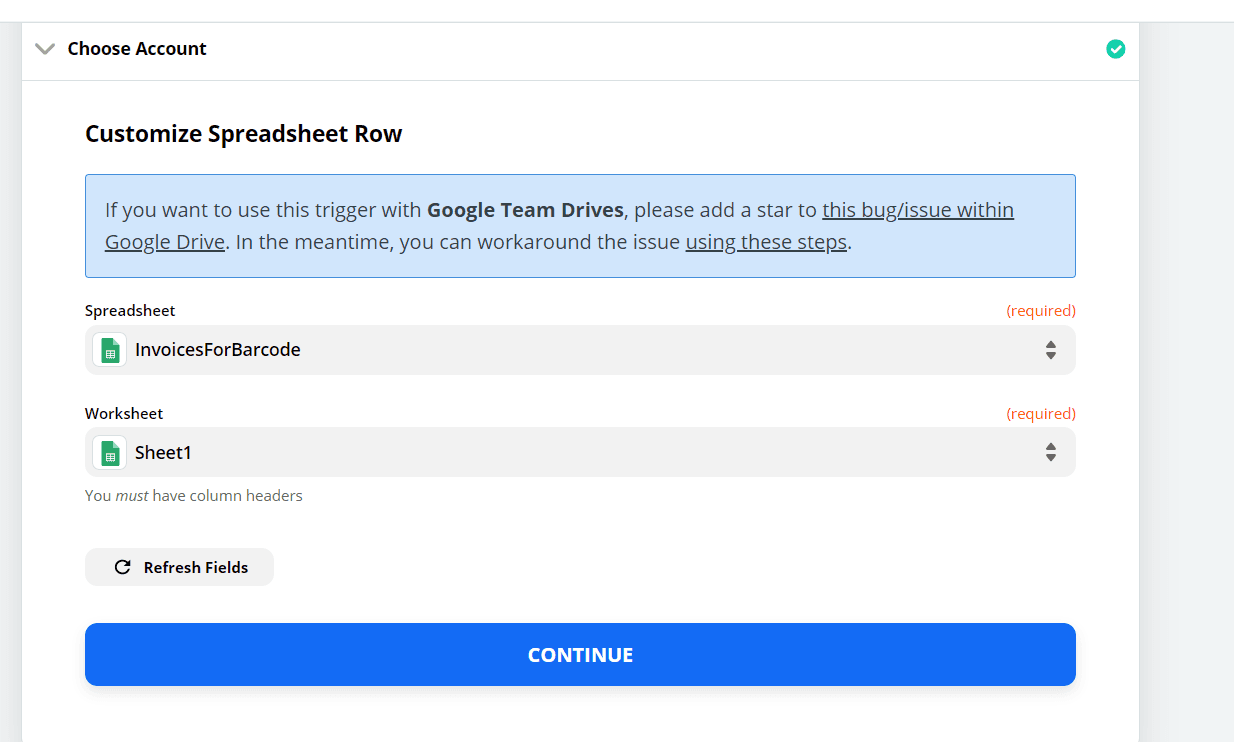
After Zapier connects to Google Sheets account, provide the source Spreadsheet and Worksheet.
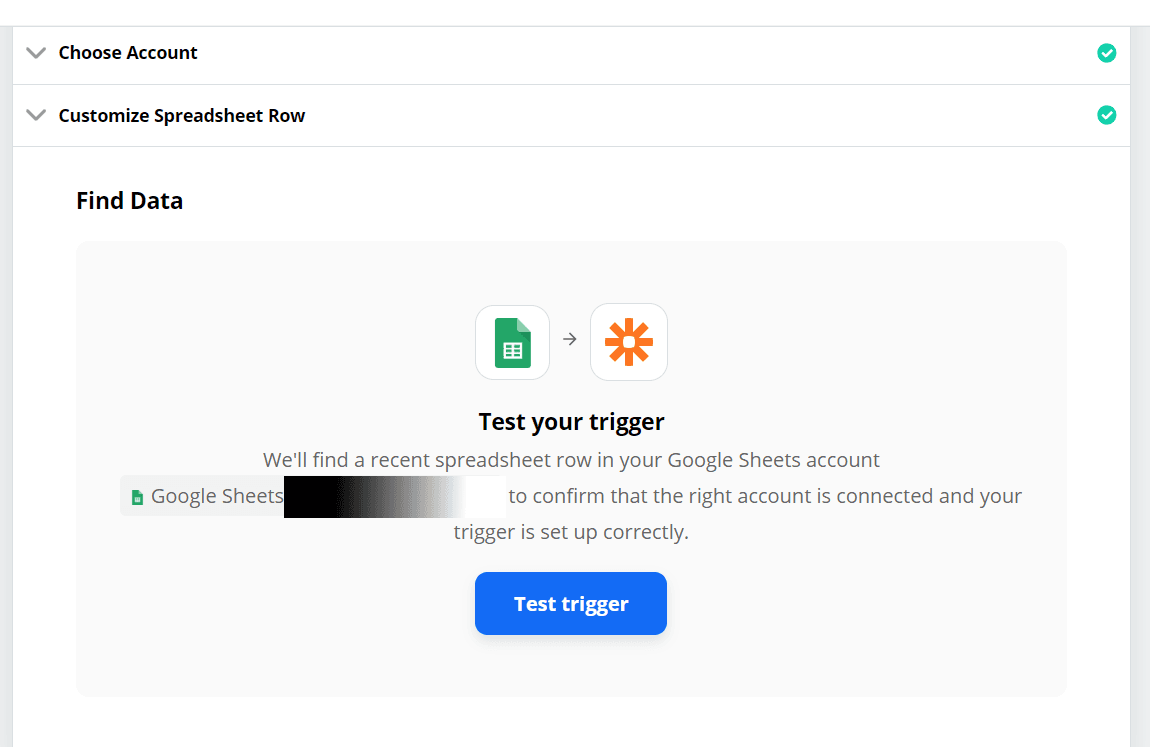
Step 3: Implement Test Trigger
With all event configuration setup for Google sheets, it’s time to do a Test Trigger. Before hitting the Test Trigger button, add a new invoice row in the Google spreadsheet.
Step 4: Start the Barcode Generation Process
We have completed the first step of specifying the input and the event apps. Now it’s time to set the next event, which should generate the barcode.
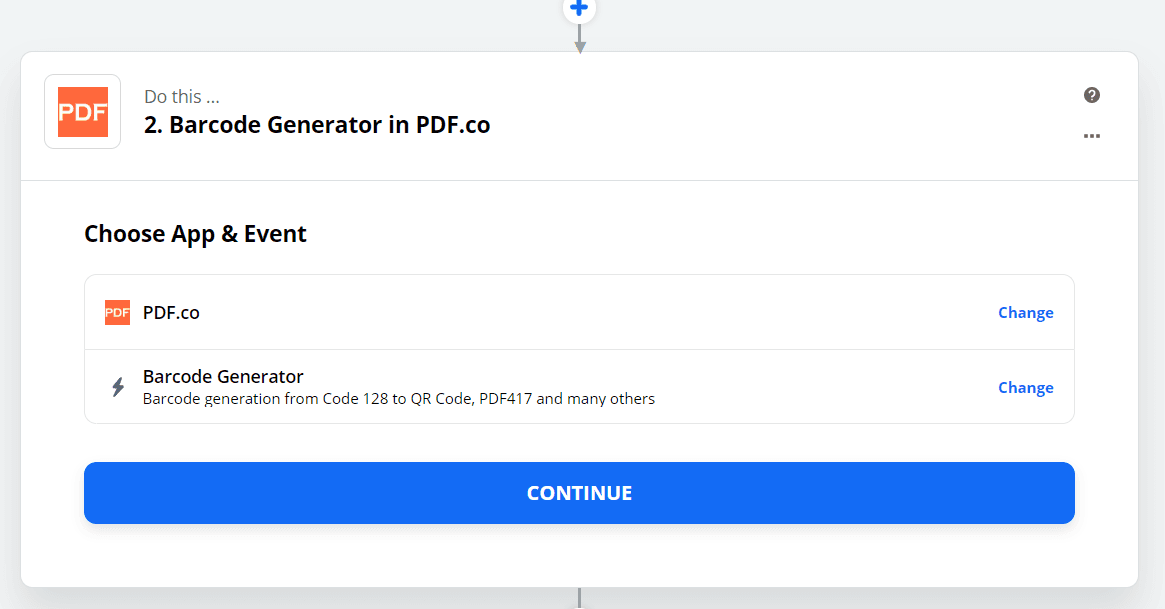
Step 5: Select PDF.co as the App then the Barcode Generator Function
In this step, we aim to generate a barcode based on Invoice No. To begin with, select PDF.co as input application.
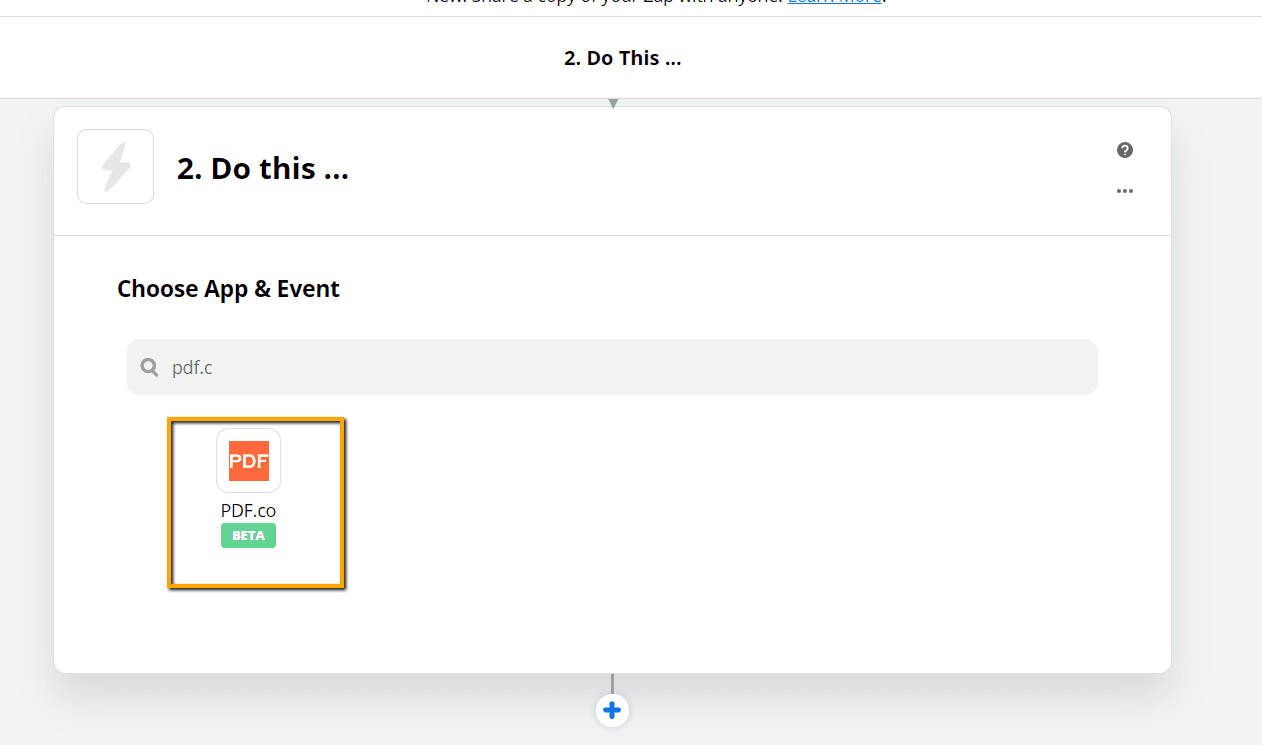
Next, specify the Barcode Generator as the event. As the name suggests, this event generates almost all types of barcodes.
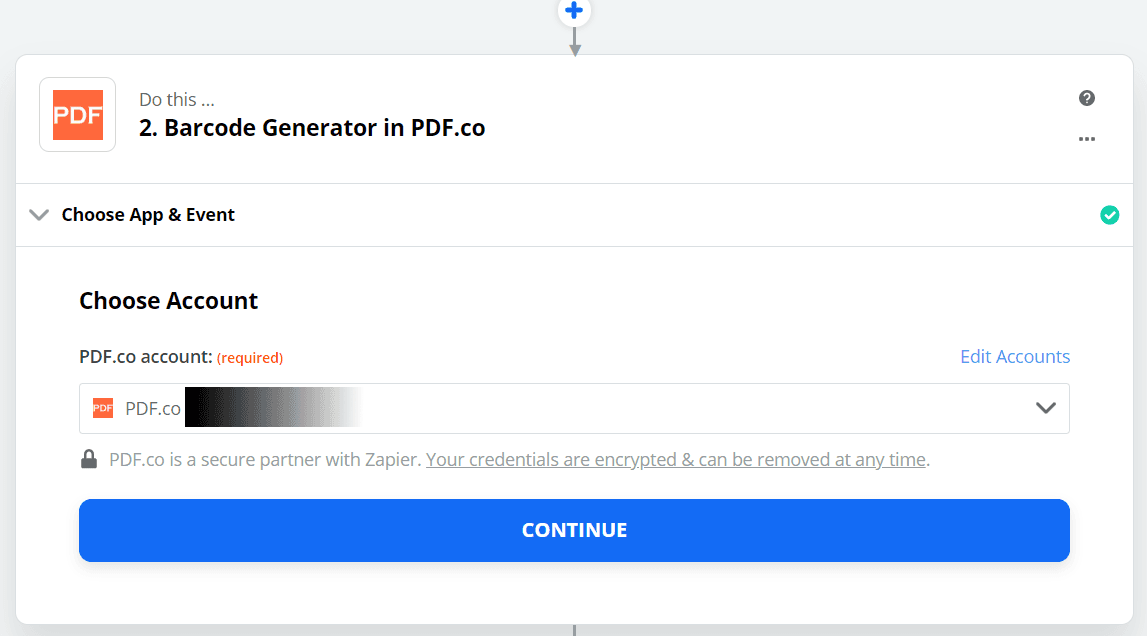
Step 6: Configure the PDF.co Account
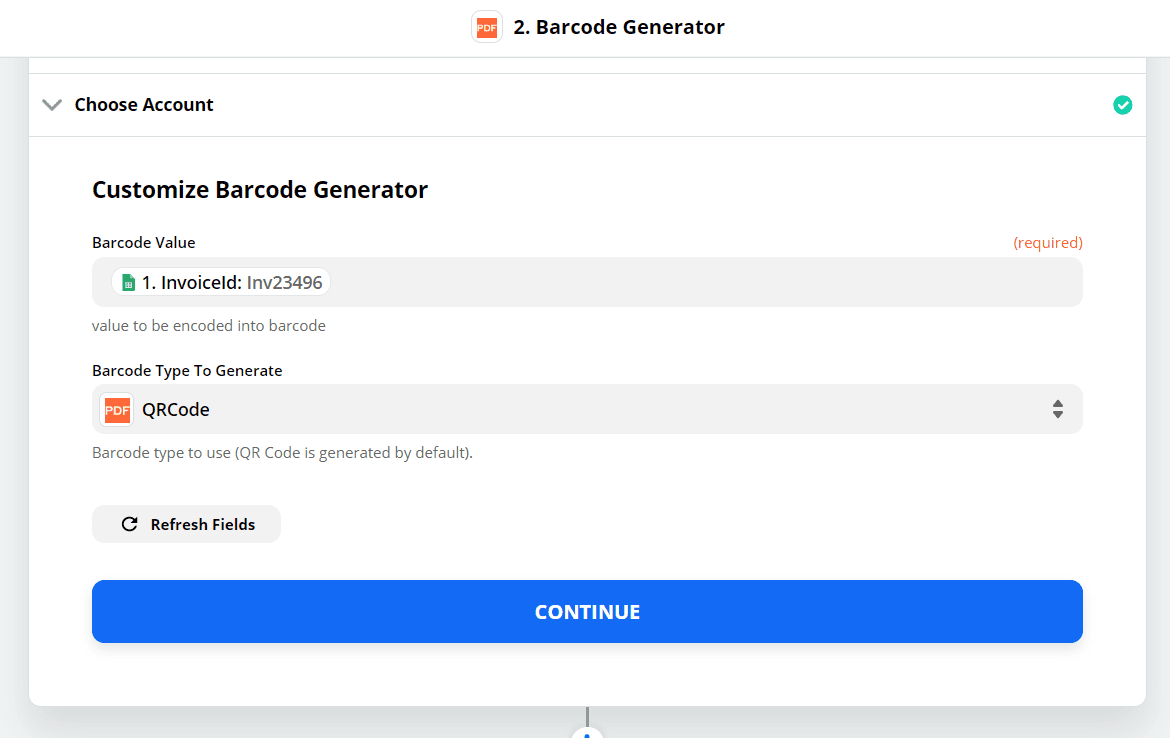
Step 7: Specify the Barcode Generation Related Fields
- In the Barcode Value field, select InvoiceId.
- In Barcode Type To Generate field, select QR code.
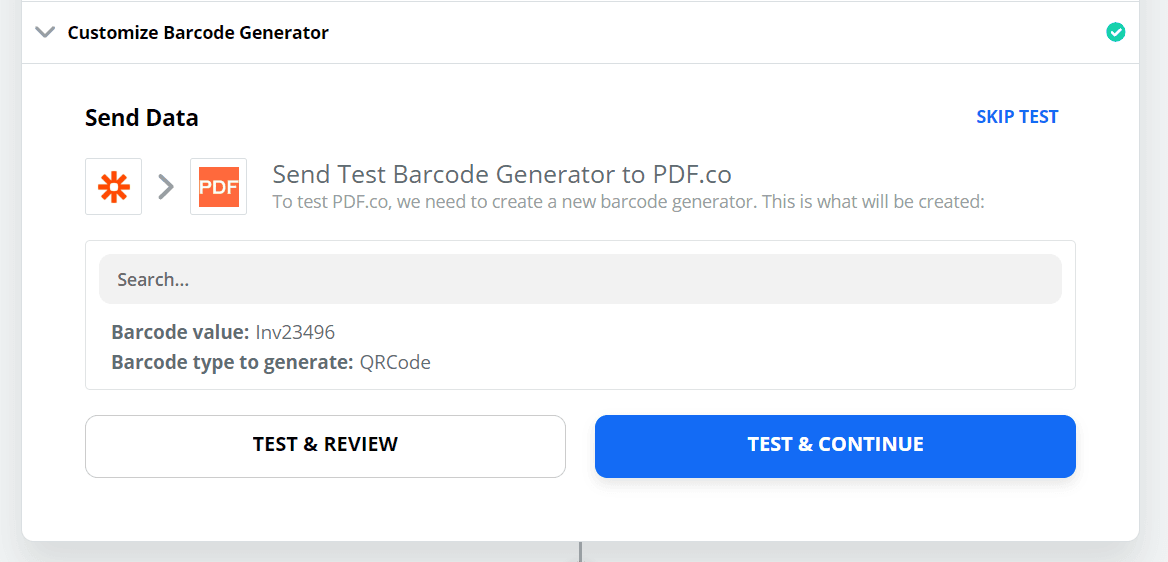
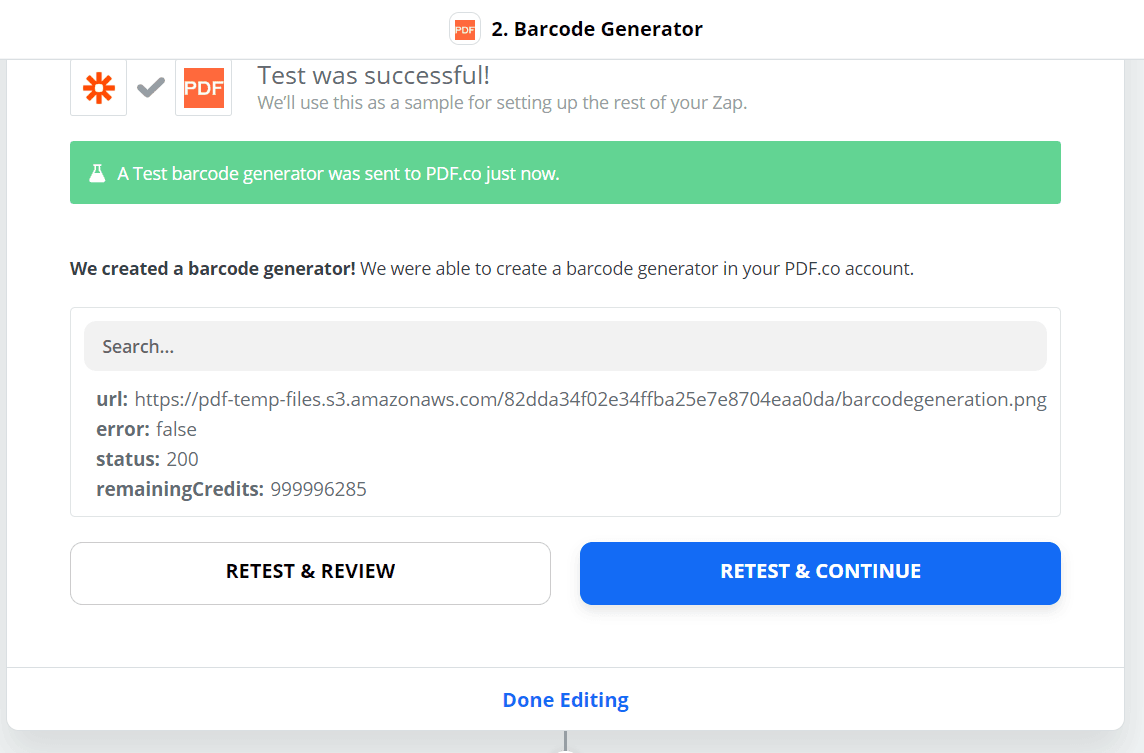
Step 8: Test & Review
The PDF.co result returns the Barcode URL along with other fields such as status, remaining PDF.co credits, etc.
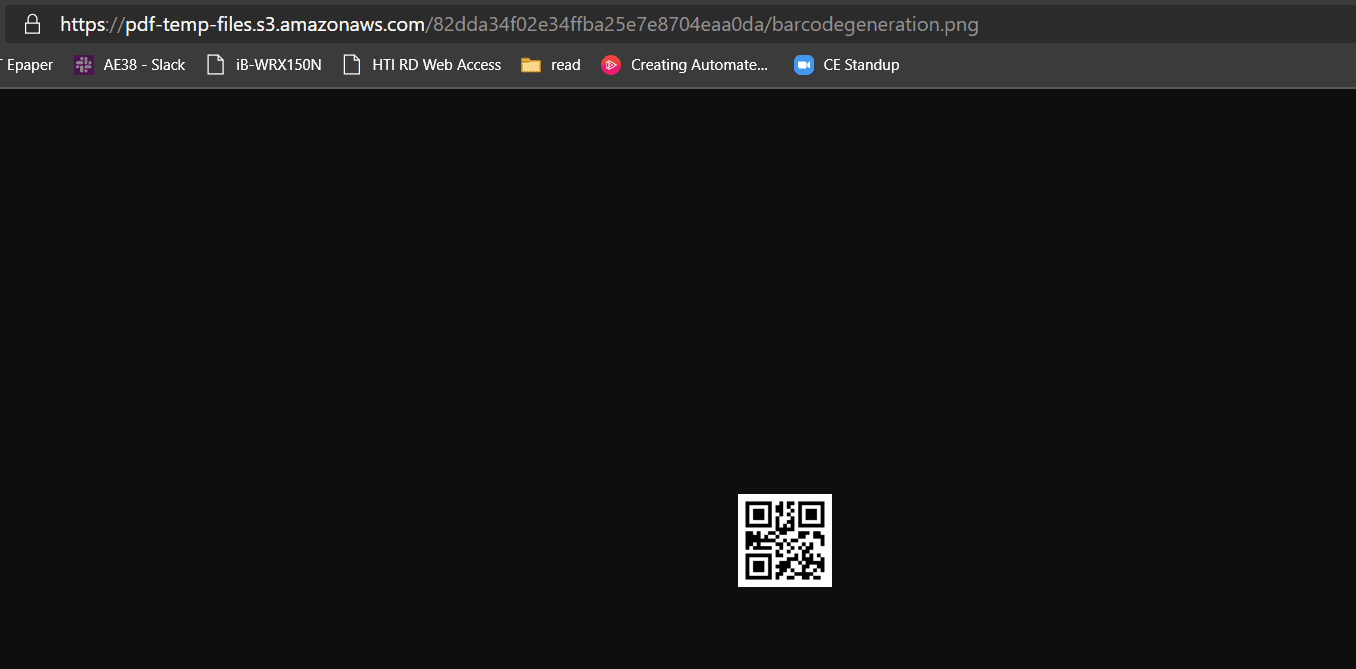
Here’s the QR code generated in PDF.co.
Step 9: Store Barcode Value in Dropbox
In the new app, select Dropbox as the app and choose Upload File as the event.

Step 10: Select your Dropbox Account then Configure Upload Fields
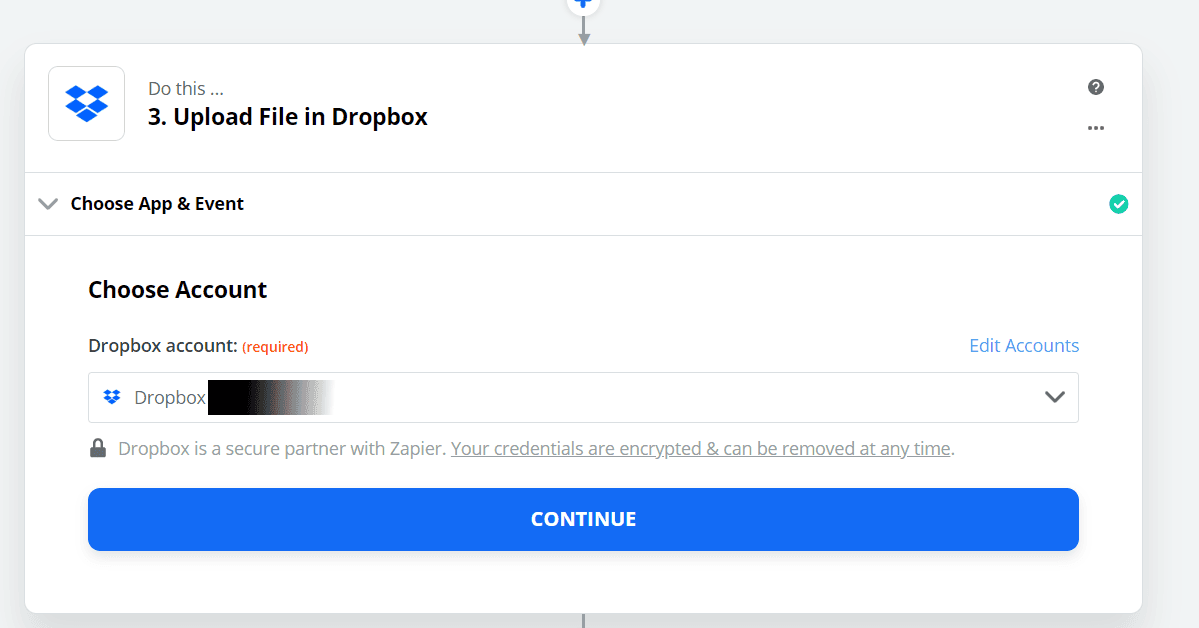
Let’s configure the Dropbox upload fields.
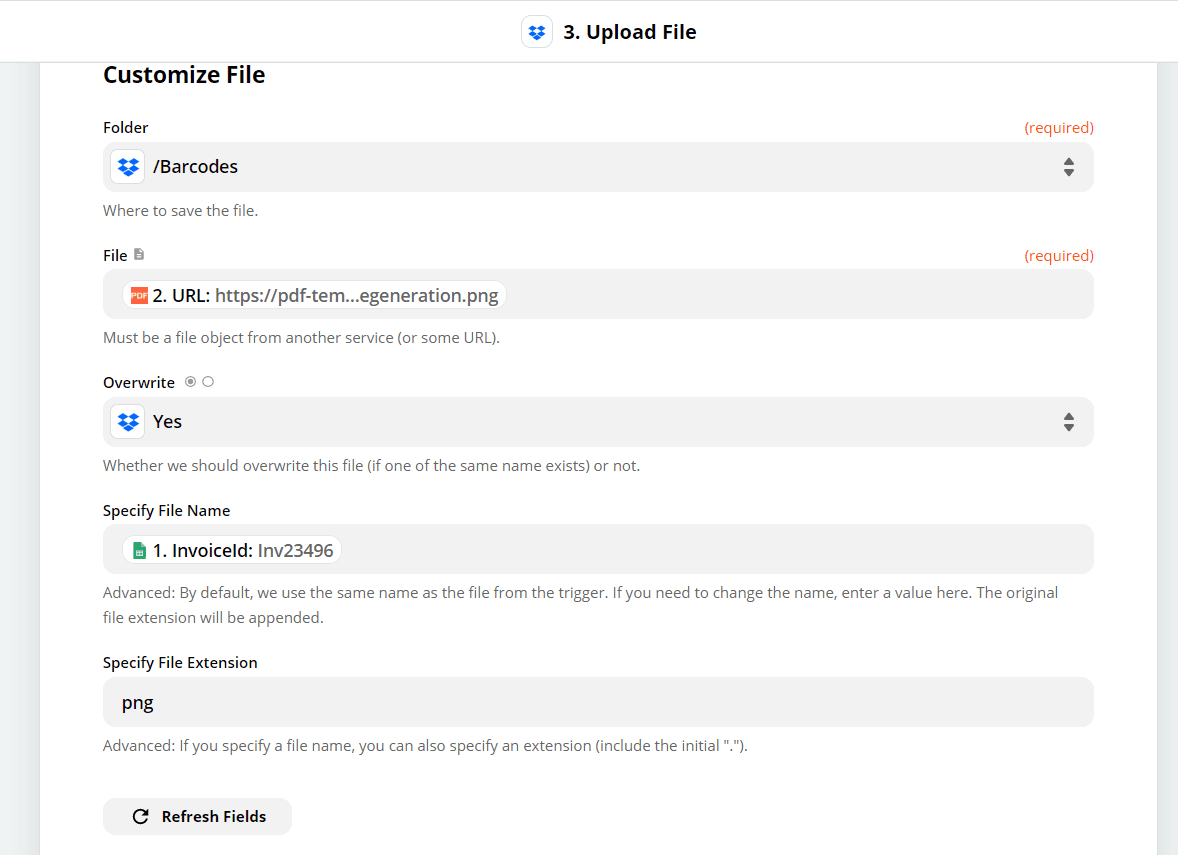
- In the Folder field, select the Dropbox folder where the new files will be stored.
- In the File field, paste the Barcode URL from PDF.co.
- In the Overwrite field, select Yes or No.
- In the Specify File Name field, select the Invoice ID.
- And finally, in the Specify File Extension field, enter the file extension.
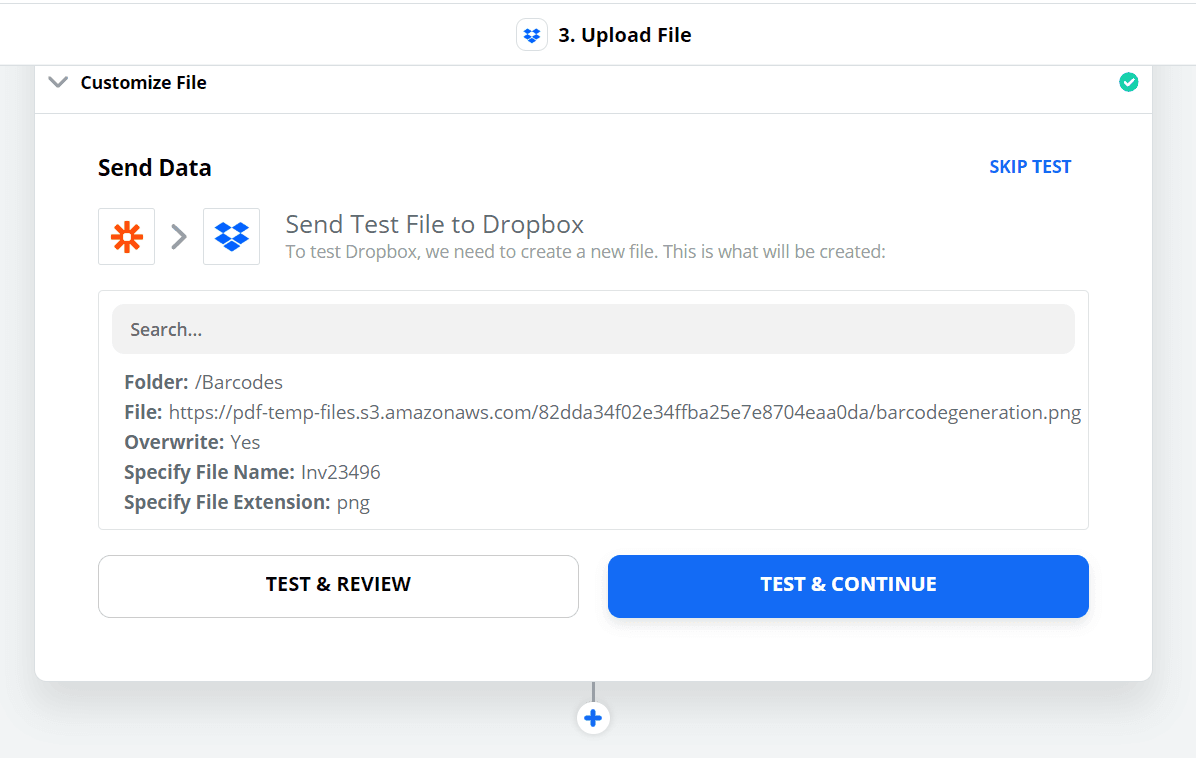
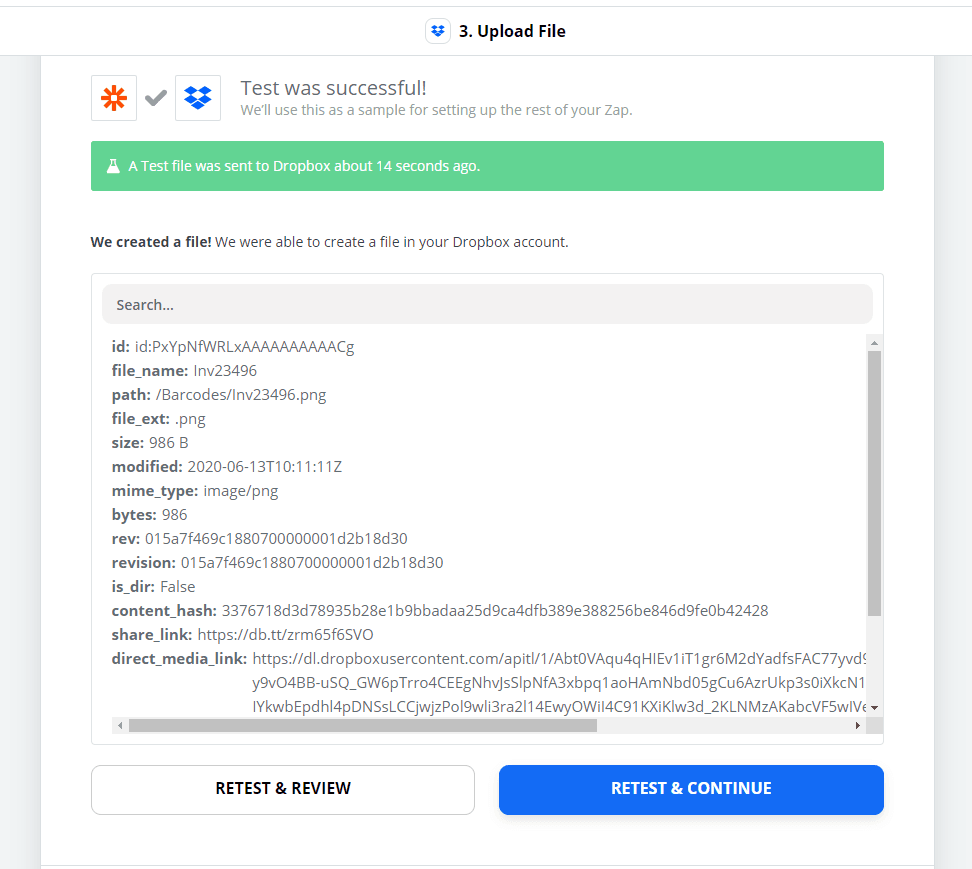
Step 11: Test & Review the Output
With all these configurations set, it’s time to Test & Review the output.
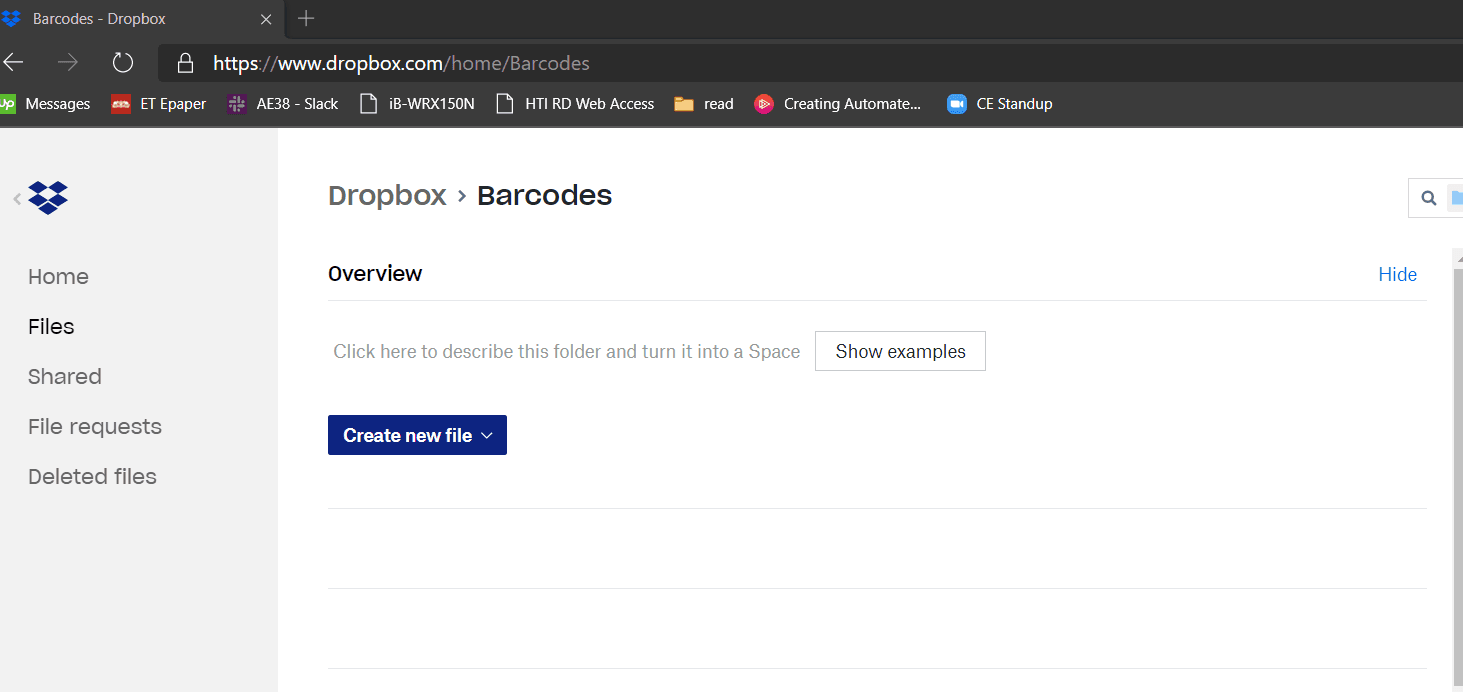
Here is the empty Dropbox folder before testing.
When we click the Test & Review button, it will upload the file to Dropbox.
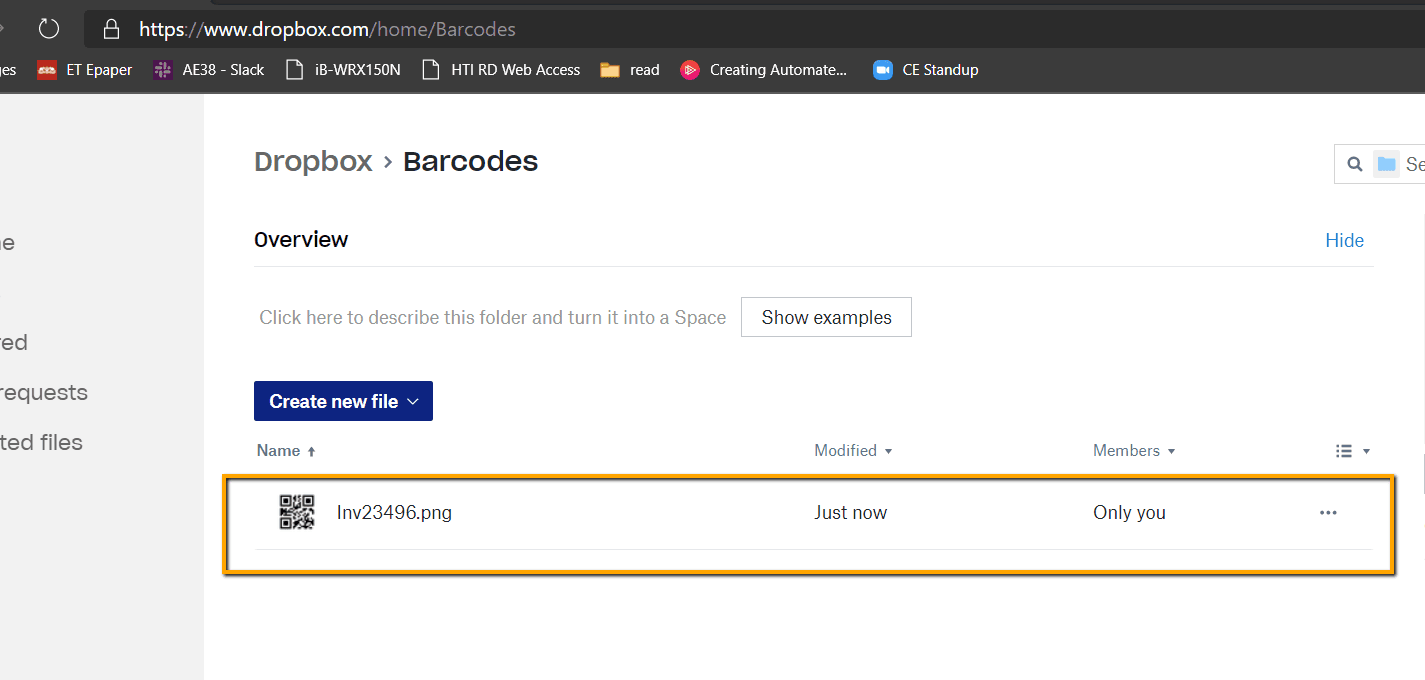
Step 12: See Result
If we look at the Dropbox folder again, we should see the new Barcode file added.
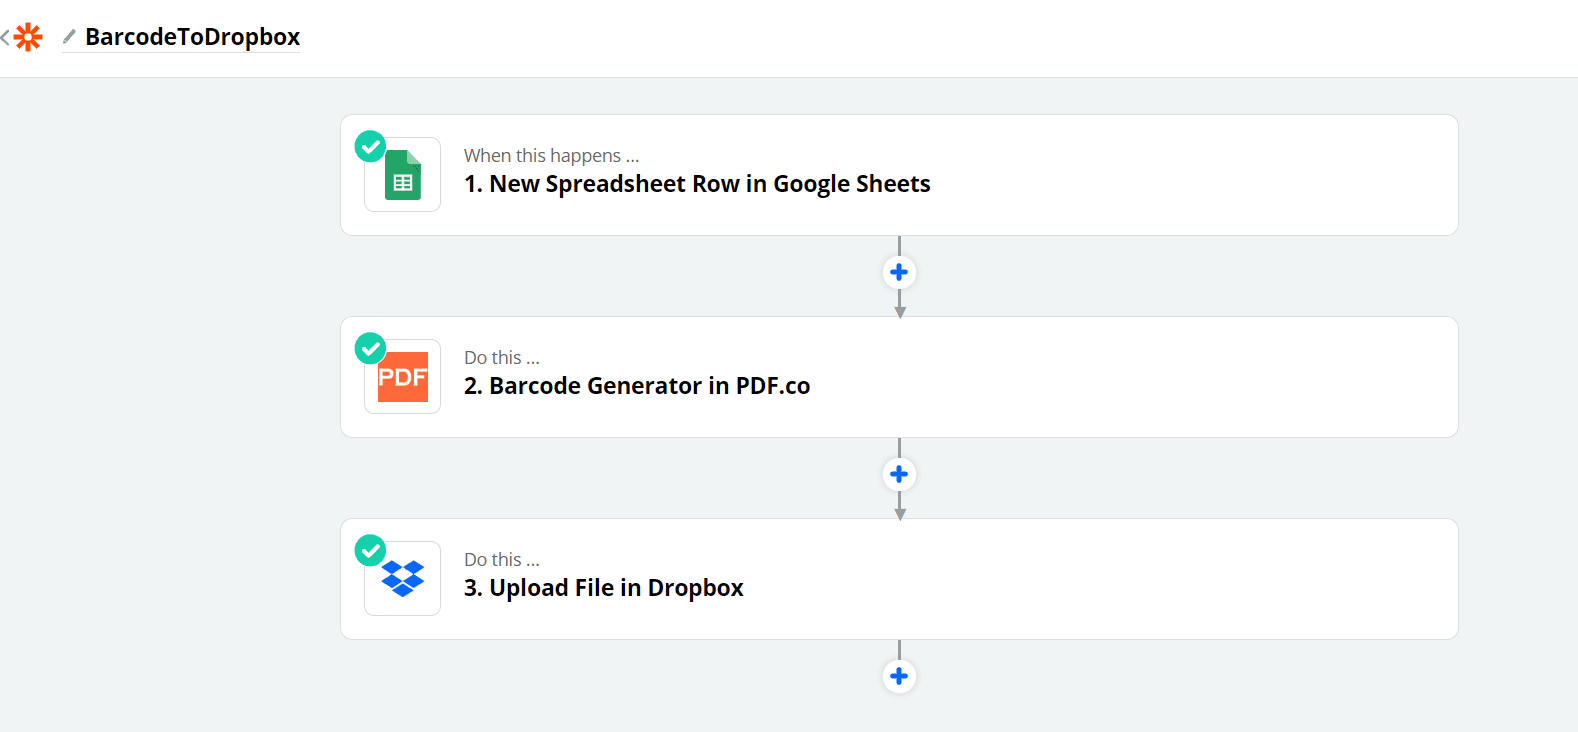
In summary, the image below shows all the applications needed to produce the result.
In this tutorial, you’ve checked the step-by-step process of generating barcode and saving it to Dropbox using PDF.co and Zapier integration.
Video Guide
Related Tutorials
