Fill out PDF with Data Submitted from Jotform using PDF.co and Zapier
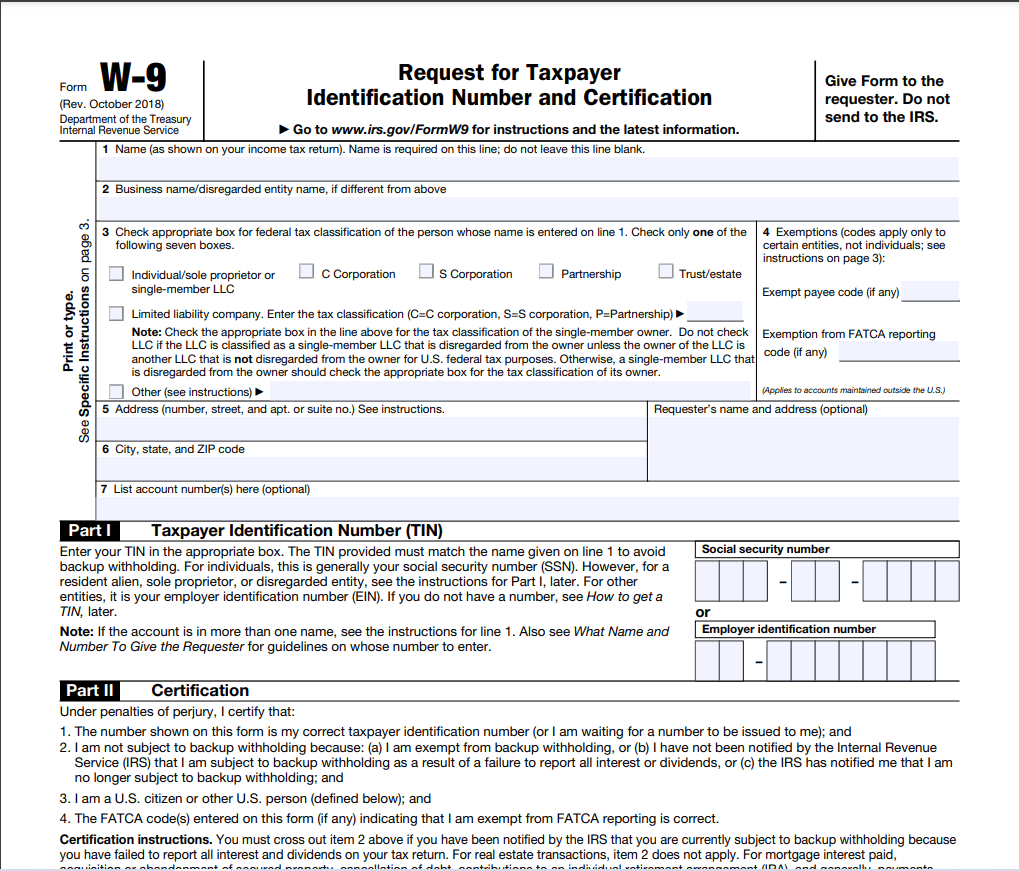
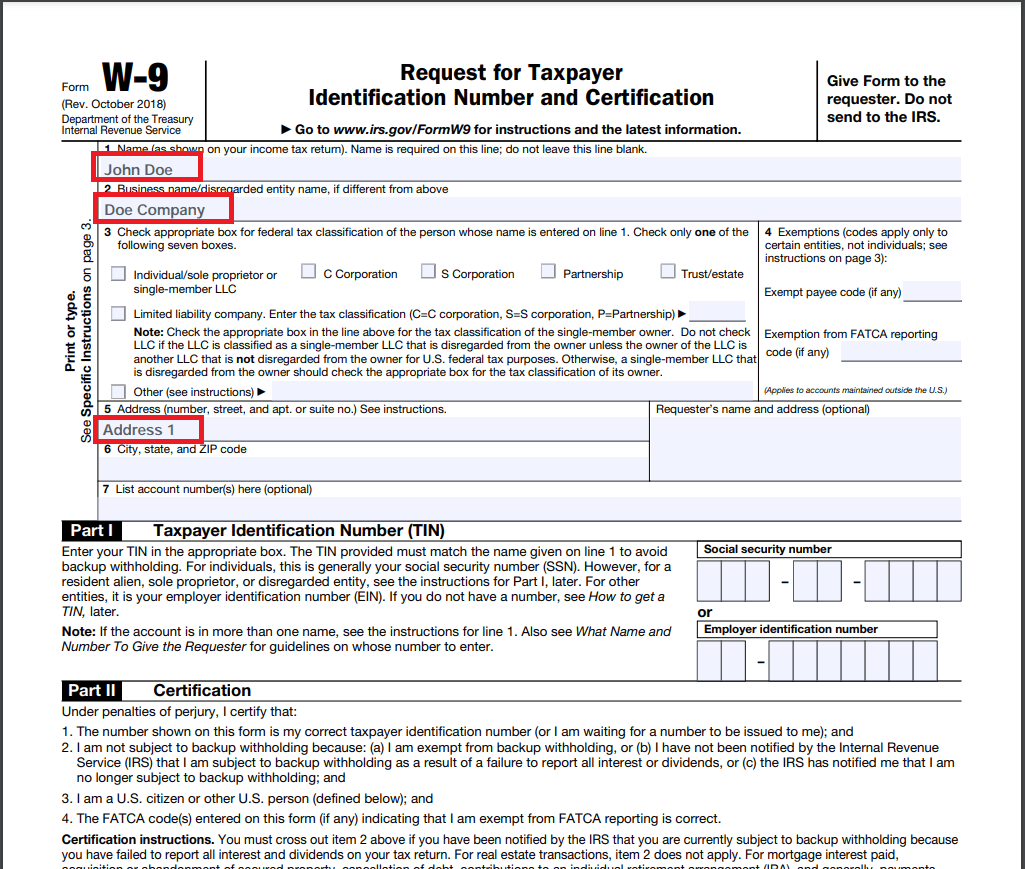
In this tutorial, we will show you how to fill out PDF with Data Submitted from Jotform using PDF.co and Zapier. We will use the sample W9 form below.
Step 1: Make a Zap
To begin, let’s start by making a Zap.
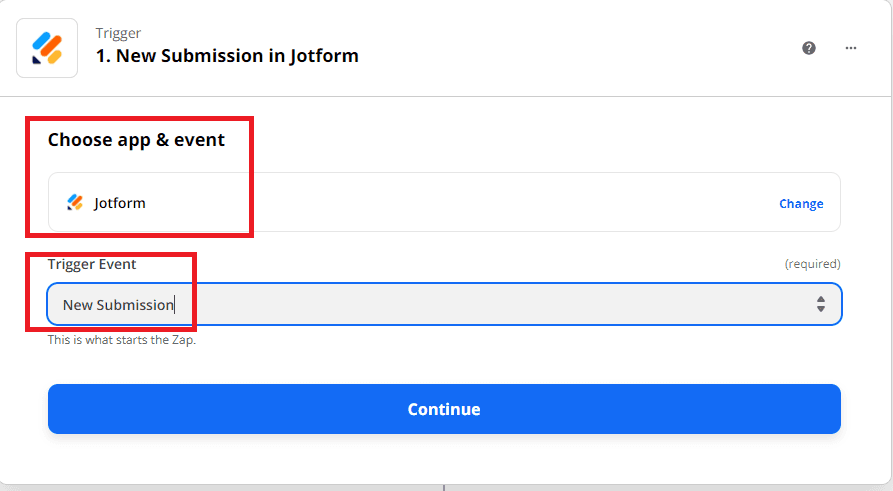
Step 2: Jotform App and New Submission
Next, select the Jotform app and choose the New Submission for the Trigger Event.
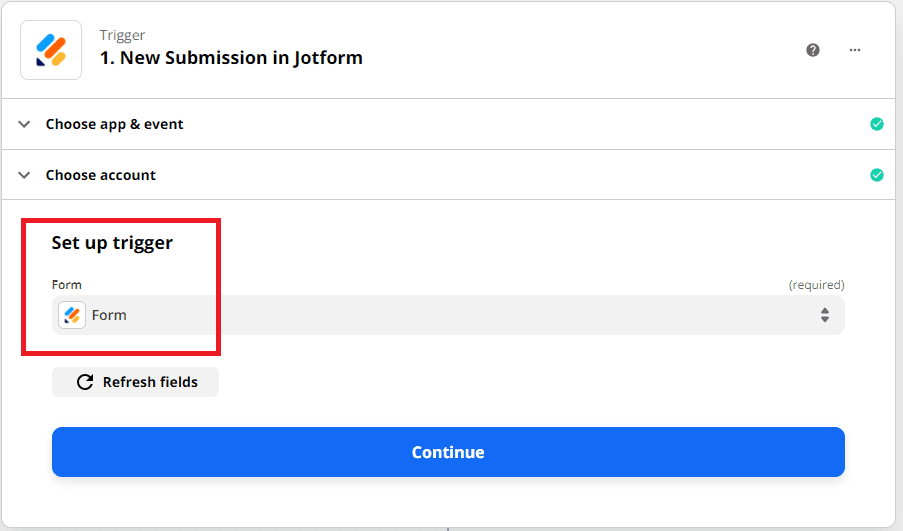
Step 3: Set up Trigger
Let’s set up the Trigger.
- In the Form field, select the form that you submitted in Jotform.
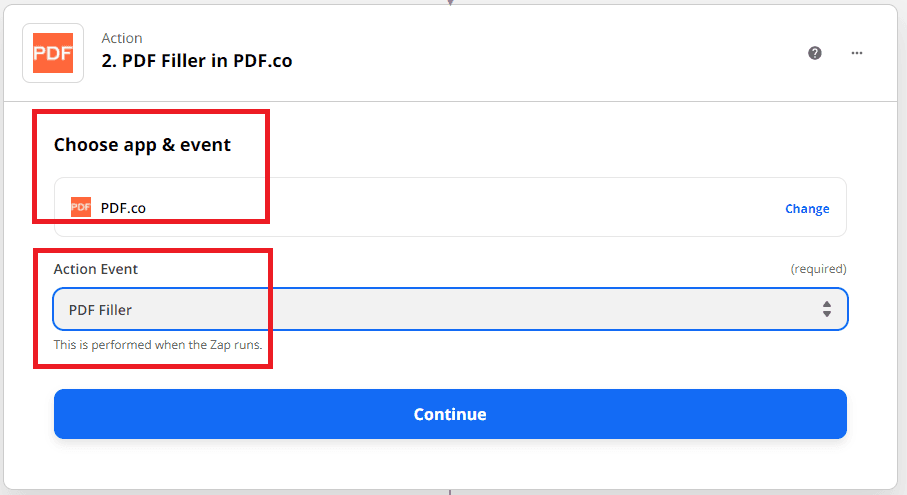
Step 5: PDF.co App and PDF Filler
Now, let’s add another app. Kindly select the PDF.co app and choose the PDF Filler for the Action Event.
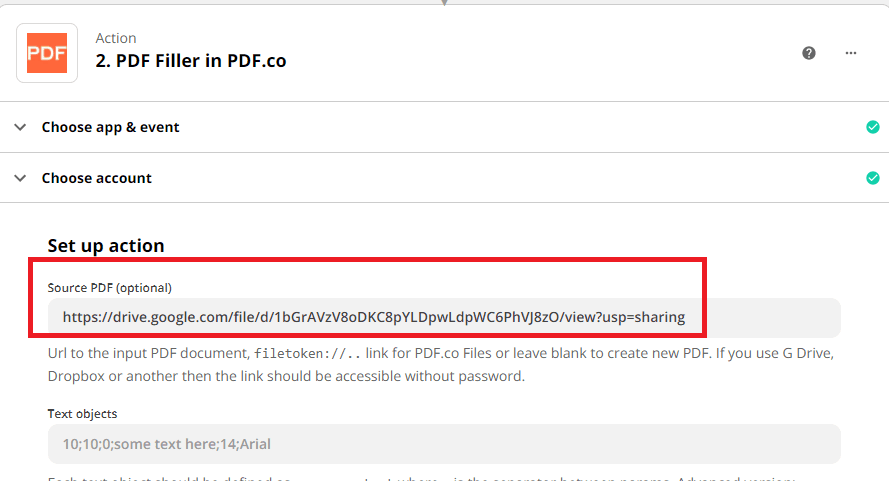
Step 6: PDF Filler Configuration
- In the Source PDF field, input the source PDF URL or the W9 form link.
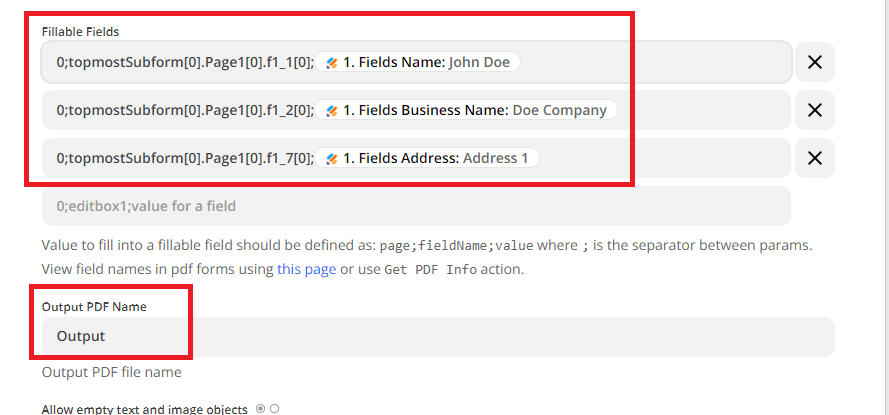
- In the Fillable fields, enter the page number, the field name, and the value. Use our Request Tester to get the form’s field names.
- In the Output PDF Name field, type in your desired output PDF file name.
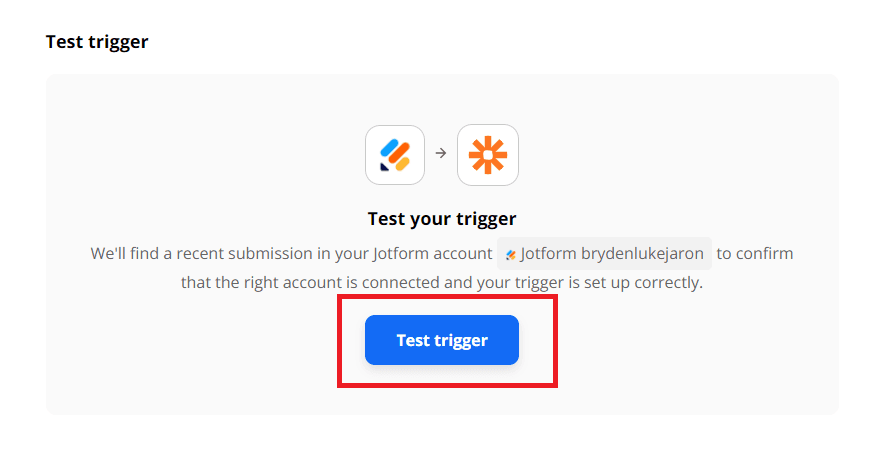
After setting up the configuration, let’s send a request to PDF.co for test and review.
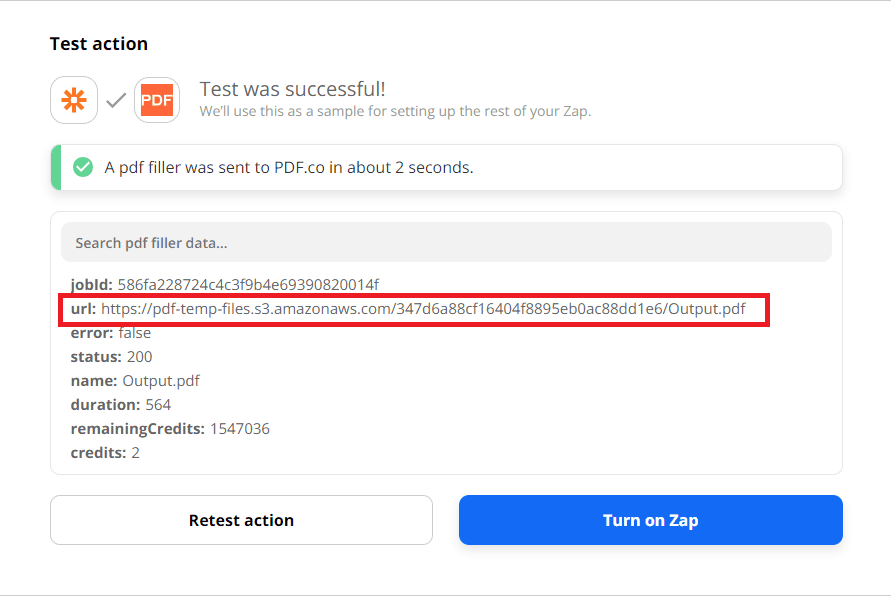
Step 7: Test Result Output
Great! We got a successful test result. You can copy and paste the URL to view the output.
Step 8: Source File Output
Here is the W9 Form that we successfully filled out with Submitted Jotform data.
In this tutorial, you learned how to set up the Jotform so you can access the Submitted Data in Zapier. You learned how to fill the W9 form with the Jotform Data in PDF.co. You also learned how to easily get the PDF form fields using the Get PDF Info.
Related Tutorials
