How to Convert Dropbox Documents via Direct URL to PDF using Zapier
Sep 2, 2024·3 Minutes Read
We prepared this step-by-step tutorial with screenshots on how to make a Zap using PDF.co and Dropbox, to automatically convert URL input to PDF when you add the document to a Dropbox folder.
Setup Zapier & PDF.co
If you haven't already then first create a free account with PDF.co and Zapier. Once you have your accounts ready, start with making a Zap (top-right corner button in Zapier dashboard).
Sign Up to PDF.coSign Up to ZapierAdd Dropbox app
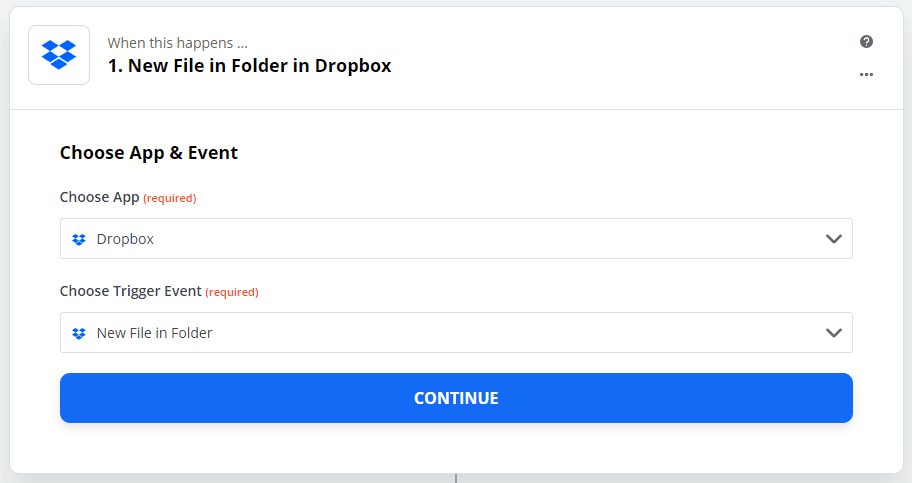
In Zapier add the Dropbox app - under “When this happens …” Choose App & Event search and select Dropbox from the list of apps.
- Connect your Dropbox account by following the steps in Zapier.
- Under Choose Trigger Event selects New File in Folder.
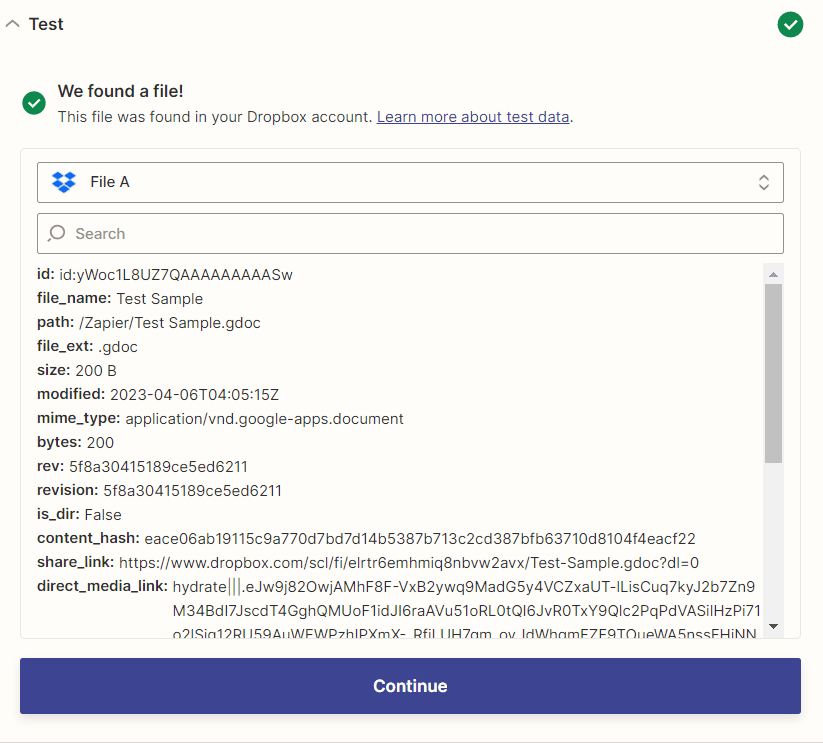
Test Dropbox trigger
- After setting up the configuration, test the trigger to make sure that we set it up correctly.
Add PDF.co step
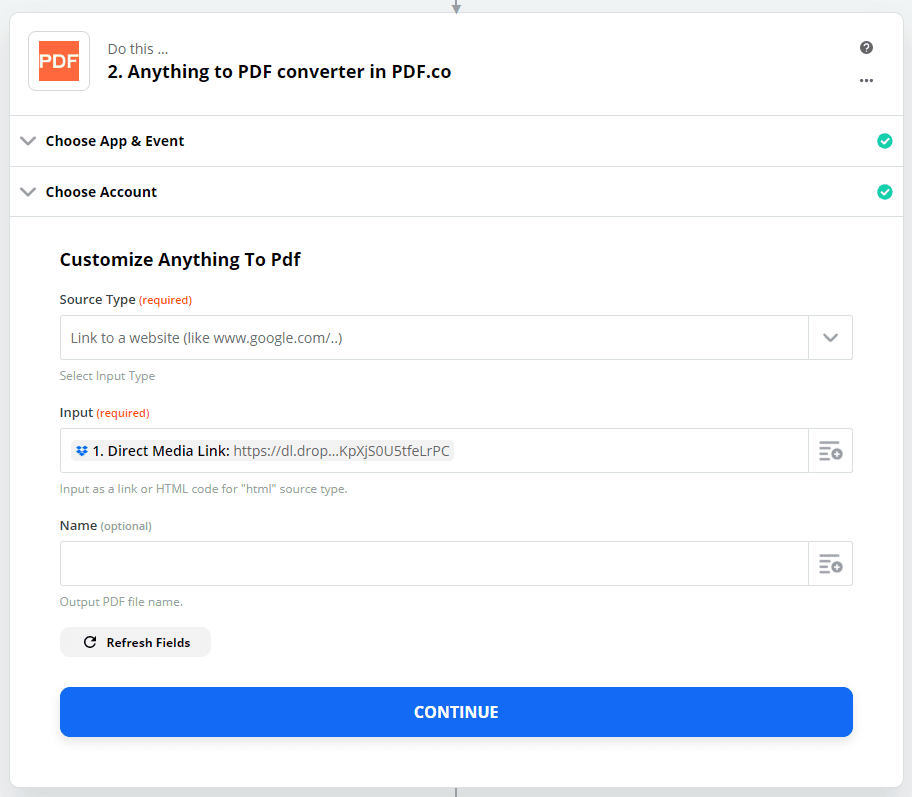
Next add a step for PDF.co and choose the Anything to PDF step.
- Select a document from the Dropbox step for your input document.
- Under Customize Anything to PDF set the Source Type to Link to a website and the PDF URL to Direct Media Link. At this point, optional parameters such as Pages, Passwords, and the output file Name can be defined.
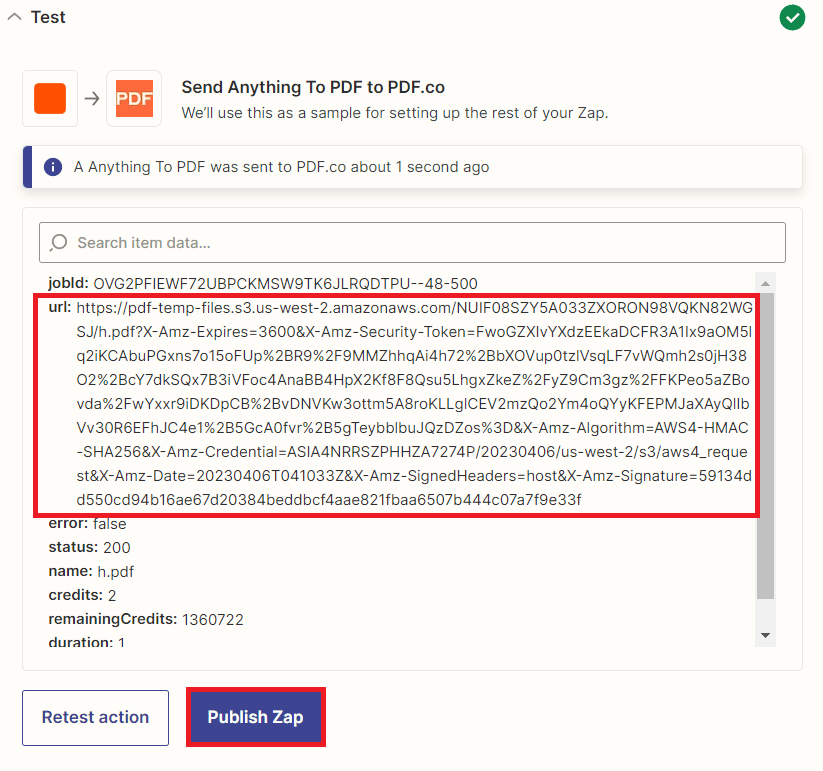
Test Action
- Once you are done setting up, click the Test Action button to see the result.
- If the test was successful it returns a temporary URL. Copy the URL and paste it into your browser to view the output.
Video Guide
Related Tutorials

Barcode Generation API - Webinar for Advanced Programmers
Sep 2, 2024·4 Minutes Read
How to Convert Outlook Email to PDF using PDF.co and Make
Sep 9, 2024·6 Minutes Read