To connect your PDF.co account to Zapier, add your API Key. You can obtain the API Key in your PDF.co dashboard.
Create PDF Report Based on Google Sheets Data, Analyze with ChatGPT and Send via Email using Zapier and PDF.co
19 Minutes Read
You can easily generate a PDF report based on data stored in a Google Sheets spreadsheet. The process uses PDF.co, an online tool that allows you to create custom PDFs based on data from various sources. Once the report is generated, it is sent to ChatGPT for analysis, which can help you gain insights or generate additional content based on the report’s data.
After ChatGPT analysis, a new PDF is generated with the results, and this new PDF is attached to an email using Zapier, an automation tool that can connect different apps together. This way, you can receive an email with the analysis report as an attachment, without the need to manually download and send it.
Overall, this simplifies the process of generating and analyzing reports and streamlines the delivery of the final report via email.
This tutorial will guide you through the process of automating the generation of PDFs using data from a Google Sheets report. We’ll also cover how to analyze the data and attach the resulting PDF to an email using PDF.co and Zapier, with the assistance of ChatGPT.
Converting files to PDF format can be useful for a variety of reasons, such as creating a printable version of a document, sharing files with others who may not have access to the original program used to create the file, or archiving files in a more widely accessible format. PDF.co Anything to PDF Converter is a software tool that allows you to convert various types of files to PDF format. This tool is designed to simplify the process of converting files to PDF and can be used to convert a wide range of file types including Google Sheet spreadsheets.
To generate a PDF from ChatGPT text responses, an HTML to PDF-converter tool can be an ideal solution. With this tool, you can easily convert HTML and content messages into high-quality PDF documents that can be shared or printed. Using an HTML-to-PDF converter tool is typically straightforward. Just simply add the HTML or text content from ChatGPT into the converter tool to generate a PDF document.
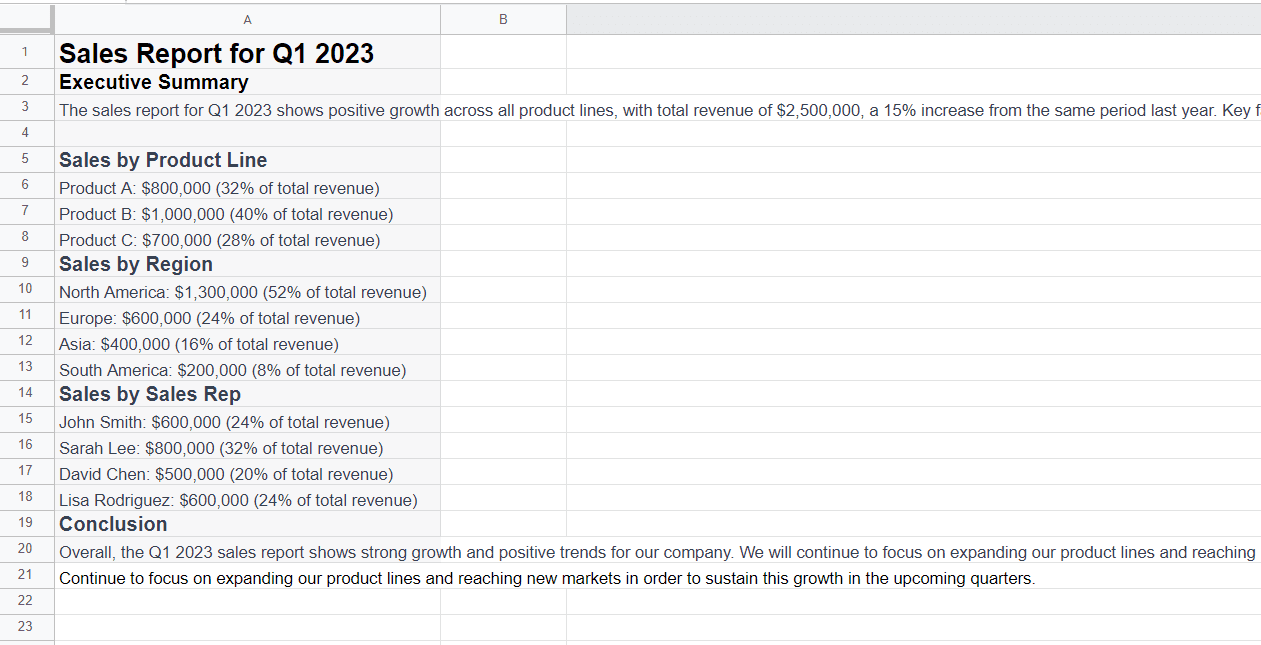
We will use this sample Google Sheets report data in this tutorial.
IN THIS TUTORIAL
Step 1: Open Zapier Account
- Let’s start by logging in to your Zapier account and creating a Zap.
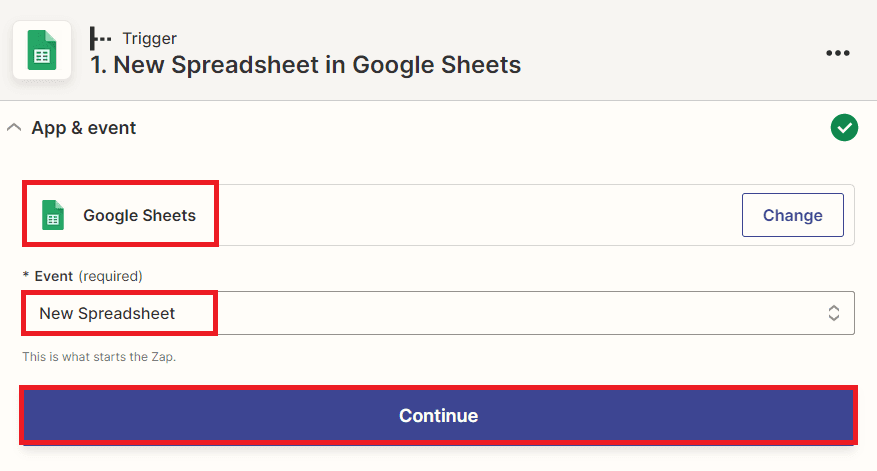
Step 2: Google Sheets App
- Next, add the Google Sheets app to Zapier and choose the New Spreadsheet trigger. This will allow you to trigger automation when you create a new spreadsheet.
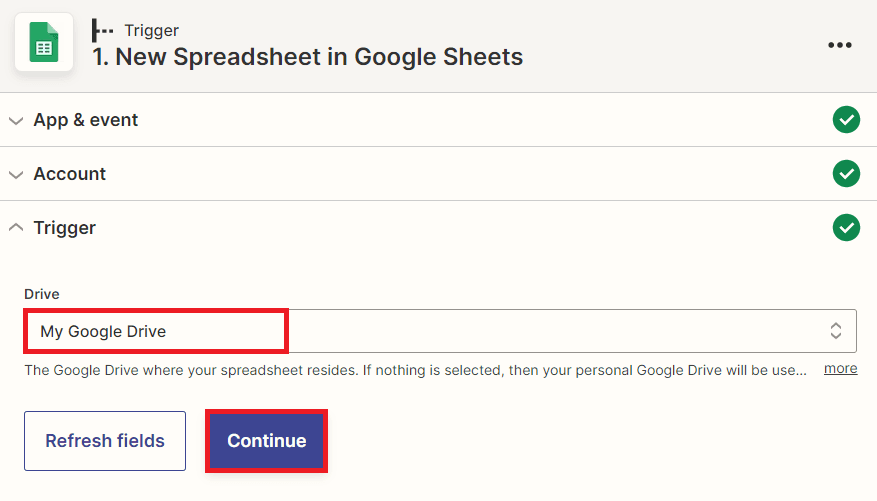
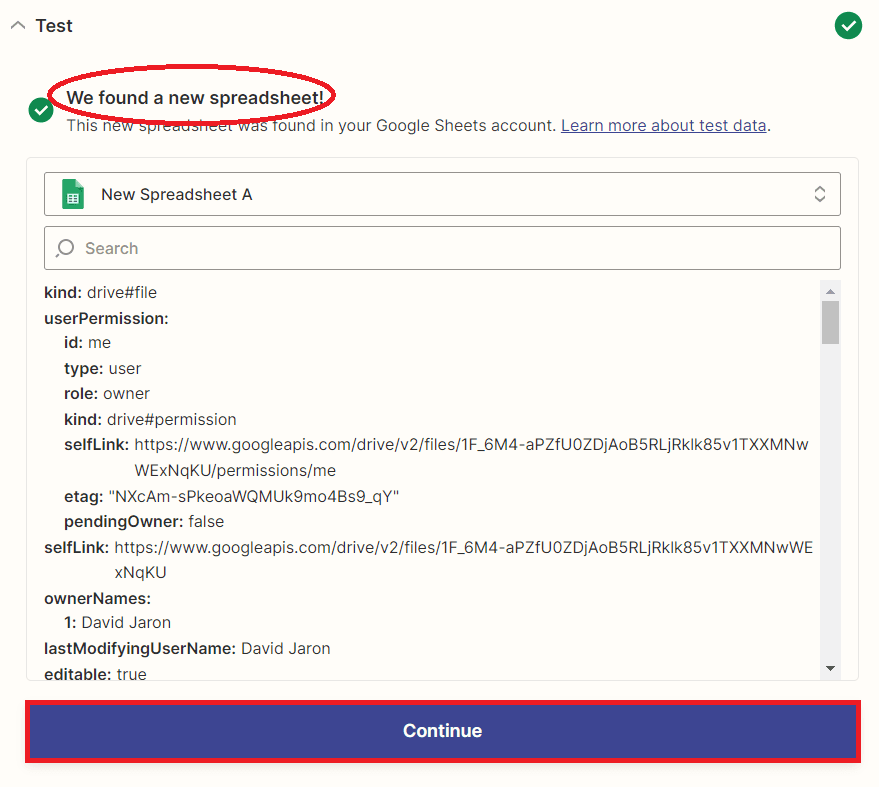
Step 4: Test Trigger Result
- Great! Now that you have tested the trigger and confirmed that the automation process is working correctly, you can proceed to the next step, which is to add an app that will convert the Google Sheet spreadsheet to a PDF format.
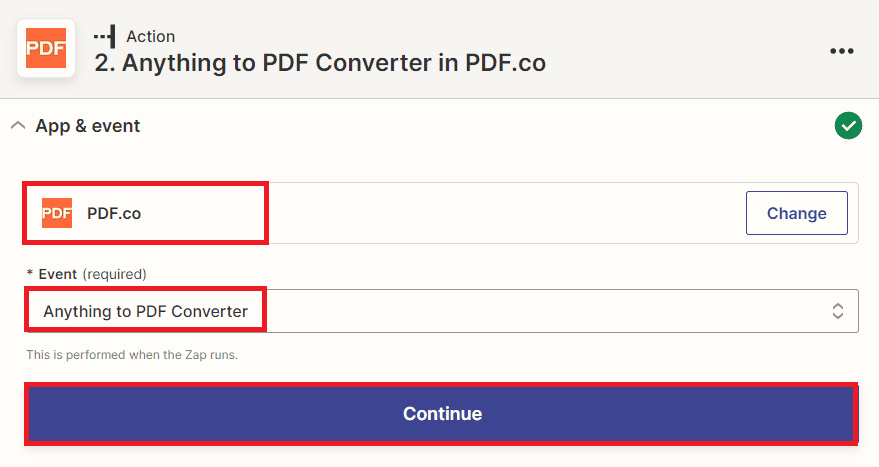
Step 5: Add PDF.co App
- To streamline your automation process, you can integrate the PDF.co app. Once you’ve done so, select the “Anything to PDF Converter” function. This will enable you to instantly transform your Google Sheets spreadsheet into a top-quality PDF file, with no manual intervention required.
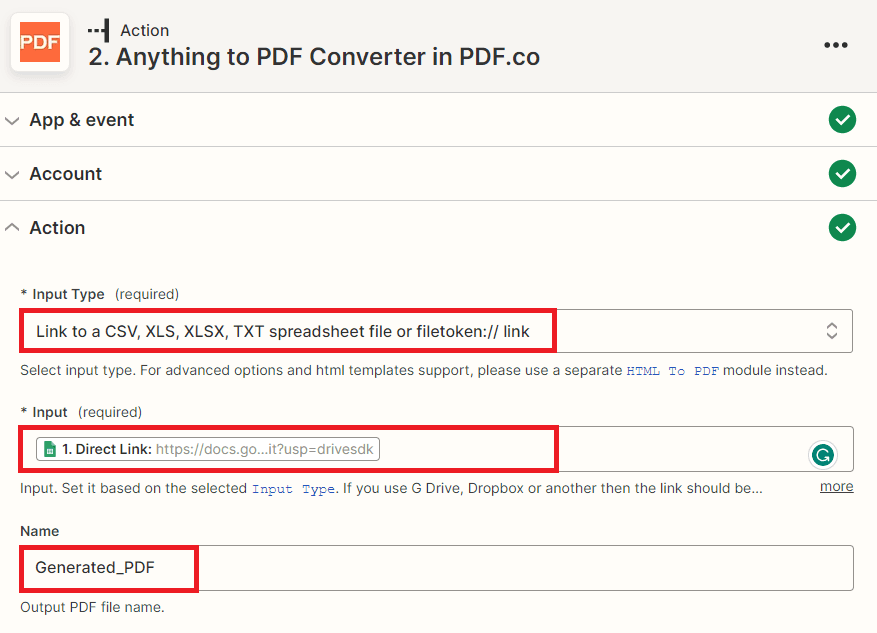
Step 6: Setup PDF.co Configuration
To configure the settings for converting a Google Sheets spreadsheet into PDF format, follow these steps:
- In the “Input Type” field, select the “Link to a CSV, XLS, XLSX, TXT spreadsheet file or filetoken:// link” option. This will allow you to convert the spreadsheet to PDF format.
- For the Input field, select the Direct Link from Google Sheets spreadsheet. This will ensure that the app can access the spreadsheet and convert it to PDF format.
- In the “Name” field, enter your preferred output PDF file name. This will help you keep track of the converted files and ensure that they are easily identifiable in your storage system.
Once you’ve configured the settings for the “Anything to PDF Converter” feature in PDF.co, it’s time to test the action to ensure its seamless functionality. This step will allow you to verify that your automation workflow is working correctly and producing the desired outcome.
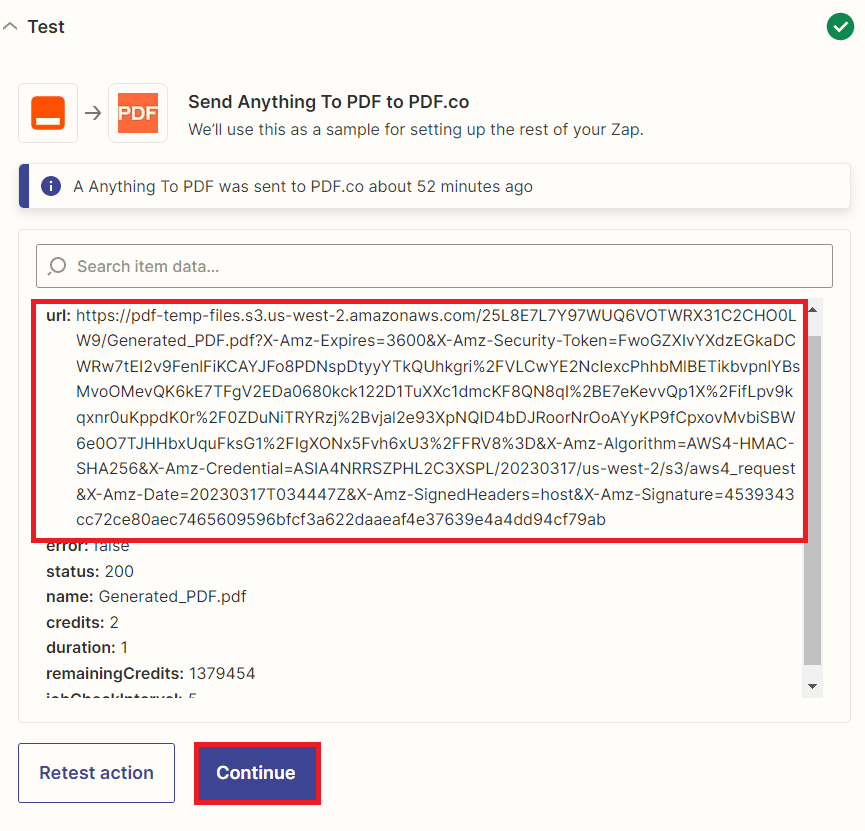
Step 7: PDF.co Test Result
- Fantastic! The PDF.co conversion action has flawlessly processed your request, transforming the Google Sheets spreadsheet into a PDF format. To access the converted file, just copy the generated URL and paste it into your preferred web browser. From there, you can easily view the output and ensure that it meets your requirements.
Step 8: Converted PDF Document
- Here’s what the converted PDF document from the Google Sheets spreadsheet looks like.
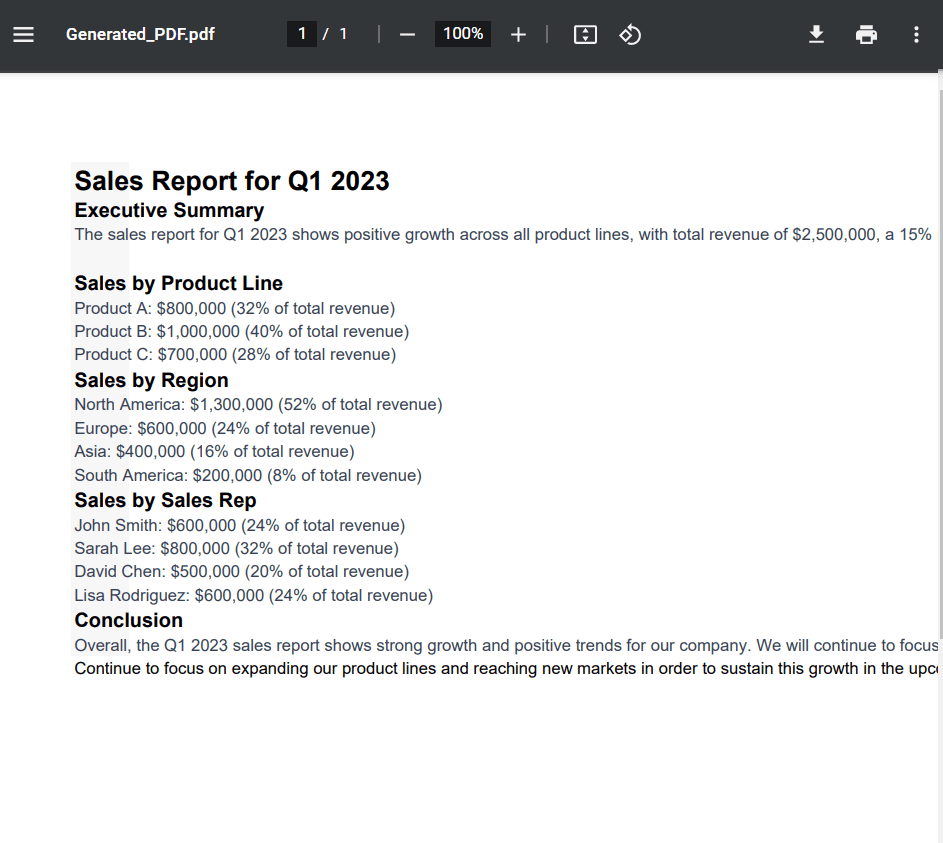
With the PDF output successfully viewed and validated for your preferred quality and formatting standards, you can now move on to the next stage of the automation workflow. This step involves leveraging ChatGPT to analyze the contents of the PDF document and generate a text response. To achieve this, you’ll need to copy the text content of the PDF file and input it into ChatGPT for analysis. This process will enable you to gain insights and extract valuable information from the PDF file with ease.
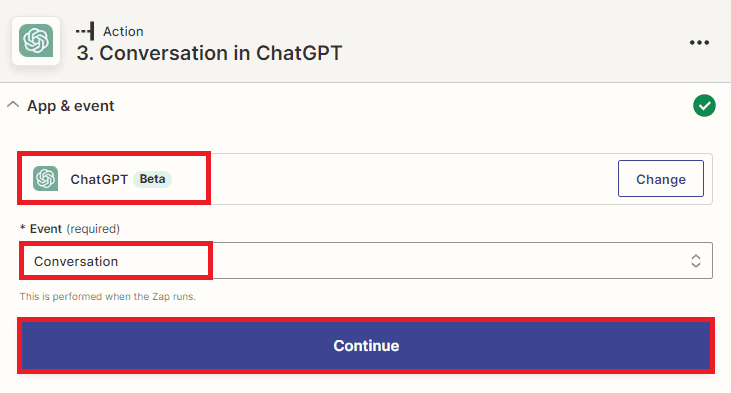
Step 9: Add ChatGPT App
- For the next step, you’ll need to integrate the ChatGPT app into your automation workflow. After that, you can initiate a Conversation and send a chat message to OpenAI, followed by inputting the text content of the PDF document. This will enable you to generate a text completion using ChatGPT’s advanced capabilities, giving you deeper insights into the contents of the PDF file. By incorporating ChatGPT into your workflow, you can effortlessly extract valuable information and gain a more comprehensive understanding of your data.
Step 10: Setup ChatGPT Configuration
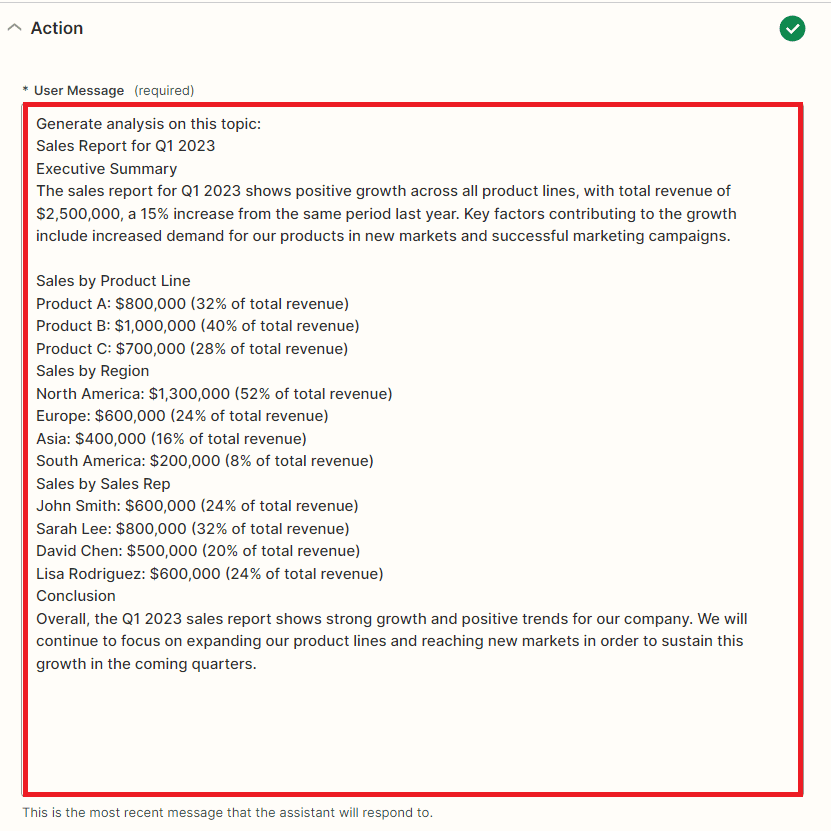
Let’s configure the ChatGPT settings to enable the app to analyze the text content from a PDF document and generate responses based on the user’s message.
- To begin, enter the text command that will trigger the analysis and response generation for the PDF text content in the User Message field. You should also include the actual text content from the PDF document.
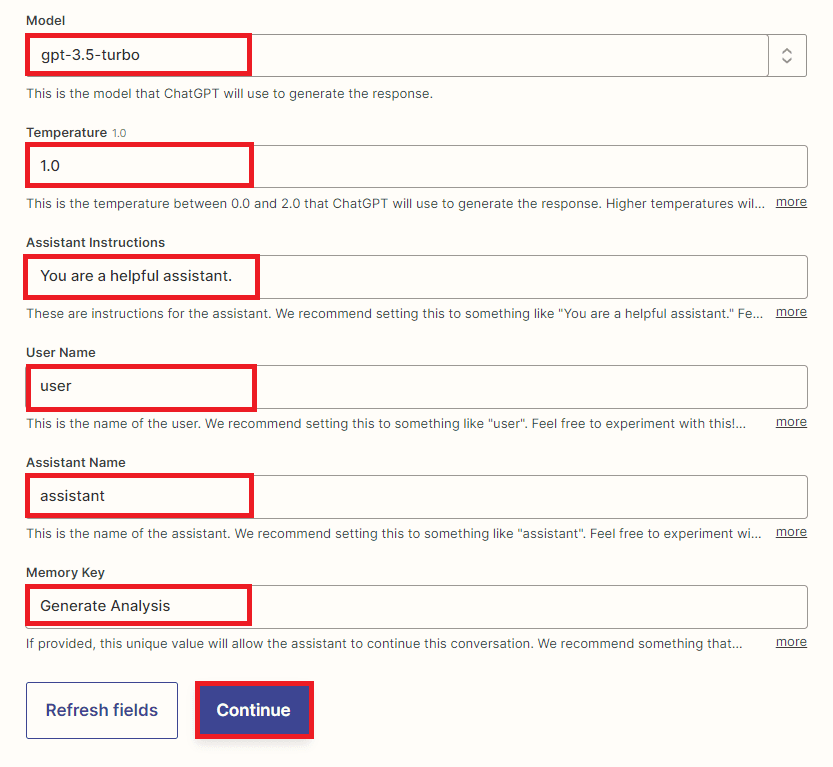
- For the Model, Temperature, Assistant Instructions, User Name, and Assistant Name fields, you can use the default values provided by ChatGPT. These default settings ensure that the app is using the appropriate language model and settings to generate accurate and helpful responses for your customers.
- In the Memory Key field, add a unique value that will allow the assistant to continue the conversation and store any relevant information for future reference. This functionality enables the app to remember previous interactions with the customer and provide more personalized and helpful responses over time.
Once you have configured the ChatGPT app, you can test it by sending a message with the trigger text command and the text content from the PDF document.
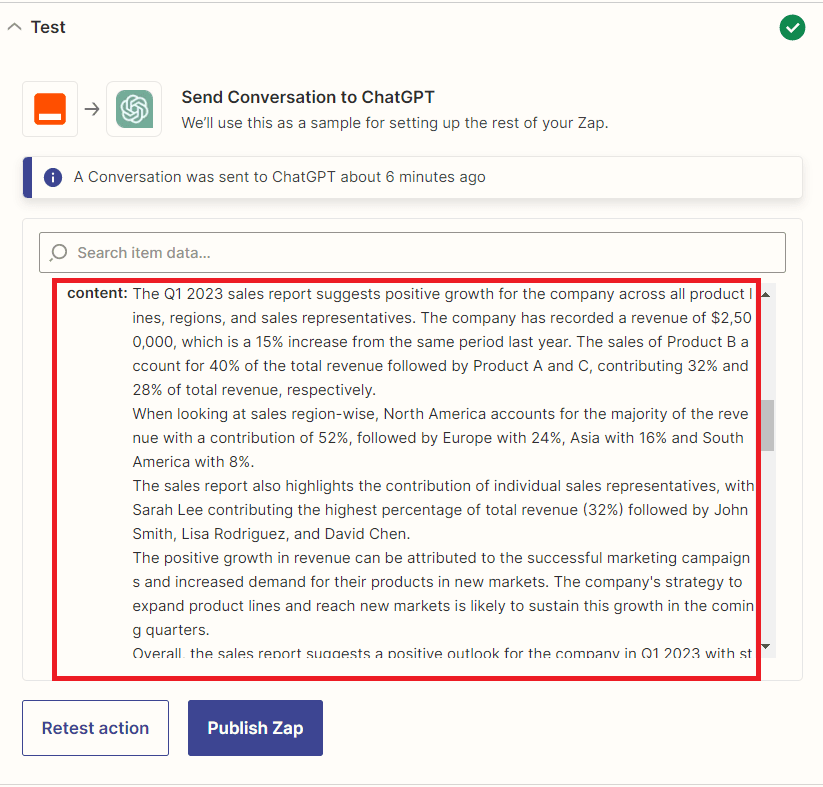
Step 11: ChatGPT Analysis Response
- Awesome! ChatGPT was able to analyze and generate responses based on the text content from the PDF document.
With the response analysis from ChatGPT generated, the next step is to convert it to a PDF format. Once the conversion is complete, you can use the PDF output as an attachment to an email. This will allow you to share the insights and information extracted from the analysis with others, providing valuable context and improving collaboration.
Step 12: Add Another PDF.co App
- To do this, let’s use the PDF.co app and select the “HTML to PDF Converter” action.

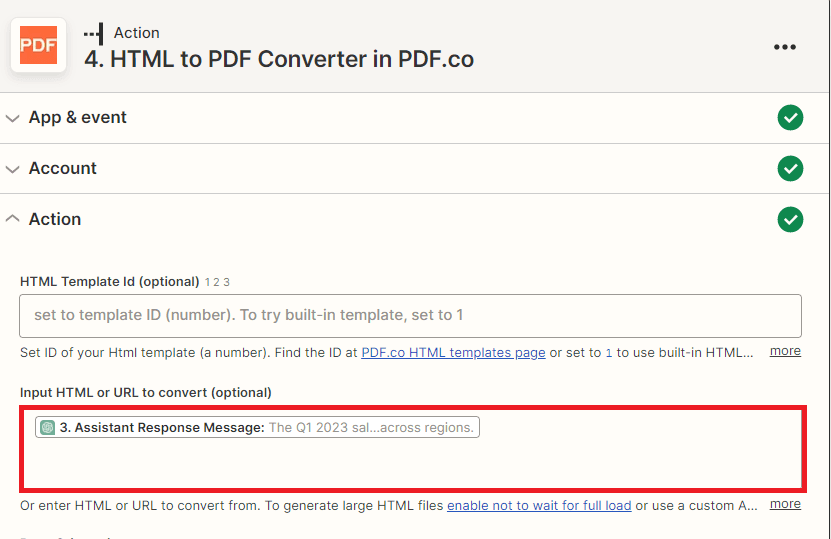
Step 13: Setup PDF.co Configuration
- To configure the PDF.co settings, begin by navigating the Input HTML or URL to Convert field and selecting the Assistant Response Message option from ChatGPT. This will serve as the input for the PDF conversion, containing the response analysis that you wish to convert to PDF format.
You can customize the PDF conversion settings to your specific requirements. You can adjust parameters such as page orientation, page size, margins, and more to create a PDF file that meets your needs. By default, PDF.co uses letter page size and portrait orientation, but you can easily modify these settings as per your preference.
Once you have done setting up the configuration, let’s initiate a test to convert the response analysis from ChatGPT to PDF format.
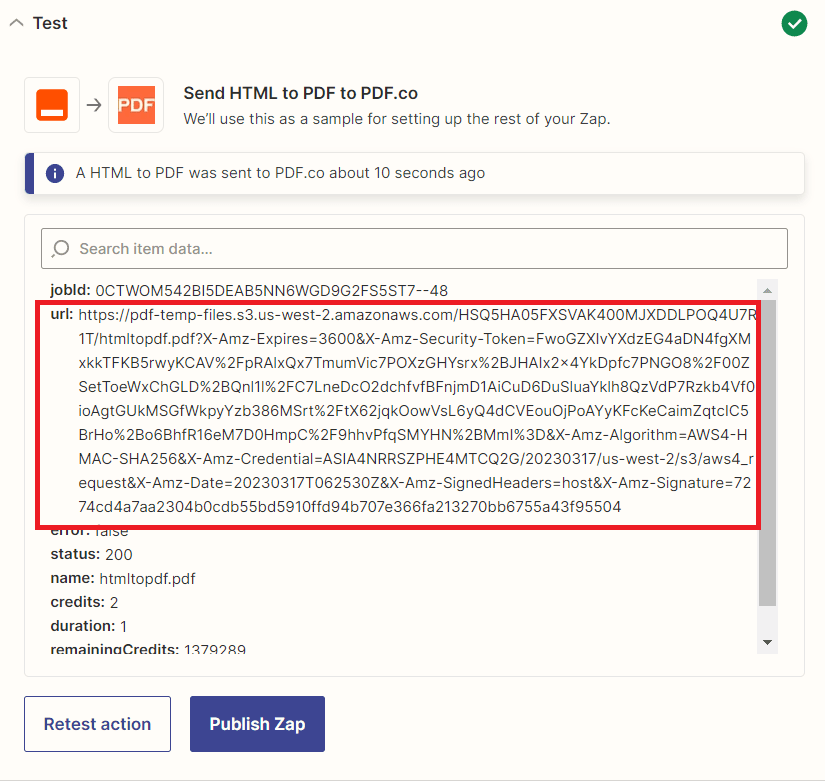
Step 14: PDF.co Test Result
- Excellent! The test was successful and PDF.co converted the response analysis to PDF format.
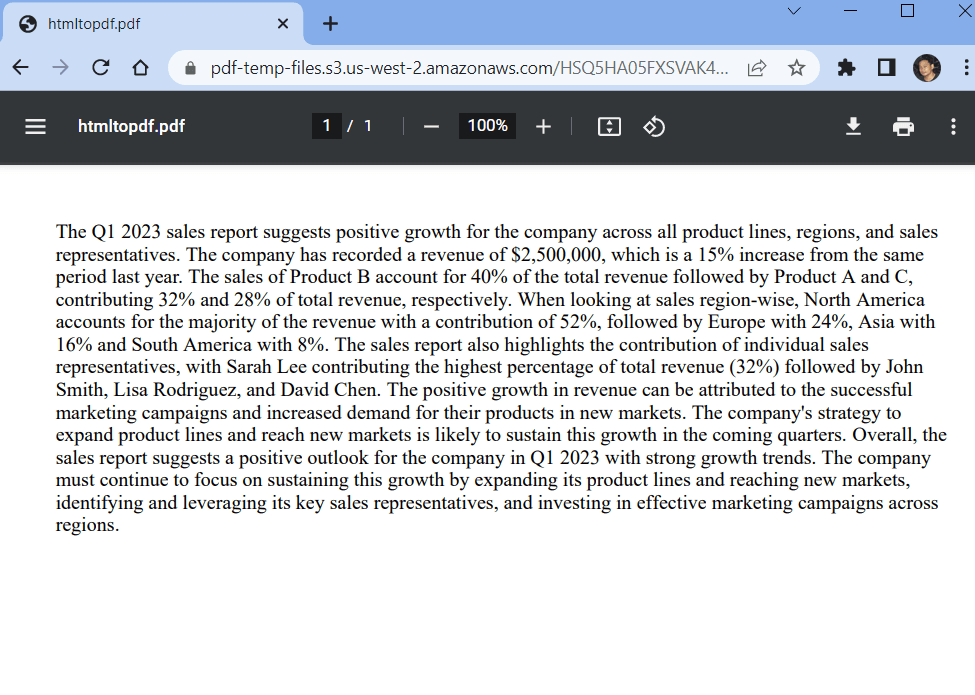
Step 15: Generated PDF Document
- Here is the generated response that we successfully converted to PDF format.
Now that we have converted the response analysis from ChatGPT to PDF, we will use the generated PDF to send as an attachment to an email.
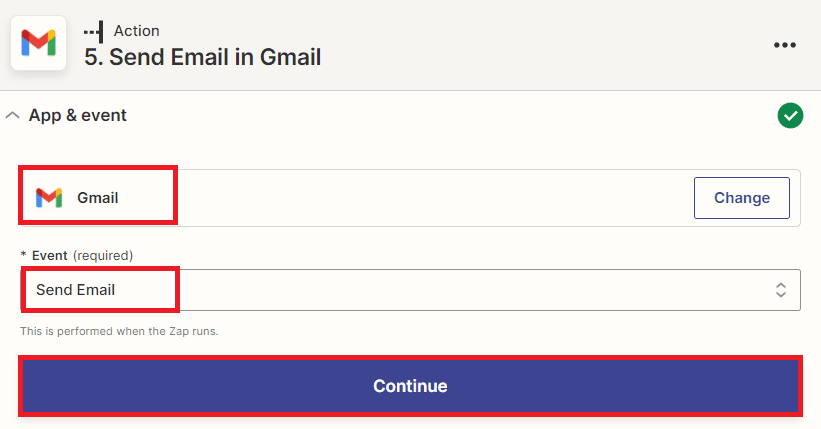
Step 16: Add Gmail App
- Let’s add the Gmail app and select the “Send Email” action.
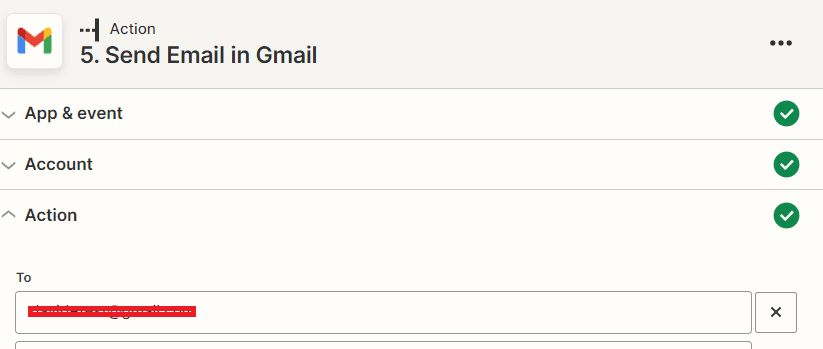
Step 17: Setup Gmail Configuration
To set up the Send Email configuration, follow these steps.
- First, enter the customer’s email address in the “To” field to ensure that the email is sent to the correct recipient.
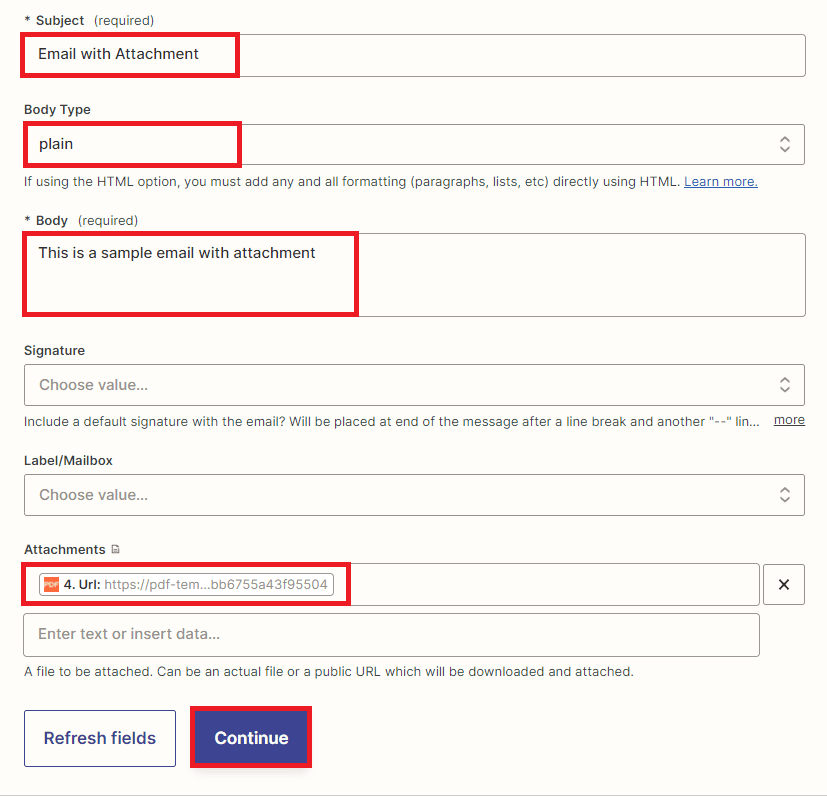
- Next, add your email address to the “From” field to identify who the sender is and to ensure that the recipient knows where the email is coming from.
- Then, provide a clear and informative Subject line that accurately reflects the content of the email. This will help the recipient understand the purpose of the email and prioritize it accordingly.
- Select the Plain option for the “Body Type” field. This will ensure that the email is easy to read and does not contain any unnecessary formatting that could cause issues with the email client.
- For the Attachments field, select the output URL of the generated PDF from the response analysis. This will ensure that the PDF document is included as an attachment in the email.

Once you have done setting up the configuration, let’s initiate a test to send an email to a Gmail account.
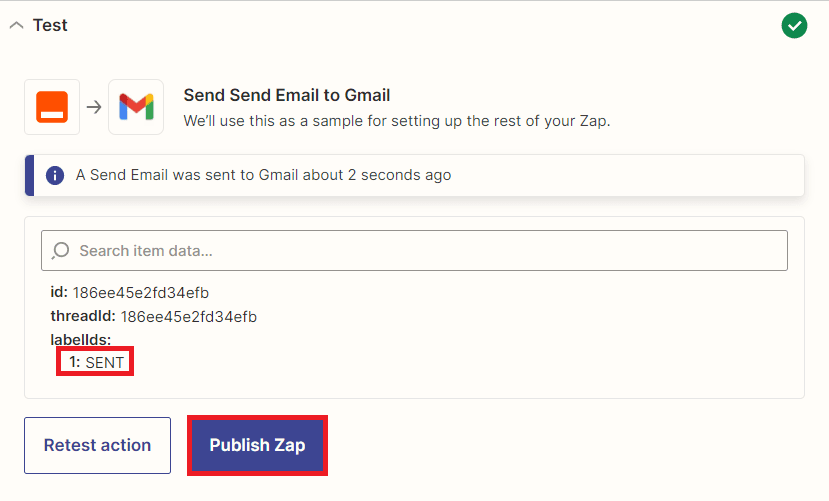
Step 18: Send Email Result
- Great! The test was successful, and the email was sent to the intended recipient’s email address.
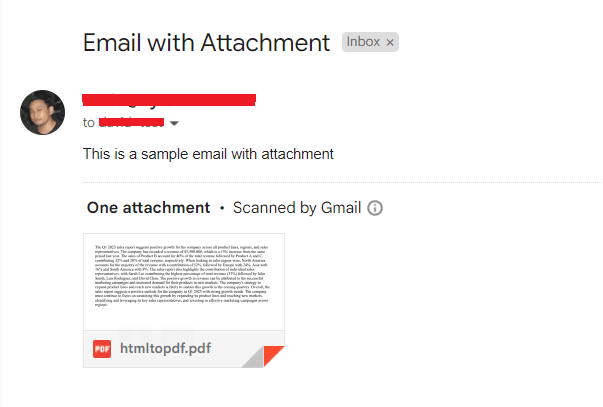
Step 19: Check Email with Attachment
- Here’s the email with an attachment that we successfully sent to an intended recipient.
In this comprehensive tutorial, you gained valuable insights on how to streamline your workflow and save time by automating the generation of PDF reports from Google Sheets data with the help of ChatGPT, PDF.co, and Zapier. You learned how to extract and analyze data from Google Sheets and leverage ChatGPT’s natural language processing capabilities to create a comprehensive report. You also discovered how to use PDF.co’s HTML to PDF conversion tool to convert the ChatGPT analysis into a PDF document. Additionally, you gained knowledge on how to utilize Zapier’s powerful automation features to send the generated PDF report as an email attachment to the intended recipients using the Gmail sends email feature. This tutorial provided you with a step-by-step guide on how to seamlessly automate the entire process, thereby improving efficiency and productivity.
Video Guide
Related Tutorials
