How to Add a Screenshot to a PDF File using PDF.co Web API
Sep 2, 2024·5 Minutes Read
PDF.co is an automation and API platform for PDF, Barcodes, Data Extraction, and Data Transformations. It also provides online tools for performing essential PDF-related functionalities such as splitting/merging PDF, document parsing, filling PDF forms, HTML to PDF conversation, PDF data extraction to various formats, barcode reader, etc.
In this tutorial, we will show you how to add a screenshot to a PDF file using PDF.co Web API
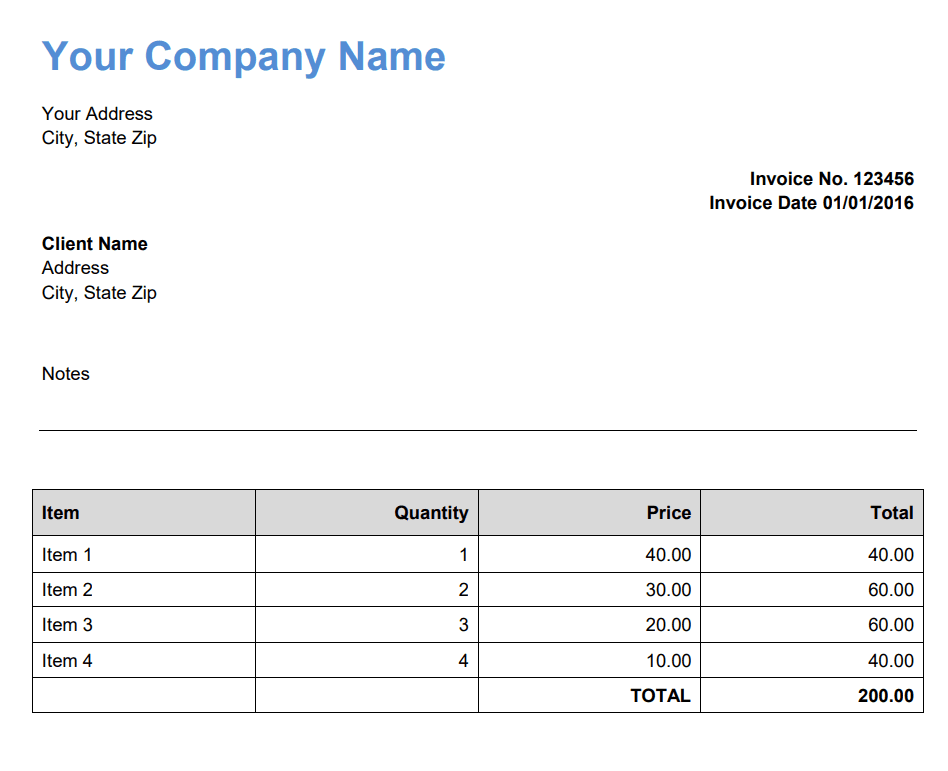
We will use this sample PDF file in this tutorial:
Step 1: Open PDF.co Account
- To begin. First, log into your PDF.co account and click on the Request Tester Menu.
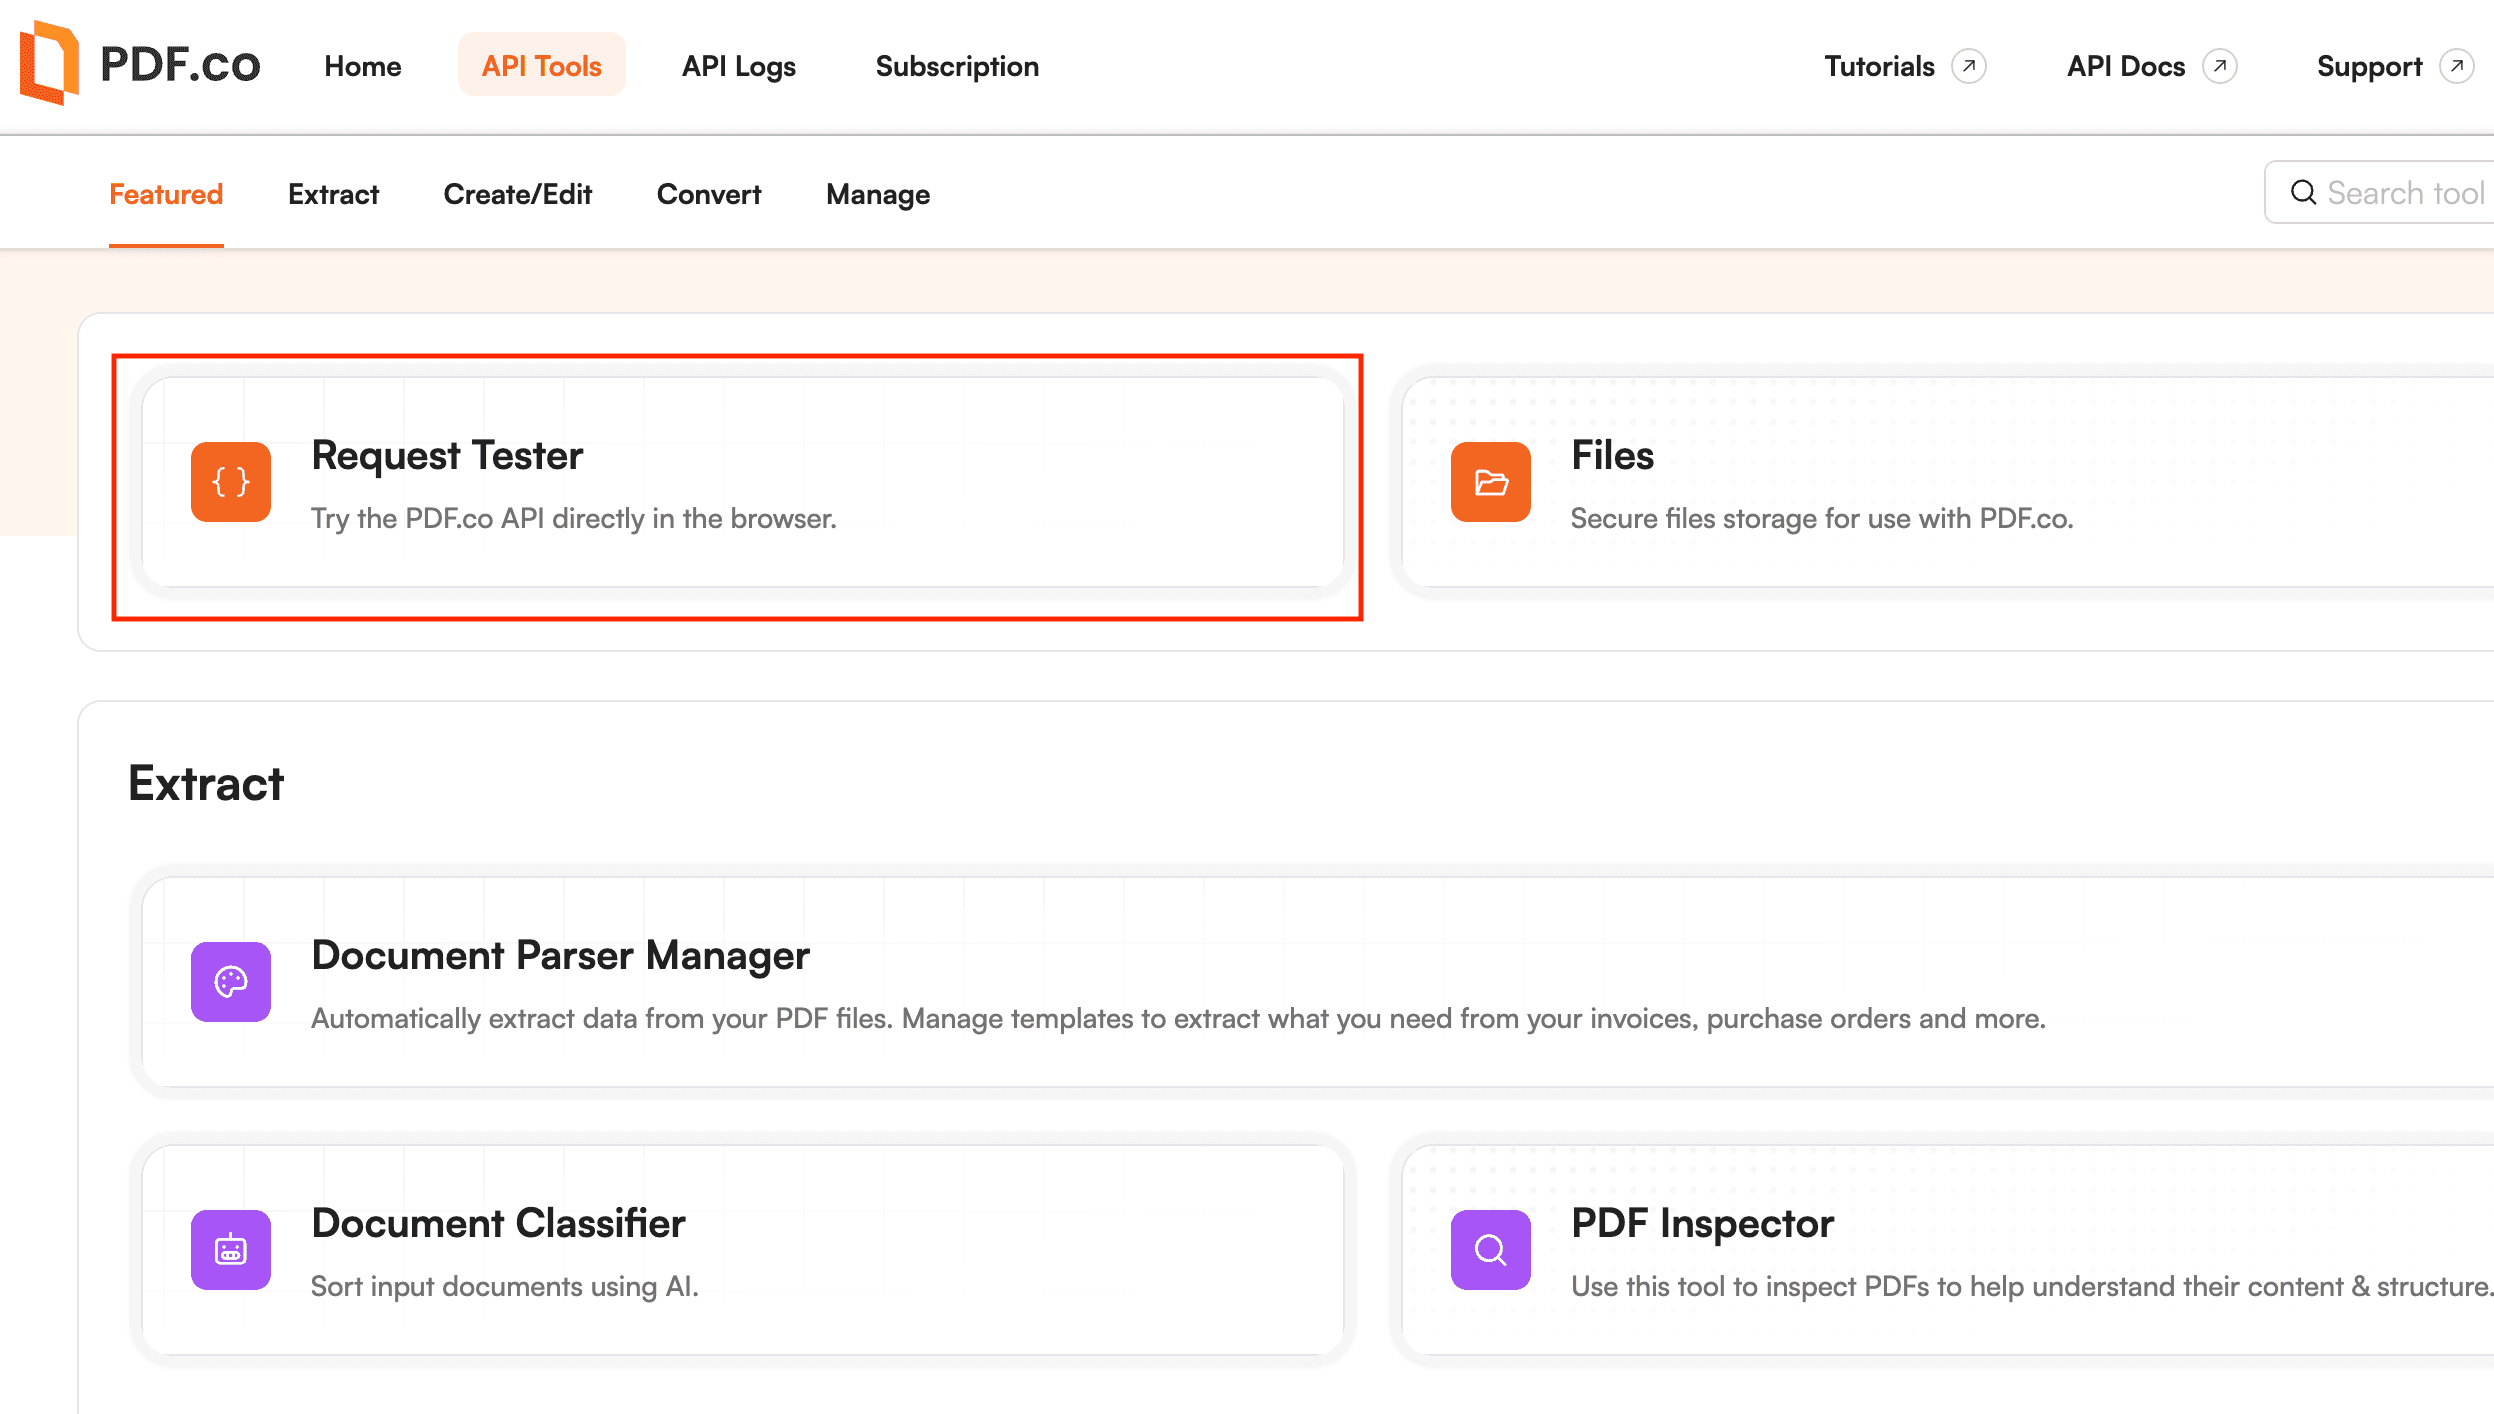
Step 2: Request Tester for PDF.co API
- For Choose PDF.co API endpoint field, search and select
v1/pdf/edit/add. This endpoint can add a screenshot to a PDF file. - For the Input Parameters field, add your source file. You can override the source file with a link or a file.
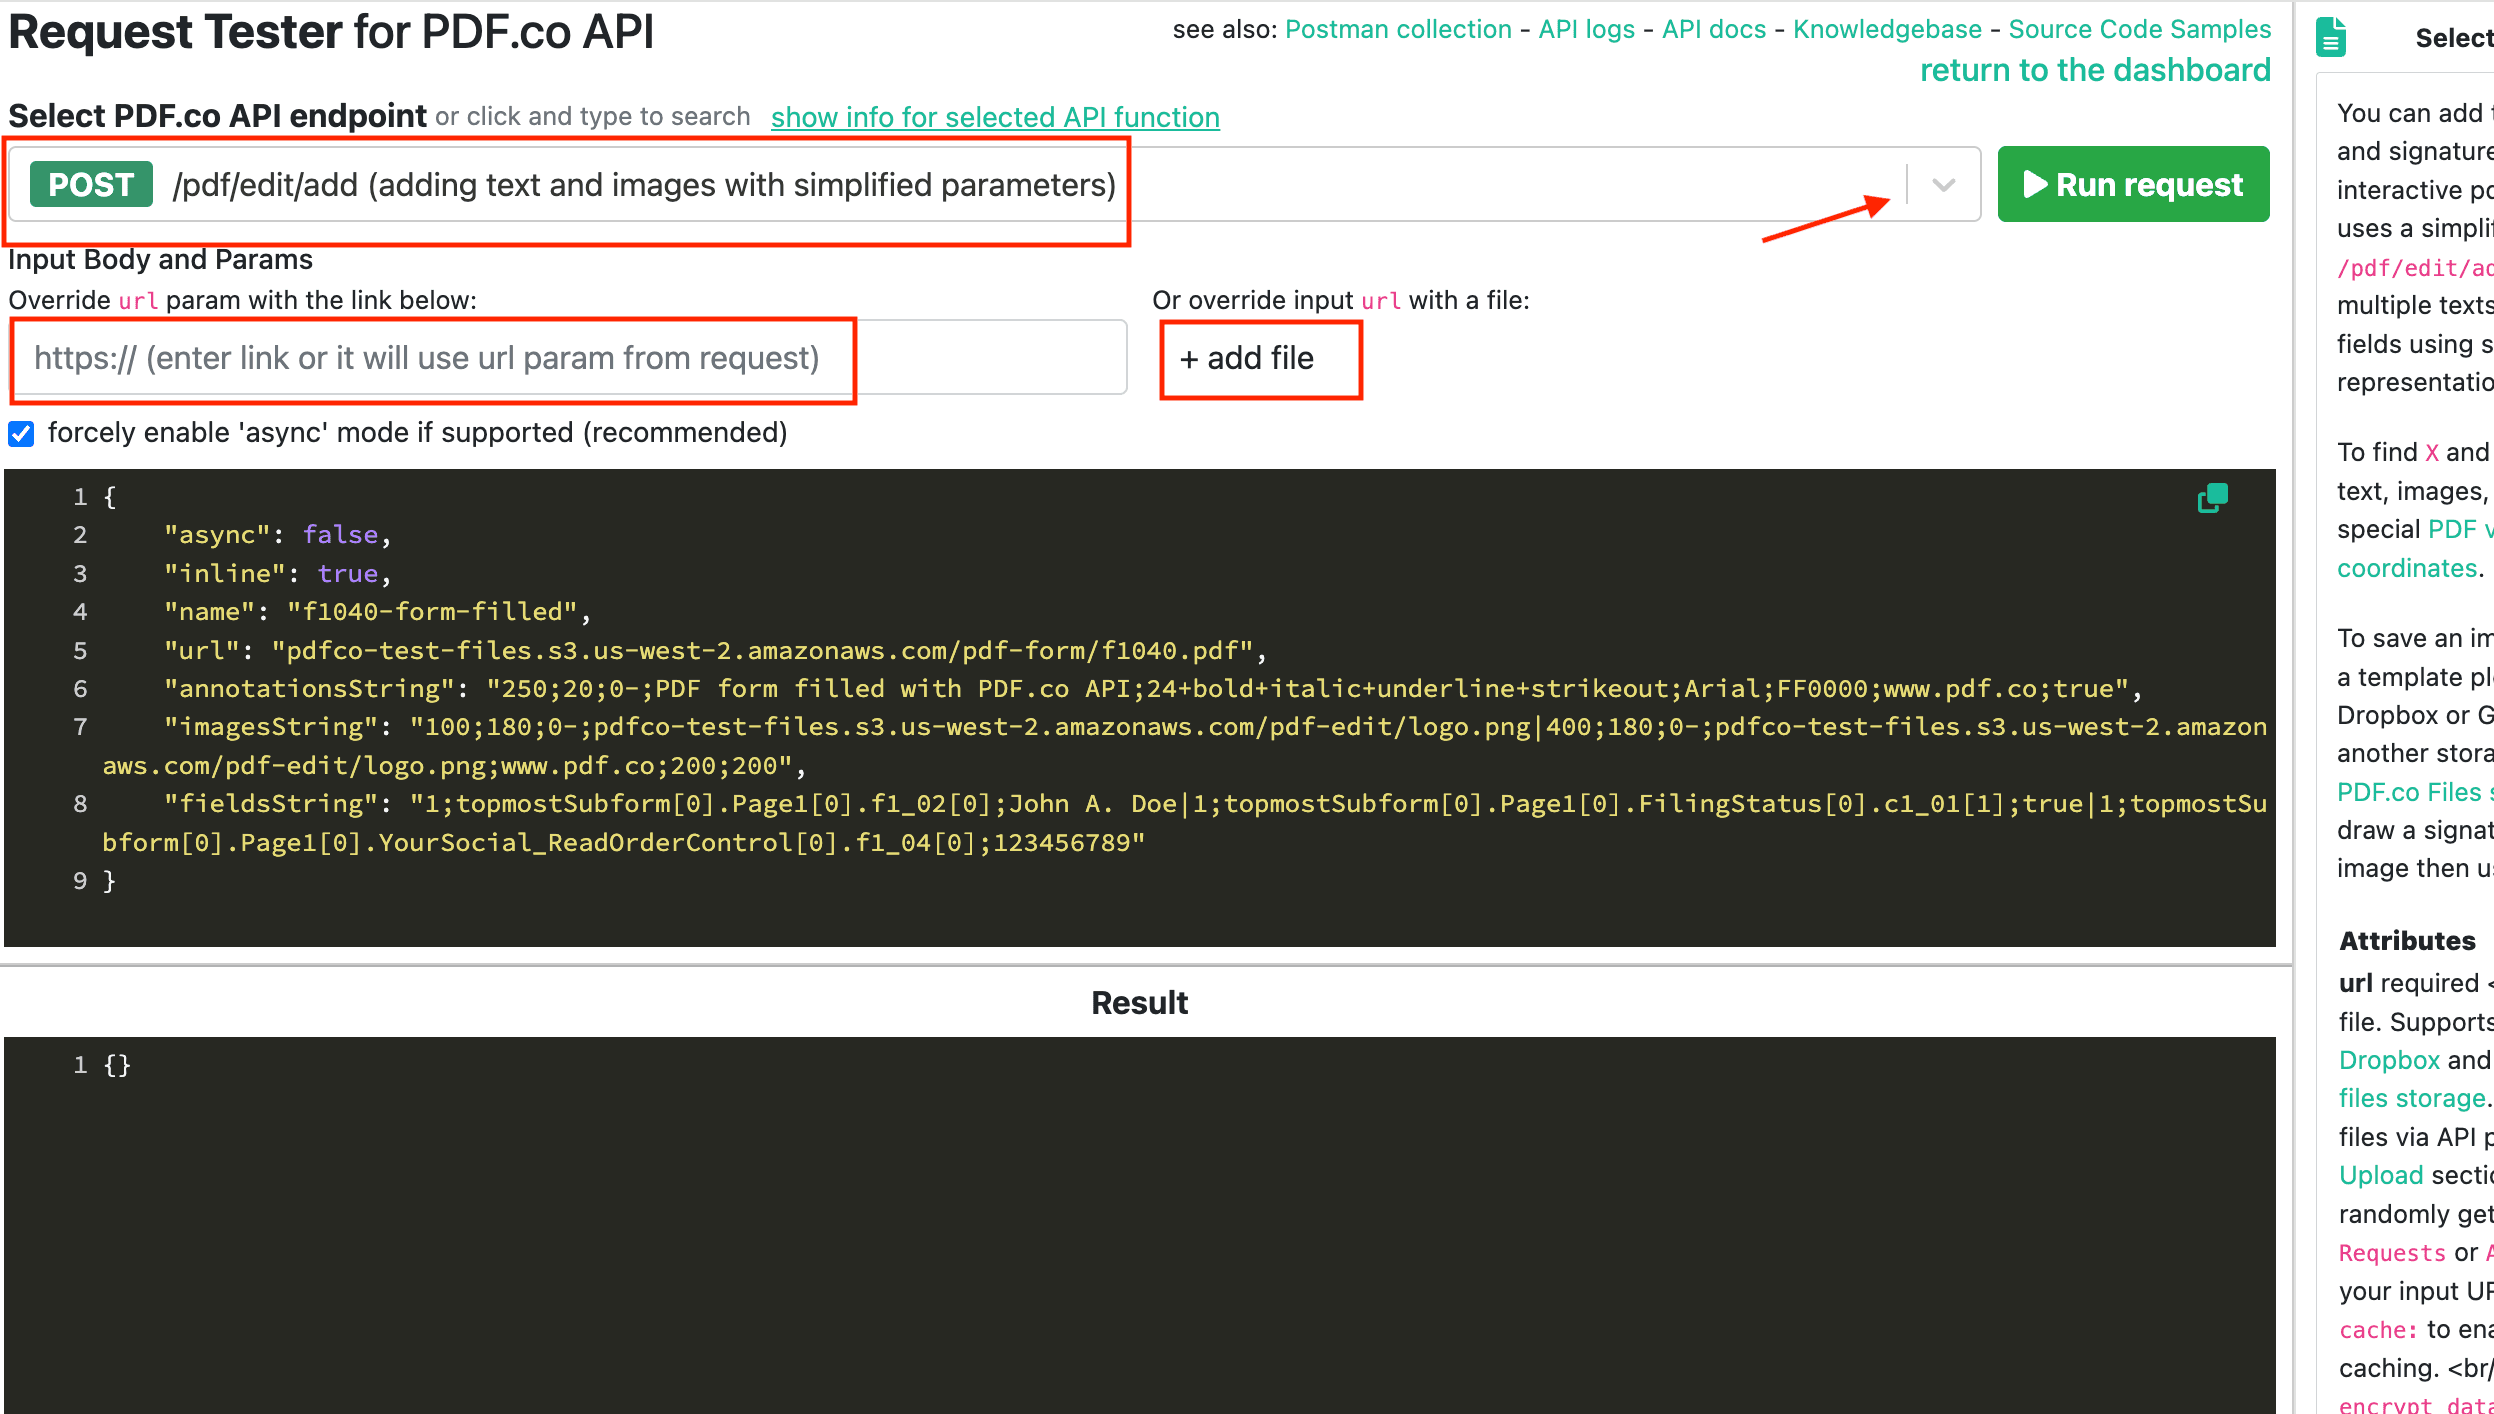
Step 3: Input JSON Code
Now, let’s add the JSON code
- For the Async param, will set it to
false. If you want to run the job asynchronously, set it totrue. - For Encrypt param, set it to
true. - For the Inline param, let’s set it
trueto get a direct link to the output pdf. - In the Name param, type in your desired output file name.
Let’s set up the Images param
- For the URL param, input your screenshot image URL. You can convert your screenshot image to a URL(for use in PDF.co) with our file storage.
- For X and Y params, add the coordinates where you want to add the screenshot image. You can get the coordinates of your PDF file with our PDF/Edit/Add Helper.
- For Width and Height params, add the size of your screenshot image.
- For Page’s param, type
0for the first page and1for the second page.
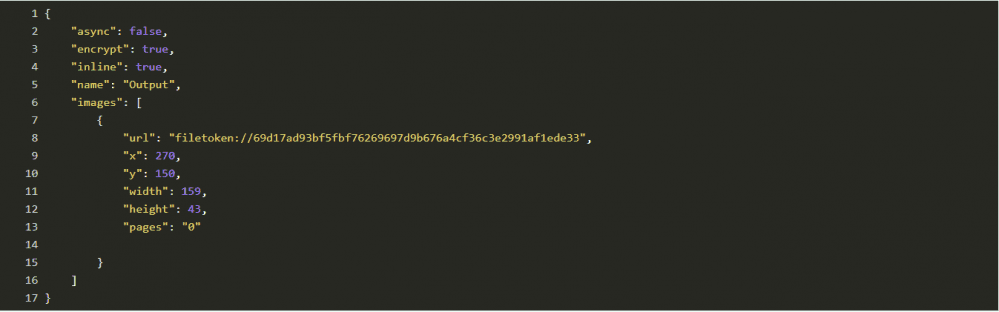
{
"async": false,
"encrypt": true,
"inline": true,
"name": "Output",
"images": [
{
"url": "filetoken://69d17ad93bf5fbf76269697d9b676a4cf36c3e2991af1ede33",
"x": 270,
"y": 150,
"width": 159,
"height": 43,
"pages": "0"
}
]
}
Once you have done setting up the code, click on the Run Request button to see the result.
Step 4: Run Request Result
- Great! The request runs successfully, click on the URL to view the output or directly download the output file.

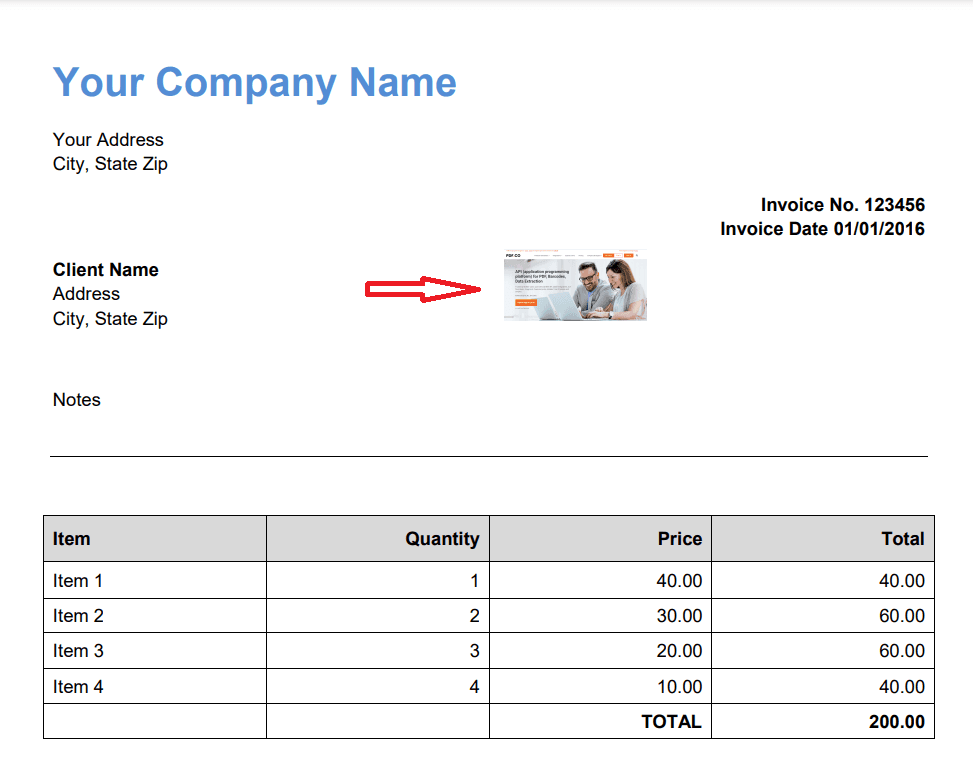
Step 5: Output
- Here’s the PDF document in which we successfully added the screenshot image.
In this tutorial, you learned how to add a screenshot to a PDF file using PDF.co Web API v1/pdf/edit/add endpoint.
Related Tutorials

Barcode Generation API - Webinar for Advanced Programmers
Sep 2, 2024·4 Minutes Read
How to Convert Outlook Email to PDF using PDF.co and Make
Sep 9, 2024·6 Minutes Read