Add HubSpot data to PDF and Email to Client via Gmail using PDF.co and Zapier
In this tutorial, we will automatically add the first and last name to a PDF template and send it to the contact’s email address every time a new contact is added on HubSpot.
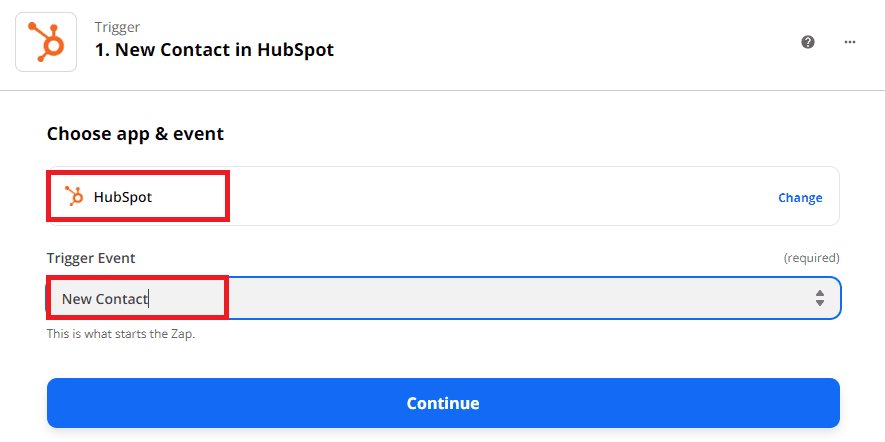
Step 1: HubSpot New Contact
To get started, let’s set HubSpot as the App and the New Contact as the Trigger Event.
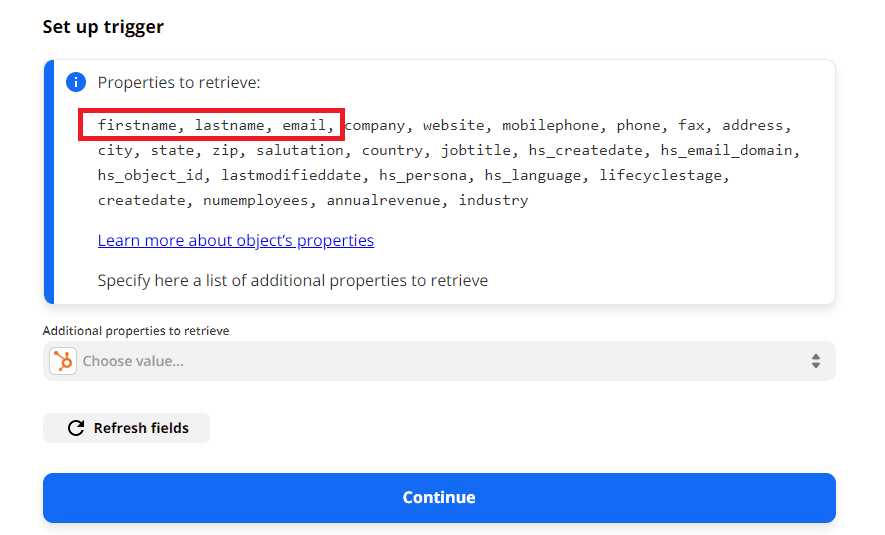
Step 2: Setup Trigger
Let’s use the default properties. It already contains the first name, last name, and email that we need to perform this Zap.
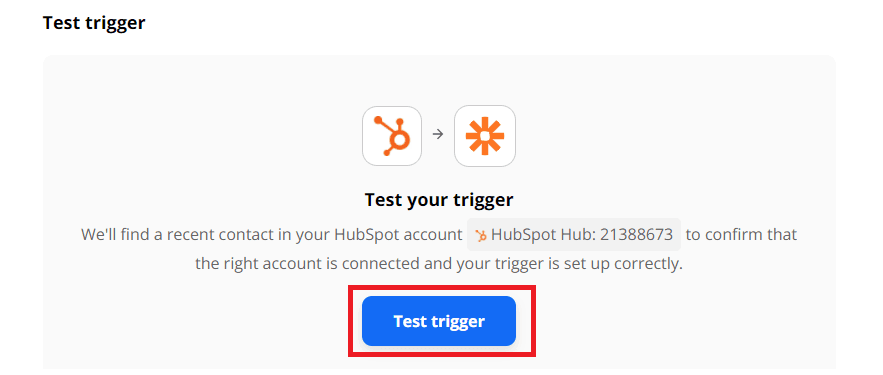
Step 3: Test Trigger
Let’s click on the Test Trigger button to make sure that we can retrieve the newly added contact information.
Step 4: Returns New Contact
Great! We successfully fetched the latest contact. Let’s proceed to PDF.co and add this data to the PDF template.

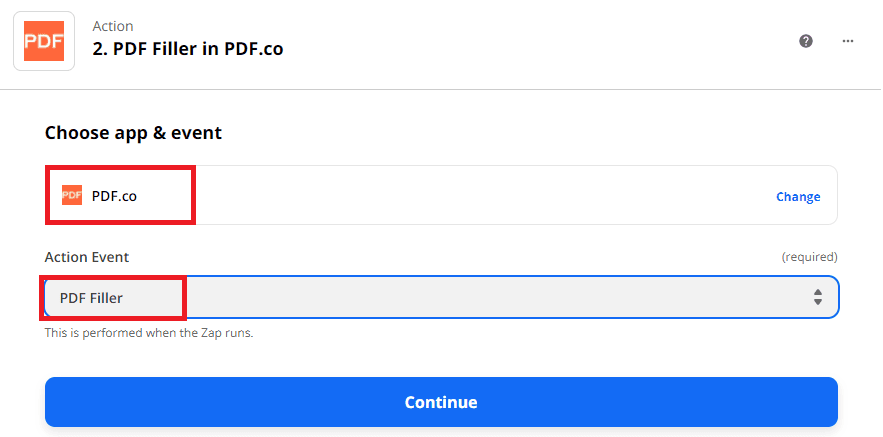
Step 5: Add PDF.co PDF Filler
Let’s choose PDF.co as the App and PDF Filler as the Action Event.
Step 6: Setup PDF Filler
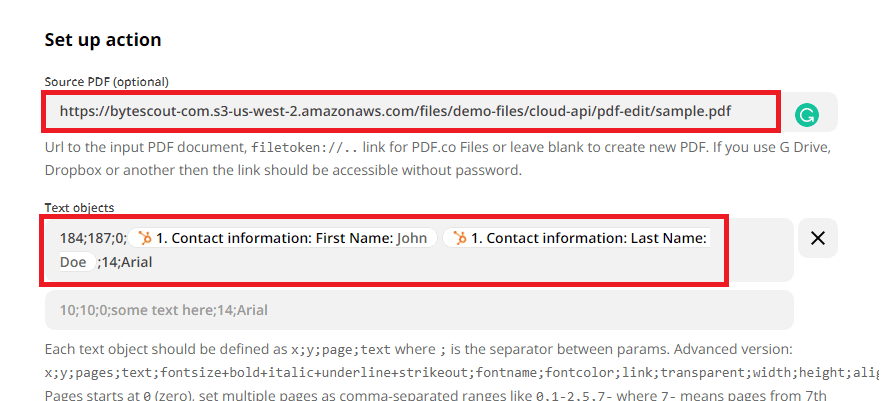
Let’s configure the PDF Filler.
- In the Source PDF field, enter the PDF template link.
- In the Text Object field, enter the x and y coordinates, page number, contact’s first and last name from HubSpot, font size, and font name. You can quickly generate an object’s coordinates using the PDF Edit Add Helper.
Step 7: Test PDF Filler
Now, let’s test the PDF Filler to make sure that we set it up correctly.

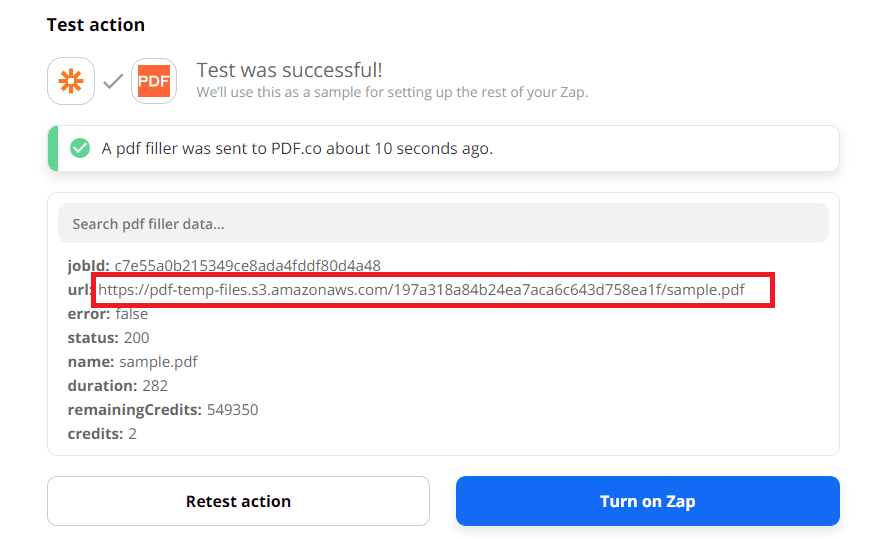
Step 8: PDF Filler Output
Great! PDF.co returned the PDF template’s output URL. You can copy and paste the link in your browser to see the result. We are now ready to send the PDF to the new contact’s email address.
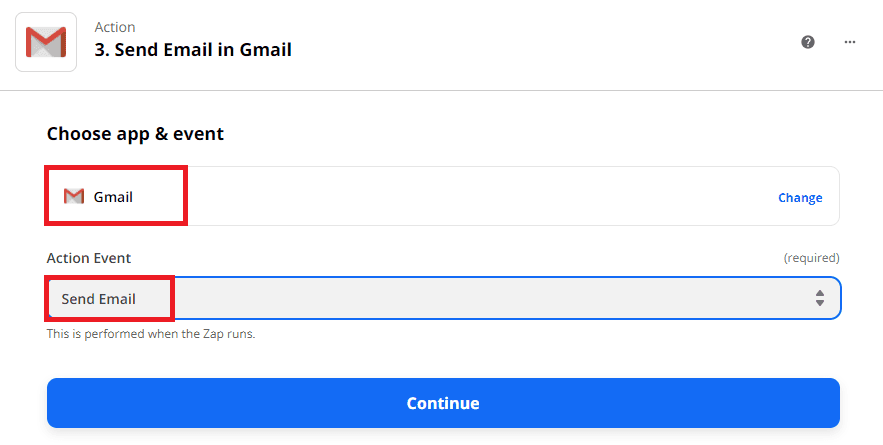
Step 9: Add Gmail’s Send Email
Let’s add another action and choose Gmail as the App. You can use other email service providers that are available in Zapier. Then, let’s use the Send Email as the Action Event.
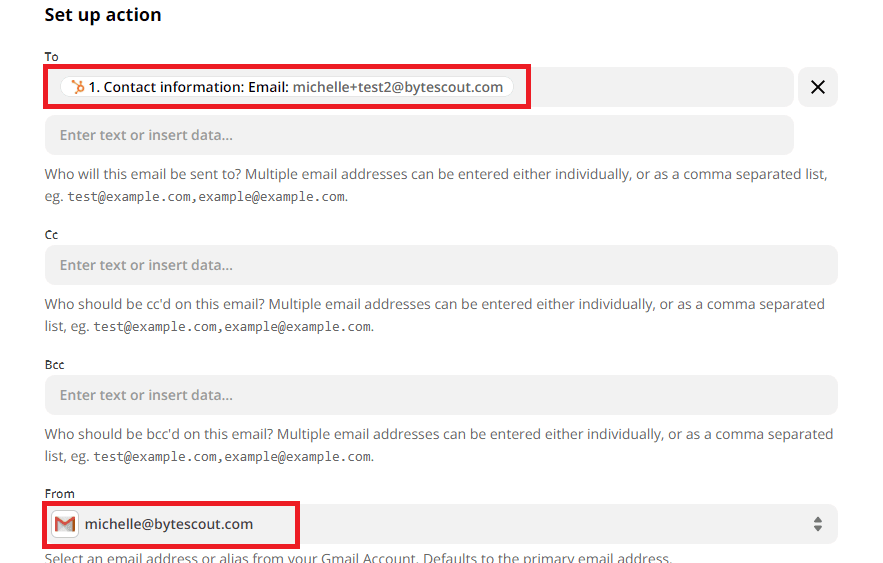
Step 10: Add Email Addresses
Let’s add the contact’s email address from HubSpot in the To field and your email address in the From field.
Step 11: Add PDF As Attachment
You can add the PDF.co PDF Filler output either in the email’s body or as an email attachment.
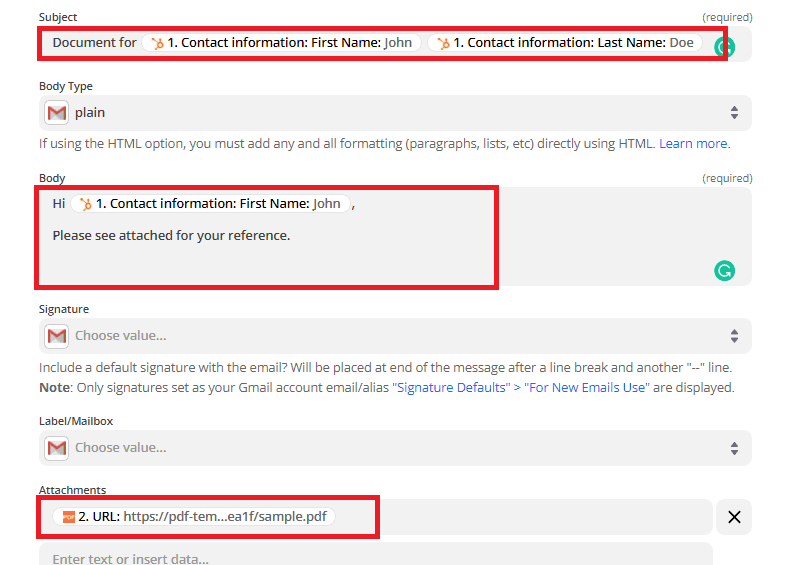
- In the Subject field, add your custom email subject.
- In the Body field, type in your email message.
- In the Attachments field, select the PDF Filler output URL.
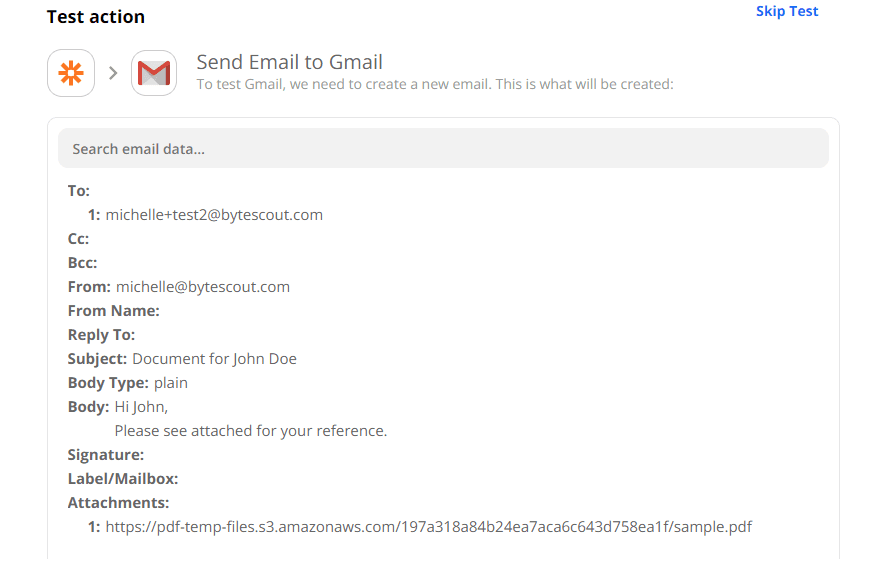
Step 12: Test Send Email
Let’s test our email configuration.
Step 13: Email Sent
Great! Gmail confirmed the receipt of our test email.

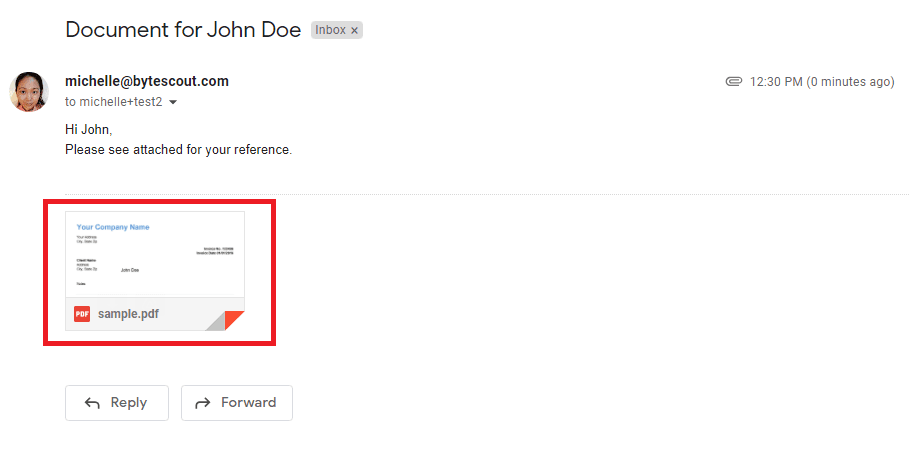
Step 14: Recipient’s Inbox
This is what the email looks like in the recipient’s inbox.
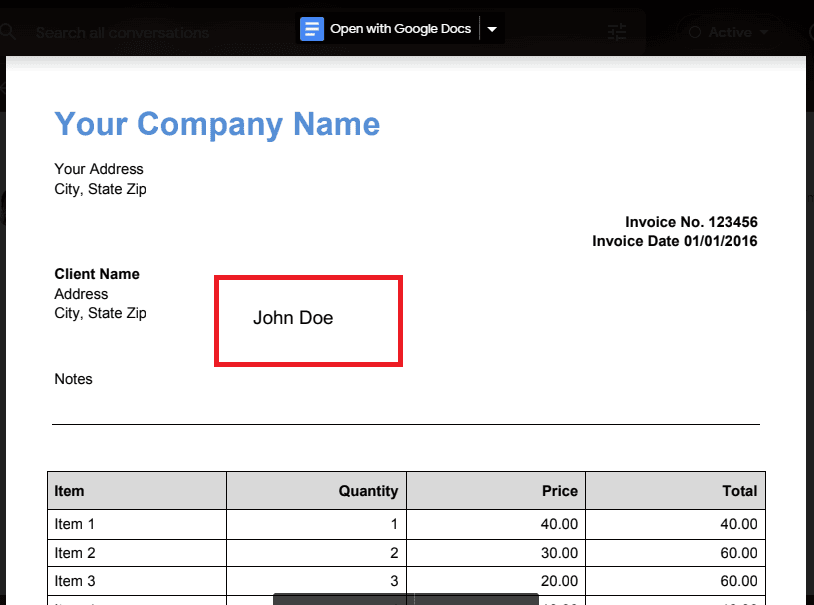
Step 15: PDF Output
Here’s the PDF document with the new contact’s first name and last name in our specified coordinates.
In this tutorial, you learned how to add data from HubSpot to a PDF template using PDF.co PDF Filler. You learned how to set up Zapier, so it triggers the zap every time a new contact is added in HubSpot. You also learned how to send the PDF document to the contact’s email address from HubSpot.
Video Guide
Related Tutorials
