Process Large Files with PDF.co and Make using Custom API Call Action
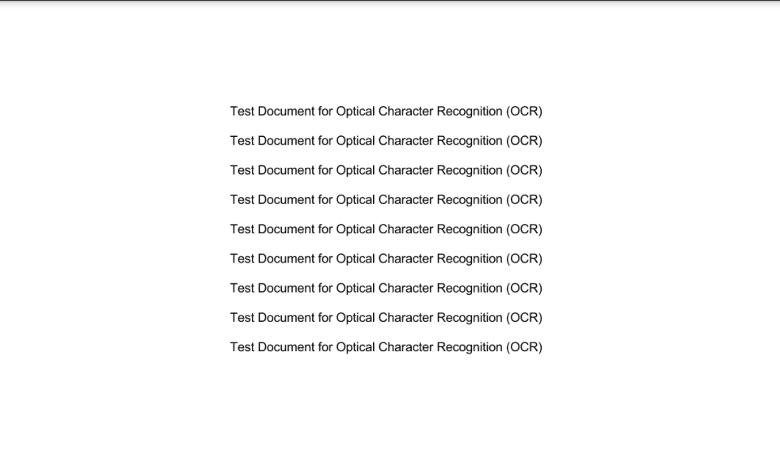
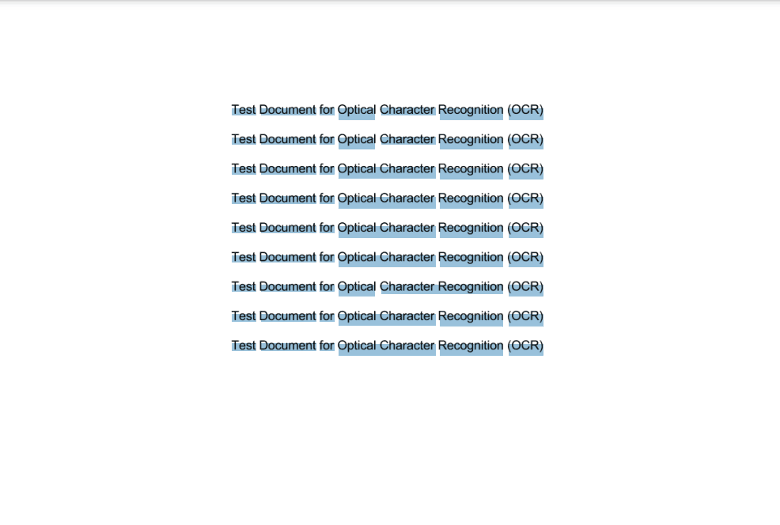
In this guide, we’ll walk you through a step-by-step tutorial to process a large file using PDF.co and Make with the Custom API Call Action. Below is the sample file we’ll use for this tutorial.
IN THIS TUTORIAL
Step 1: Create a Scenario
Start by creating a new scenario in Make to set up the automation.
Step 2: Add the Google Drive Module
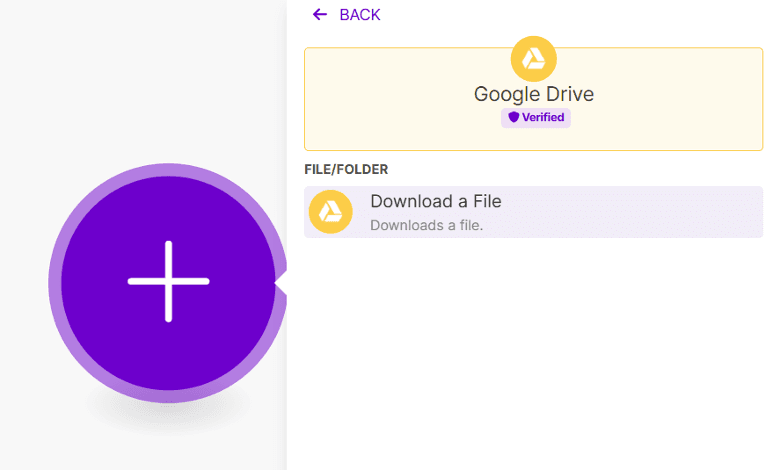
Add the Google Drive module to the scenario and select the Download a File feature to retrieve the file stored in your Google Drive folder for processing.
Step 3: Configure Google Drive Settings
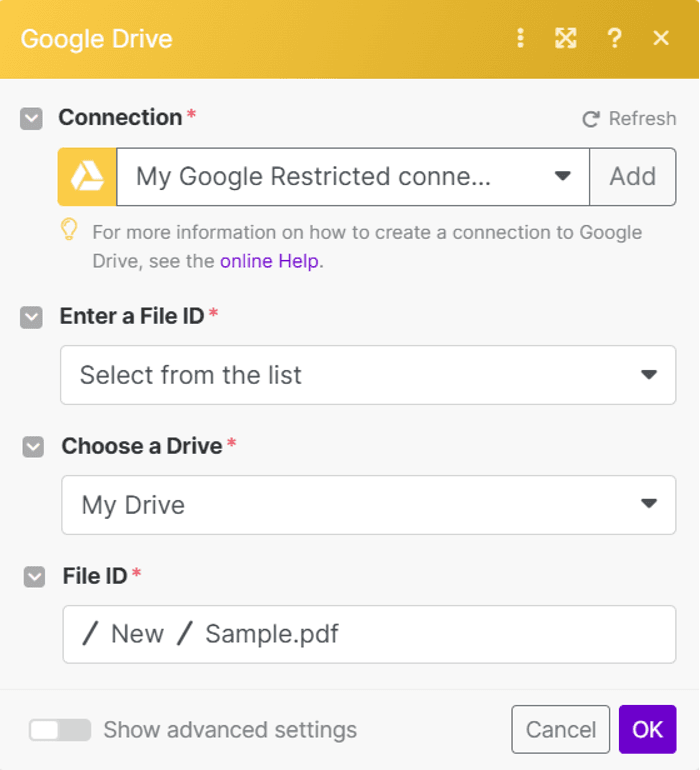
- Select the "Choose from the list" option to input a File ID.
- Choose "My Drive" as the Drive to be used.
- Specify the folder and file name you wish to process.
Step 4: Add the PDF.co Module
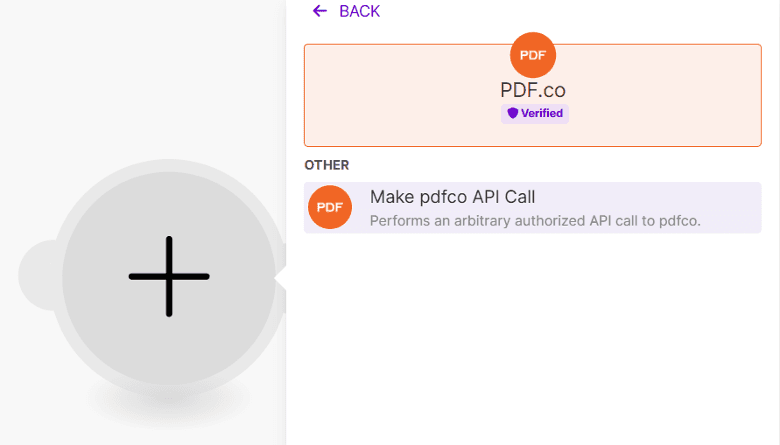
Next, add the PDF.co module to the scenario and select the Make API Call feature.
Step 5: Configure PDF.co Settings
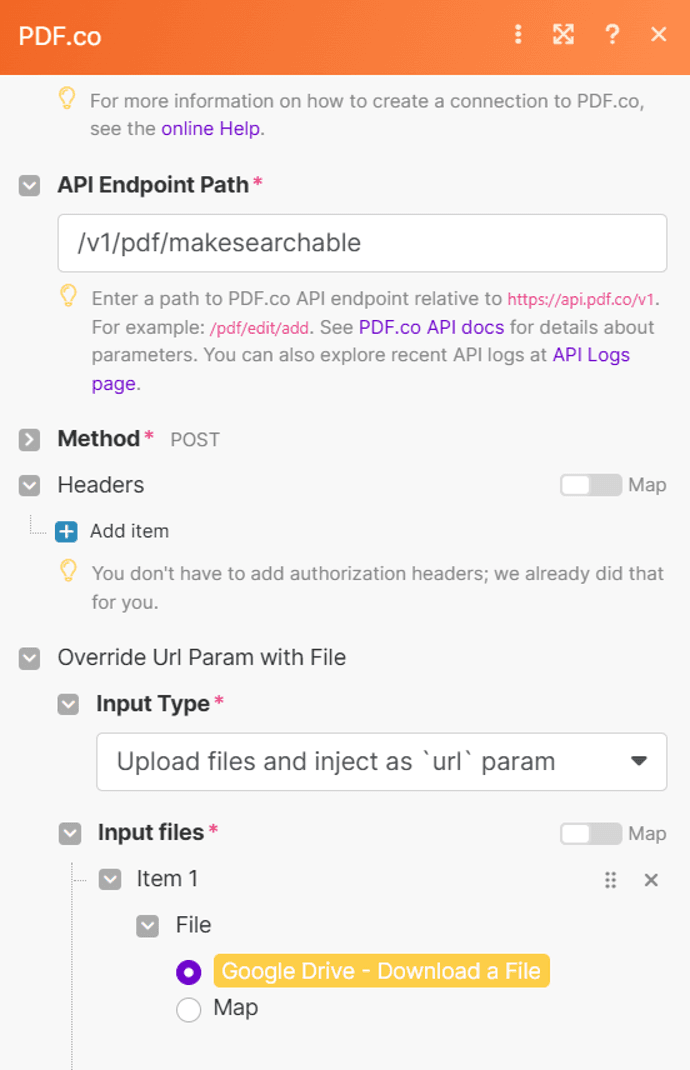
- Connect your PDF.co account: Add your API key from the PDF.co dashboard to Make.
- Specify the API endpoint: Use the
v1/pdf/makesearchableendpoint to convert scanned PDFs into searchable text PDFs. - Input file configuration: Select the option to Upload files and inject as URL param, which pulls files directly from Google Drive.
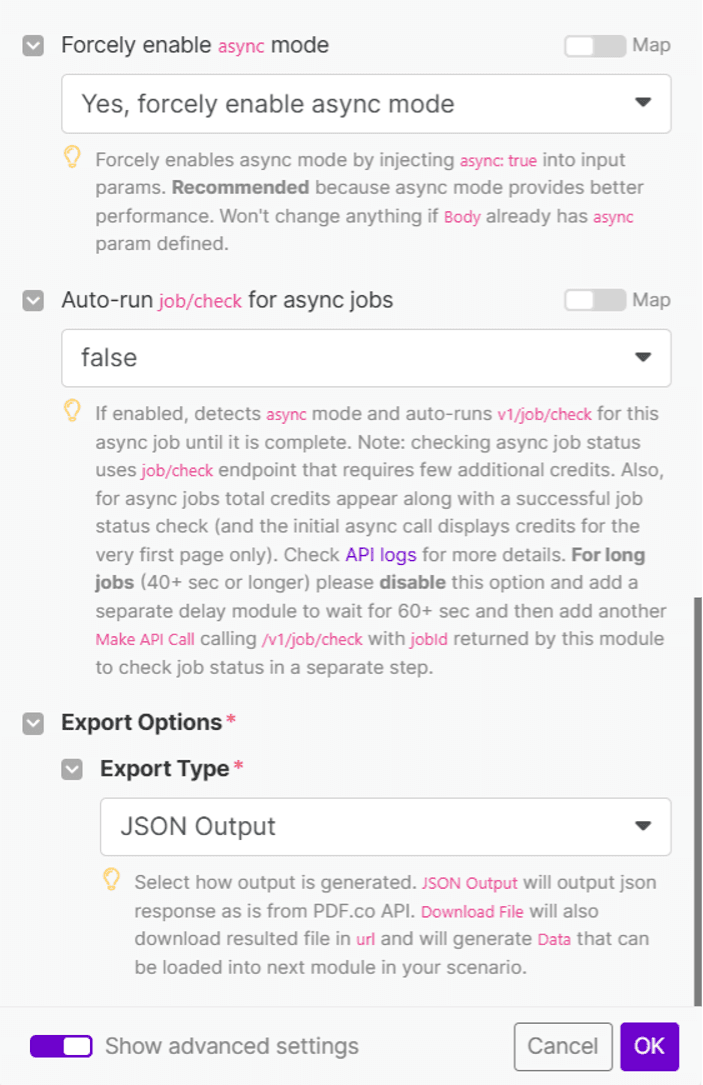
- Enable asynchronous processing: Set “Yes, forcely enable async mode" option. This ensures smooth processing of large files.
- Disable auto job checks: Set auto job checking to false for asynchronous jobs.
- Use the JSON output for the export type.
Step 6: Run the Scenario
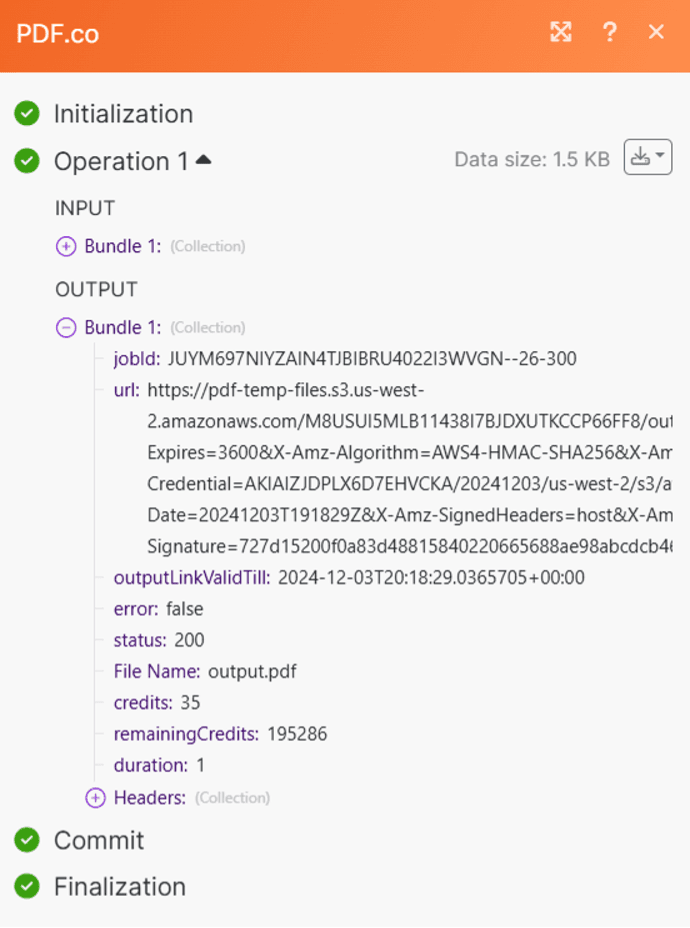
Execute the scenario to send the request to PDF.co. Once processed, add a delay for execution time to ensure the job is complete.
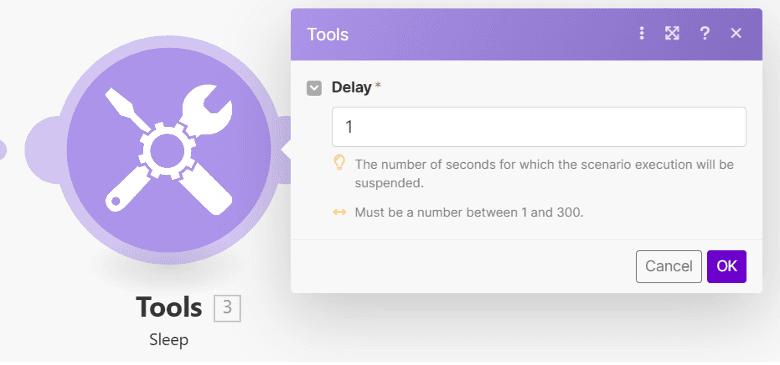
Step 7: Add the Sleep Tools
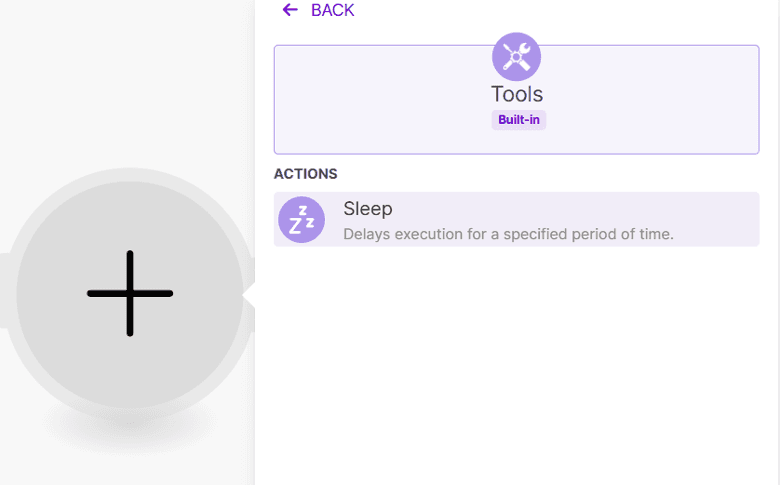
Use Make’s built-in tools to add a Sleep step for delayed execution.
Step 8: Configure the Delay Settings
Set a delay duration (in seconds) to pause the scenario execution and allow PDF.co to complete processing.
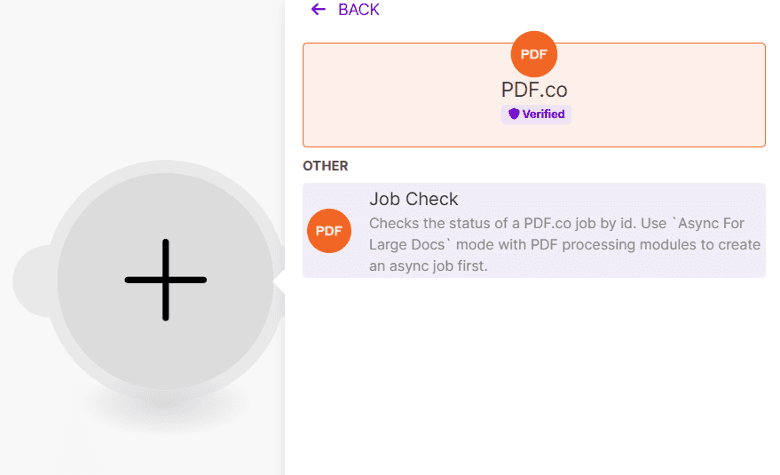
Step 9: Add the PDF.co Job Check
Include the PDF.co Job Check module in the scenario to check the job status and retrieve the output file.
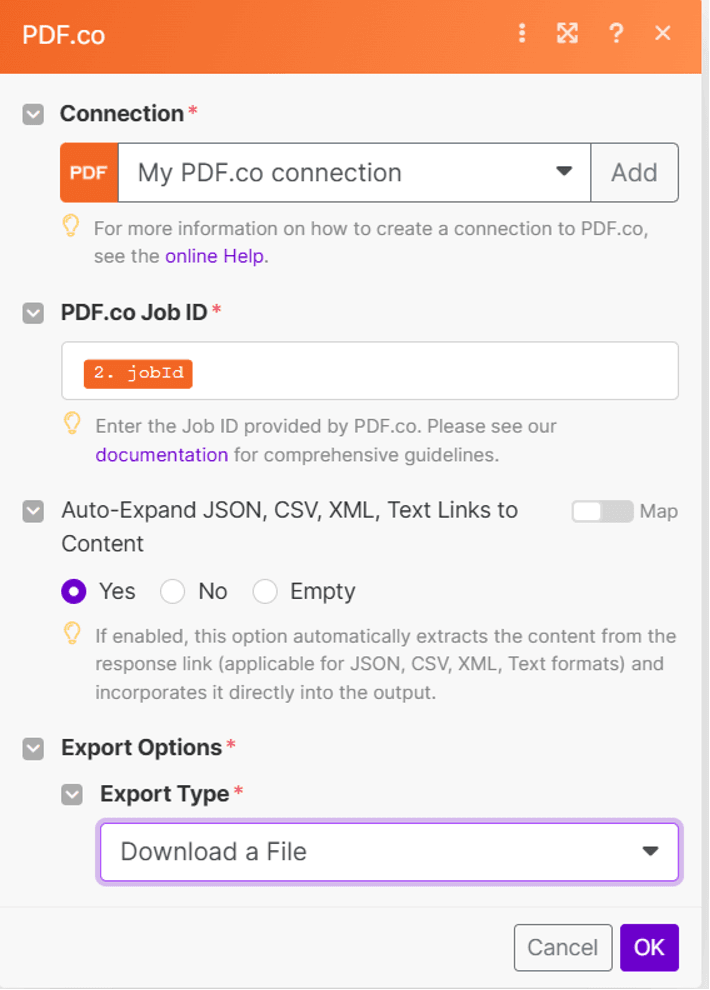
Step 10: Configure Job Check Settings
- Enter the Job ID generated during the PDF.co API Call. This is the ID of the background process running asynchronously.
- Select Download a File as the export type to retrieve the processed file.
Step 11: Run the Scenario
Run the scenario to finalize the process and retrieve the output file. Copy the generated URL to view the result.
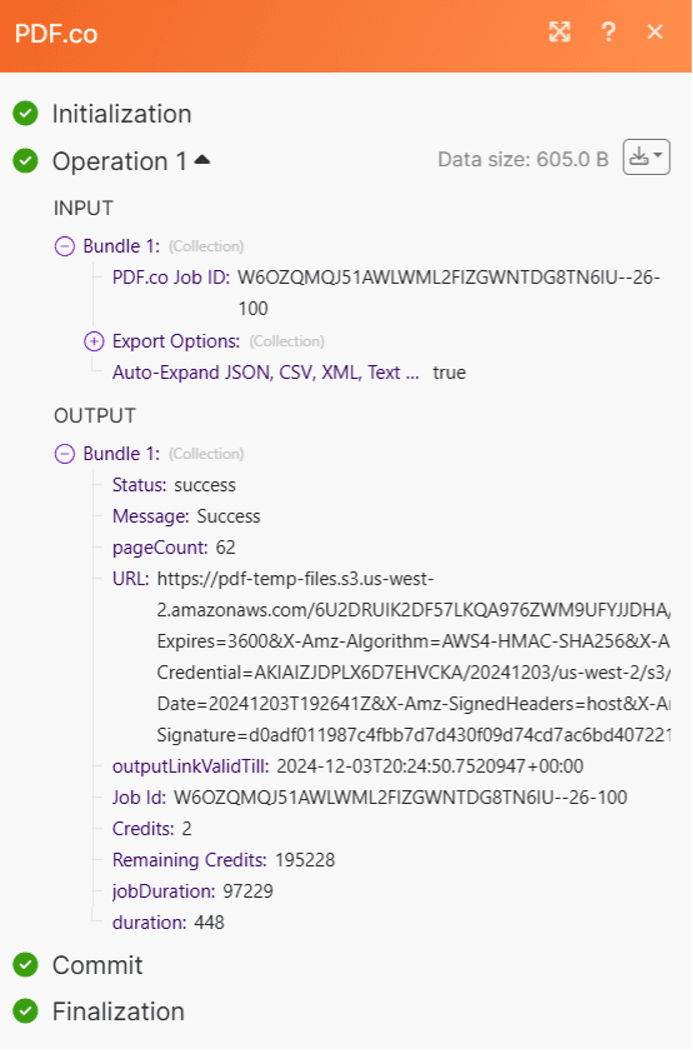
Step 12: Review PDF.co Output
The output is a searchable text PDF converted from the scanned PDF document. Note that the URL generated by PDF.co is temporary and expires after 1 hour. To ensure permanent storage, save the file to a cloud storage service such as Google Drive, Dropbox, or OneDrive.
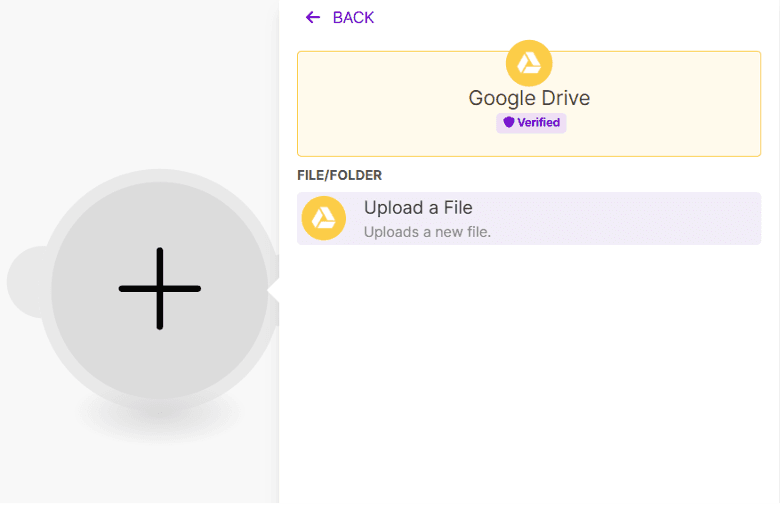
Step 13: Add Google Drive Upload File Module
Integrate the Google Drive module into the scenario to upload the generated file for permanent storage.
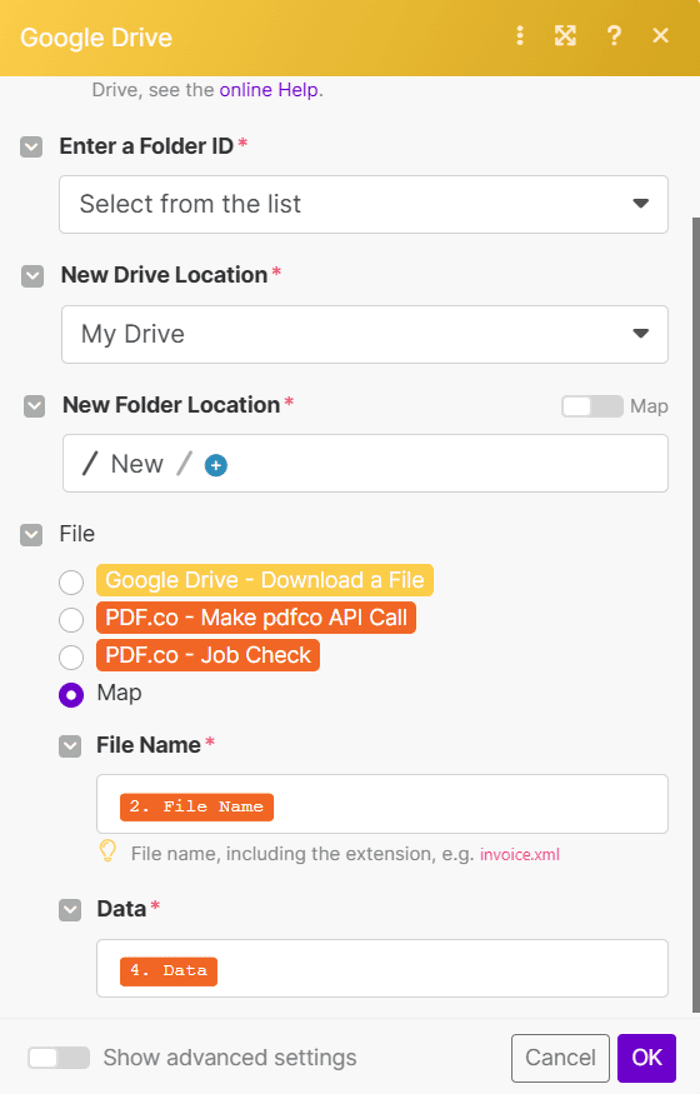
Step 14: Configure Google Drive Settings
- Select "Choose from the list" to input the File ID.
- Choose "My Drive" as the drive to use.
- Specify the folder name for the upload.
- Use the Map option to input the file name and data.
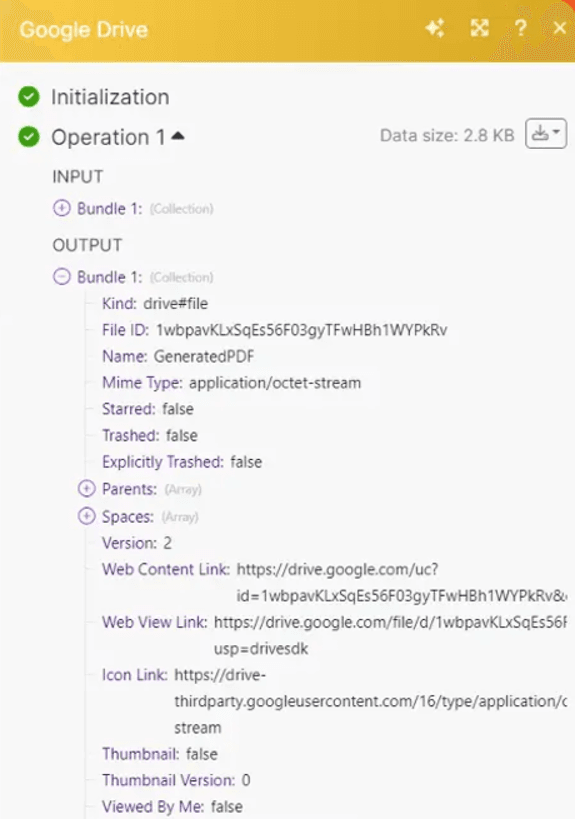
Step 15: Run Scenario to Upload File
Run the scenario to upload the processed file to the designated Google Drive folder.
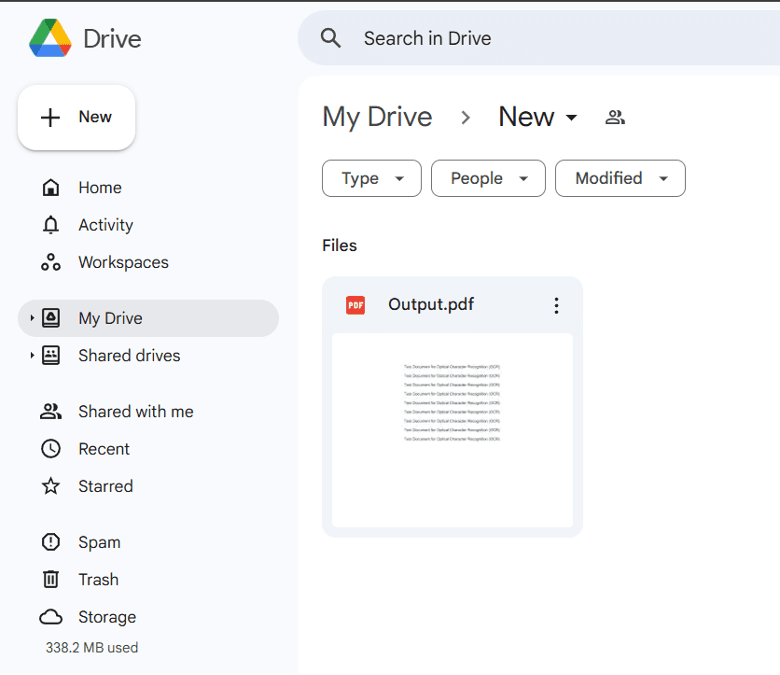
Step 16: Verify in Google Drive Folder
Open the specified Google Drive folder to confirm the file has been uploaded successfully.
In this tutorial, you learned how to process a large file with PDF.co and Make using the Custom API Call action. We also showed you how to use the Make pdfco API Call to make the scanned PDF searchable. Lastly, you also learned how to use the Sleep action to delay execution for a period of time.
There are many other things you can do with the PDF.co and Make, including creating PDFs from scratch.


