Password Protecting PDF Files using Power Automate For Desktop and PDF.co
Power Automate For Desktop offers an effective solution for streamlining repetitive tasks and enhancing efficiency. It's a built-in feature of Windows 11 and available for download from the Windows Store for Windows 10 users.
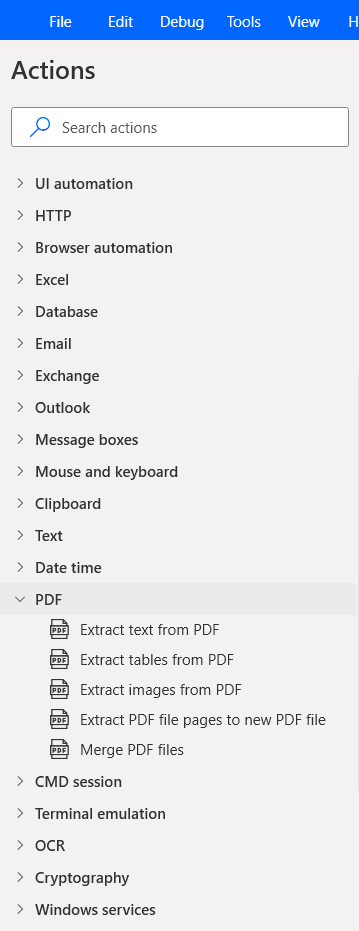
This tool includes a wide range of pre-installed functionalities for managing Files, Email, Text, and more. Additionally, it provides essential capabilities for handling PDFs, including the extraction of different types of information from PDF documents, combining multiple PDFs, and more.
IN THIS TUTORIAL
What Do We Want to Build Here?
In this sample, we will automate password-protecting PDF files from one folder. We’ll have input PDF files in one folder named “Input PDF” and an output folder named “Password Protected PDF”. As the name suggests we would like to store the resulting password-protected files in this folder.

Logically we should be doing the following:
- Loop through all PDF files in the “Input PDF” folder
- Password Protect each file
- Store the resulting file in the “Password-Protected PDF” folder
Here, we have inbuilt actions which enable us to get all files from a specific folder and loop through its contents. However, we don’t have any native action to password protect PDF.
Which leads us to our next question:
How Will We Add a Password to PDF?
Since it's not possible to do this natively, we need to look for an alternate solution. Unlike its cloud-based counterpart, Power Automate Desktop lacks built-in connectors.
This leads us to the only viable option: leveraging an external Web API. In this case, we're turning to PDF.co. PDF.co offers robust API endpoints for handling various PDF tasks. Please refer to our API Documentation for more details.
To use PDF.co endpoints, you'll need to include an API Key in the header for authentication. This key is provided upon registering with PDF.co.
Sounds intriguing, doesn't it? Let's dive in!
Step-by-Step Guide
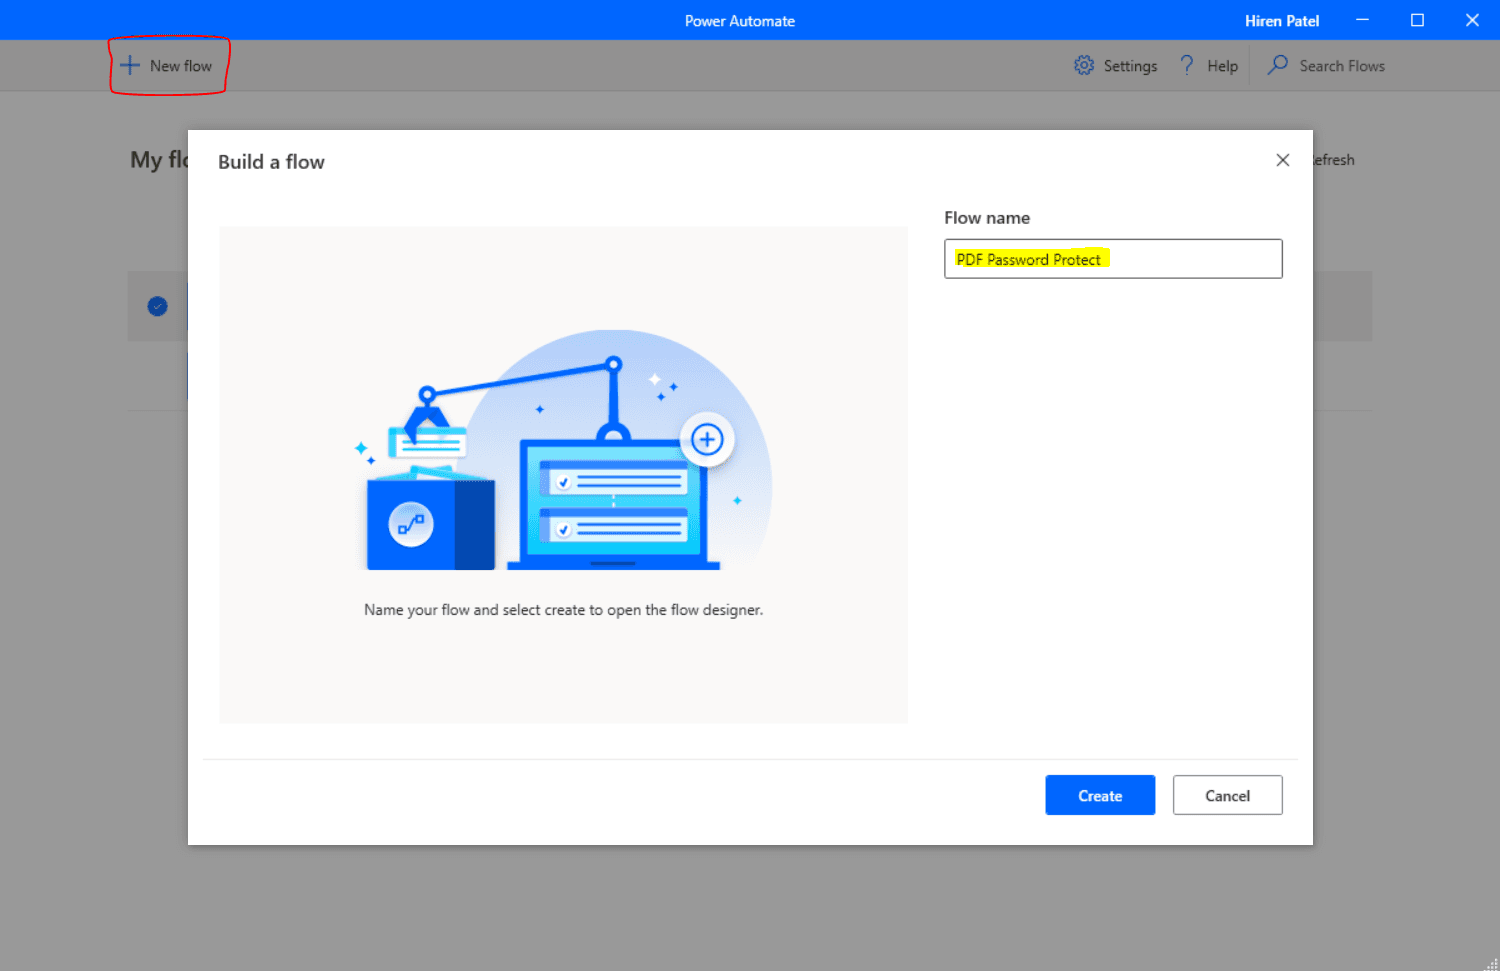
Create New Flow
We’ll start by creating a new flow named “PDF Password Protect”.
Get Files in Folder
Our first step is to get all PDF files from the source folder. For this, we’ll be adding the “Get files in folder” action.

After the execution of this step, we’ll have a collection of all of the PDF files.
Loop Through All Files
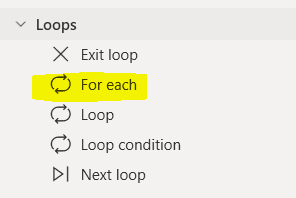
Now that we have all the PDF Files, we’ll be iterating through each file for further processing. For this purpose, we’ll add the “For each” loop. This can be found under the “Loops” folder.
This “For each” loop will look like this.
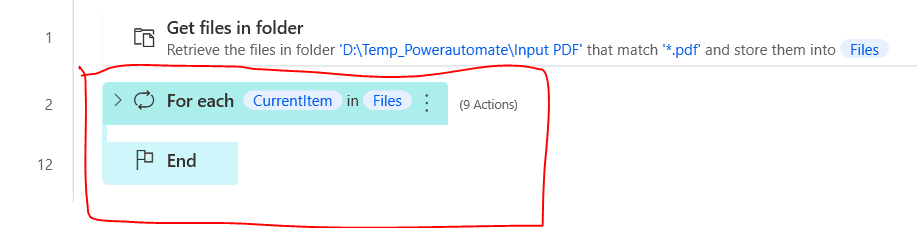
The configuration for this “For each” loop is as follows.
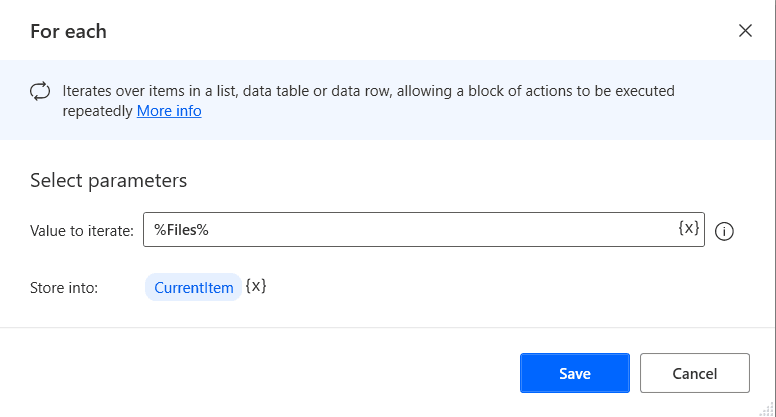
We’re selecting the parameter “Value to iterate”, with the variable “Files” (the result of the previous action). This can be done by adding the “{x}” icon on the right.
Also, we’re storing an output variable named “CurrentItem”. This “CurrentItem” will refer to the current file iteration.
Here onwards, we’ll be adding all actions within the “For each” loop itself. This variable “CurrentItem” will be used to reference the current file.
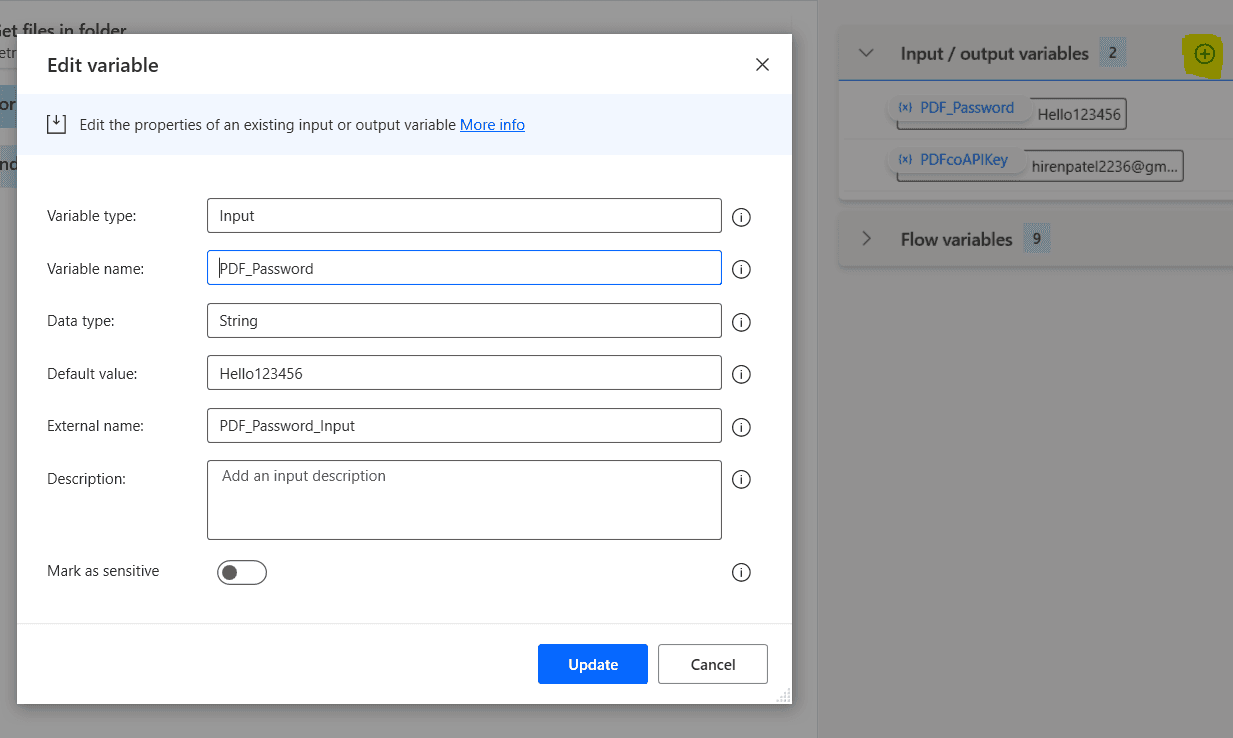
Declare Input Variables
We’ll create two input variables.
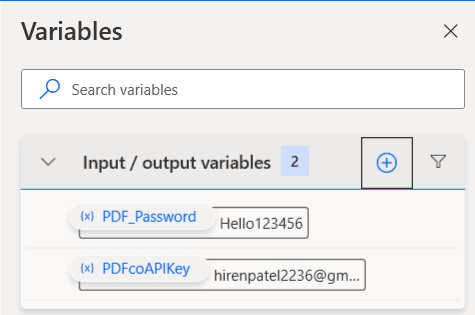
- PDF_Password - Will be used as the password for output files.
- PDFcoAPIKey - Refers to PDF.co API Key. This API key is essential for authenticating PDF.co requests.
Variables can be created by clicking the round-plus icon right from the panel title.
Invoke PDF.co Web Service to Get Presigned URL for File Upload
In this step, we’ll be calling PDF.co Endpoint “get-presigned-url” which will return the URL to file upload as well output URL. PDF.co requires a public URL of an input file in order to process them.
Since we need local PDF files to be processed, we’ll be uploading them to the PDF.co cloud. Files will be there only for a short duration and will be deleted afterward.
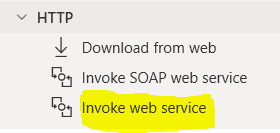
The action to call the rest web service is “Invoke web Service”, which is under the “HTTP” side menu.
We’ve configured this web service as below.
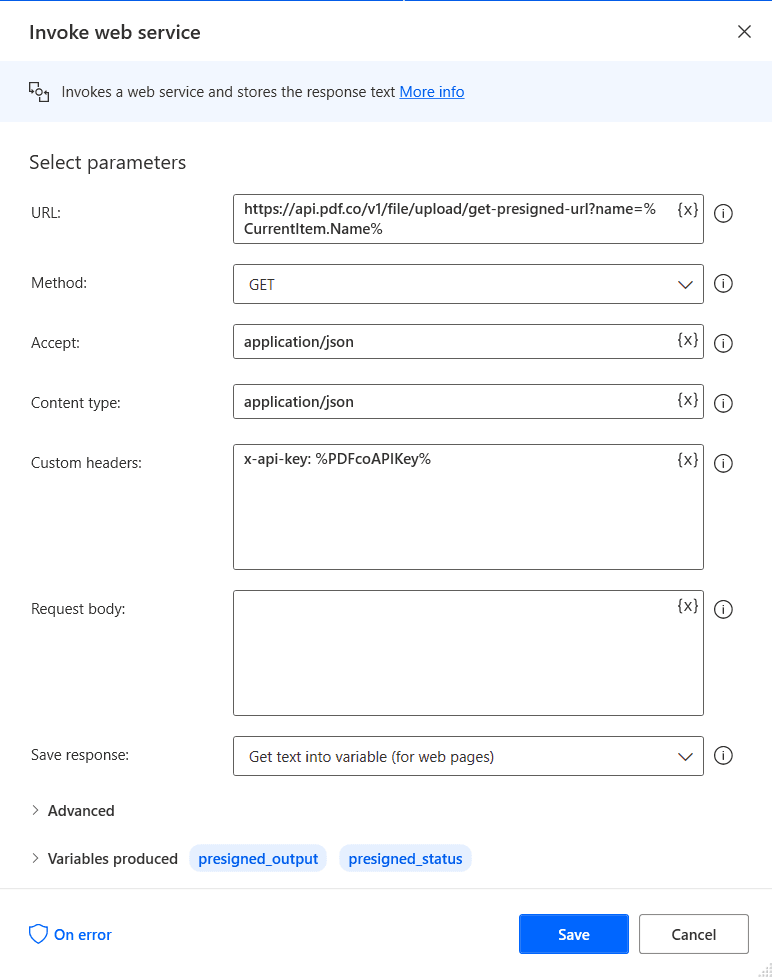
This is a GET request with an endpoint URL as “https://api.pdf.co/v1/file/upload/get-presigned-url”. This URL also contains a query string parameter for the file name.
Along with this, we’re passing custom header information with PDF.co API Key. Here, we’re using the input variable PDFcoAPIKey.
x-api-key: %PDFcoAPIKey%Apart from this, we’re saving response to a variable named “presigned_output”.
Output stored in this variable will be in JSON format, as shown below. Output parameter “presignedUrl” contains a URL where the actual file needs to be uploaded. Whereas, the “URL” parameter refers to the PDF.co cloud public URL of the uploaded file.
{
    "presignedUrl": "https://pdf-temp-files.s3.us-west-2.amazonaws.com/d3cfc1a155964e8495fe93a05afa0570/test.pdf?X-Amz-Expires=900&X-Amz-Algorithm=AWS4-HMAC-SHA256&X-Amz-Credential=AKIAIZJDPLX6D7EHVCKA/20220406/us-west-2/s3/aws4_request&X-Amz-Date=20220406T095510Z&X-Amz-SignedHeaders=host&X-Amz-Signature=b922b20c61ed12d6fc1049ad44beb103c116462b36ac09de652d850220f74243",
    "url": "https://pdf-temp-files.s3.amazonaws.com/d3cfc1a155964e8495fe93a05afa0570/test.pdf",
    "error": false,
    "status": 200,
    "name": "test.pdf",
    "credits": 7,
    "duration": 285,
    "remainingCredits": 830573
}
Since the response stored in “presigned_output” is in JSON string format, we need to convert it to a custom object.
For that, we need to add a new action named “Convert JSON to custom object”.
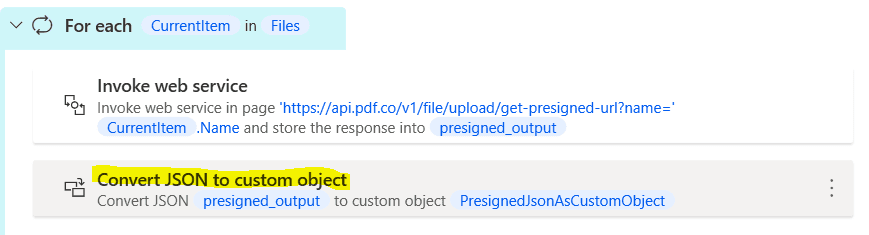
In this action, we’re configuring the JSON parameter with the variable “presigned_output”.
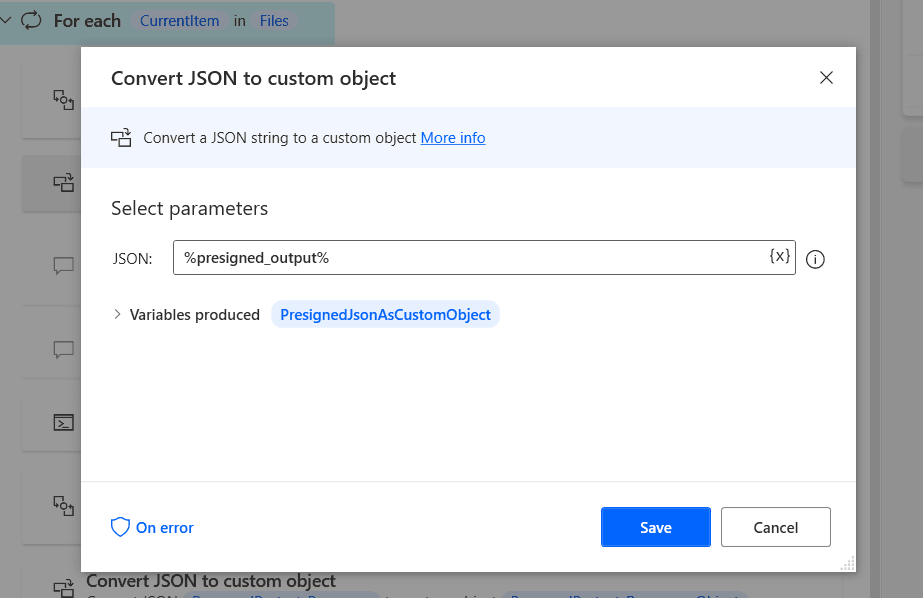
Also, the output variable “PresignedJsonAsCustomObject” is generated.
Now, whenever we need to access a pre-signed URL response; we only need to refer to this variable. For example, to access the URL property of JSON, we can use the “PresignedJsonAsCustomObject.url” property.
Perform Actual File Upload to the Returned Presigned URL
Now that we have the presigned URL from PDF.co, it’s time to upload the actual file to it with a PUT request. Unfortunately, Power Automate Desktop has no native action, to upload byte-array to PUT request. Hence, we need to execute the PowerShell script action which will perform file upload.
We’ll be using the “Run PowerShell script” action here, as shown below.

This action is configured to execute the following PowerShell code.
# 2. UPLOAD THE FILE TO CLOUD.
$r = Invoke-WebRequest -Method Put -Headers @{ "x-api-key" ="%PDFcoAPIKey%"; "content-type" = "application/octet-stream" } -InFile '%CurrentItem%' -Uri '%PresignedJsonAsCustomObject.presignedUrl%'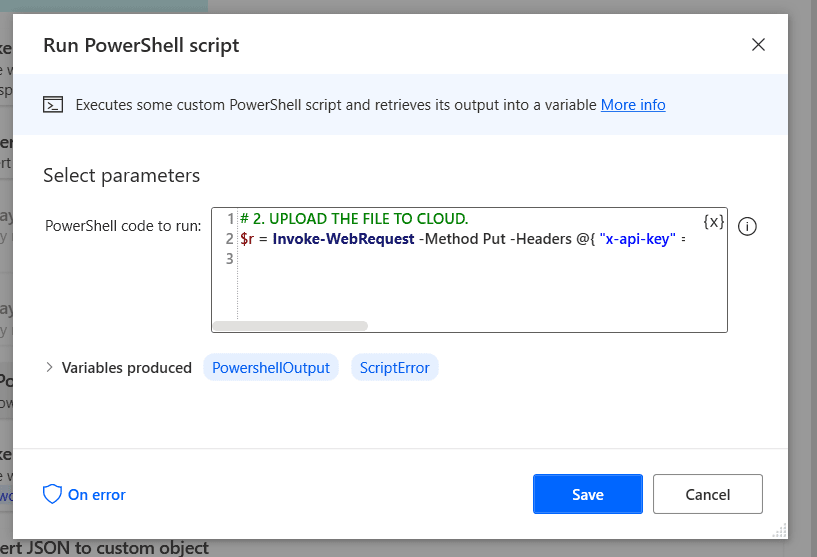
This code does file upload to a pre-signed URL using a PUT request. Interesting and powerful stuff, right?
PDF.co API Call to Password Protect This File
Until this step, we have our input PDF file uploaded to the PDF.co server; and we already have its temporary public URL when we called GET request for a pre-signed URL. It’s time to call another PDF.co endpoint to password protect this file.
For this, we’ll be configuring another “Invoke web service” action.

Let’s see the configuration of this action.
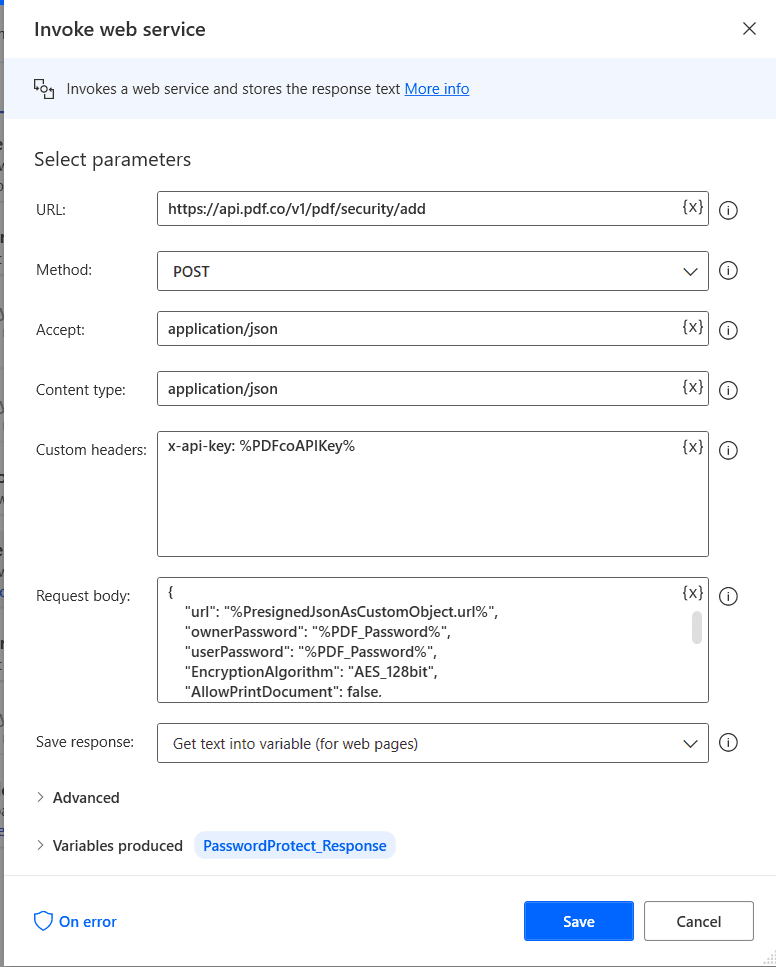
The URL parameter is set to “https://api.pdf.co/v1/pdf/security/add”. This pdf.co endpoint adds password and other security to an input PDF document.
The method is set to “POST”, and it has accepted as well content-type parameter set to “application/json”.
We’re passing the PDF.co API key in the custom header with the following value.
x-api-key: %PDFcoAPIKey%The request body is set to the following.
{
    "url": "%PresignedJsonAsCustomObject.url%",
    "ownerPassword": "%PDF_Password%",
    "userPassword": "%PDF_Password%",
    "EncryptionAlgorithm": "AES_128bit",
    "AllowPrintDocument": false,
    "AllowFillForms": false,
    "AllowModifyDocument": false,
    "AllowContentExtraction": false,
    "AllowModifyAnnotations": false,
    "PrintQuality": "LowResolution",
    "encrypt": false,
    "name": "output-protected.pdf",
    "async": false
}
Please note, we’re setting the “URL” parameter with a pre-signed JSON object’s variable “PresignedJsonAsCustomObject.url”. Also, “ownerPassword” and “userPassword” are set to the “PDF_Password” variable.
The rest are the additional parameters such as encryption algorithm, print quality, etc. Please refer to the PDF.co documentation for more information.
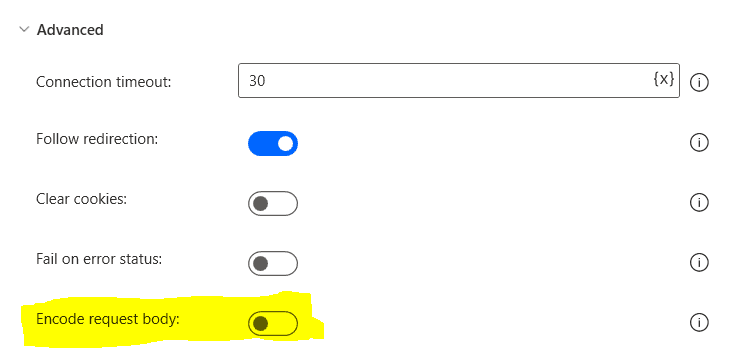
The important thing to note here, we’re turning off the “Encode request body” switch in advanced settings.
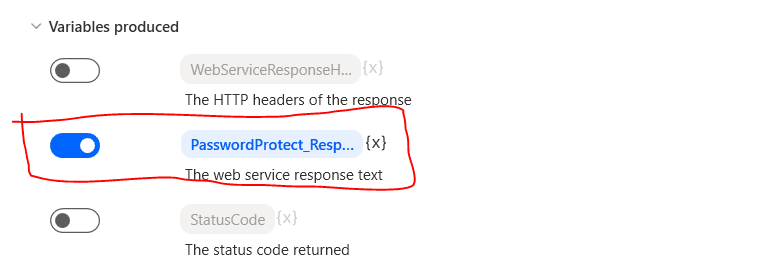
We’re storing the output of this action to the variable, “PasswordProtect_Response”.
In this response, “URL” parameter refers to the protected output file.
Next, we’ll be creating an action “Convert JSON to custom object” and create a JSON object for this variable “PasswordProtect_Response”. It’ll look like this.

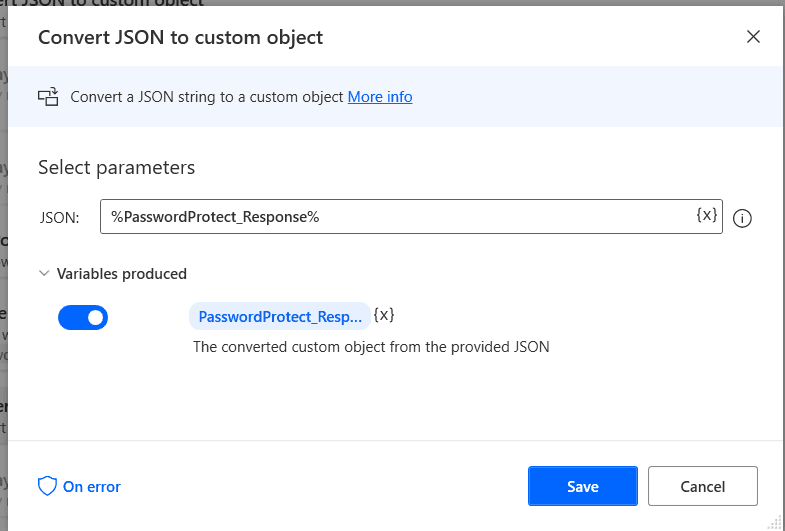
Now that we’ve configured the JSON object; we can refer to the password-protected file URL with the parameter “PasswordProtect_Response_Object.url”.
Download Returned URL
In this last step, we’ll be simply downloading the file from the output URL. We’ll be using the “Download from web” action for this.

Let’s see its configuration.
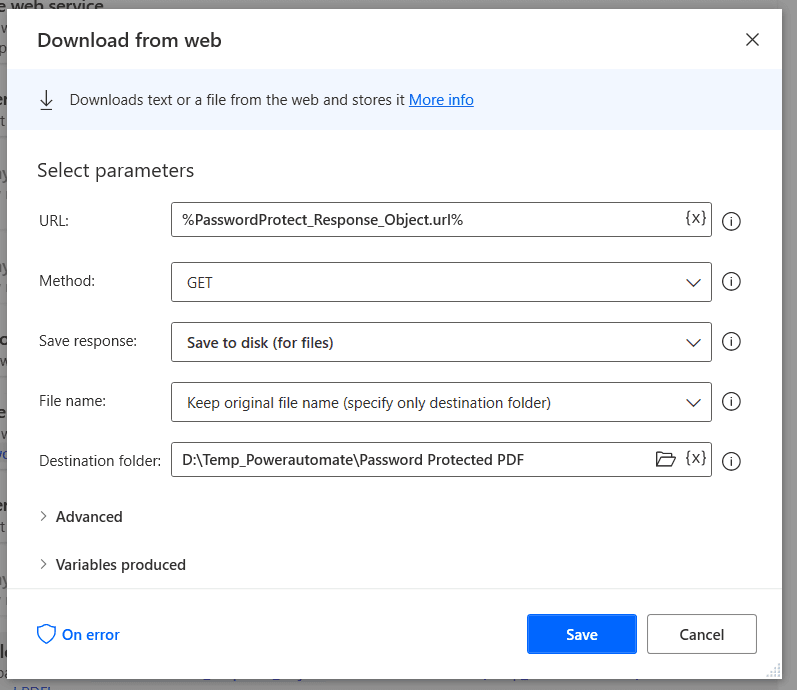
“URL” parameter is set to the variable “PasswordProtect_Response_Object.url”, which in turn contains a protected file URL.
This response is being saved to disk, and also the destination folder is specified. Upon execution of this action, it’ll save the output PDF to the destination folder.
As we have observed, it’s that easy to consume PDF.co web API with Power Automate for desktop. PDF.co offers many more endpoints, and they can be configured in a similar way.
I hope this article is useful. Please try this on your machine! Thank you!
Video Guide
Related Tutorials


