How to Merge PDFs from Ninox Database using PDF.co and Make
Merging PDFs can be a time-consuming and hard task, especially when dealing with multiple files. However, with the creative integration of PDF.co and Make, you can transform your document management workflow by easily merging PDFs into a single document.
The combination of PDF.co and Make integration empowers you to simplify the entire process, saving valuable time and effort. Whether you’re merging reports, invoices, contracts, or any other document, this powerful combination offers a comprehensive solution to simplify your document management needs.
In this guide, we will explore the process of merging PDFs from the Ninox Database using PDF.co and Make. By following this guide, you can simplify your document management workflow and easily merge PDFs from your Ninox Database.
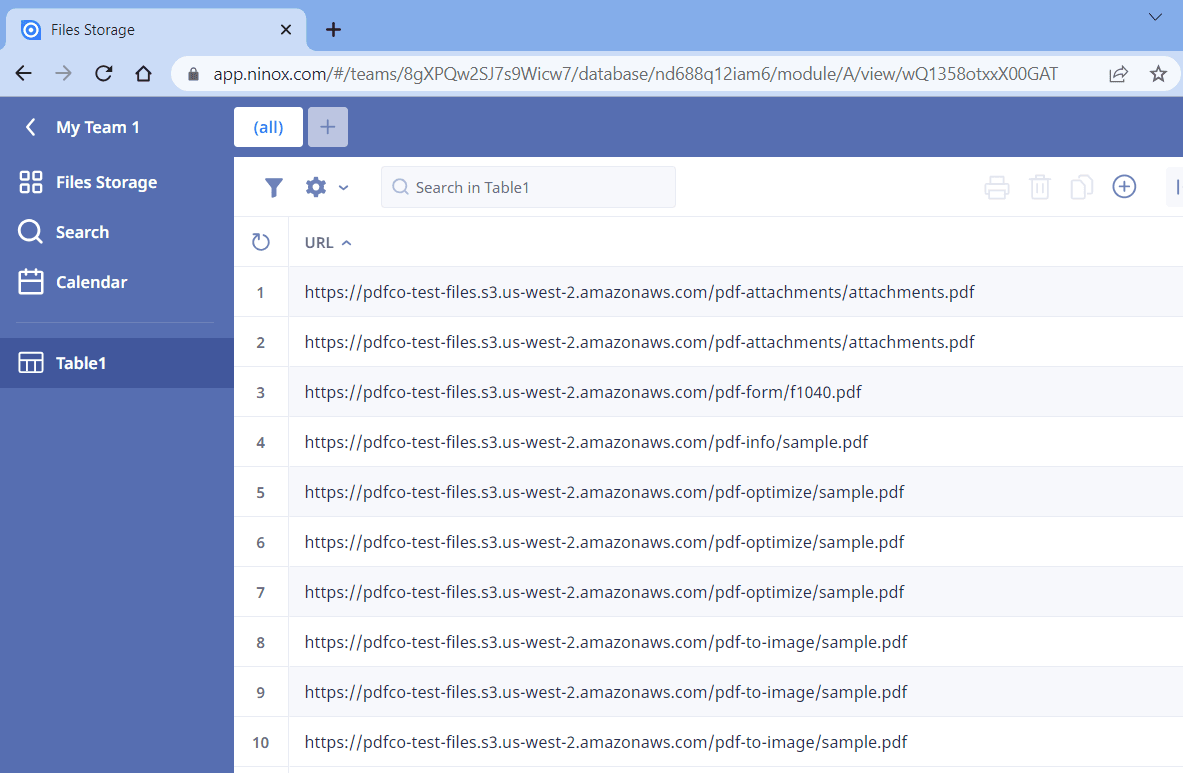
We will use these sample PDFs from Ninox Database and merge them into a single PDF.
Step 1: Create a New Scenario
- To begin, log into your Make account and create a new scenario.
Step 2: Add Ninox Module
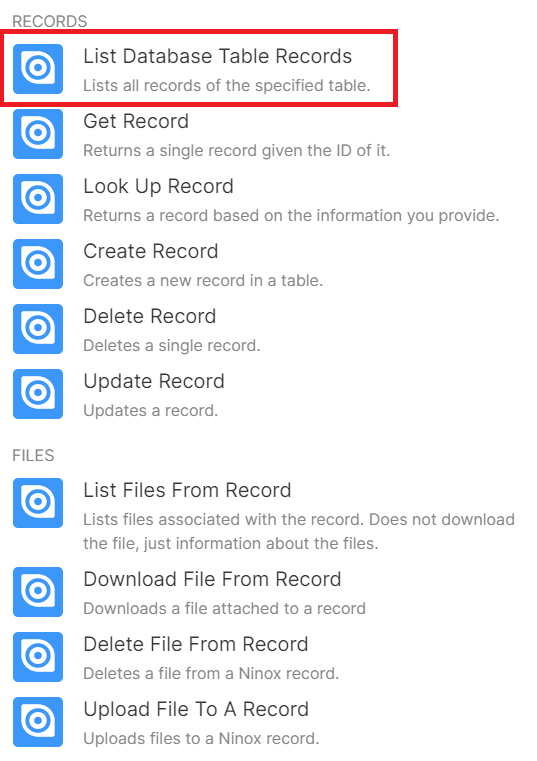
- Next, search and select the Ninox app. Then, navigate to the List Database Table Records option. This will allow you to retrieve the complete list of records from the specified table.
Step 3: Setup Ninox Configuration
Let’s set up the Ninox configuration.
- Connect your Ninox account to Make. This will enable Make to access your Ninox account.
- In the Team field, select the name of your Ninox Workspace.
- Enter the specific name of your database in the Database field.
- Specify the table where your source PDFs are stored in the Table field.
- Set the maximum number of results to be processed during one execution cycle in the Limit field.
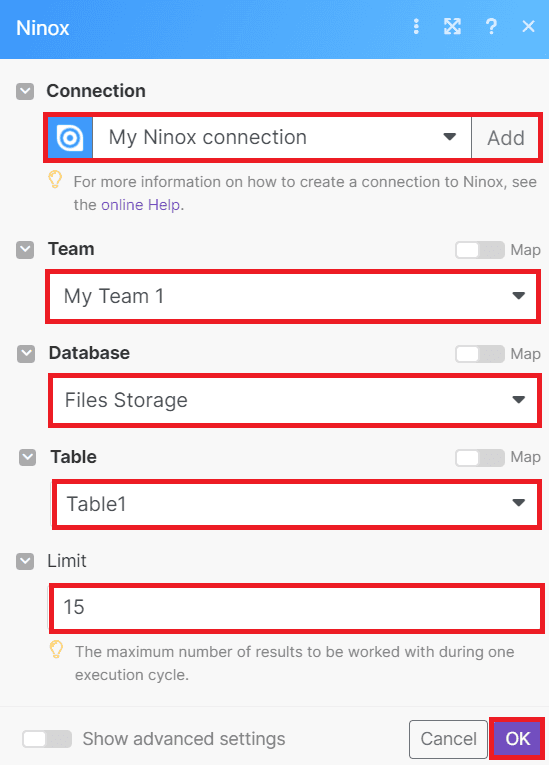
Once you have completed the configuration setup, simply click on the Run button to initiate the process.
Step 4: Add HTTP Module
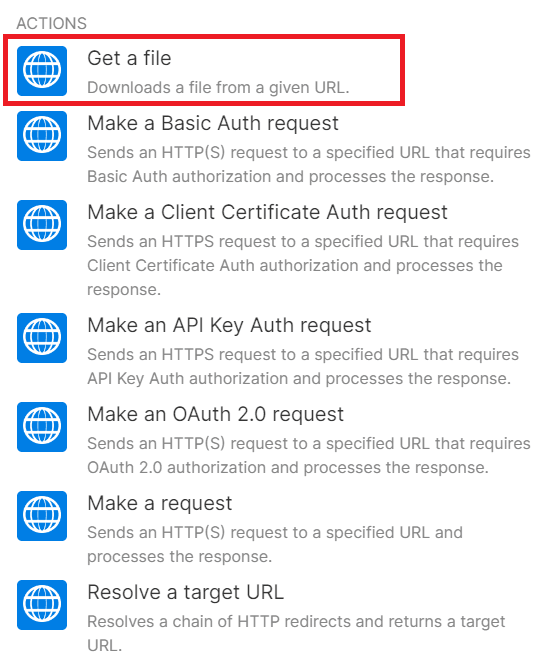
- After the successful execution of the scenario, you can proceed to add another module and select the HTTP app. From there, choose the Get a file option to initiate the download of a file from the provided URL.
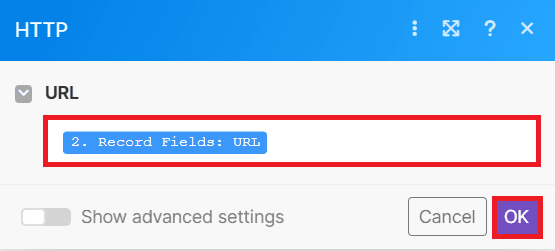
Step 5: HTTP Configuration
- In the URL field, choose the Record Fields: URL option from Ninox. This will ensure that the URL for downloading the file is sourced from the relevant field in your Ninox records.
After completing the configuration setup, the next step is to add another module to upload all the files using the HTTP functionality.
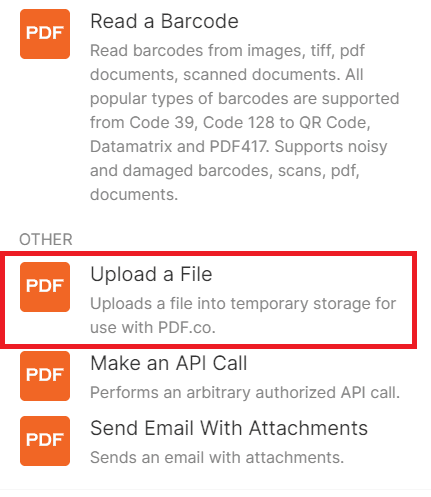
Step 6: Add PDF.co Module
- In this step, we will add the PDF.co app and choose the Upload a File option to upload files into temporary storage for use with PDF.co.
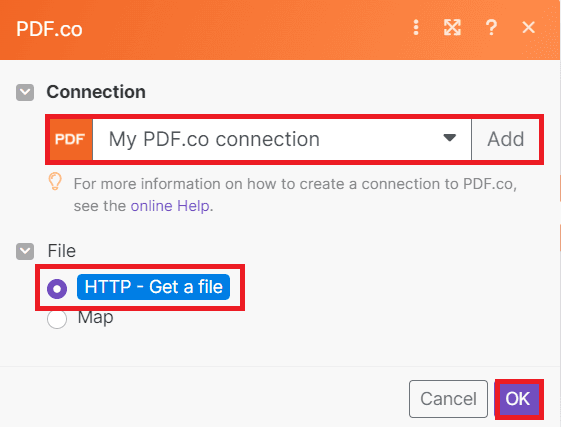
Step 7: Configure PDF.co Settings
Let’s set up the PDF.co configuration.
- First, connect your PDF.co account to Make by adding your API key. You can obtain the API key from your PDF.co dashboard or by signing up at this link.
- Next, select the HTTP – Get a File option. This will allow you to retrieve all the files from HTTP functionality and temporarily stored them for use with PDF.co.
Once you have done configuring the PDF.co settings, simply click on the Run button to execute the scenario and observe the result.
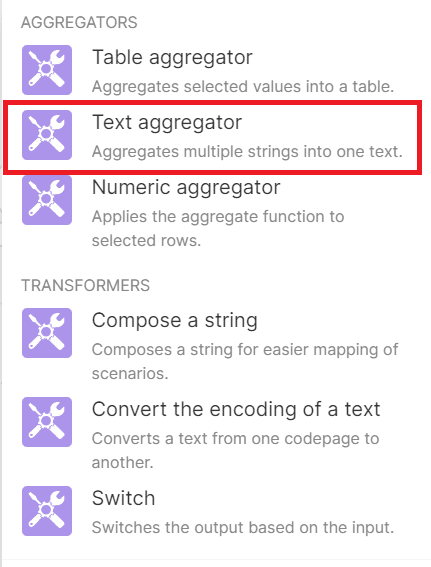
Step 8: Add Tools Module
- After successfully running the scenario, proceed to add the Tools module. Within the Tools module, select the Text Aggregator option. This functionality allows you to aggregate multiple strings into a single text output.
Step 9: Setup Text Aggregator
Let’s set up the Text aggregator configuration.
- First, enable the Show Advanced settings.
- In the Source Module field, select the Ninox – List Database Table Records option.
- In the Row Separator field, choose the Other option.
- For the Separator field, input a comma (,) to separate the URLs.
- For the Text field, select the resulting URL from PDF.co – Upload a File module.

Once you have completed the configuration setup, simply click on the Run button to initiate the execution of the scenario.
Step 10: Add Another PDF.co Module
- After running the scenario successfully, you can proceed to add another module and select the PDF.co app. From there, choose the Merge a PDF option to combine multiple PDFs into a single document.

Step 11: Setup Merge PDF Configuration
Let’s set up the merge PDF configuration.
- For the Enable non-PDF files as an input field, let’s select the No option. You can set it to Yes If you’re using non-PDF files as input.
- For the Input Type field, select the Input Link(s) option.
- In the Input Link field, add the text obtained from the Text aggregator result. This will provide the necessary input for merging the PDFs into a single document.
- For the File Name field, enter the specific name for the output file.
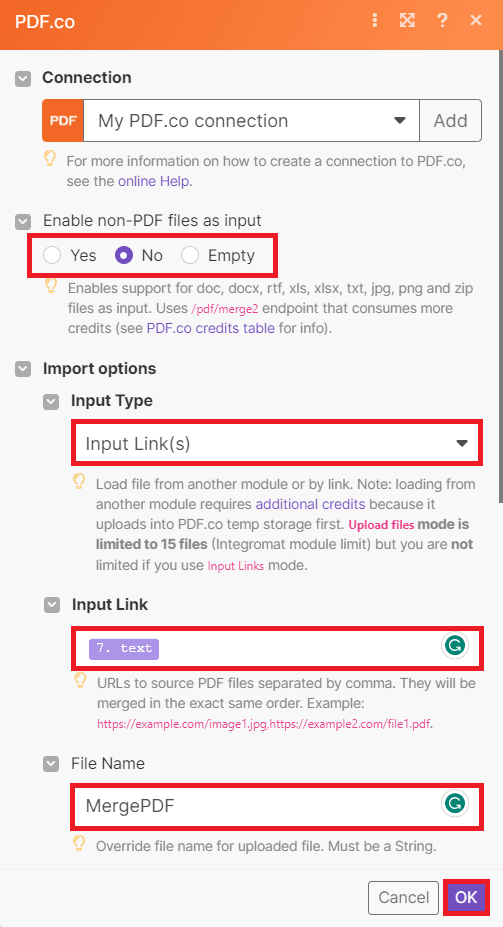
Once you have completed the configuration setup, simply click on the Run button to initiate the scenario and merge the multiple files into a single PDF document.
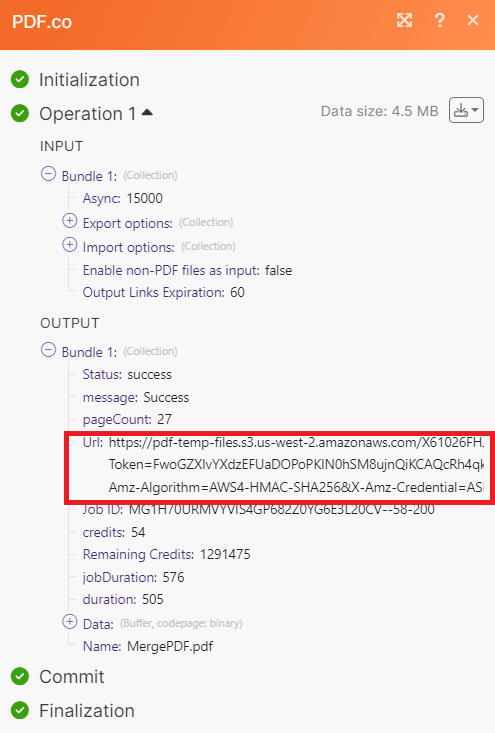
Step 12: Run Scenario Result
- Excellent! The scenario has run successfully. Please copy the generated URL and paste it into your web browser to view the output.
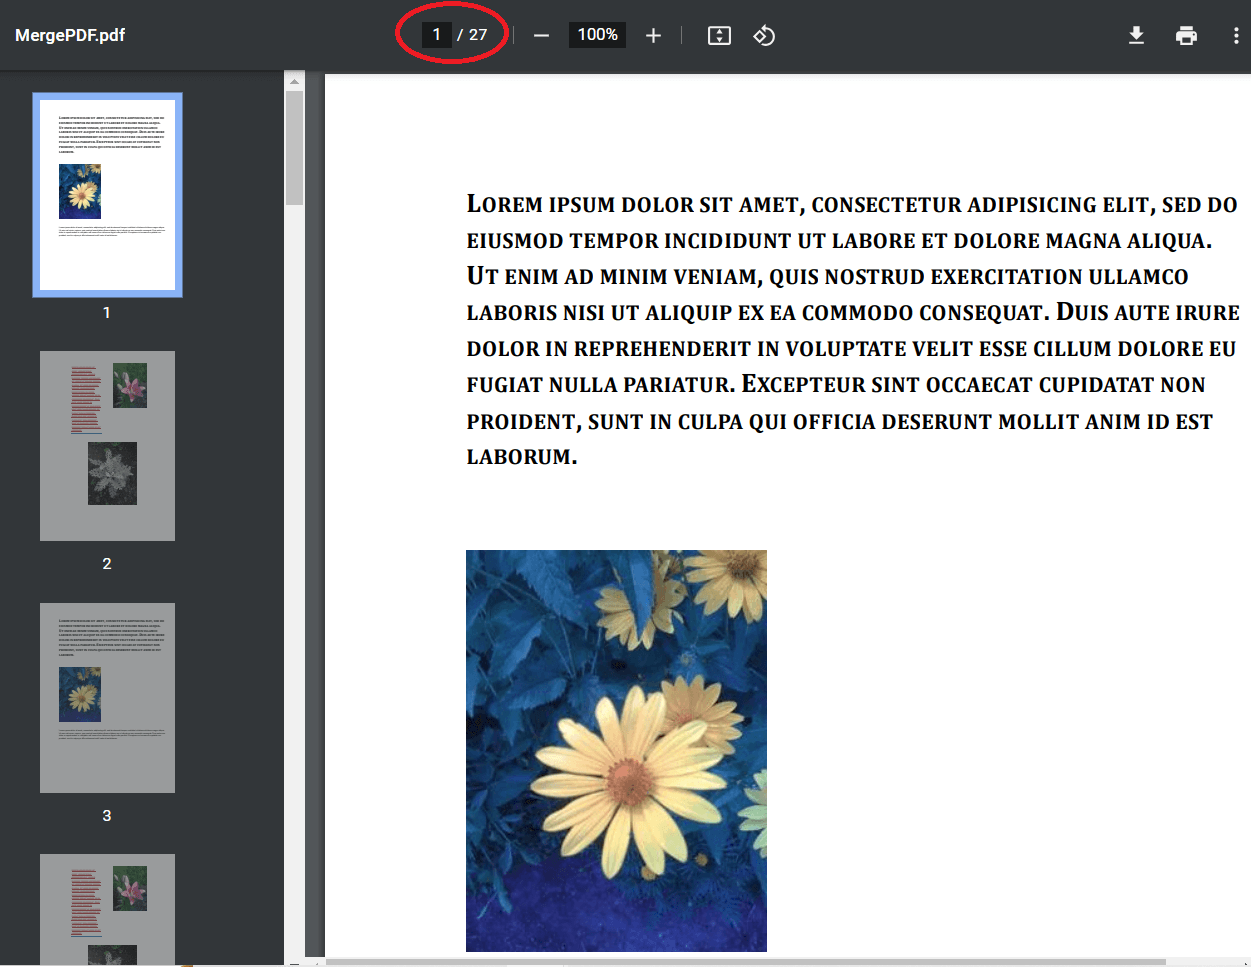
Step 13: Merged PDF Output
- Here is the successfully merged PDF document generated from the Ninox Database.
Step 14: Demo
- Check out this PDF.co PDF Merger in action.
In this tutorial, you have learned how to generate PDFs from the Ninox Database using PDF.co and Make. Additionally, you learned how to utilize the PDF.co PDF Merger API to merge multiple PDFs into a single document. This knowledge will empower you to efficiently handle PDF generation and merging tasks in your projects.
Video Guide
Related Tutorials


