If you are not a Google Drive user, you can use a different cloud storage service such as Dropbox, OneDrive, etc., and look for a similar Trigger Event.
How to Set Image Size in PDF using PDF.co and Zapier
Sep 2, 2024·5 Minutes Read
We prepared this step-by-step tutorial with screenshots on how to set image size when adding to PDF using PDF Filler action on PDF.co for Zapier. This is to set your desired image size when you add an image to a PDF file to fit it perfectly.
IN THIS TUTORIAL
Step 1: Create a Zap
Start by clicking on Make a Zap! at the upper-left corner of your Zapier dashboard.
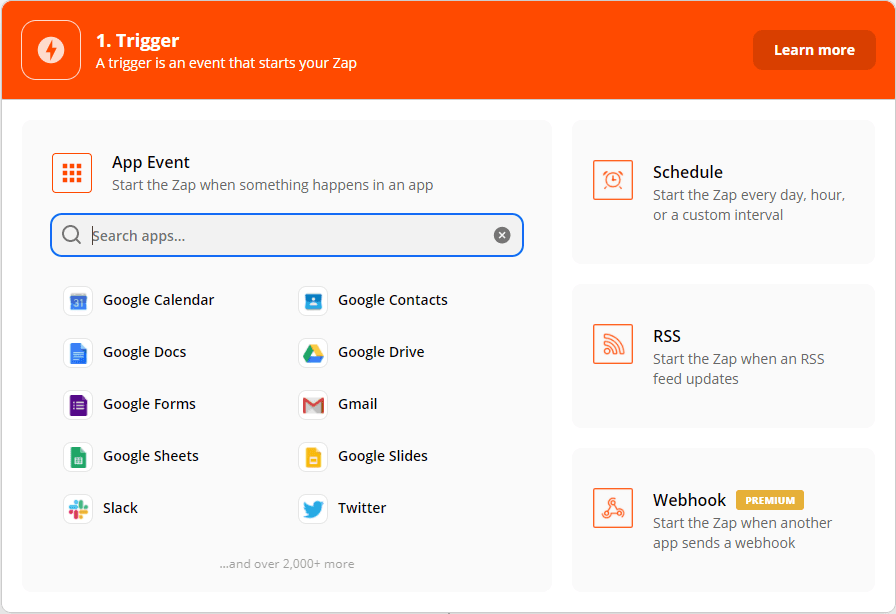
Step 2: Create New Trigger
Under “Trigger” you can see App Event, search and select Google Drive from the list of apps.
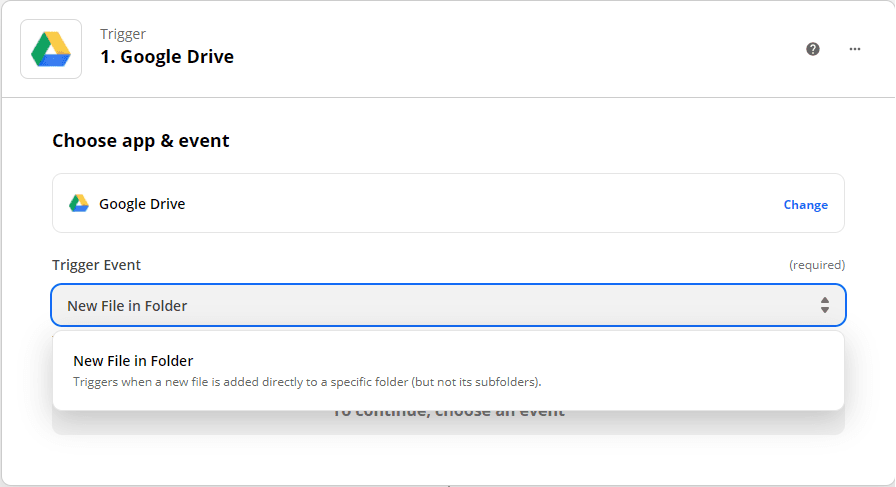
Step 3: Choose New File in Folder Trigger
Under Trigger Event select New File in Folder. This way every time there’s a new file in your folder, it will trigger this zap.
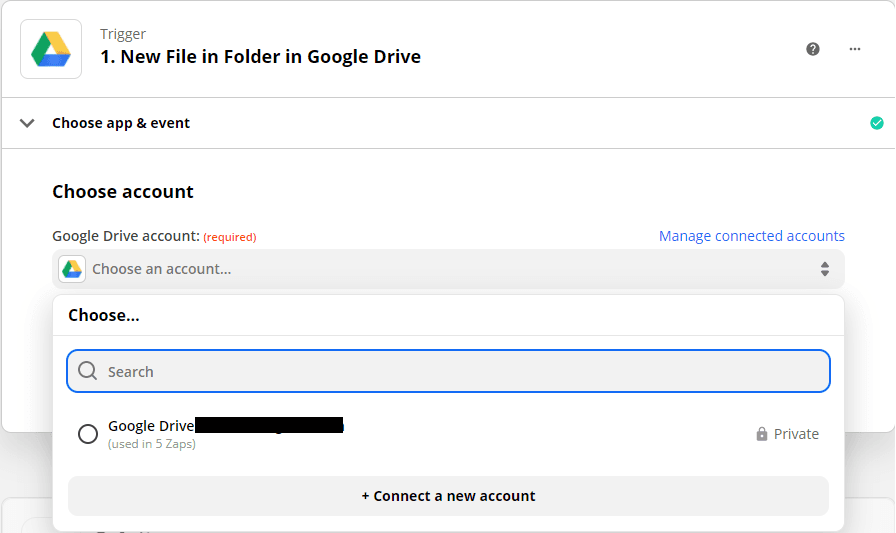
Step 4: Connect Google Drive Account
Select or connect your Google Drive account to Zapier.
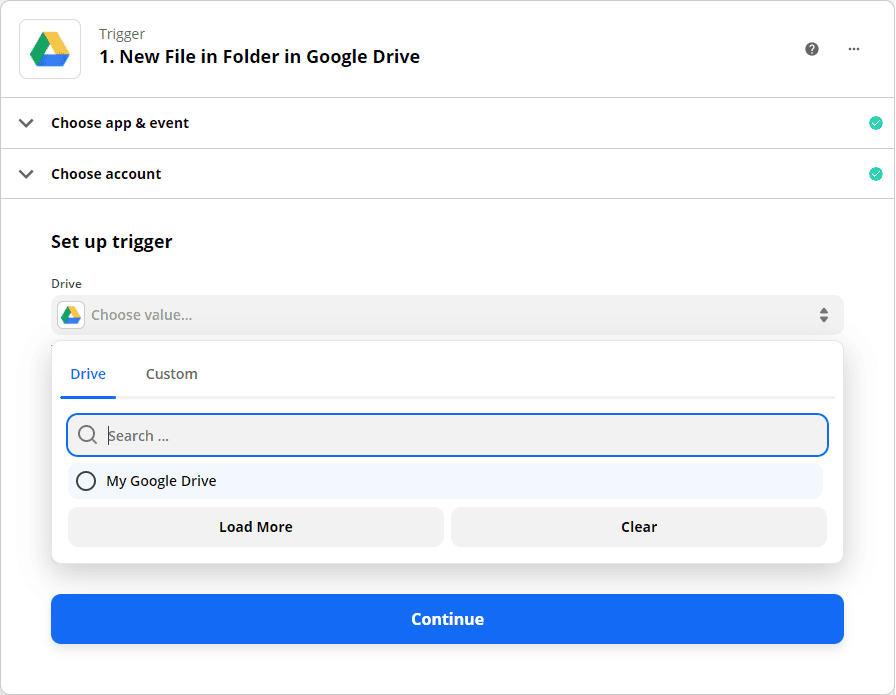
Step 5: Select My Google Drive
Select My Google Drive as the drive to use.
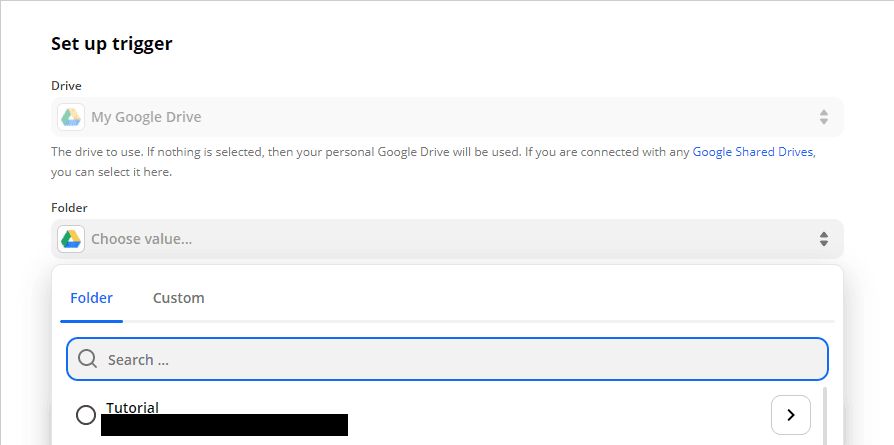
Step 6: Select Folder for Input Documents
Select the Folder on your Google Drive where input documents will be added.
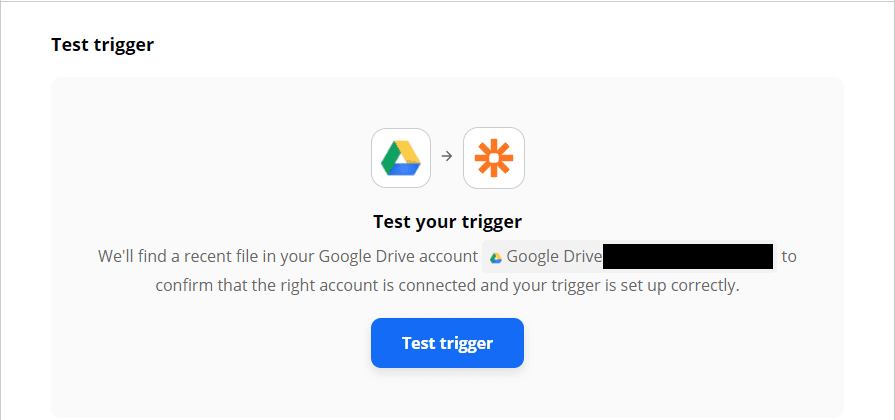
Step 7: Test Trigger
Click Test Trigger. After running a successful test, click continue.
Step 8: Create New Action Event
Since we’re done with our trigger event, let’s move on to the action event. Under “Action” you can see App Event, search and select PDF.co from the list of apps.
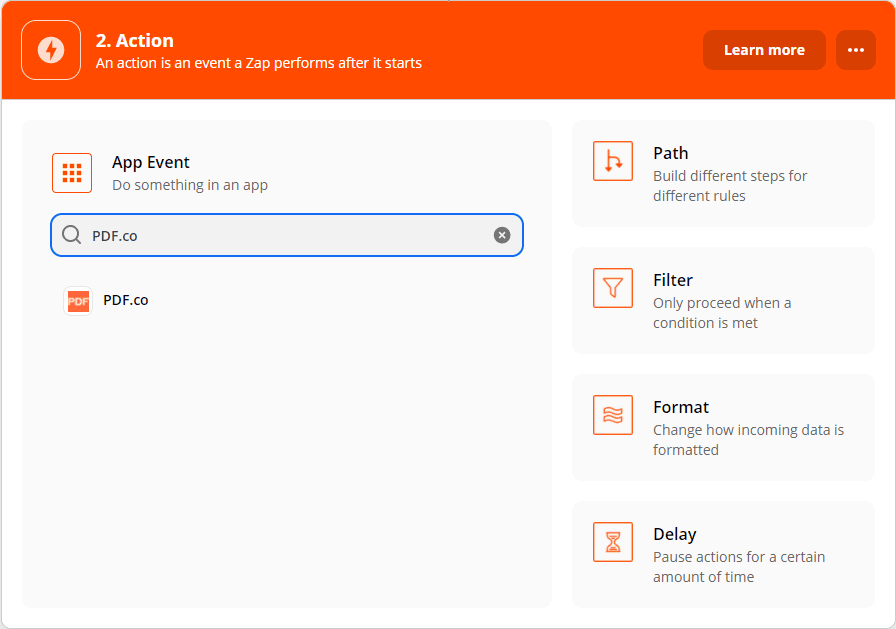
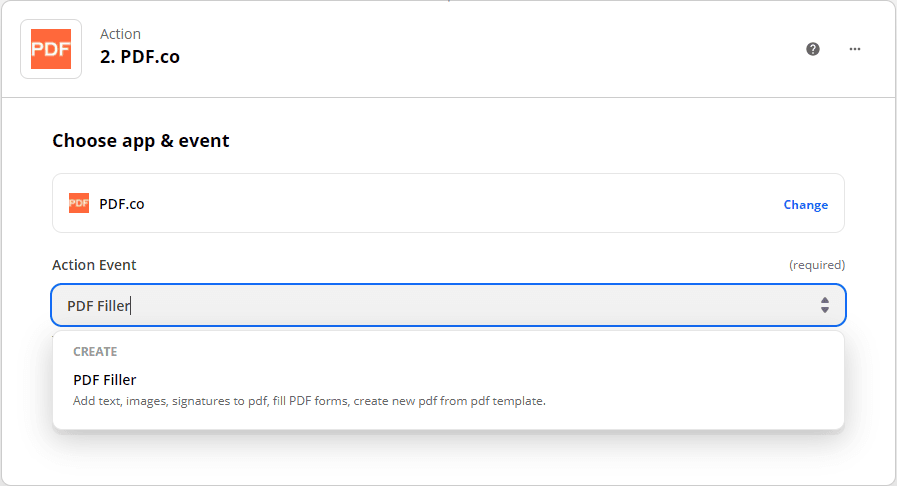
Step 9: Select PDF Filler Action
Under Action Event select PDF Filler. PDF Filler can help you add something with your PDF, e.g. text, images, fill PDF forms, etc.
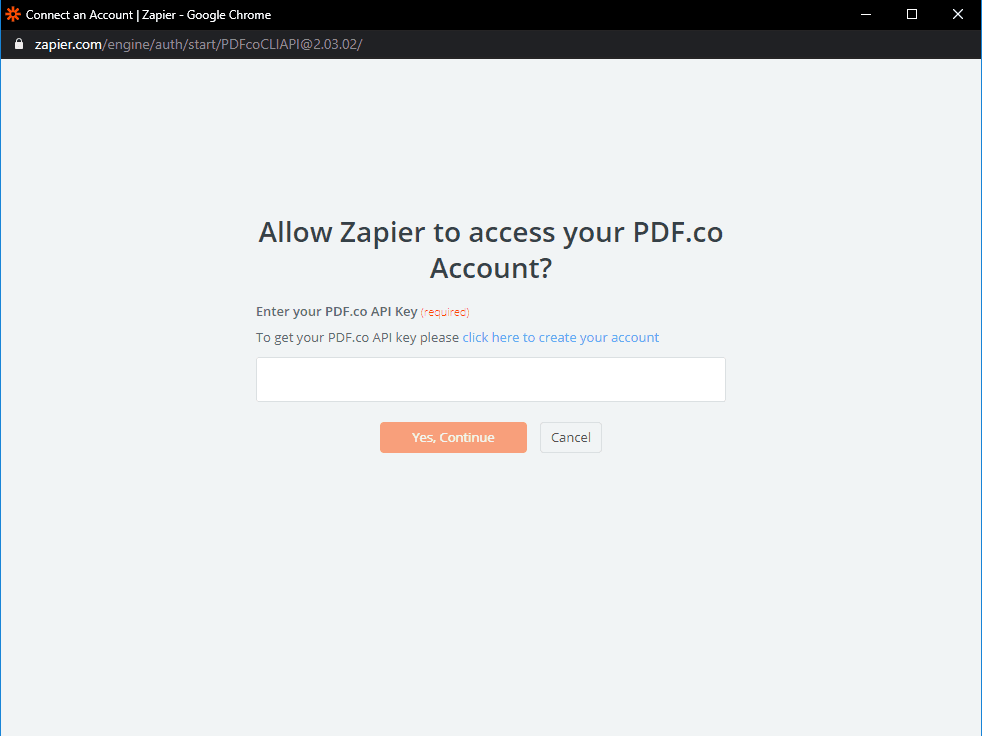
Step 10: Connect PDF.co Account
Select or connect your PDF.co account to Zapier. You can get your API key from the PDF.co dashboard.
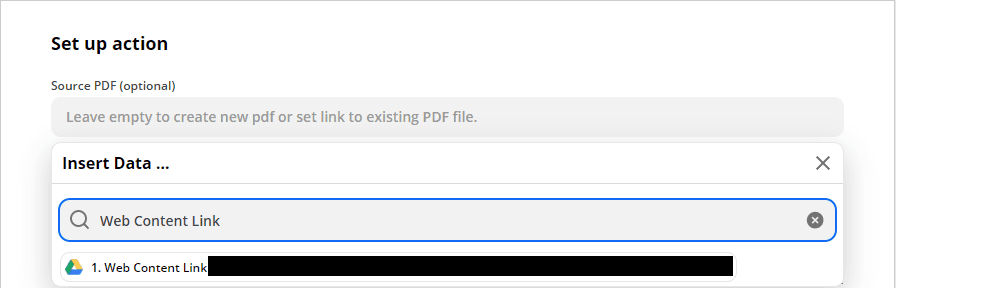
Step 11: Set Source PDF
Under Set up action set the Source PDF as Web Content Link.
Step 12: Set Image Placement
Under Images Set the value with the following format (x;y;pages;urltoimage;linkToOpen;width;height).To get X and Y coordinates for objects in PDF please click here to open PDF Edit Add Helper.

Step 13: Set Output PDF Name
Set the Output PDF Name, then hit continue.

Step 14: Test Action
On the Test action step click TEST & REVIEW to check if there are any errors.

Step 15: Turn Zap On
Once the test returns as successful you can then TURN YOUR ZAP ON. Give your Zap a name by editing the Name your zap text located at the upper-left corner of your screen.
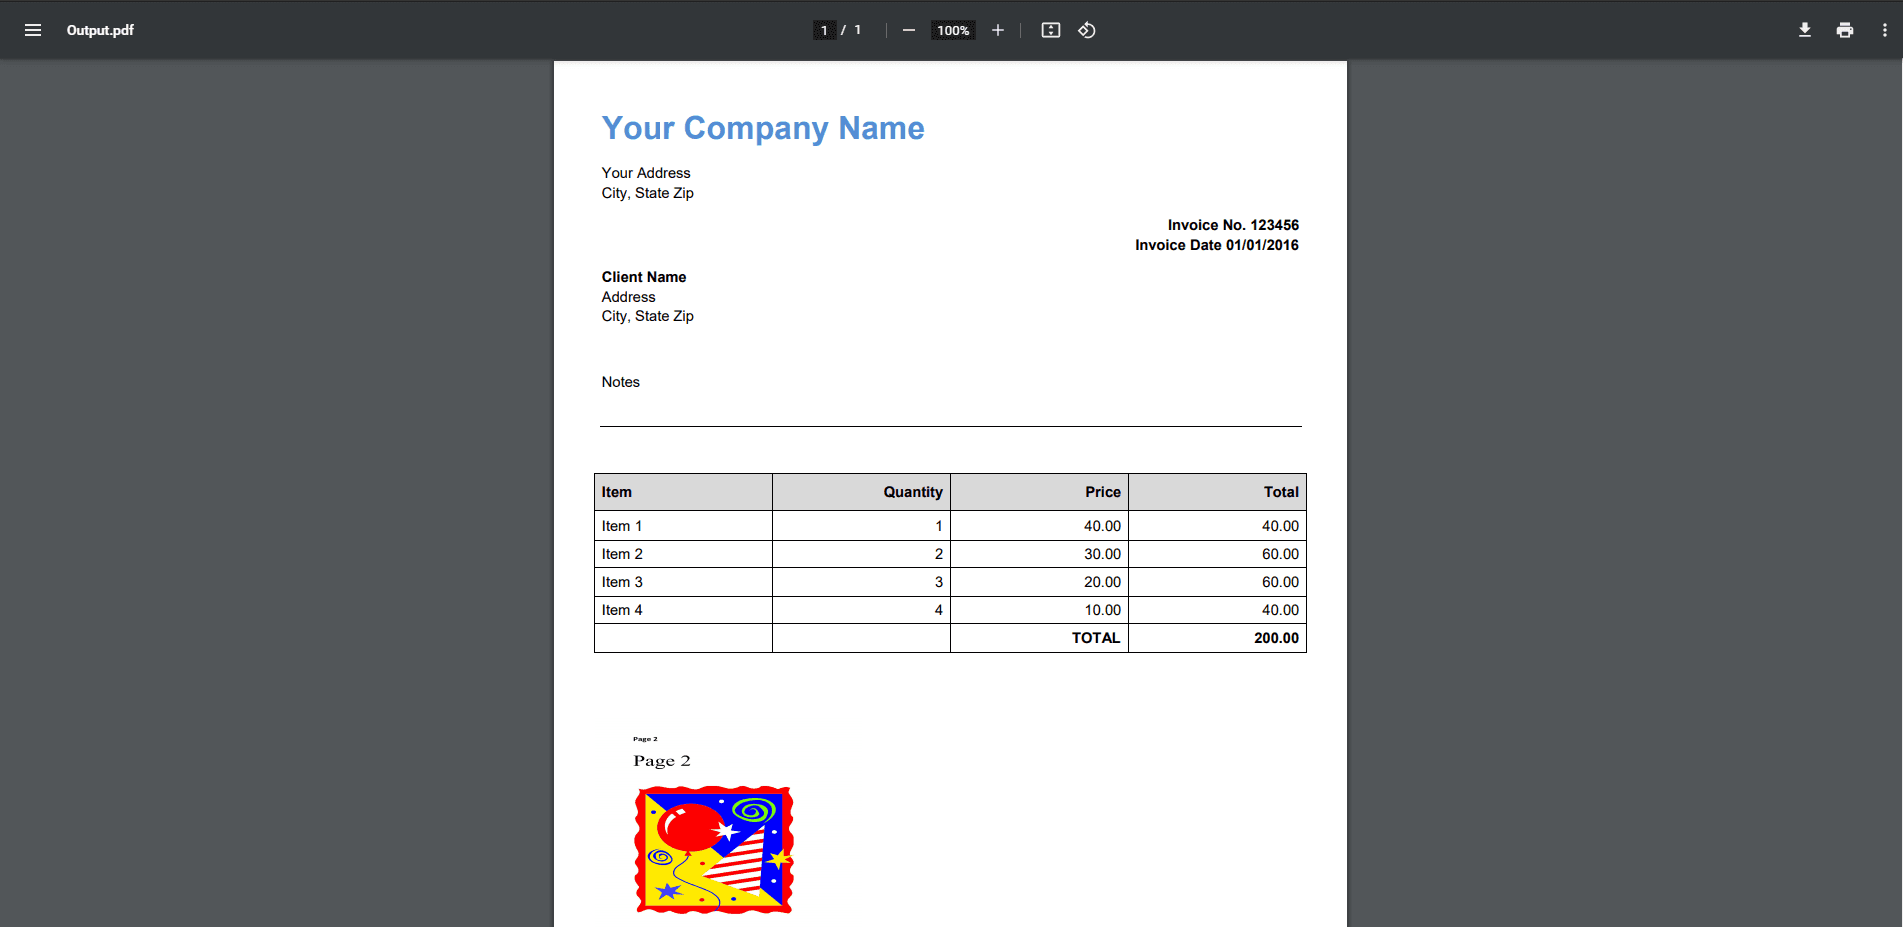
Step 16: Output
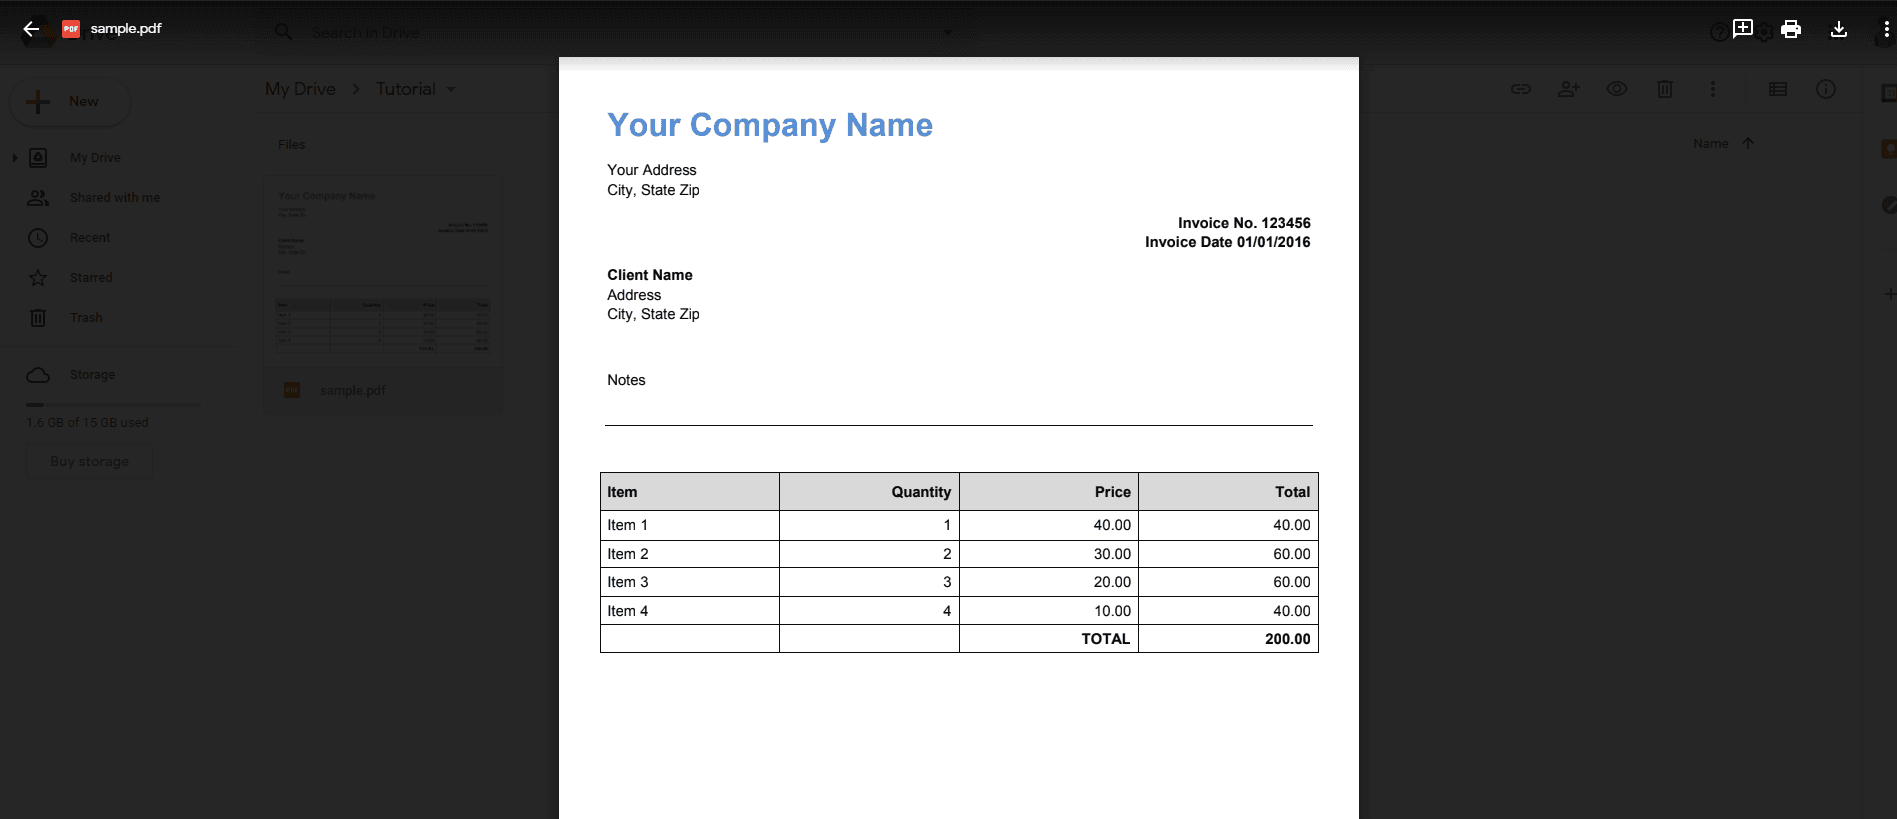
This is now the invoice with the image set at 300 x 300 pixels. The size is customizable and you can set your own image size.
Related Tutorials

Barcode Generation API - Webinar for Advanced Programmers
Sep 2, 2024·4 Minutes Read
How to Convert Outlook Email to PDF using PDF.co and Make
Sep 9, 2024·6 Minutes Read