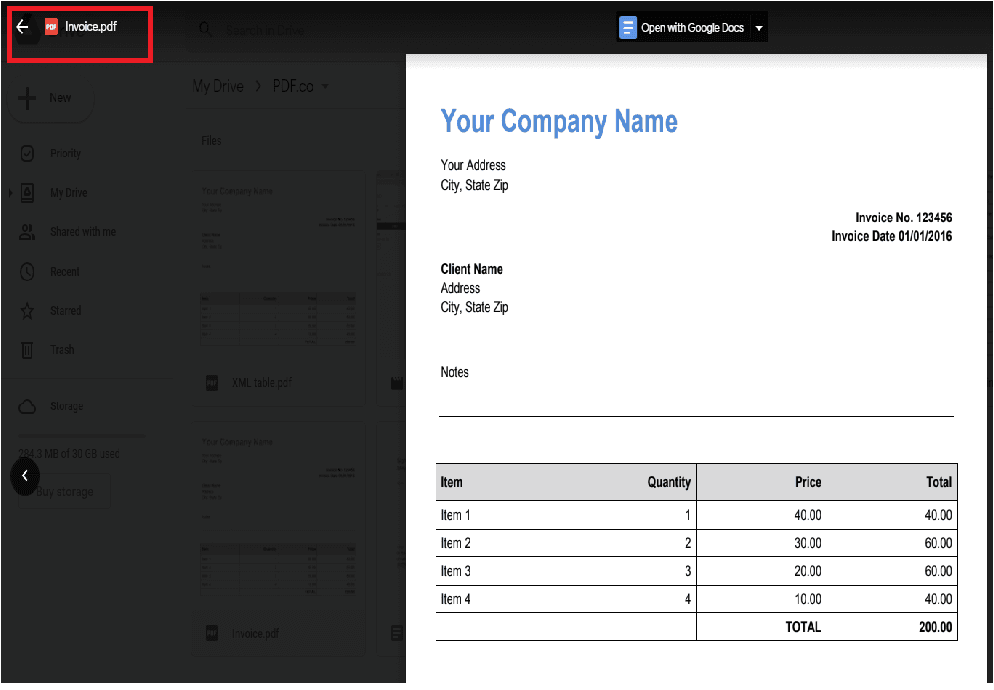
In this tutorial, we prepared a step-by-step guide on how to rename PDF using PDF.co and Zapier. Below is the screenshot of our sample document.
Step 1: Make a Zap
- First, click on the Make a Zap button to create a zap.
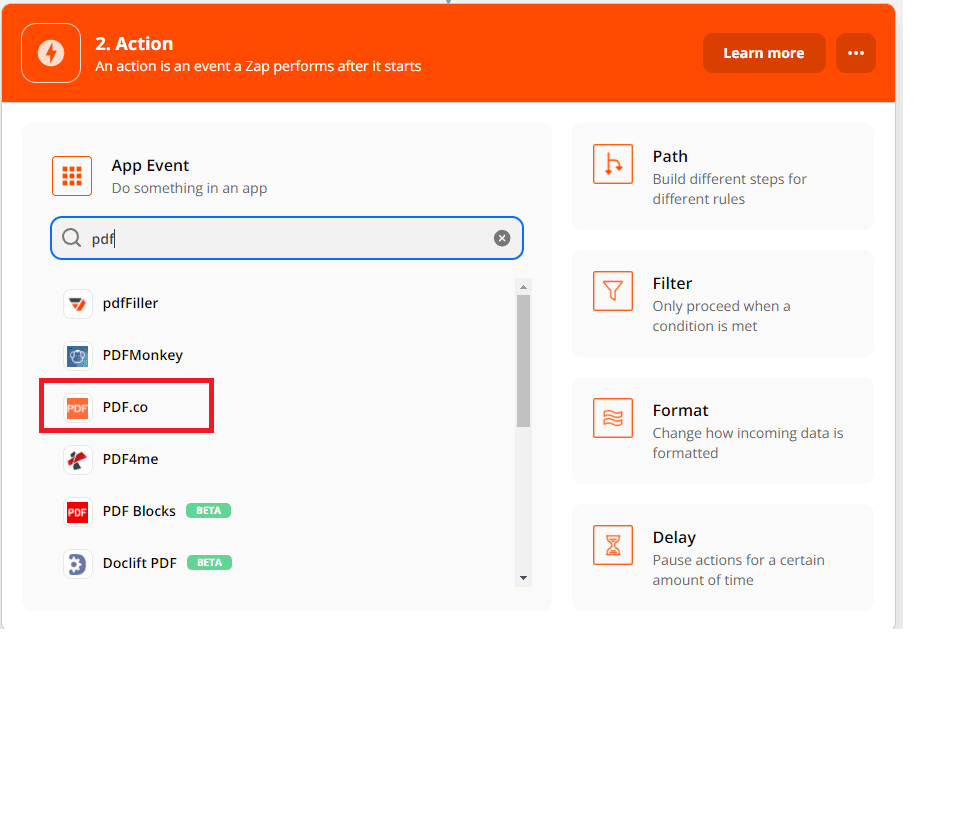
Step 2: Select PDF.co App
- Next, select the PDF.co app for the App Event.
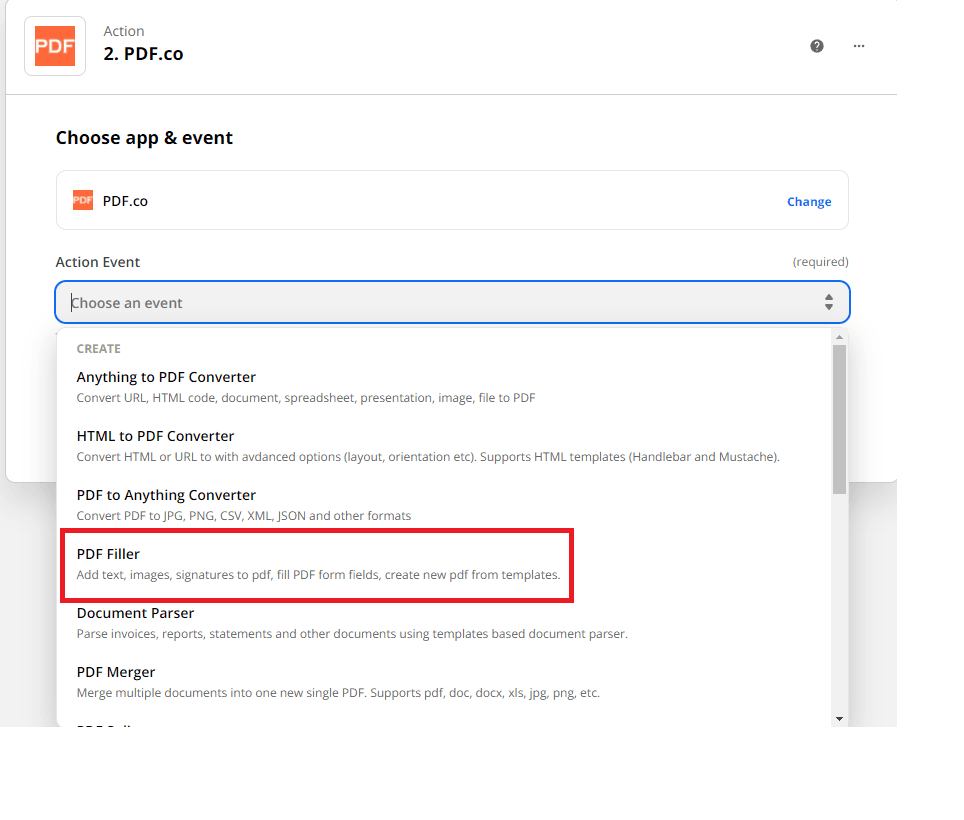
Step 3: Select PDF Filler
- Under the PDF.co app, select the PDF Filler to rename the PDF.
Step 4: Connect PDF.co Account
- Now, let’s connect your PDF.co account by adding the API Key. You can obtain the API Key in your PDF.co dashboard.

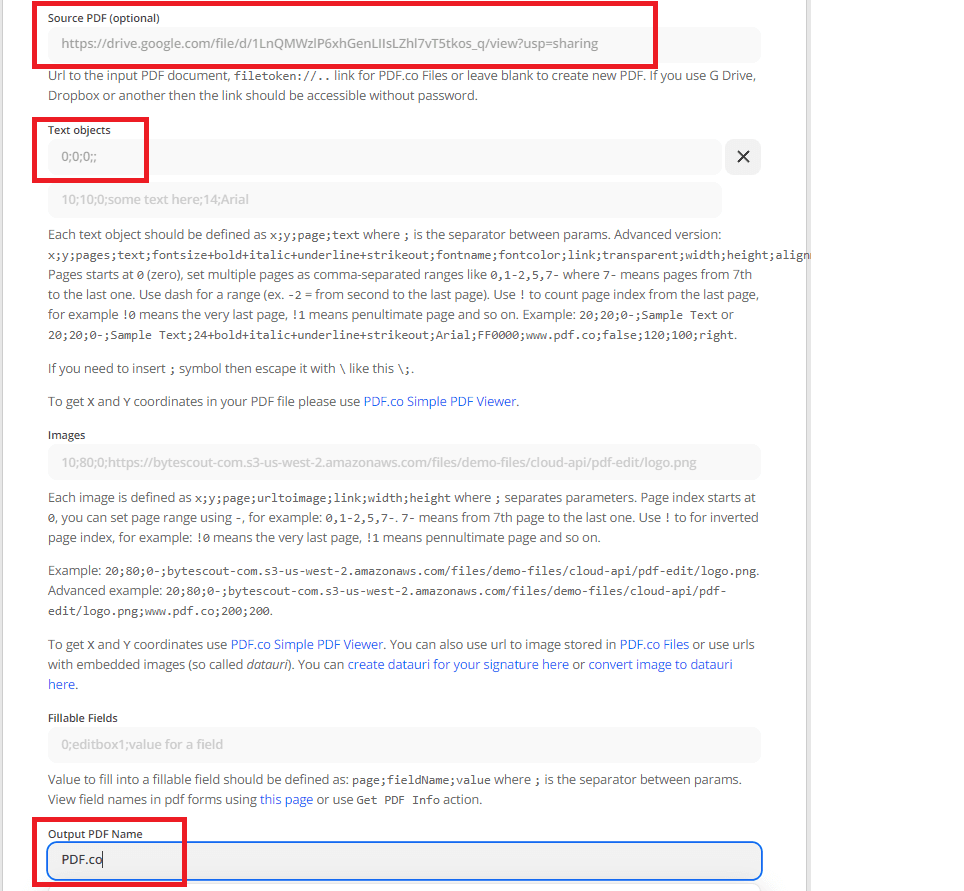
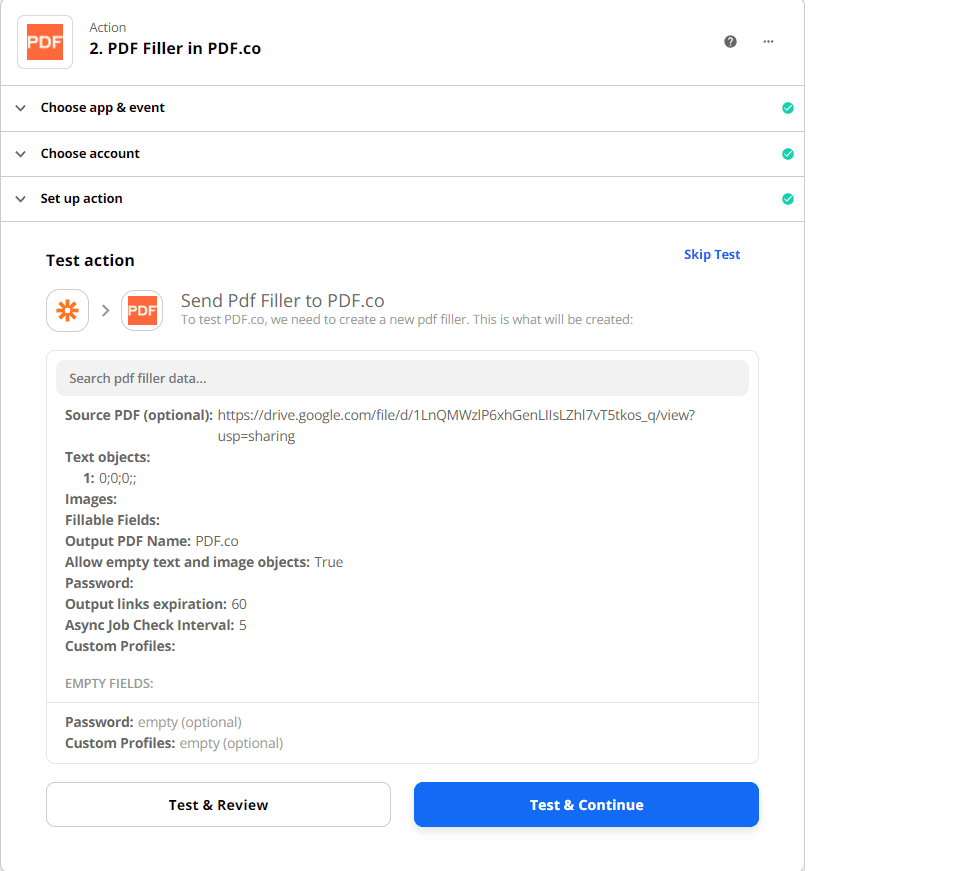
Step 5: PDF Filler Configuration
Let’s set up the PDF Filler action.
- In the Source File field, input the link of the PDF that you’d like to rename.
- In the Text Objects field, input the 0;0;0; this is dummy data that we will add in the PDF to rename the text.
- For the Output PDF Name, input the new name of your PDF.
Step 6: Test and Review
- Now, we can Test the action to make sure that there are no errors in the setup.
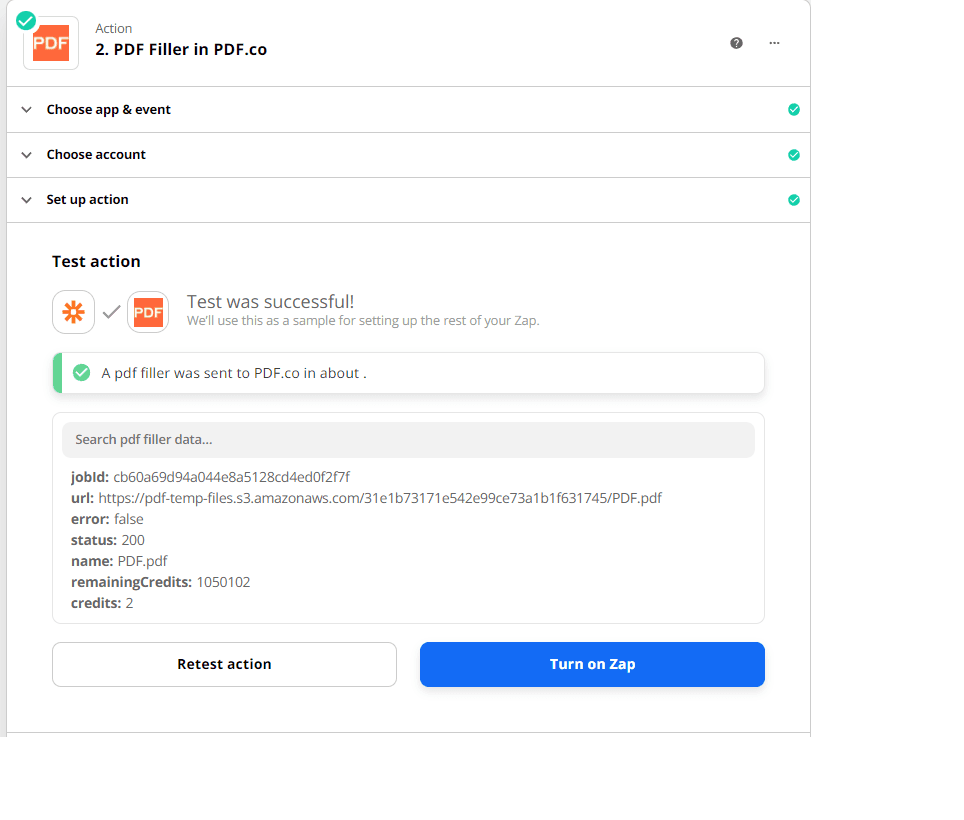
Step 7: Test Result
- Excellent! PDF.co processed our request successfully. You can use the PDF.co generated URL to view the result. When everything is set you can then turn this Zap on.
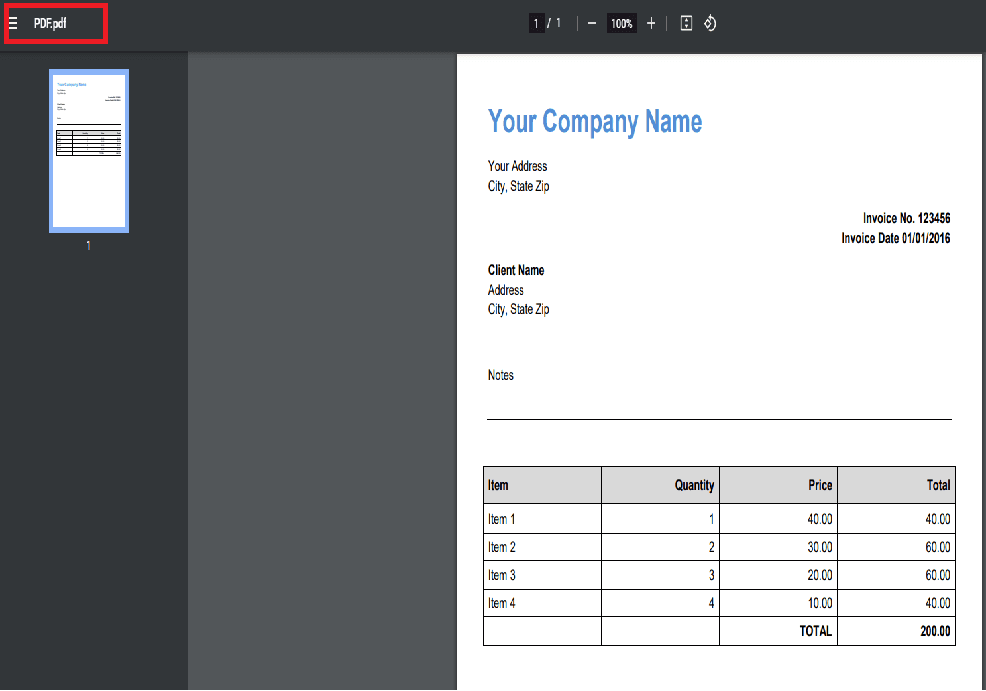
Step 8: Source File Output
- This is the output of our PDF.co call. We have renamed the PDF file with our desired file name.
Step 9: Video Guide
In this tutorial, you learned how to rename a PDF file using PDF.co and Zapier. You also familiarized yourself with the PDF.co PDF Filler and learned a trick on how to rename a PDF without changing or adding anything in the file using dummy data.
Video Guide
Related Tutorials

