Parse Invoices Automatically using Zapier
What is Zapier?
Zapier is an online automation tool that connects your favorite apps, such as Gmail, Slack, Mailchimp, and over 1,500 more. You can connect two or more apps to automate repetitive tasks without coding or relying on developers to build the integration. It’s easy enough that anyone can build their own app workflows with just a few clicks.
We prepared this step-by-step tutorial with screenshots on how to make a Zap using PDF.co and Google Drive, to automatically parse invoices when you add them to a Google Drive folder defined for this task.
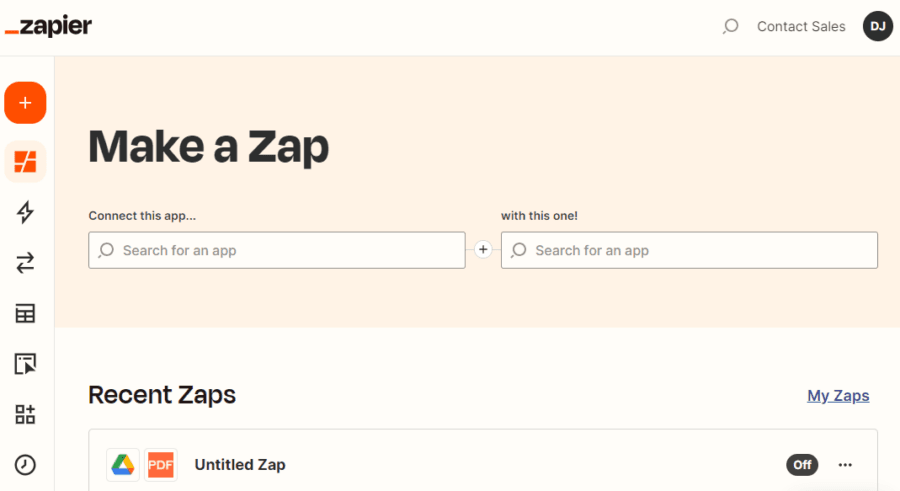
Step 1: Create Zap
Start by clicking on the “Create Zap” button at the top-left corner of your Zapier dashboard.
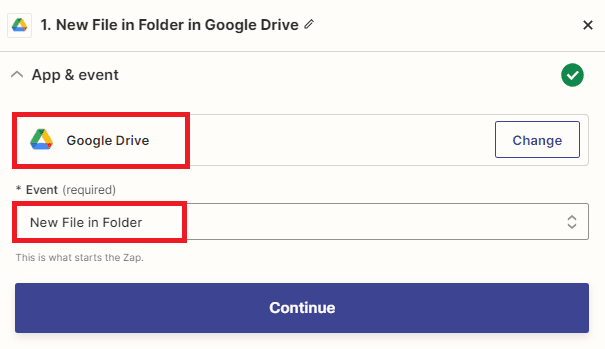
Step 2: Google Drive App and New File in Folder
Next, locate or search for Google Drive within the available app options. Once you have found it, proceed to select the Trigger Event “New File in Folder.”
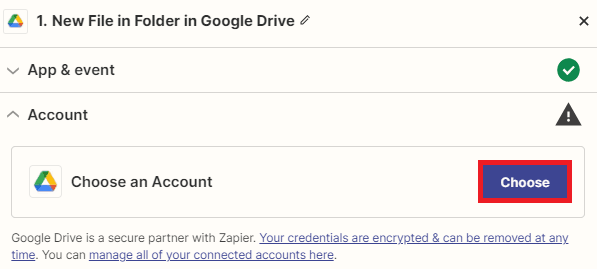
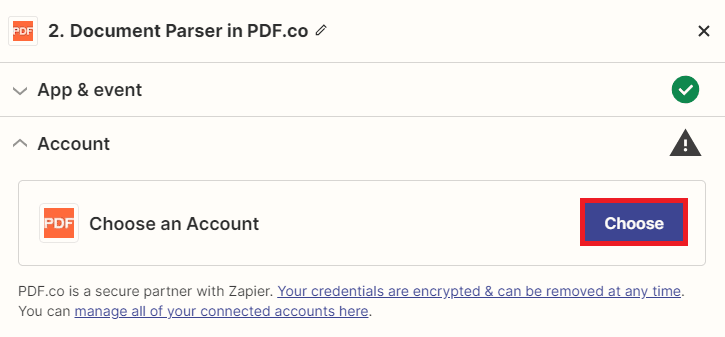
Step 3: Connect Google Drive Account
To initiate the process, choose or establish a connection between your Google account and Zapier.
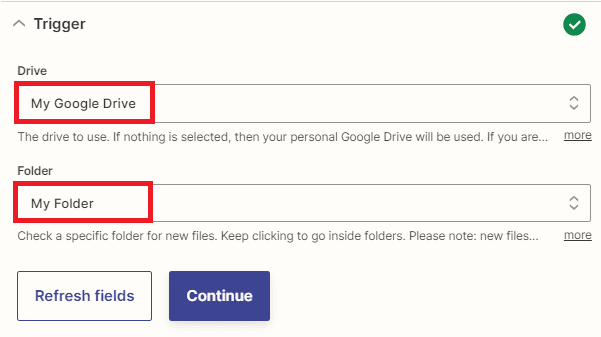
Step 4: Google Drive Configuration
To proceed, choose the Google Drive option and select the desired target folder from your account. Afterward, click on the “[CONTINUE]” button to move forward.
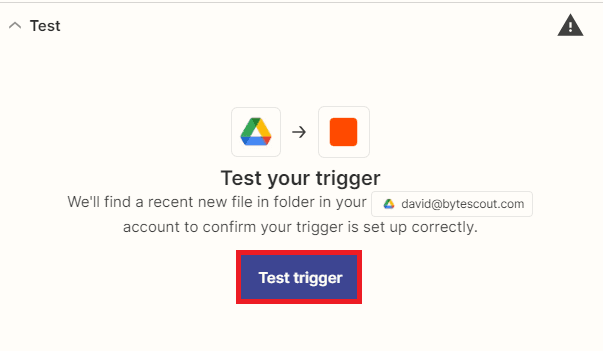
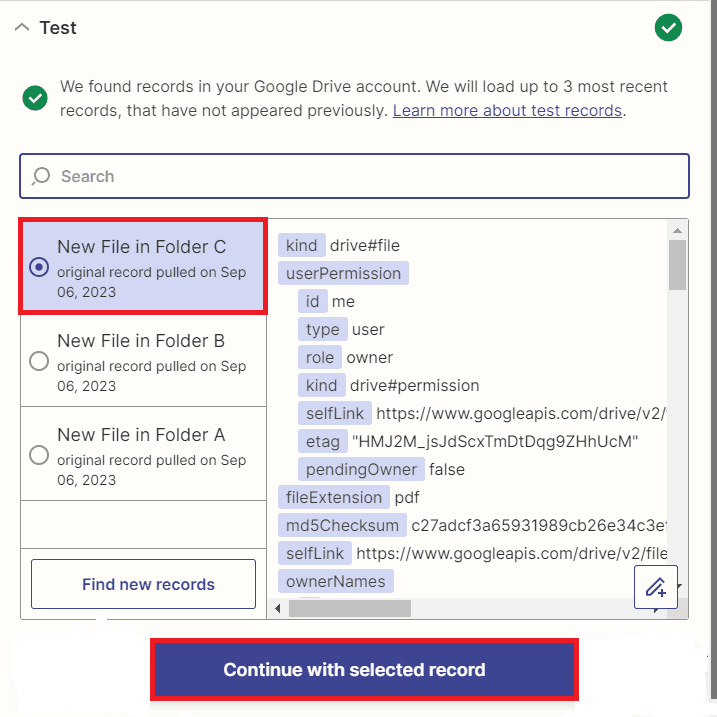
Step 5: Test Trigger and Result
Then, click on “[Test trigger]“. Once the test trigger runs successfully, click on “[CONTINUE]” to move forward.
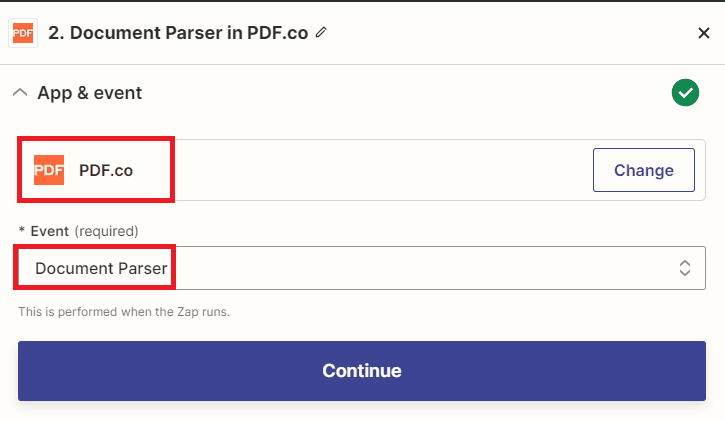
Step 6: PDF.co App and Document Parser
Select PDF.co as the application and Document Parser as the action event. Simply click the [CONTINUE] button to proceed.
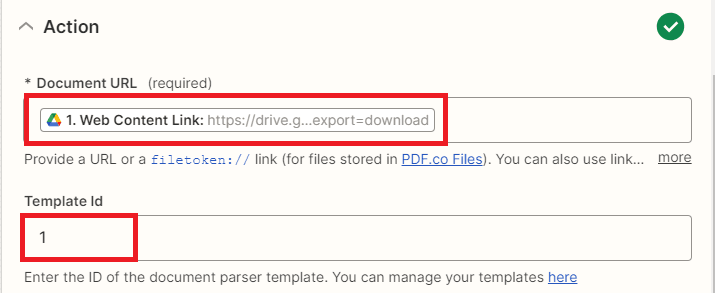
Step 8: Setup Document Parser Configuration
We are now ready to set up the Document Parser.
- Fill in the “Document URL” field with the Web Content Link obtained from Google Drive.
- Enter the Template Id you have created in the “Template Id” field. You can create the Template Id on the PDF.co Document Parser page. If you prefer to use the system-generated Template Id 1, you can leave it unchanged.
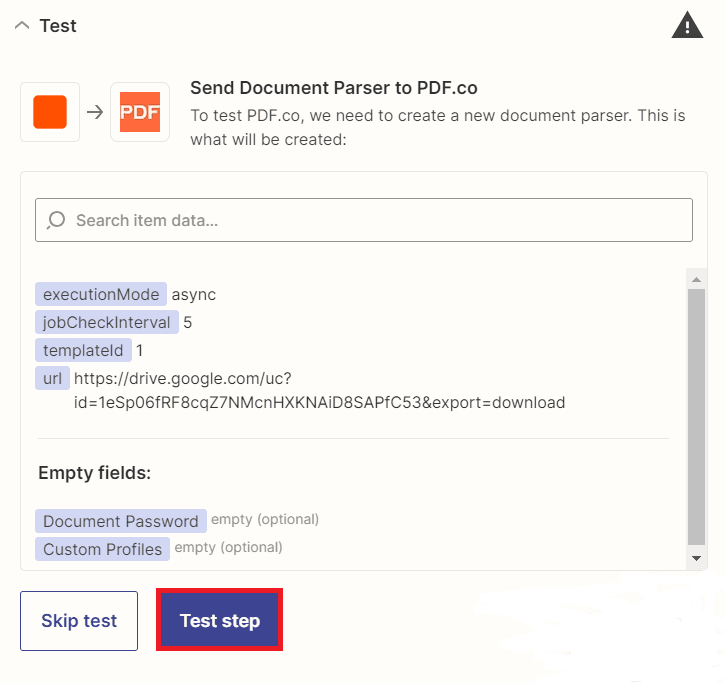
Step 9: PDF.co Test Step
Now is the time to send the data from the Document Parser to PDF.co for the purpose of initiating a Test Step.
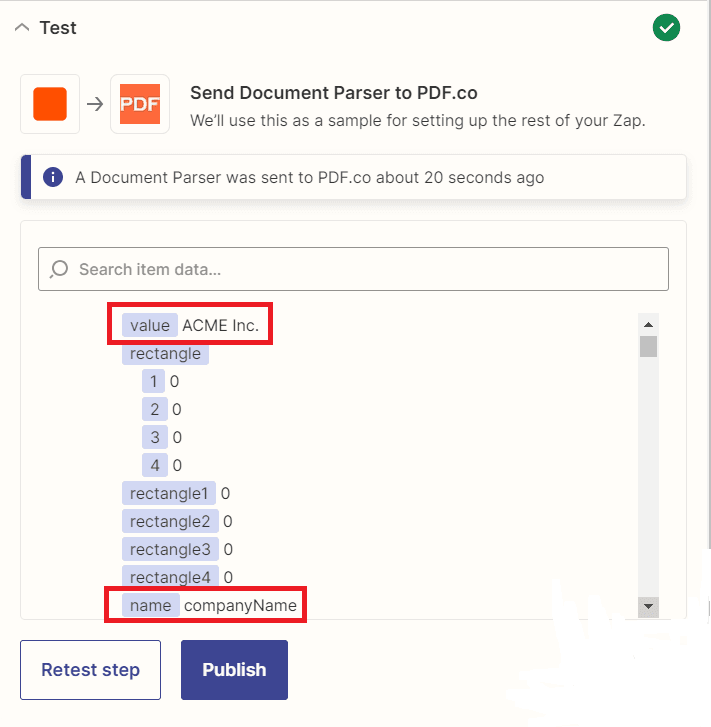
Step 10: PDF.co Result
Our request to PDF.co was processed successfully, and we have obtained the parsed version of the sample Invoice in JSON format.
This tutorial provided you with a comprehensive understanding of parsing invoice data using PDF.co and Zapier. You also acquired knowledge on utilizing the PDF.co Document Parser Template Editor to generate a Template Id. By following this tutorial, you have gained valuable insights into how the PDF.co Document Parser can effectively parse PDF invoices or any other documents with a structured layout.
Video Guide
Related Tutorials
