New files added to subfolders inside the folder you choose here will NOT Trigger this Zap.
Import Invoices into Xero from PDF or Scanned Documents using Zapier
Sep 2, 2024·6 Minutes Read
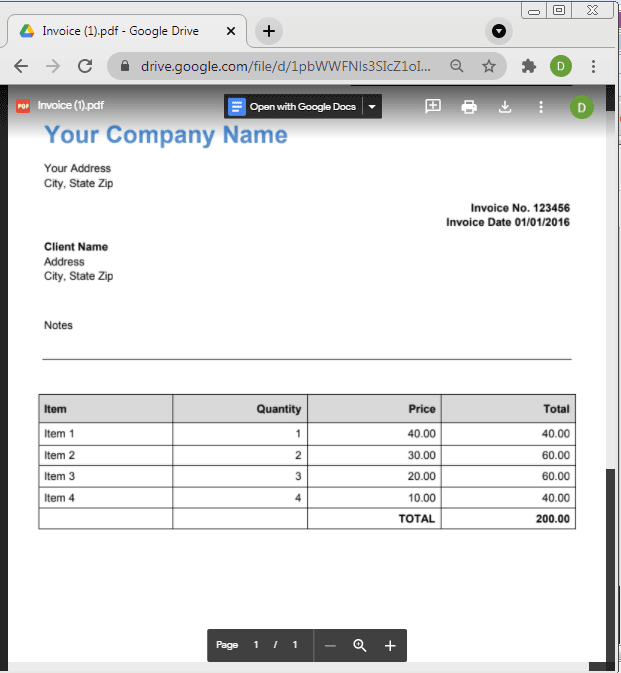
In this tutorial, we will show you how to Import Invoices into Xero from PDF or Scanned Documents using PDF.co and Zapier. We will extract the data from this sample PDF Invoice and import it to Xero.
We will now start by clicking on the Make a Zap button at the top-right corner of your Zapier dashboard.
IN THIS TUTORIAL
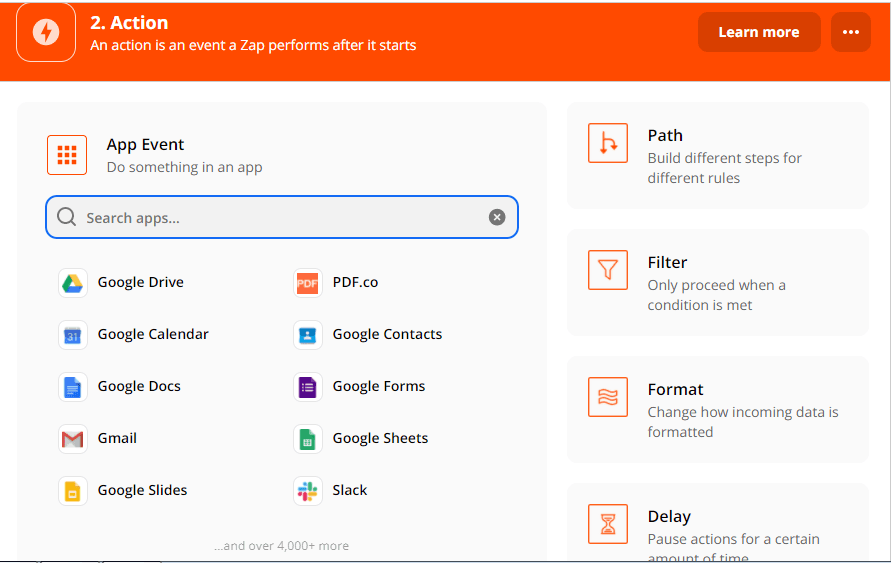
Step 1: Add App Event
Under the App Event field, we will choose Google Drive for our App.
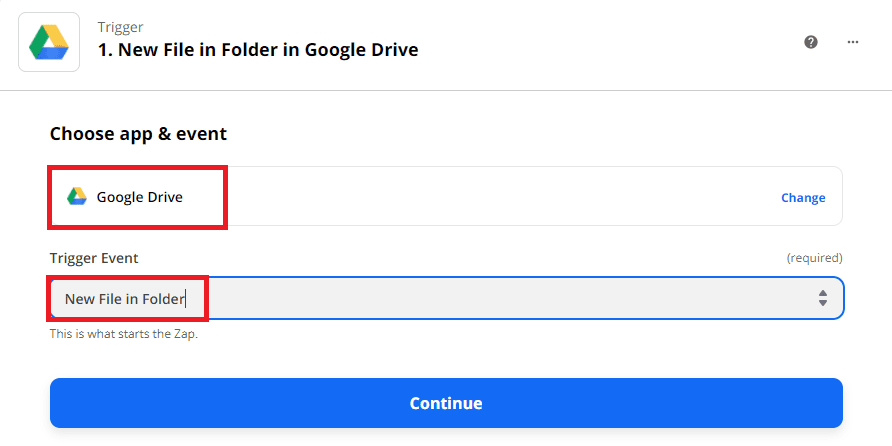
Step 2: Set Up Trigger Event
Under Google Drive are the”Choose app and event” and “Trigger Event”
- In the Choose app and event field, select the Google Drive app.
- In the Trigger Event field, select the New File in the Folder.
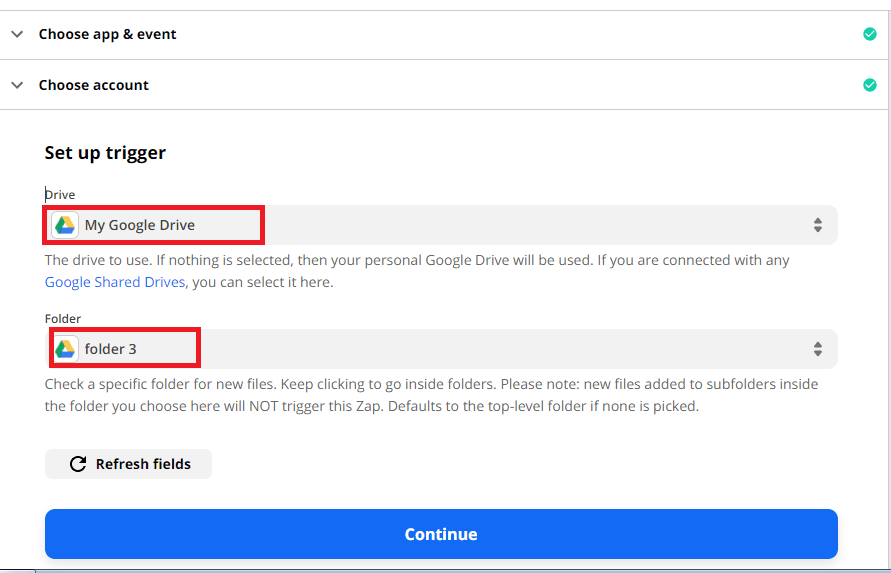
Step 3: Configure Google Drive
Now, let’s Set up the Trigger.
- In the Drive field, select My Google Drive. If nothing is selected then your personal Google Drive will be used.
- In the Folder field, select the folder where you stored the files.
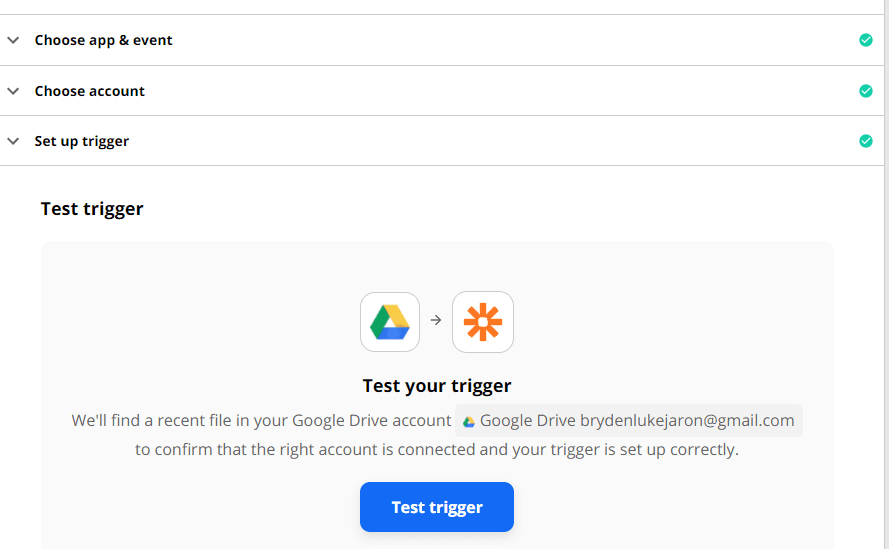
Step 4: Google Drive Trigger Test
Now, let’s test the trigger to make sure that the right account is connected and your trigger is set up correctly.
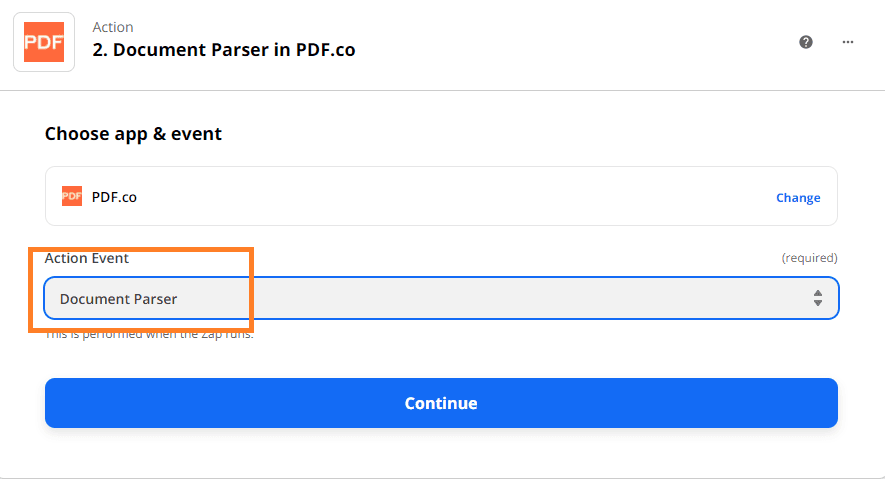
Step 5: Add Action Step
In this Action step, let’s choose PDF.co.
Step 6: Set Up Document Parser
Then, select the Document Parser in the Action Event field.
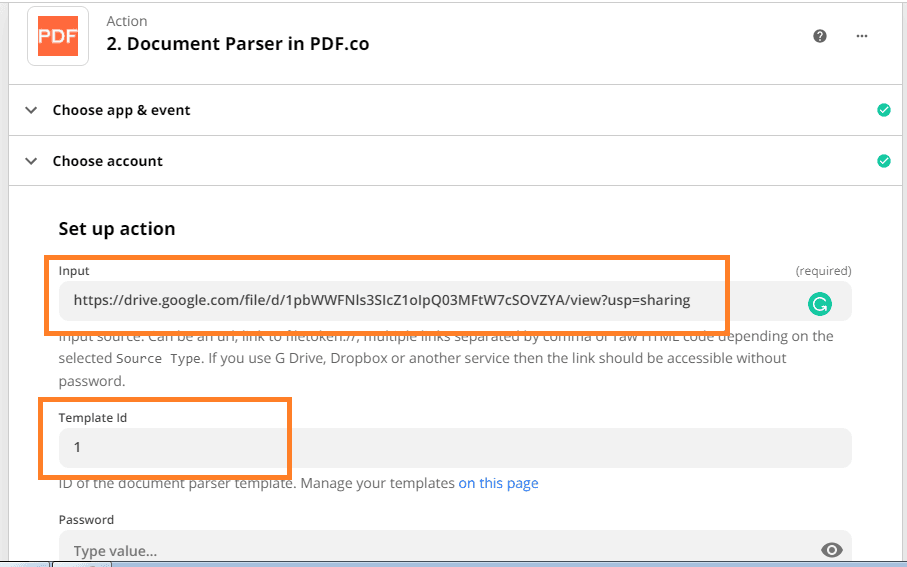
Step 7: Configure Action Event
Let’s set up the Document Parser Action Event.
- In the Input field, enter the source URL from Google Drive.
- In the Template Id field, let’s leave the default Template Id because it works with this sample PDF Invoice.
Step 8: Test Action Event
Now, let’s send the Document Parser configuration to PDF.co to Test & Review.
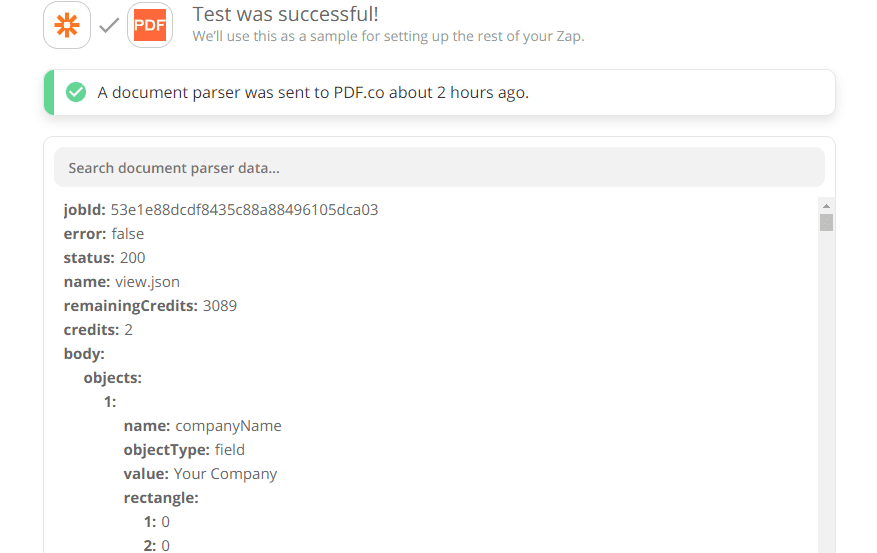
Step 9: Parsed Invoice Output
Excellent! PDF processed our request successfully and returned the extracted data from the PDF. We are now ready to import this to Xero and create an invoice.
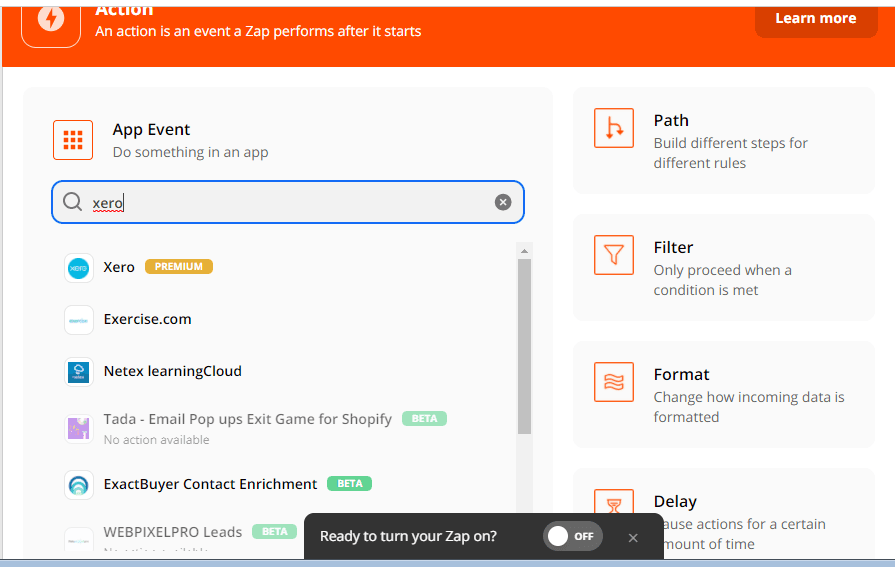
Step 10: Add Xero Action Step
In this Action, let’s choose Xero.
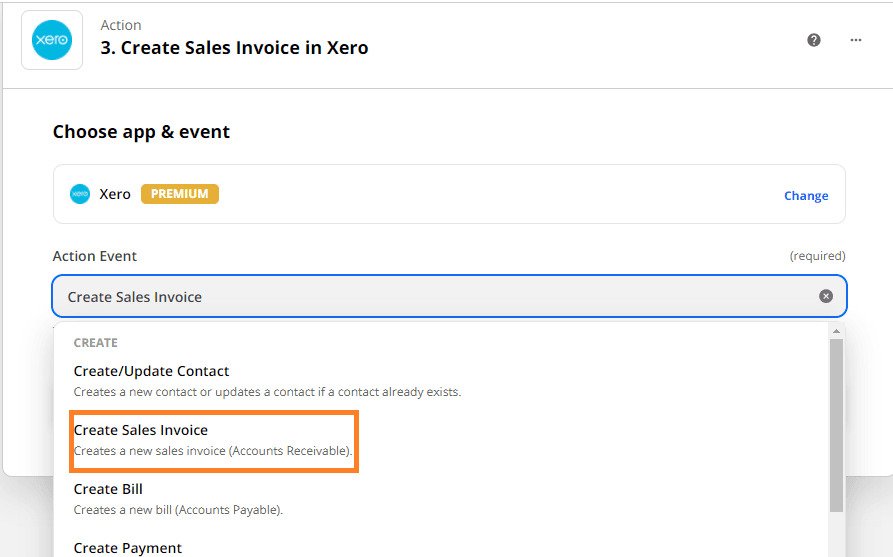
Step 11: Set Up Action Event
Then, select the Create Sales Invoice in Xero as the Action Event.
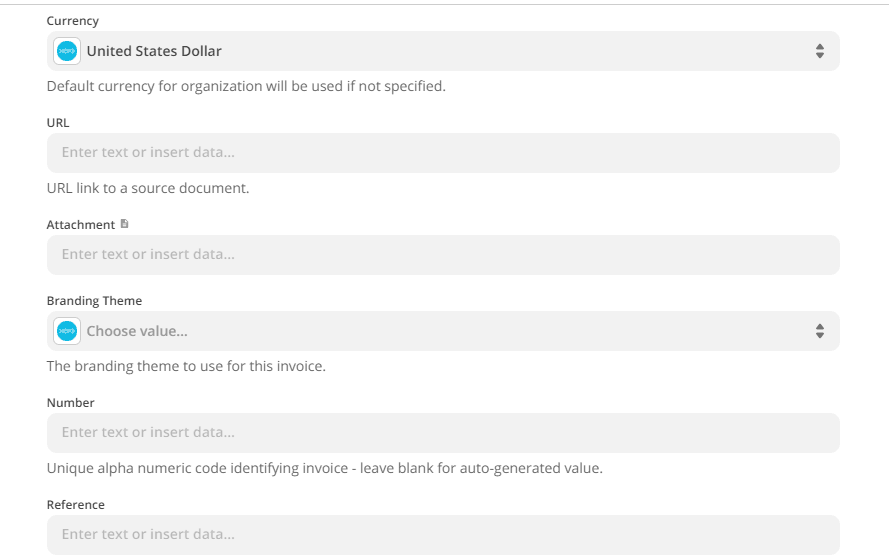
Step 12: Xero Sales Invoice Configuration
We are now ready to map the PDF.co Document Parser data to the Xero Sales Invoice.
- In the Organization field, select the Organization name.
- In the Contact Name field, enter the name of the invoice recipient.
- In the Email Address field, enter the recipient’s email address.
- In the Date field, map the invoice date from the parsed data.
- In the Due Date field, map the corresponding invoice due date from the parsed data.

- In the Currency field, select the invoice currency.
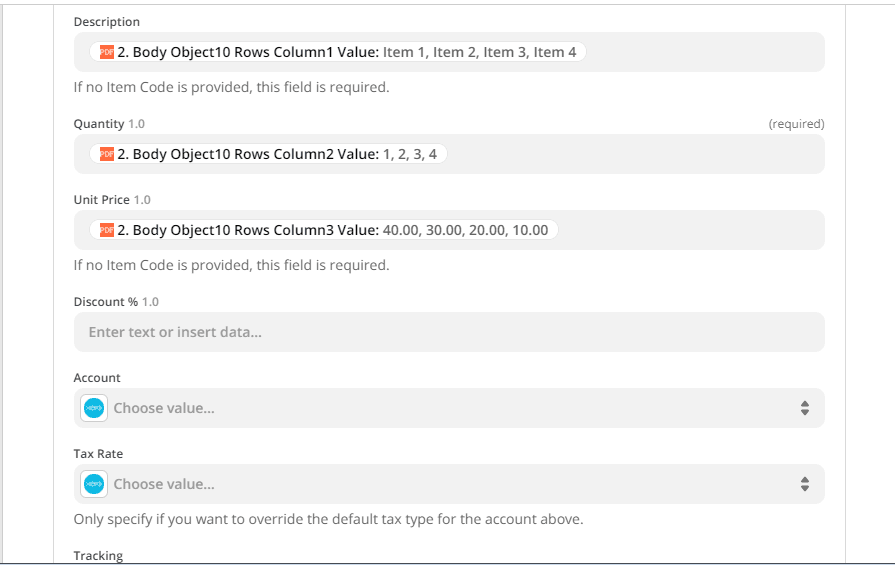
- In the Description field, choose the column 1 values separated by a comma.
- In the Quantity field, choose the column 2 values separated by a comma.
- In the Unit Price field, choose the column 3 values separated by a comma.
Step 13: Test Action Event
We will now send this configuration to Xero to make sure there are no errors.
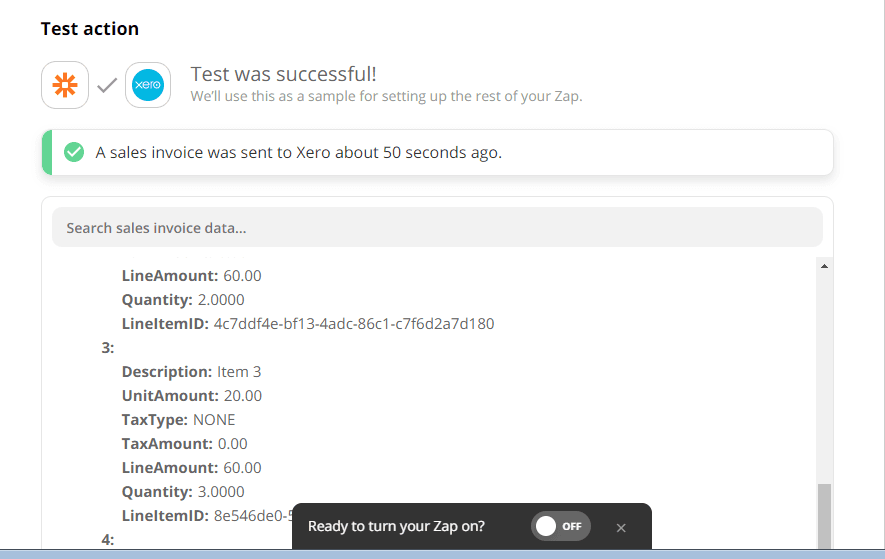
Step 14: Xero Invoice Confirmation Result
Excellent! Our test was a success. Xero confirmed that an invoice has been created.
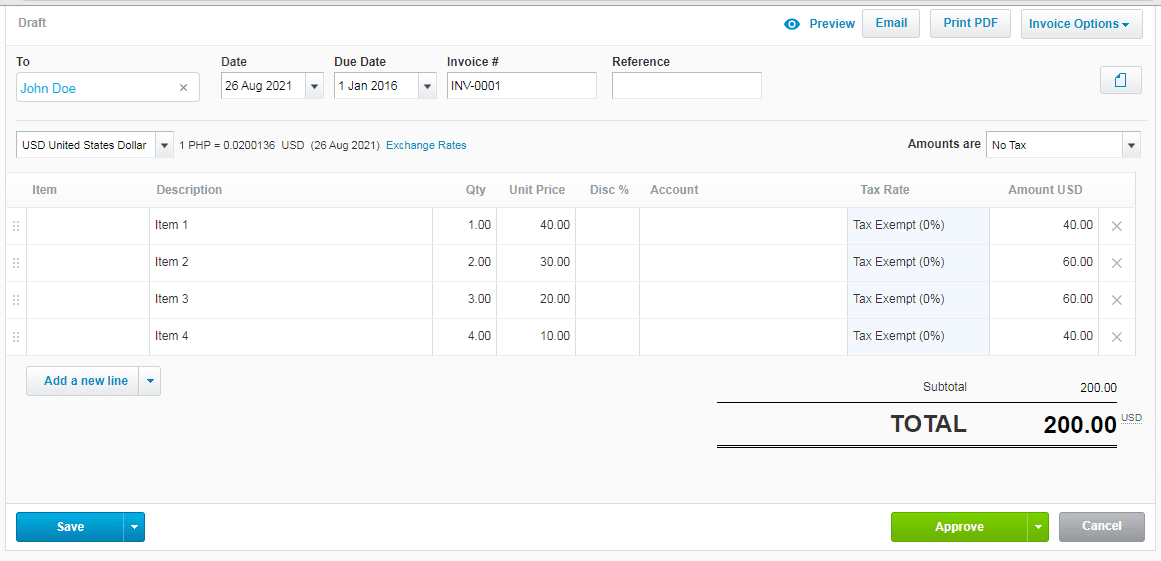
Step 15: Xero Sales Invoice Output
This is the output of the sales invoice that we made.
In this tutorial, we learned how to extract the data from a PDF invoice using the PDF.co Document Parser. We also learned how to import this data to Xero to create a new invoice.


