How to Convert URL to PDF with PDF.co Connector for Power Automate Cloud
This tutorial will show you how to convert URL to PDF with the PDF.co connector for Power Automate Cloud. We’ve already added a PDF.co custom connector.
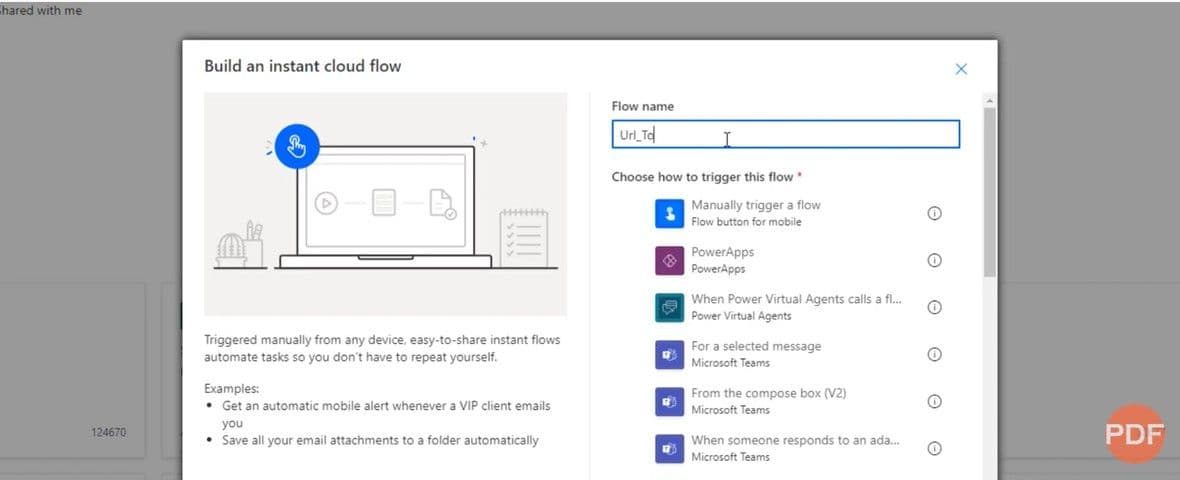
Create a New Custom Flow
Now, let’s create a new custom flow for “URL to PDF”. Also, let’s make it the “Manually trigger a flow” type. Click on the “Create” button to get started.
Create a new step, and select “PDF.co” custom connector from the “Custom” tab. From all PDF.co actions, select “URL to PDF”.
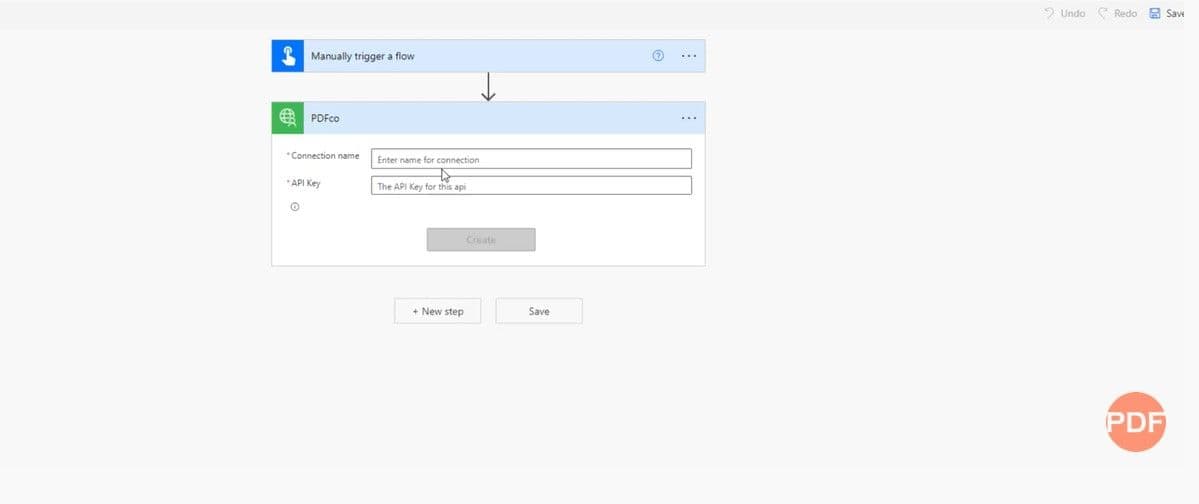
Add Your PDF.co API Key
If we haven’t provided a PDF.co API key before, we need to create a connector for there. Paste your PDF.co API key there and click on the Create button. (Your API Key can be found on the PDF.co Dashboard.)
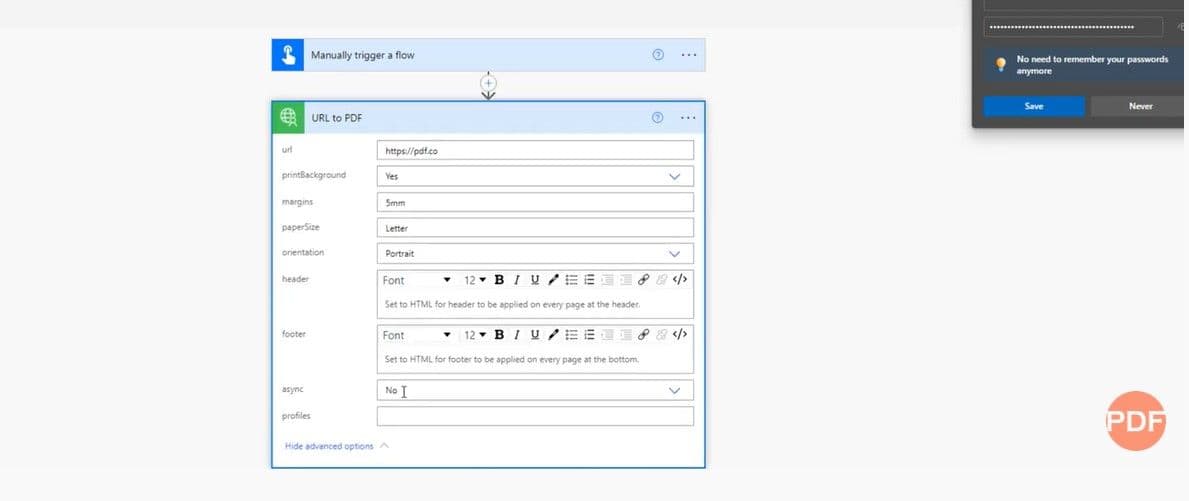
Provide Parameter Values
Okay! Now that we have created the PDF.co connector, the next step is to provide parameter values. We can also provide advanced parameters by clicking the “Show advanced options” button.
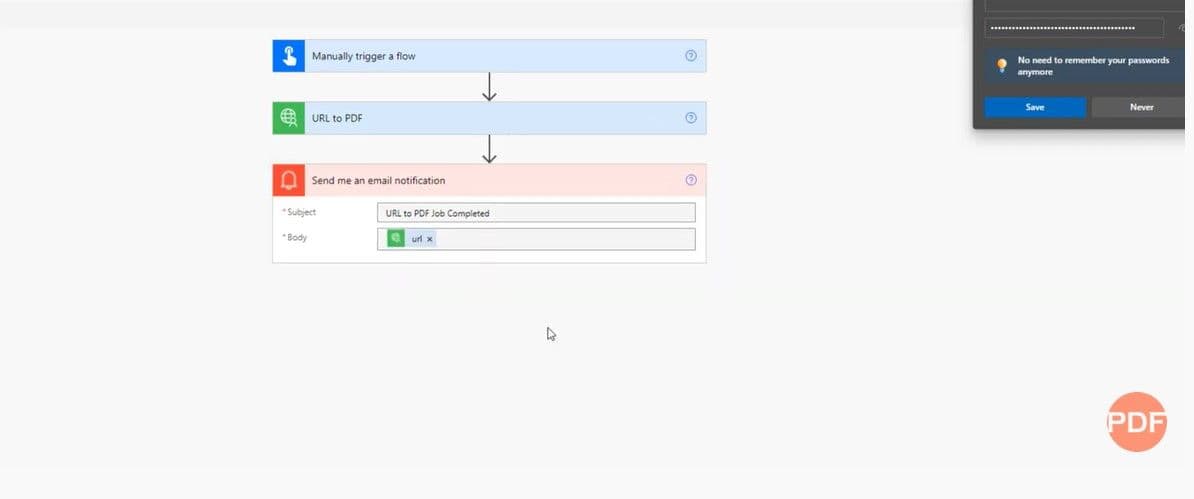
Create Email Notifications
The next step would be to create Notifications for checking output. Let’s create an email notification with the subject and the output URL in the body.
Test and Check Output
Save your flow and proceed with testing and executing it.
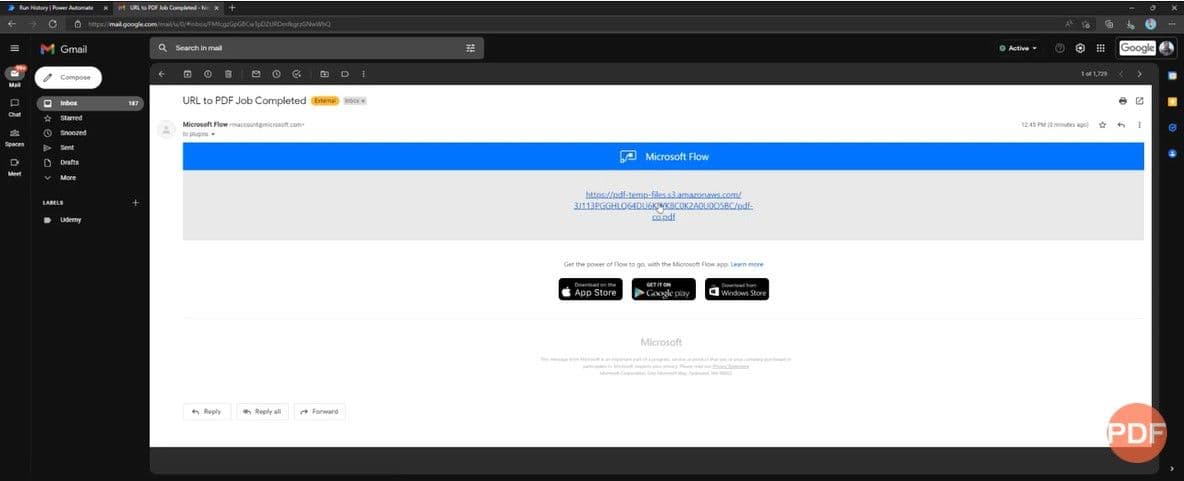
Once execution is complete, let’s check the output in the mail. As we can observe, we have a new email notification containing a URL. This URL is pointing to our Output PDF.
In case you are interested, we also have a short tutorial on converting raw HTML into a PDF for Power Automate Cloud using the PDF.co connector.
Video Guide
Related Tutorials
