How to Automatically Add a Stamp to PDF with PDF.co using Zapier
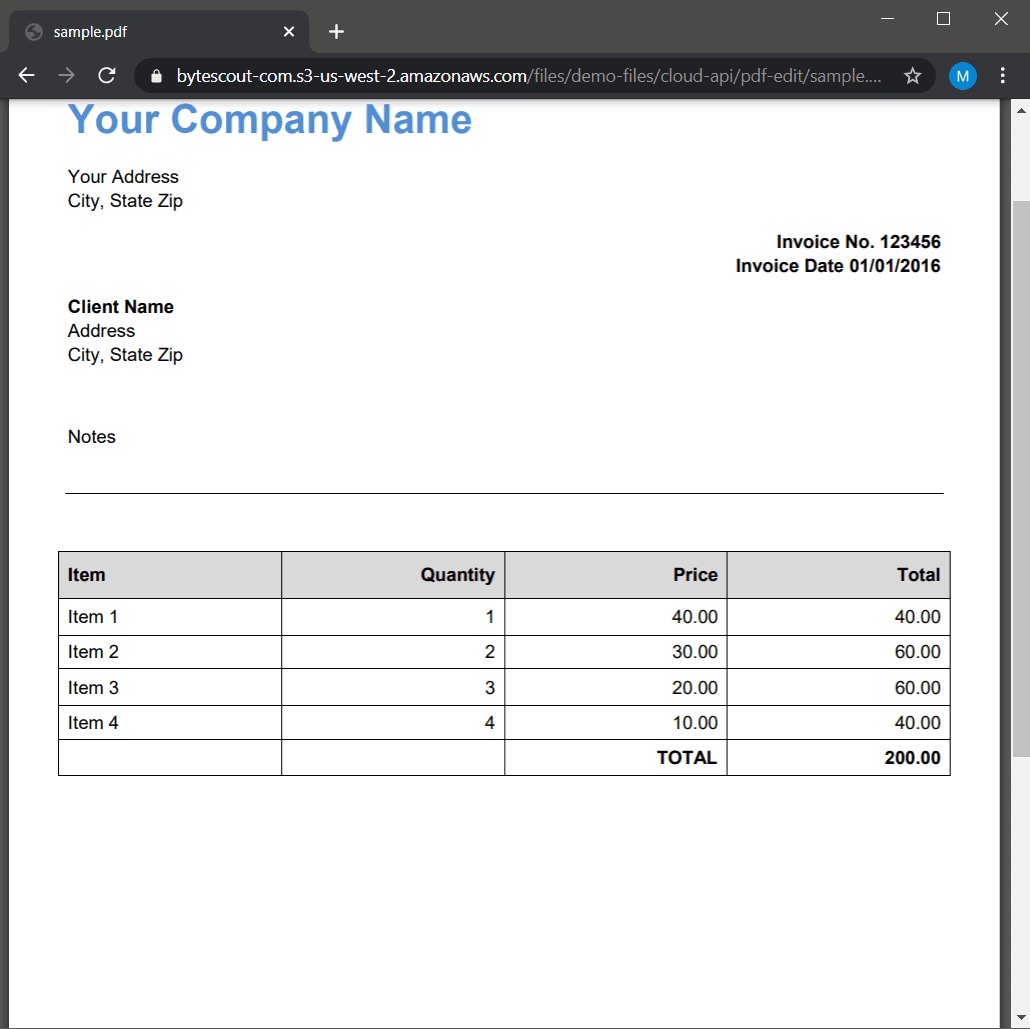
In this tutorial, we will show you how to automatically add a stamp to a PDF document using PDF Filler in PDF.co. In our sample invoice, we will stamp a semitransparent ByteScout logo in the middle of the page.
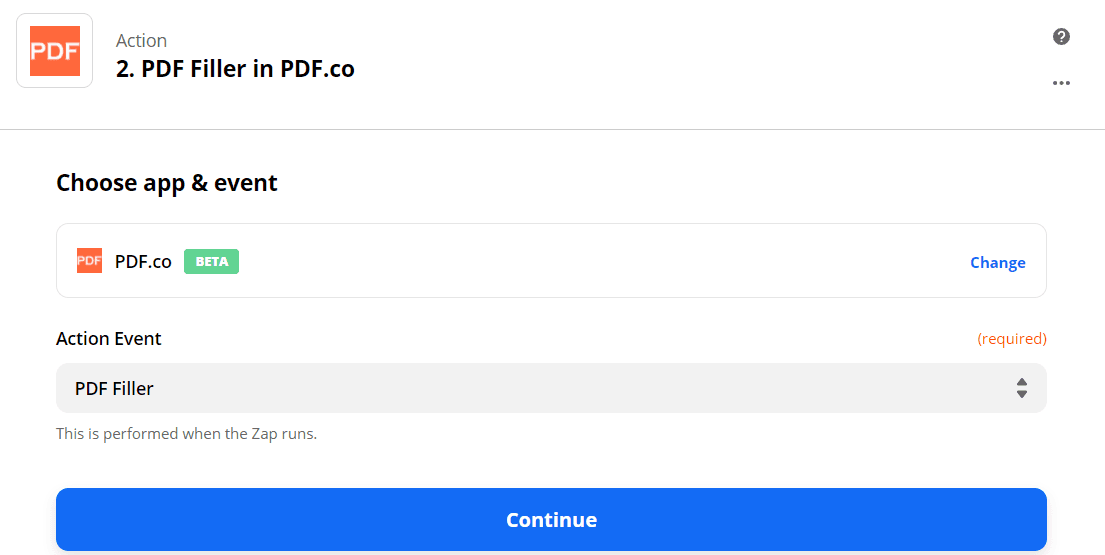
Step 1: Open PDF.co and Select PDF Filler
On the Zapier action step, choose PDF.co as the App and PDF Filler as the Action Event. PDF Filler Action Event creates new PDF, fills PDF forms, creates PDF forms, uses and adds text, images, links, and checkboxes to new PDF and existing PDF documents.
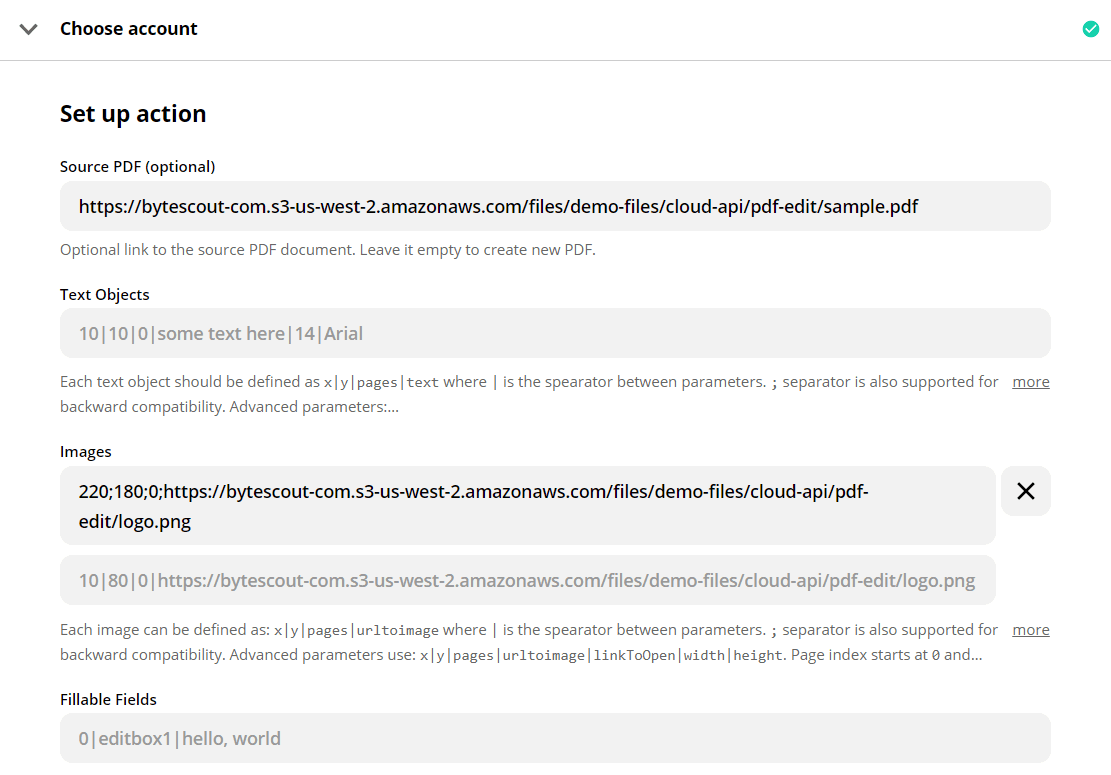
Step 2: Configure the PDF Filler with the Data
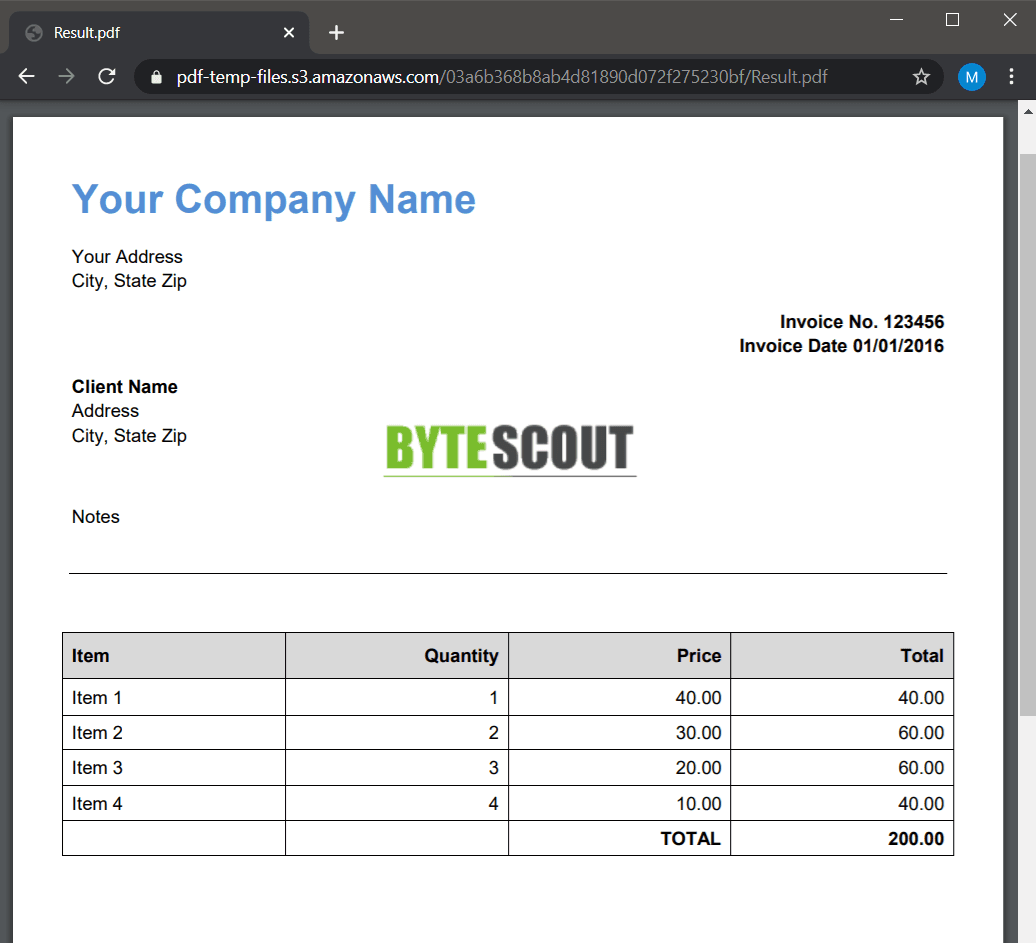
- In the Source PDF, enter the PDF file. In our case, we will enter the sample invoice link. When you leave the Source PDF field empty, it will create a new PDF that is blank.
- In the Image field, enter the x coordinate; y coordinate; page number or range; and the logo URL.
- In the Output PDF Name field, enter your desired PDF output name.
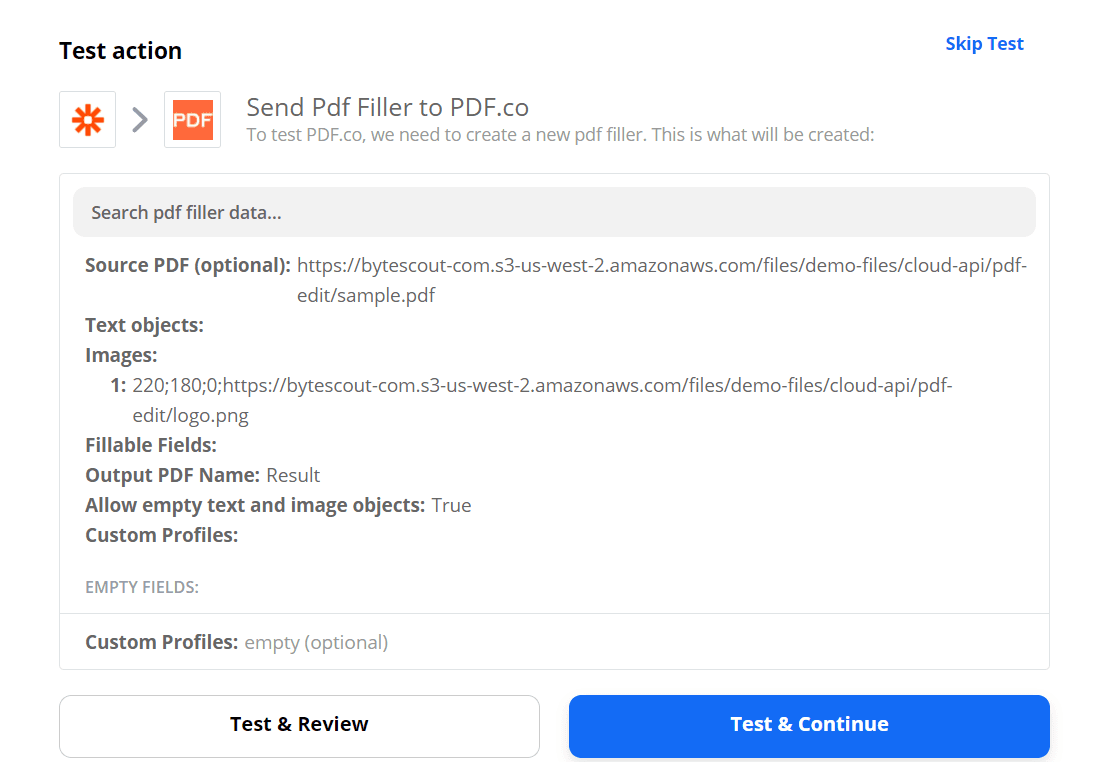
Step 3: Test & Review
We are now ready to send PDF Filler to PDF.co to Test & Review our data.
Step 4: Copy & Paste URL to Browser to View Output
The test was a success! Copy and paste the URL in your browser to see the result.

Fantastic! We have successfully stamped the sample invoice with our ByteScout logo.
You can set up the next step to save the generated file in Google Drive or Dropbox depending on your requirements.
Note: Are you a developer? You can check out our API Documentation to use our API directly from your app, or through 300+ integrations.


