Fill PDF Document with PDF.co Connector for Power Automate Cloud
This tutorial will demonstrate how to add text, and images to PDF or fill PDF form fields using the PDF.co connector for Power Automate Cloud. We’ve already added a PDF.co custom connector, which we’ll be going to use here.
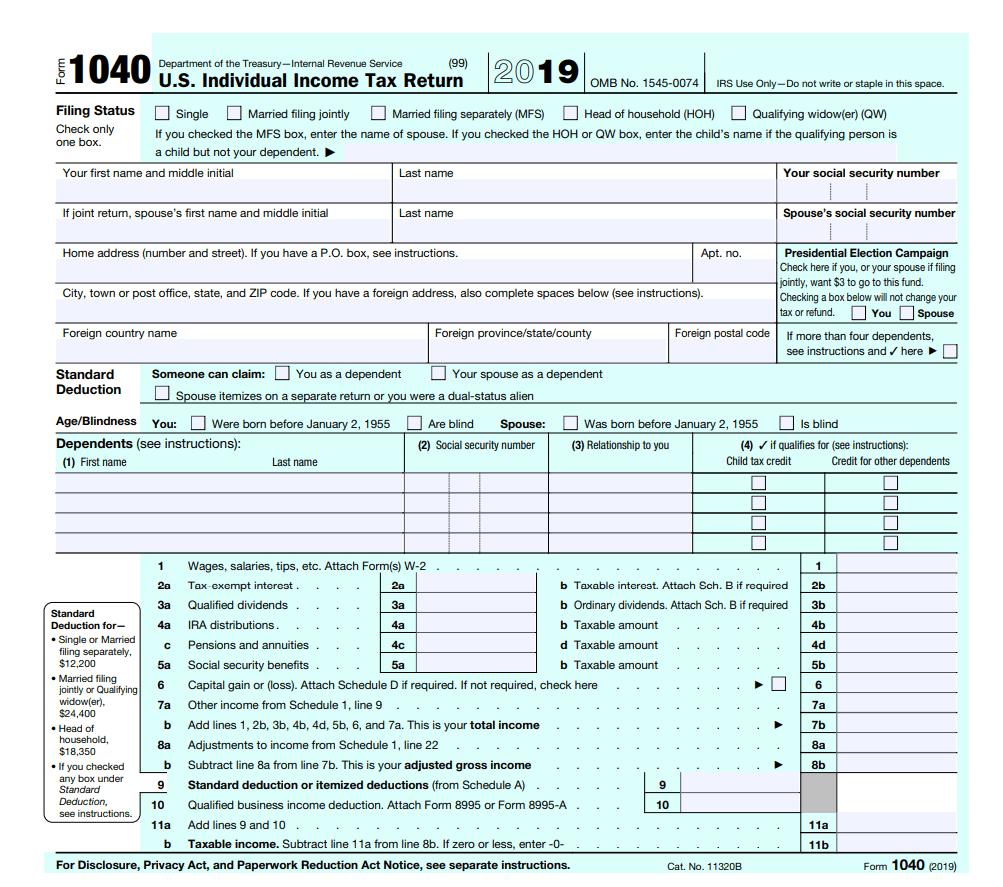
We’ll take this provided sample PDF form and elevate its functionality by incorporating text, images, and completing form fields.
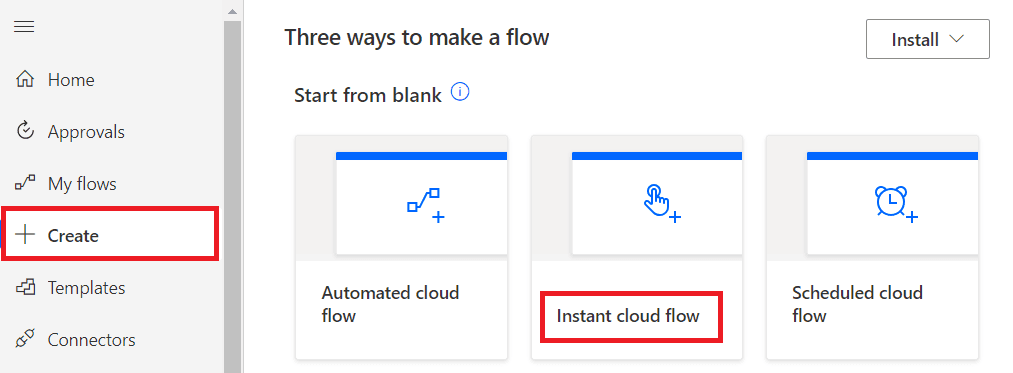
Step 1: Create a New Custom Flow
- Let’s start by opening your Power Automate account and creating a flow.
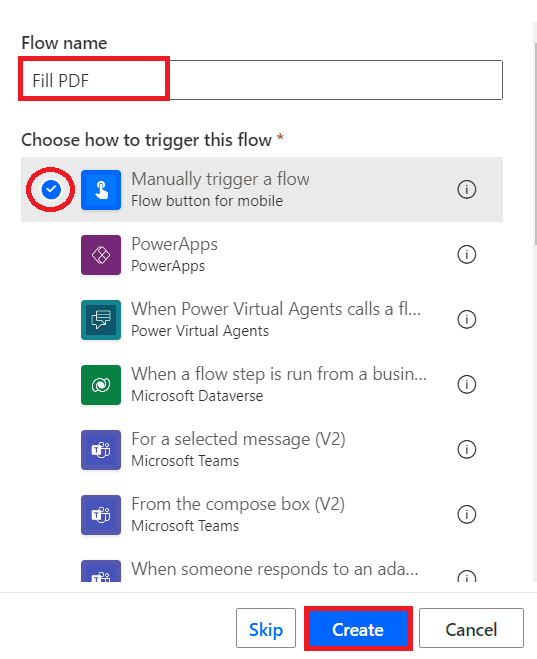
Step 2: Add a Flow Name
- Next, let’s create a new custom flow for Fill PDF. Also, let’s make it the Manually trigger flow type. Click on the Create button to get started.
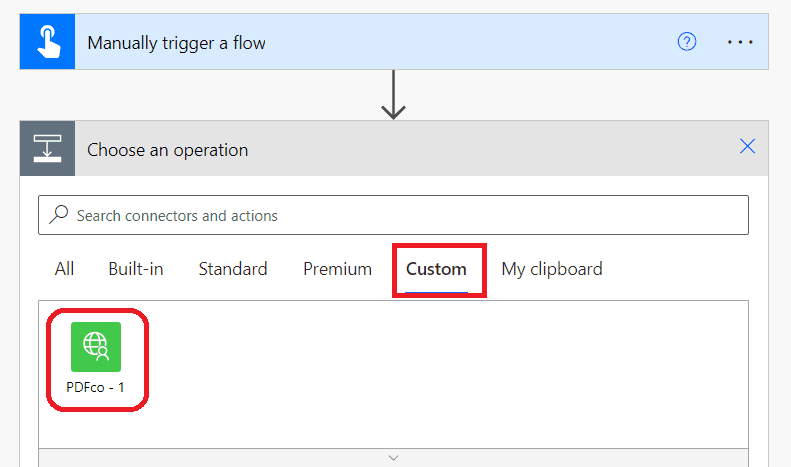
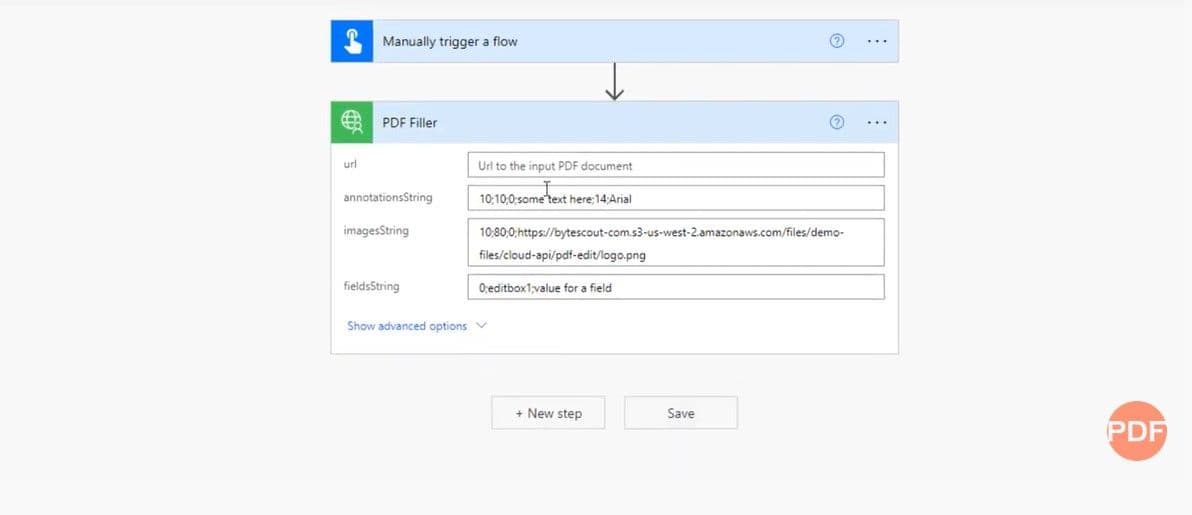
Step 3: Incorporate PDF.co Connector
- Then, select the PDF Filler action from the PDF.co custom connector. Here, we’ll have to provide values to its parameters such as URL, annotation string value, image values as well form field values. These values need to be added in a specific format. For more details, please visit the documentation.
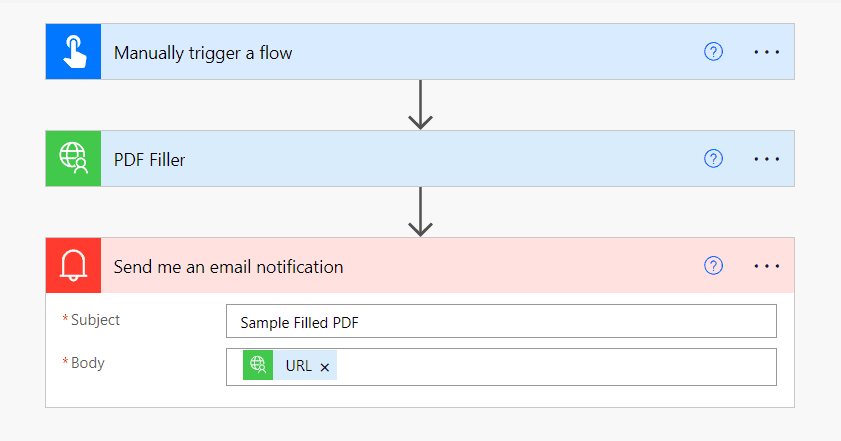
Step 4: Create Notifications for Output
- Let’s create Notifications for checking output. We will create an email notification with the subject and the output URL in the body.

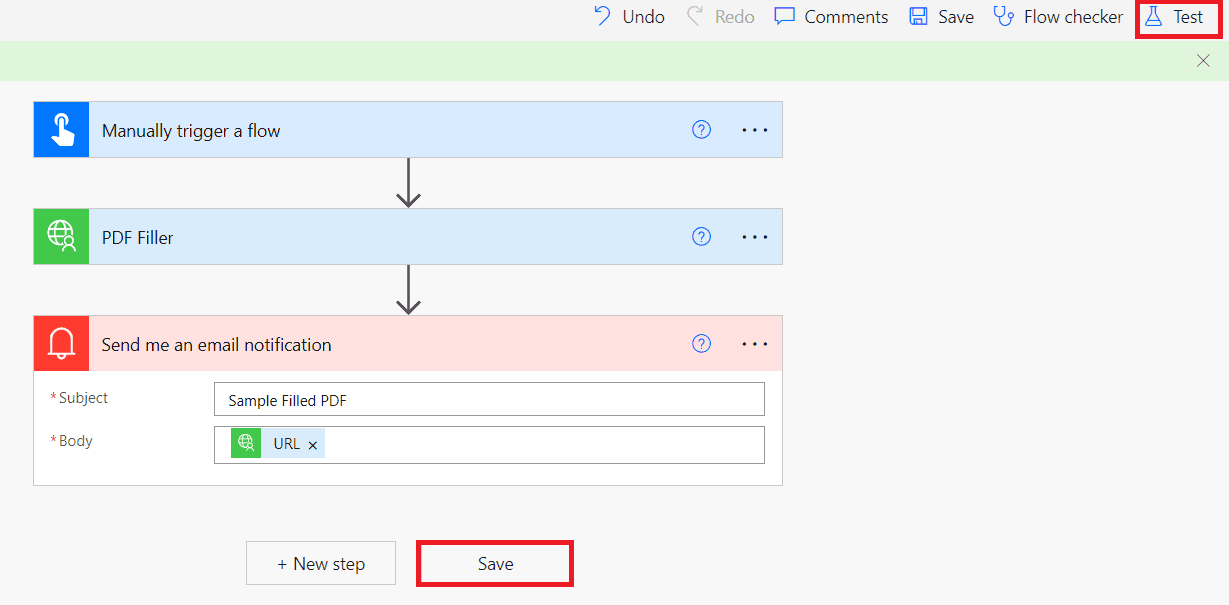
Step 5: Test and Run Workflow
- Proceed with saving flow and get started with testing and executing it.
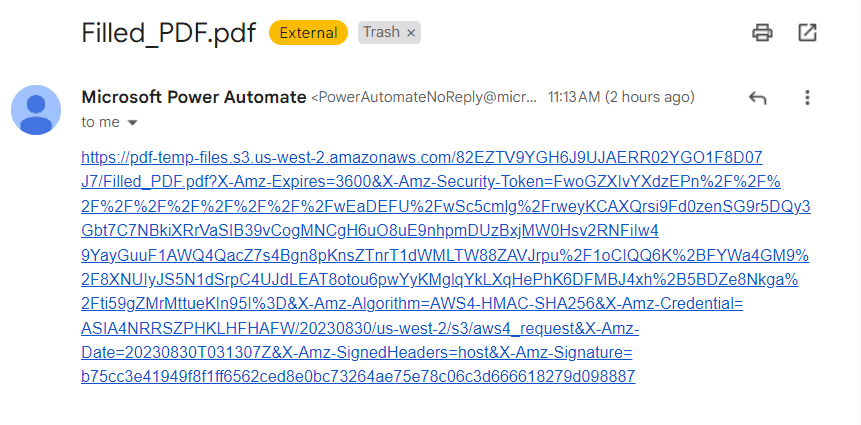
Step 6: Email Notifications
- Now that execution is complete, let’s check the output mail. As we can observe, we can see new email notifications containing a new PDF URL. Click on the URL to view the output.
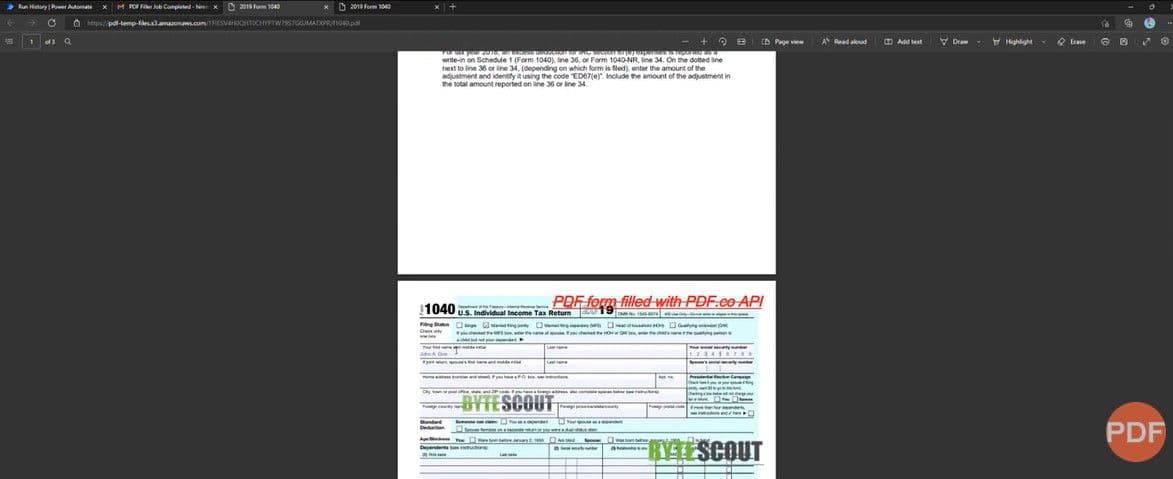
Step 7: Output
- Here’s what the output looks like.
In this tutorial, you learn how to fill in a PDF document using the PDF.co connector with Power Automate. You’ll learn how to import the PDF.co Custom Connector into Power Automate and use it in your workflow. Additionally, you’ll discover how to configure the PDF.co PDF Filler parameters to improve the quality of your PDF document by adding text, images, or filling out form fields.
Here’s a quick video guide showing how to add text, and images to PDF or fill PDF form fields using the PDF.co connector for Power Automate Cloud.
Video Guide
Related Tutorials
