Extract Text from Scanned PDF using Document Parser Module with PDF.co Connector and Power Automate
Have you ever found yourself spending hours manually typing out text from scanned PDF documents? Well, with the help of the Document Parser module and the PDF.co connector in Power Automate, you automate this process and save yourself a great deal of time and effort.
Imagine having a stack of scanned PDFs that you need to extract information from. The Document Parser module, powered by AI and OCR technology, can intelligently analyze these documents and accurately extract the text, even if they have complex layouts. It understands different data fields, tables, and sections within the document, allowing it to extract specific information with precision.
In this article, we will demonstrate the use of PDF.co in Power Automate. By doing so, you will be able to establish automated workflows that easily extract text from scanned PDFs and store the extracted information in a format of your choice, such as CSV, XML, or JSON. This convenient setup allows you to configure the workflow once and let it handle the task, thereby freeing up your time for more important activities.
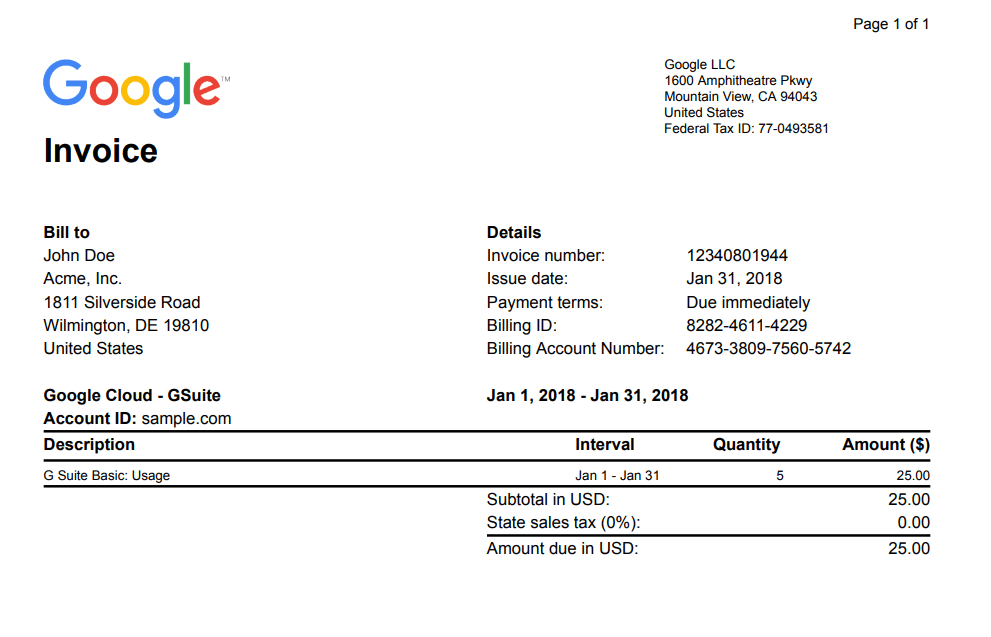
Sample Invoice
Here is a sample scanned PDF invoice, and our objective is to extract specific text from this document.
Prior to initiating the automation procedure, our first step will be to integrate the PDF.co Custom Connector into Power Automate Cloud. This integration will allow us to utilize the PDF.co module and simplify the process easily. To accomplish this, kindly follow the instructions on how to Add PDF.co Custom Connector for Power Automate Cloud.
Create a New Custom Flow
Access your Power Automate account and proceed with creating a flow.
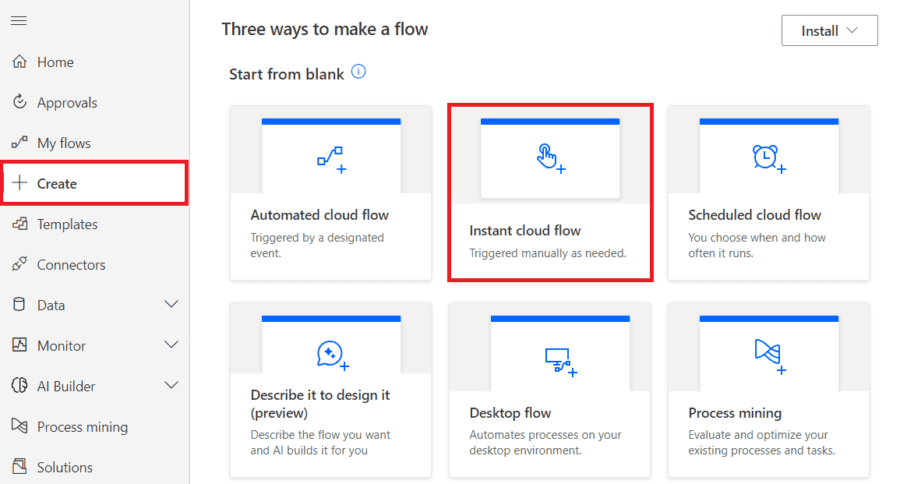
Add a Flow
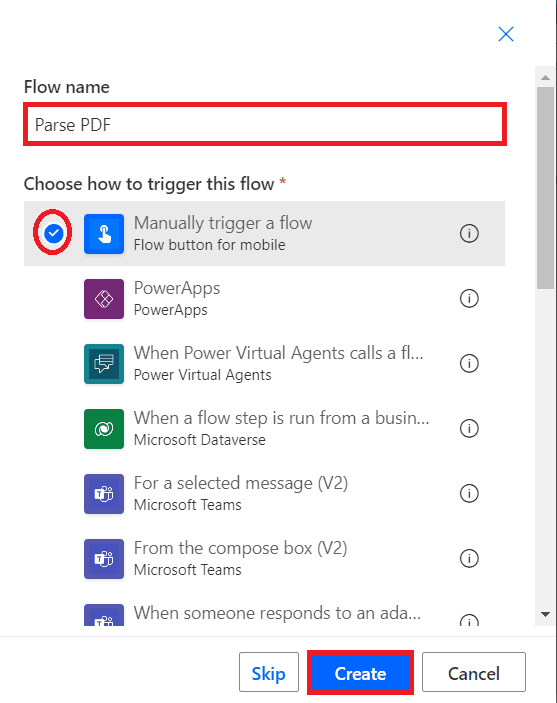
- Moving forward, let’s create a new custom flow for our Document Parser and set the flow type as Manually trigger. To initiate the process, please click on the Create button.
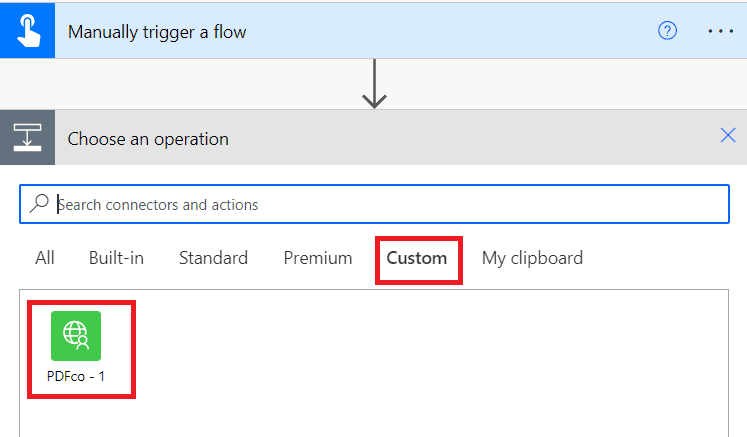
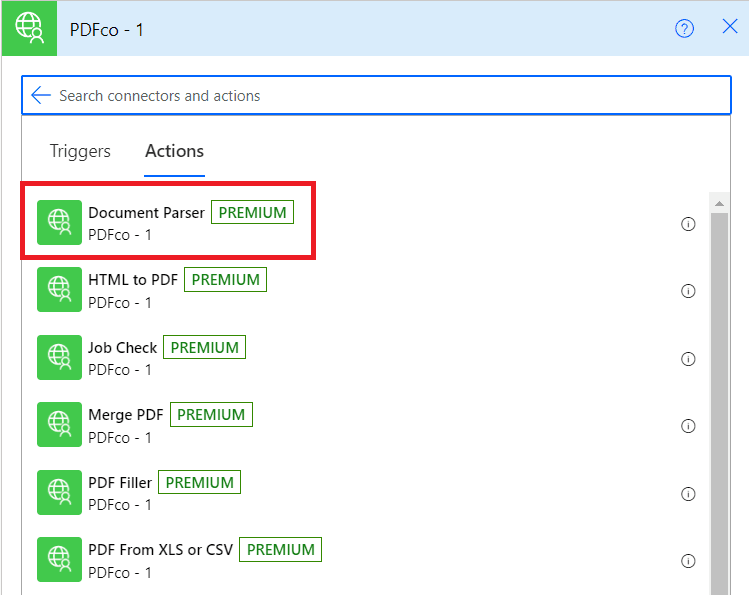
Add PDF.co Connector
- Then, select the Custom option and access the PDF.co Connector. From there, navigate to the Document Parser feature, which enables you to extract specific text from scanned PDFs.
Configure Document Parser Settings
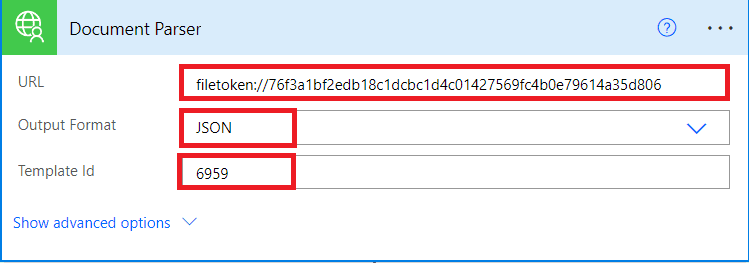
Let’s proceed with configuring the settings for the Document Parser:
- In the URL field, enter the direct URL of your source file. Alternatively, if you have a file to upload, you can utilize the PDF.co File Storage service, which will convert your file into a URL format. This URL will be used specifically for PDF.co processing.
- Next, choose your desired output format, such as JSON, XML, or CSV, from the Output Format field.
- Then, provide the template ID in the Template ID field. This template contains the extracted data from scanned PDFs. You can easily create the template using the PDF.co Document Parser Template Editor. For instructions on creating a template, please refer to the tutorial guide.
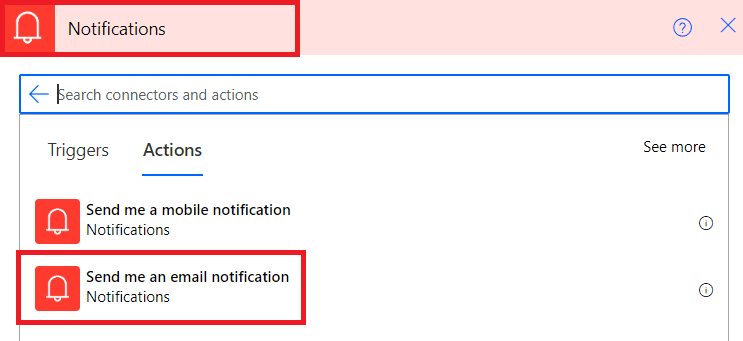
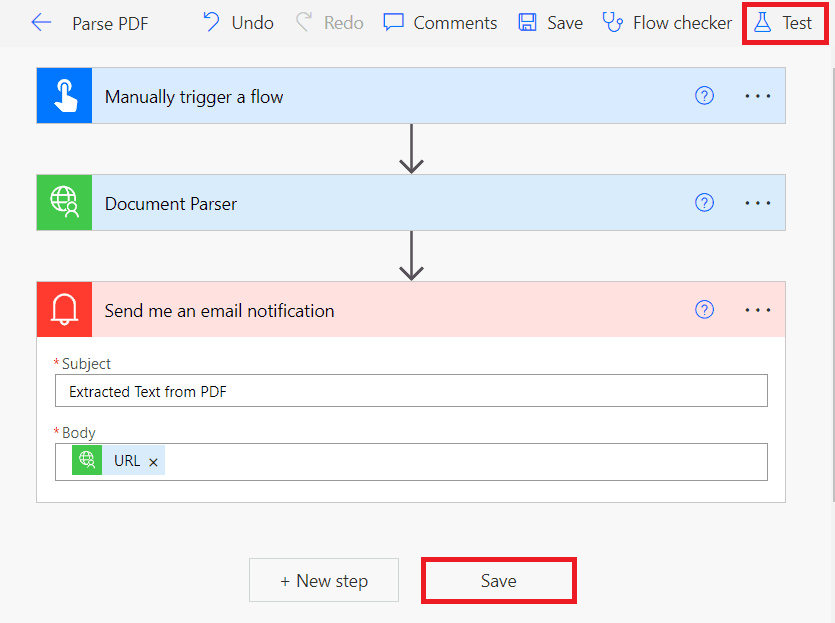
Create Email Notifications
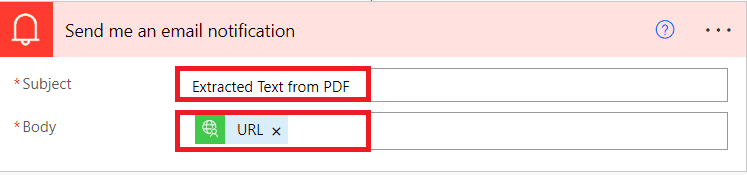
- In this step, we will set up Notifications to receive an email after the automation processing is complete. We will specify the subject of the email and include the Output URL in the body. This way, when we receive the email notification, the output URL will be included in the email body.
Test and Run Workflow
- Once all the steps for the automation have been added, proceed to save and test the workflow.
- After the flow has been successfully executed, navigate to your email inbox and open the email notifications. Inside the email, click on the provided URL to access and view the output.
Extracted Text Output
- The extracted text from the scanned PDF invoice, presented in JSON format by default. If desired, you can choose alternative output formats such as XML or CSV based on your specific requirements and preferences.
The integration of PDF.co’s Document Parser module with Power Automate allows you to automate the process of extracting text from scanned PDFs, saving you valuable time and effort. With the help of advanced AI and OCR technology, the Document Parser can intelligently analyze complex PDF layouts and accurately extract specific information.
By configuring the settings and providing the necessary input, you can create automated workflows that handle the extraction process for you. You can even set up email notifications to receive the extracted text conveniently.
Overall, PDF.co and Power Automate provide a seamless and efficient way to extract text from scanned PDFs, making your tasks easier and more productive.
Related Tutorials
