Create Fillable Forms using PDF.co and Make
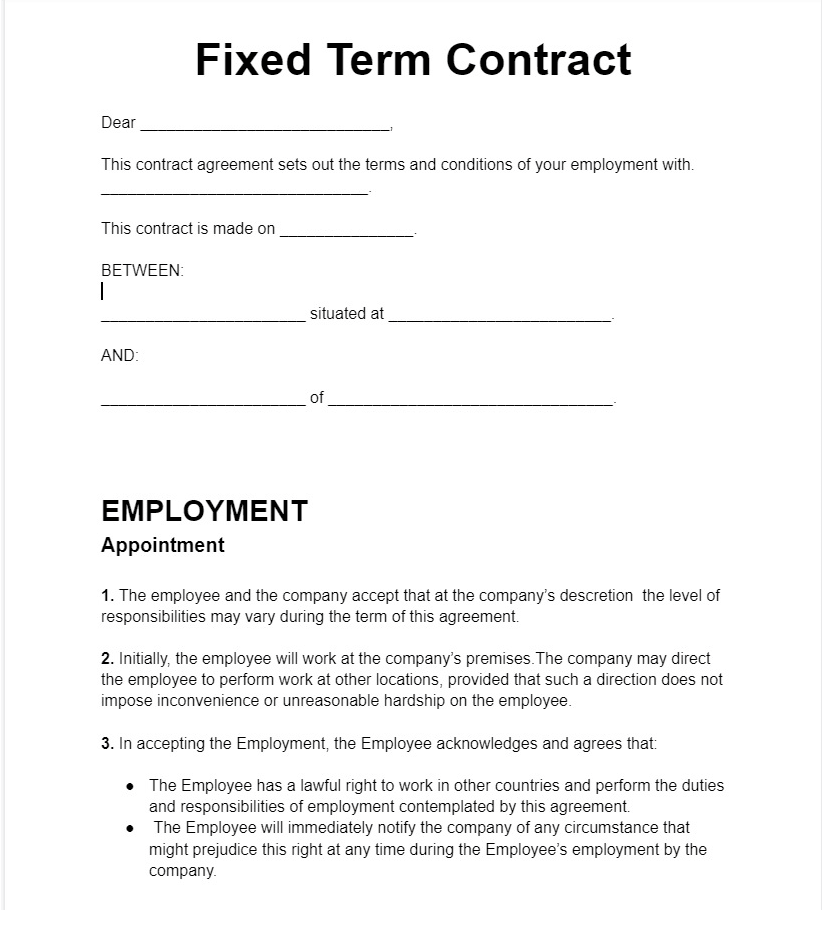
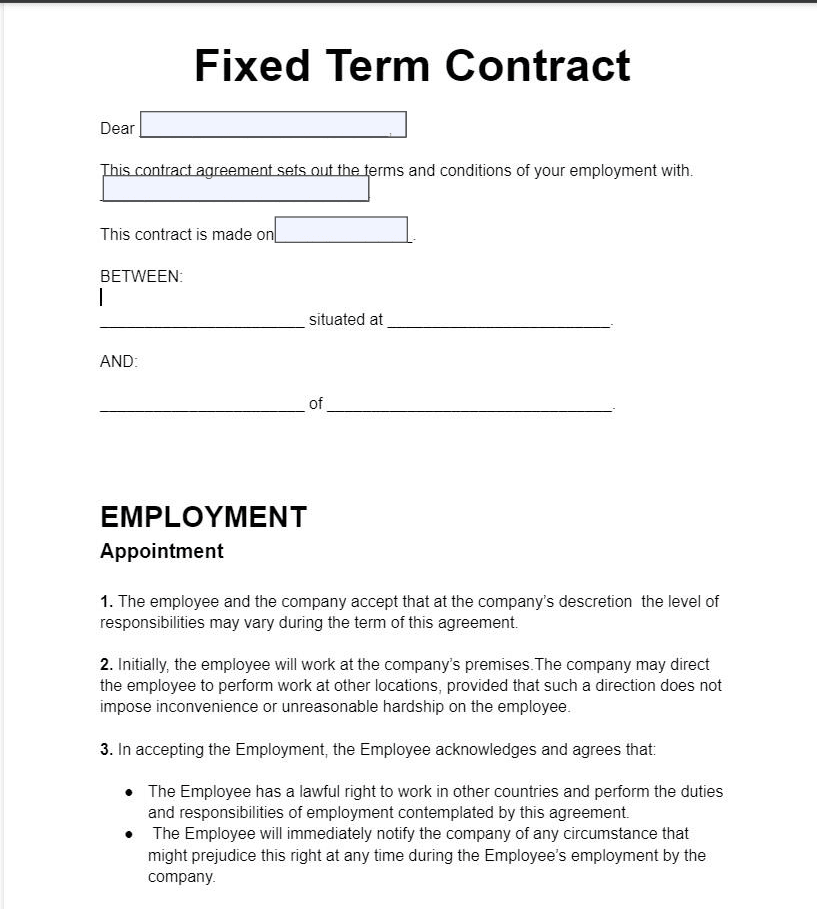
In this tutorial, we will create a fillable form using PDF.co and Make. We will use this non-fillable sample form to create a fillable form.
Step 1: Create Scenario
Firstly, create a new Scenario in Make.
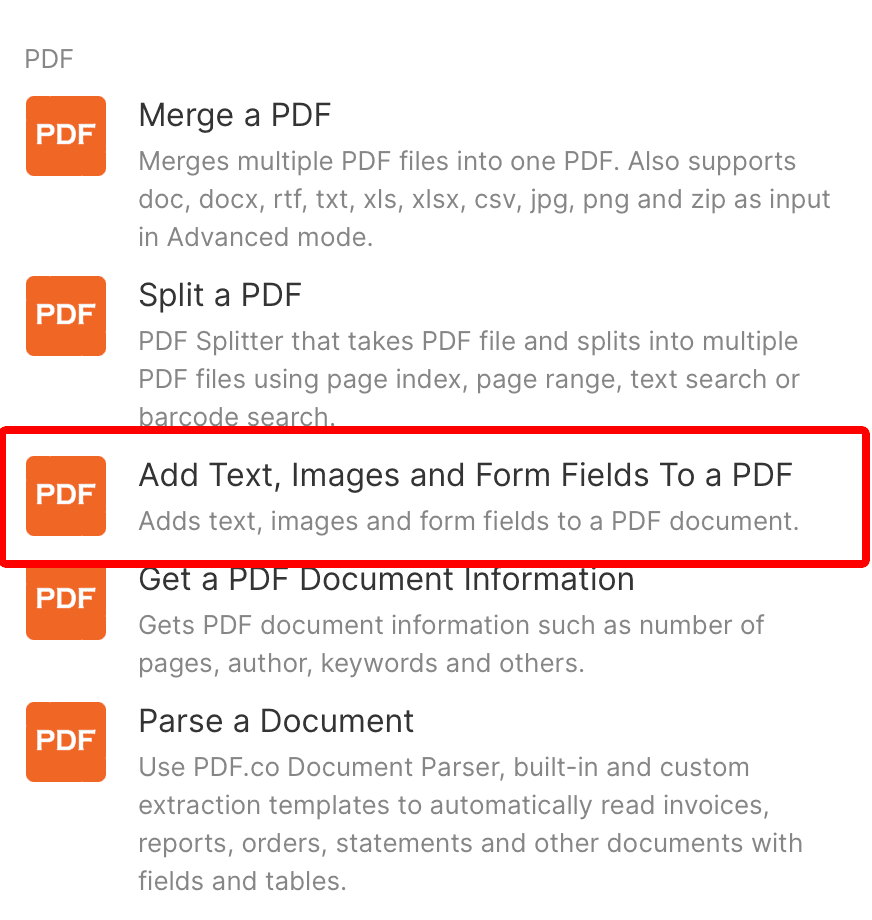
Step 2: Select PDF.co and Add Text, Images and Form Fields to a PDF
Next, select the PDF.co app from the list of the apps and choose the Add Text, Images and Form Fields to a PDF for the trigger event.
Step 3: Configuration
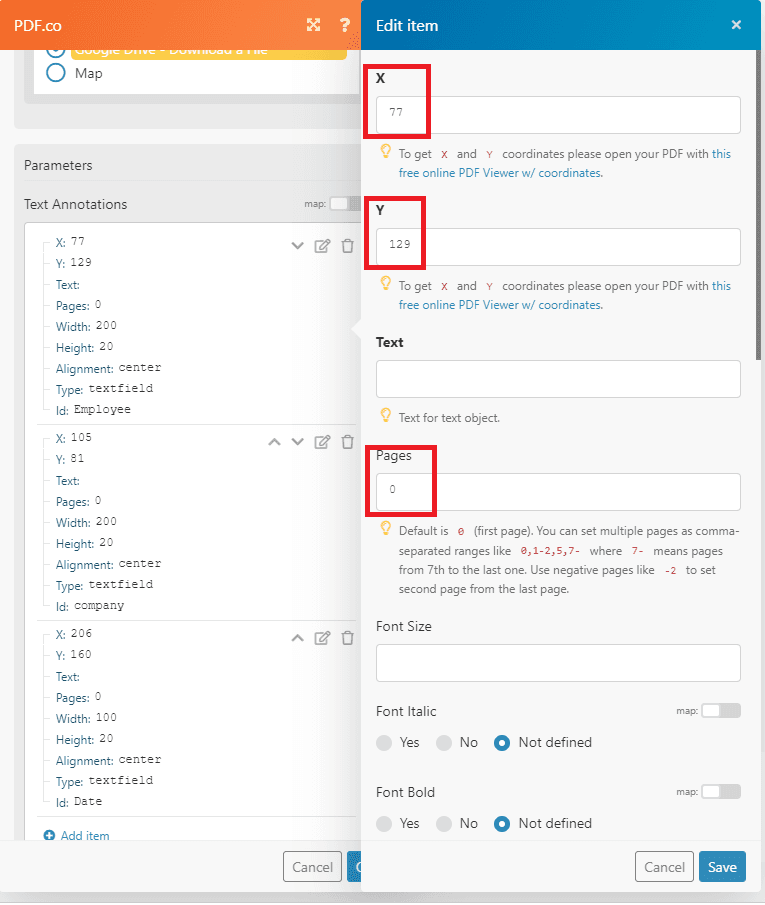
Let’s set up the configuration for the step.
- In the X and Y param, enter the value of your coordinates. To get the value of x and y, you may use the PDF Inspector.
- For the Pages param, type 0- for the first-page index
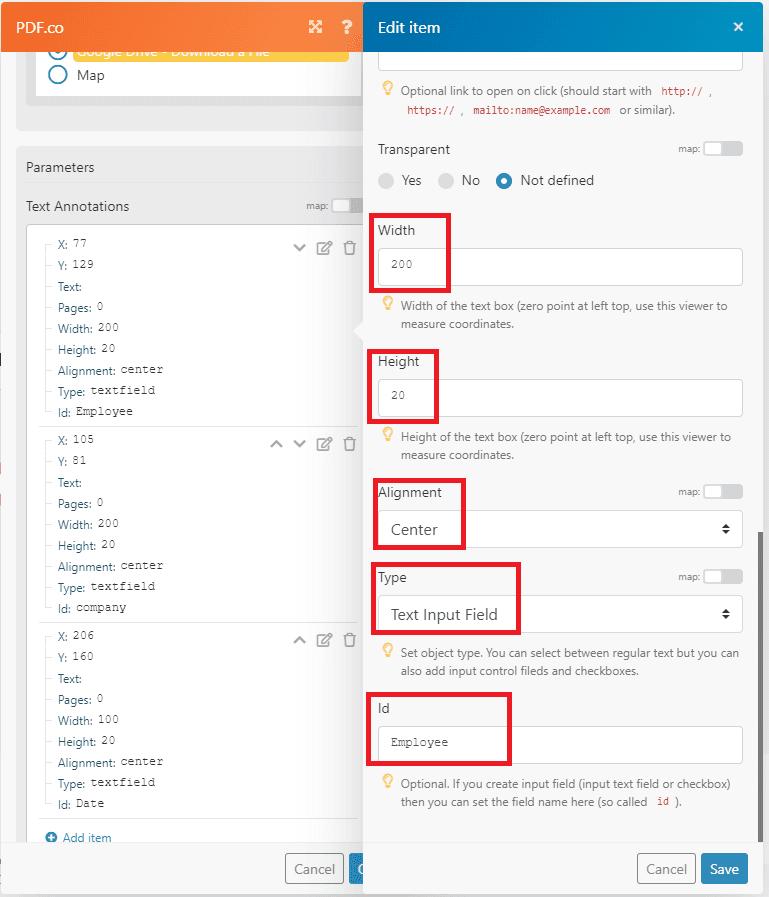
- In the Height and Width param, enter the value of your text box from zero point at the left top.
- For the Alignment param, choose the center field.
- For the Type param, select the text input to set the field name.
- In the ID param, type the ID field name.
Step 4: Run the Scenario
After setting up the configuration, let’s run the scenario.
You can copy and paste the temporary URL in the browser to view the output.
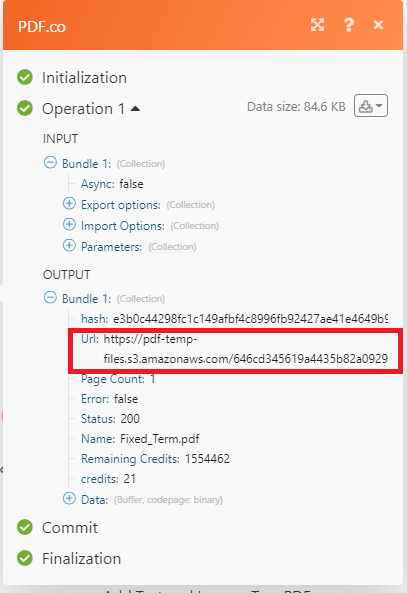
Step 5: Output
Here’s a screenshot of the fillable form output.
In this tutorial, you learned how to create a fillable form using PDF.co and Make. You learned how to use the PDF Inspector with coordinates to get the exact location of x and y. You also learned how to use the Add Text, Images and Form Fields to a PDF Web API to create a fillable form.
Related Tutorials
