Automate Your Spreadsheet Workflow: Convert Excel to PDF with PDF.co and Store in Airtable using Zapier
Managing data is an essential task for many businesses, and spreadsheets are a popular tool for this purpose. They allow you to organize and analyze data, from financial statements to project timelines. However, when it comes to sharing this data with others, it can be difficult to ensure that the formatting and layout remain intact, especially if you’re dealing with multiple stakeholders.
That’s where converting your Excel spreadsheets to PDFs can come in handy. PDFs are a universal format that can be viewed on any device, and they preserve the original formatting and layout of your data. But doing this manually can be time-consuming and tedious, especially if you have many spreadsheets to convert.
Thankfully, there’s a way to automate this process using PDF.co and Zapier. PDF.co is a cloud-based platform that allows you to manipulate PDFs, while Zapier is a web automation tool that allows you to connect different apps and automate workflows.
By using these tools together, you can automatically convert your Excel spreadsheets to PDFs and store them in Airtable, a popular cloud-based database. This way, you can save time and streamline your workflow, allowing you to focus on other important tasks.
In this tutorial, we’ll guide you through the steps to set up this automation and show you how it can help you manage your data more efficiently. So let’s get started!
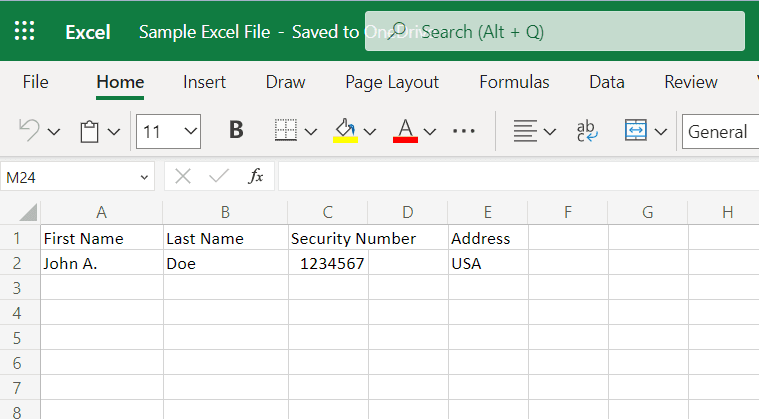
We will use a sample Excel spreadsheets and demonstrate how to convert it into a PDF and save it to Airtable. By the end of this guide, you’ll have a clear understanding of how to automate this process and make it a part of your regular workflow. To help you follow along with the step-by-step guide below:
Step 1: Create a Zap
- To begin, let’s start by logging into your Zapier account and creating a Zap.
Step 2: Add Onedrive App
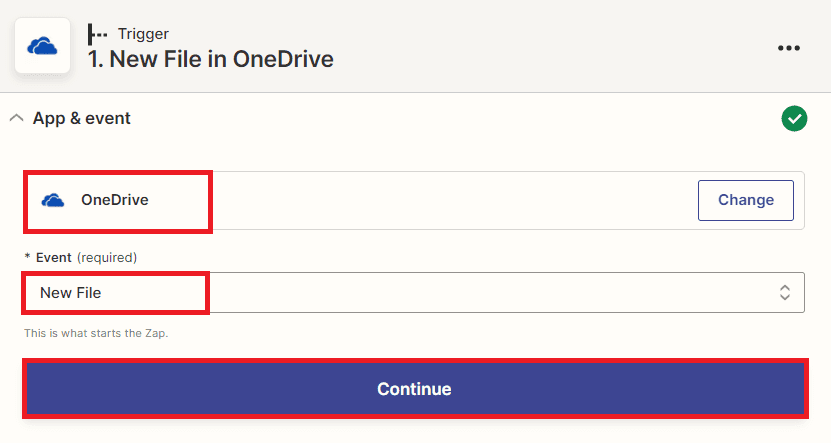
- The first step in automating the conversion of your Excel spreadsheets to PDFs and saving them to Airtable is to select the OneDrive app in Zapier. Once you’ve connected your OneDrive account to Zapier, you can choose the “New File” trigger, which will activate whenever a new file is added to a folder in OneDrive. This trigger will serve as the starting point for the automation, allowing Zapier to detect whenever a new Excel spreadsheet is added to your OneDrive folder and initiate the conversion process.
Note: Aside from OneDrive as an example in this guide, you can also use other cloud storage services to store your Excel spreadsheets, such as Google Drive, Dropbox, iCloud, Box, and many more. The process for setting up the automation may differ slightly depending on which service you choose, but the basic principles will remain the same. Regardless of which service you use, Zapier makes it easy to connect and automate your apps, allowing you to streamline your workflow and save time.
Step 3: Setup Trigger
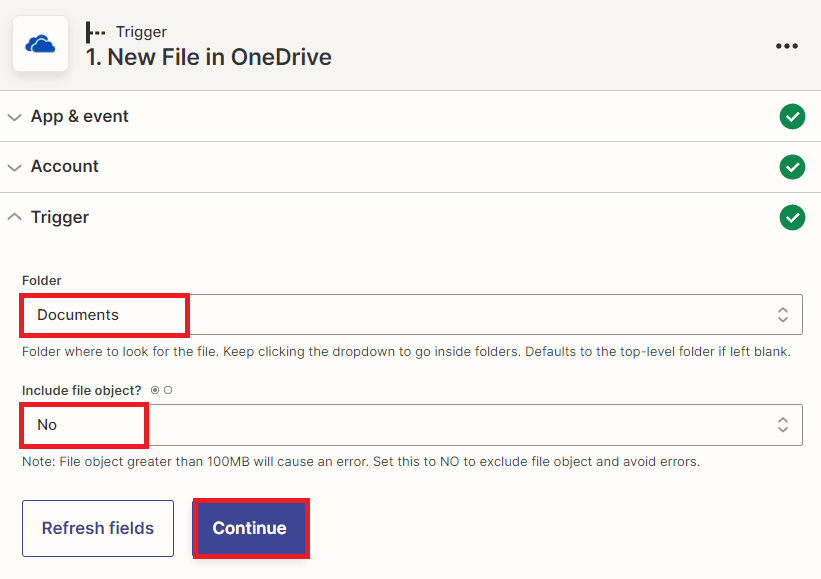
- Now, let’s set up the trigger in Zapier by selecting the specific Folder in your OneDrive account where you store your Excel spreadsheets. This ensures that Zapier will only detect new files added to that particular folder, rather than scanning your entire OneDrive account.
- Next, we need to set the “Include file object” field to “No” to exclude file objects and avoid any potential errors in the automation process. This field tells Zapier whether or not to include the file object in the trigger data. In this case, we don’t need to include the file object since we’re only interested in the file name and location.
“Since we have finished setting up the trigger, let’s perform a test to ensure that we have set it up correctly and retrieve the file from the OneDrive folder.”
Step 4: Test Trigger Result
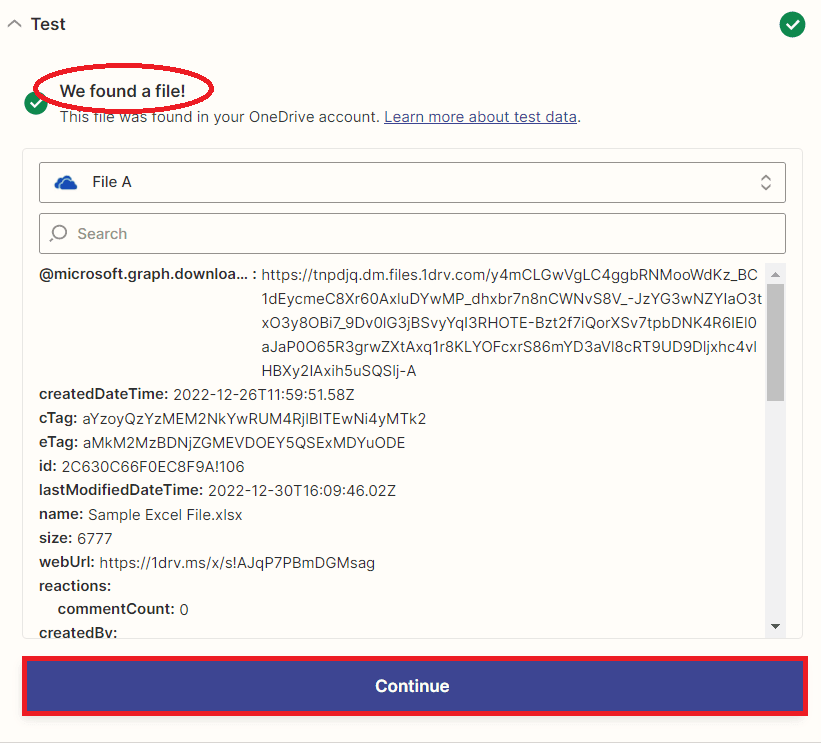
- Great! The test trigger was successful in retrieving the Excel spreadsheet file. Our next step is to convert the Excel file to PDF.
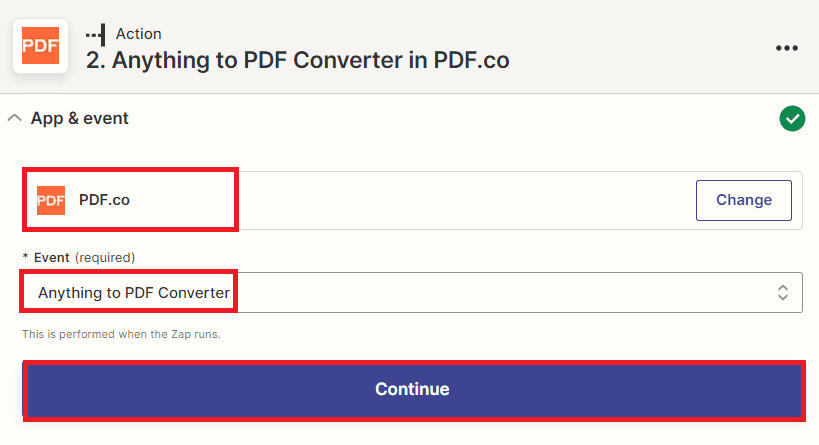
Step 5: Add PDF.co App
- In this step, we will add an app called PDF.co and use it to convert an Excel spreadsheet into a PDF file. To do this, we will select the “Anything to PDF Converter” option within the app.
Note: To connect your PDF.co account to Zapier, add your API Key. You can obtain the API Key in your PDF.co dashboard.
Step 6: Setup Action
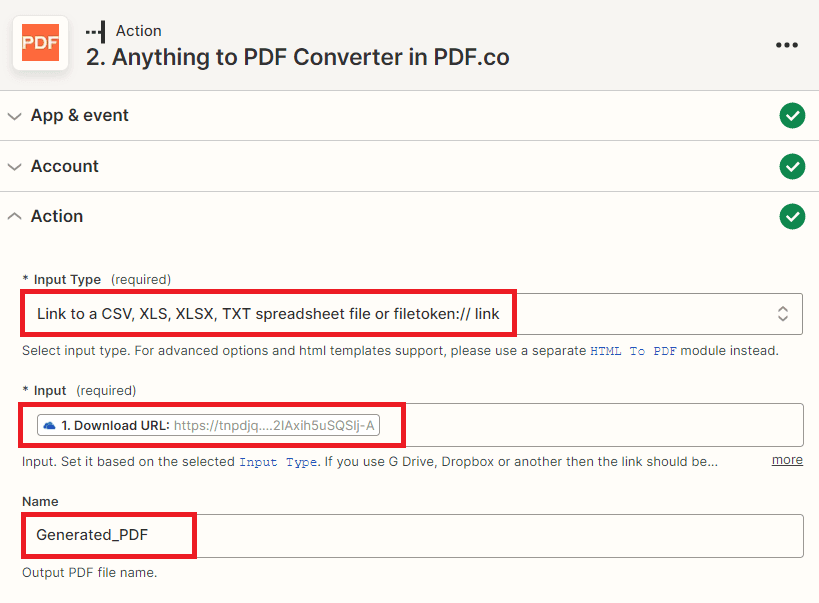
To set up the action, follow these steps:
- In the Input Type field, select the “Link to a CSV, XLS, XLSX, TXT spreadsheet file or filetoken:// link” option to convert the Excel spreadsheet to PDF format.
- In the Input field, select the Download URL from your OneDrive storage where the Excel spreadsheet is located.
- In the Name field, enter the desired name for your PDF output file.
Once you have set up the action, you can click on the “Test Action” button to initiate the conversion process. The PDF.co app will convert the Excel spreadsheet from the provided OneDrive URL to a PDF file with the specified name.
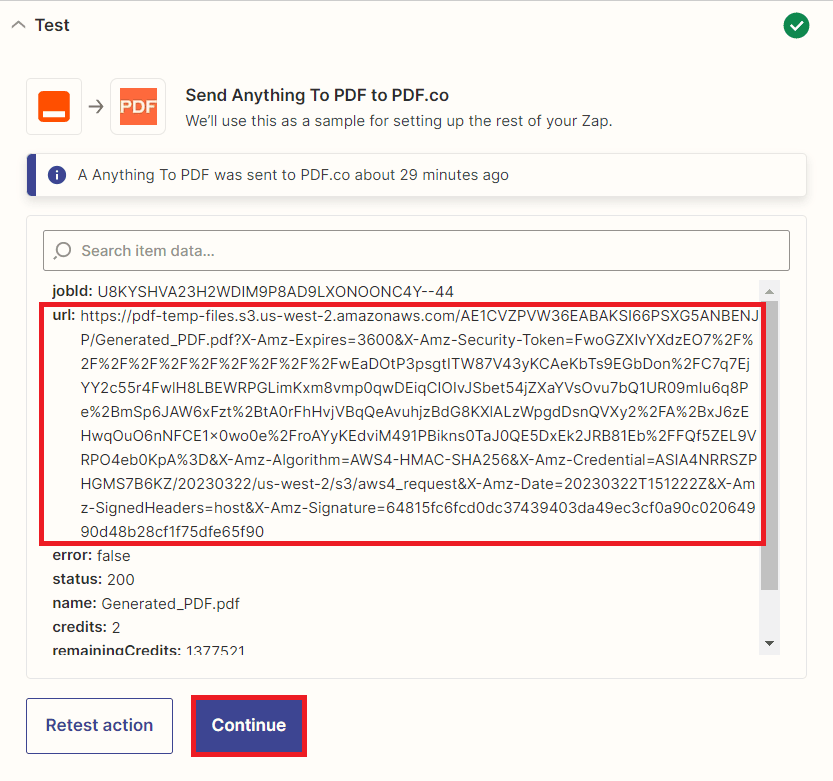
Step 7: Test Action Result
- Awesome! The test was successful and you were able to convert the Excel spreadsheet to a PDF format, you can confirm the conversion by checking the output file. To view the PDF output, copy the URL of the file and paste it into your browser’s address bar. This should open the PDF file for you to view and verify that the conversion was successful.
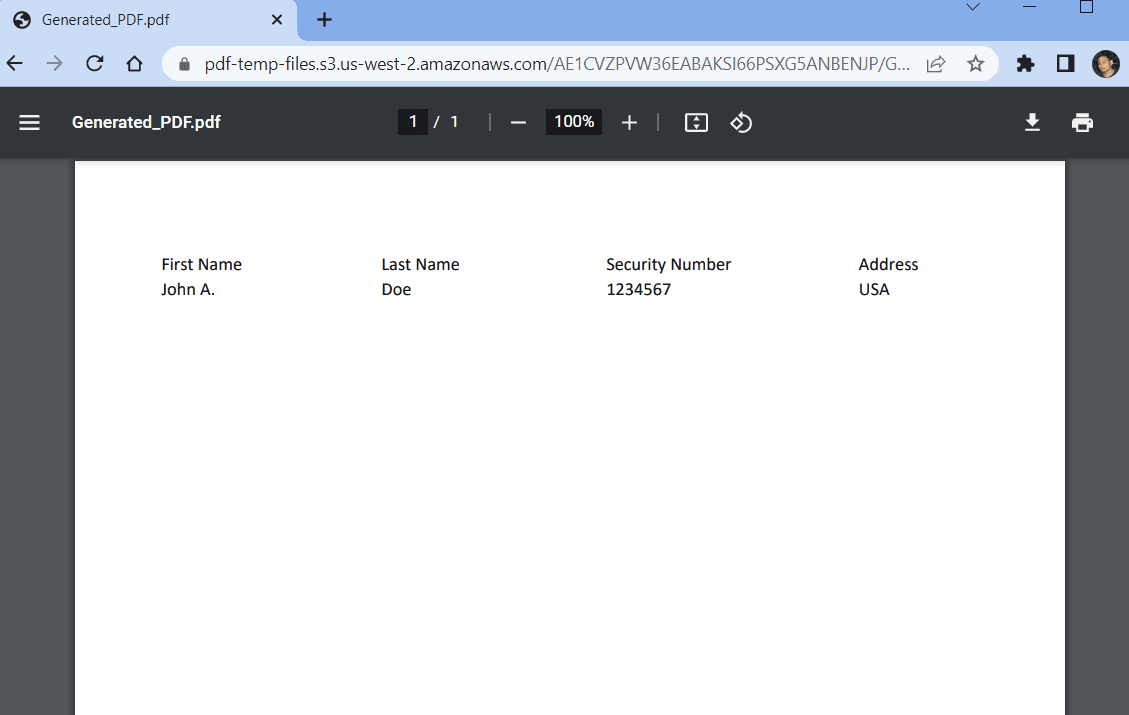
Step 8: Generated PDF Output
- After converting the Excel spreadsheet to PDF format using PDF.co, the resulting output file retains the same data, formatting, and layout as the original spreadsheet. The PDF file is a printable document that accurately reflects the information from the Excel spreadsheet. The layout of the output file may vary depending on the content and structure of the input file, but it should be a readable and visually appealing document that is easy to navigate.
Now to save the generated PDF file to Airtable, we will need to add another app that can handle this task.
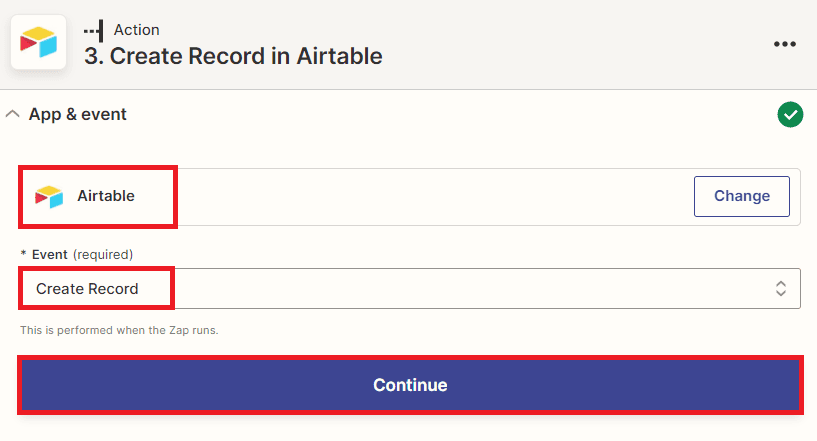
Step 9: Add Airtable App
- In this step, will add the Airtable app and select the “Create Record” option to create a new record in your Airtable database. This will allow you to store and organize the PDF files in your Airtable database for easy access and sharing.
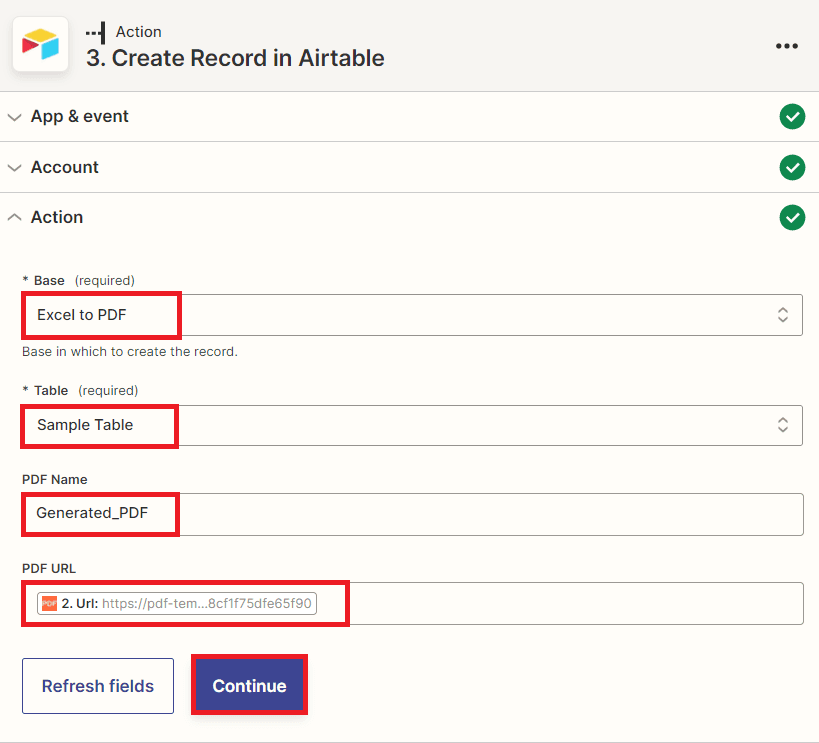
Step 10: Setup Airtable Configuration
To set up the Airtable configuration, follow these steps:
- In the Base field, select the Airtable base in which you want to create the record.
- In the Table field, select the specific table in the selected base where you want to create the record.
- In the Fields section, map the PDF file data to the corresponding Airtable fields by selecting the appropriate PDF.co output fields and matching them to the appropriate Airtable fields.
After setting up the Airtable configuration to create a new record and map the PDF file data to the corresponding fields, you can now test the action to make sure that the PDF file is saved correctly to your Airtable database.
Step 11: Airtable Test Result
- Congratulations! The test was successful and the PDF file was saved to Airtable. To view the output, simply go to your Airtable account and navigate to the table where you created the new record. You should see a new record that was created with the PDF file data saved in the corresponding fields.

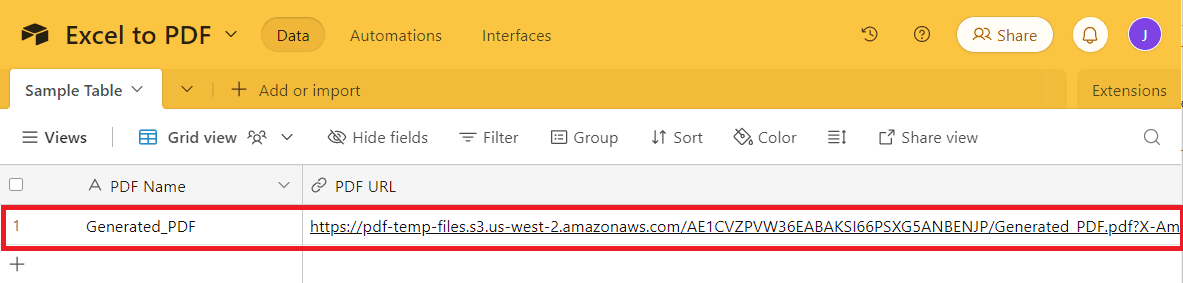
Step 12: Check Airtable Account
- This is the Airtable record that has been created and it includes a URL for the PDF file. To view the PDF file, simply click on the link provided. It should open the PDF file in your web browser or allow you to download it directly to your device.
Automating your spreadsheet workflow can save you time and effort, especially when dealing with repetitive tasks like converting Excel spreadsheets to PDF and storing them in Airtable. With the help of tools like PDF.co, Zapier, and Airtable, you can easily streamline your workflow and improve your productivity.
By following the steps outlined in this tutorial, you can easily convert your Excel spreadsheets to PDF and store them in Airtable with just a few clicks. This can help you keep your data organized and easily accessible, as well as provide a convenient way to share your data with others.
So, whether you’re a small business owner, a freelancer, or just someone who wants to streamline their workflow, automating your spreadsheet tasks with PDF.co and Airtable can be a game-changer. Give it a try and see how it can benefit you!
Related Tutorials
