How to Get Data from Mailchimp as PDF using PDF.co and Zapier
Sep 2, 2024·4 Minutes Read
Mailchimp is very useful in sending campaigns to your customers, subscribers, and prospect customers/subscribers. Getting new subscribers and having a list of them in a separate PDF would be very useful especially when you want to compile them. You can automate this process using PDF.co Web API and Zapier.
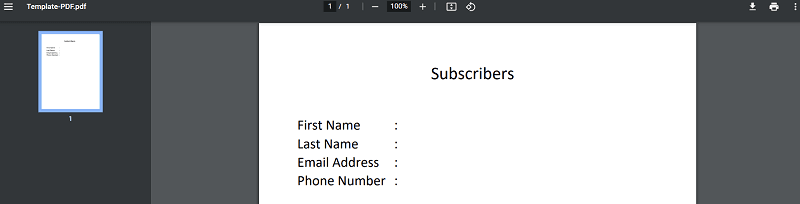
We will use this sample PDF template for this tutorial. We will insert the data from the new subscribers in Mailchimp into this PDF.
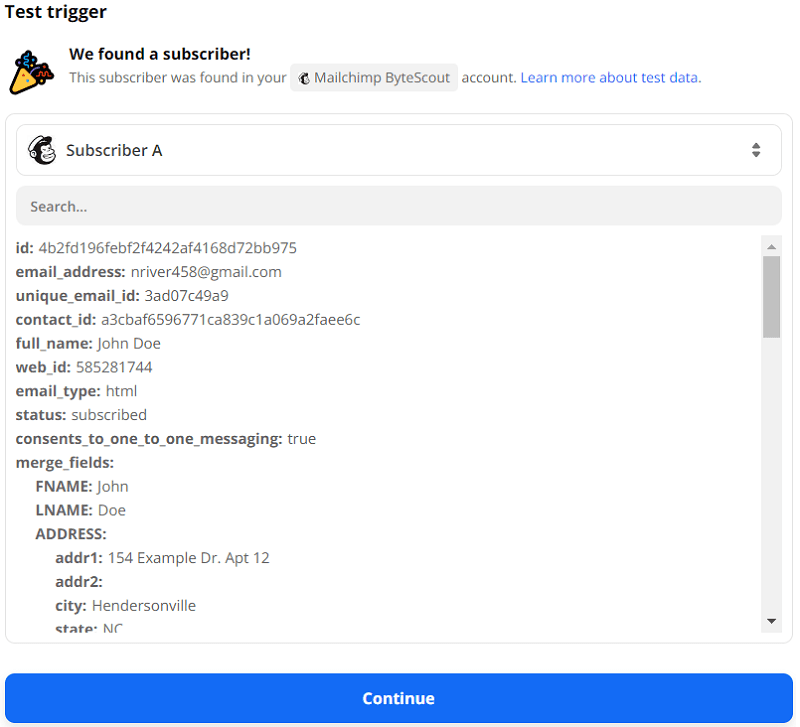
First, make sure that you already have a subscriber in your Mailchimp campaign so that Zapier can fetch data and continue with the steps.
Step 1: Create a Zap
- On your Zapier dashboard, click Create Zap
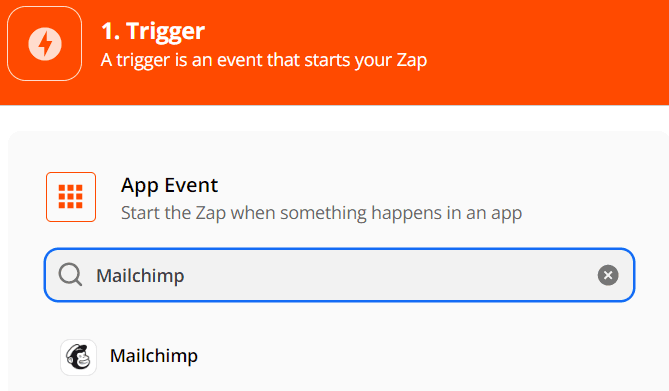
Step 2: Select a Trigger App
- For this tutorial, we will use Mailchimp as our Trigger App
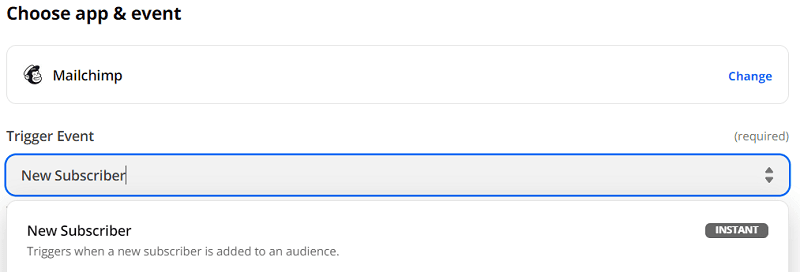
Step 3: Select a Trigger Event
- For the Trigger Event, select New Subscriber. This will trigger the Zap every time you have a new subscriber
Step 4: Set up Trigger
- Select the Audience that you want to use

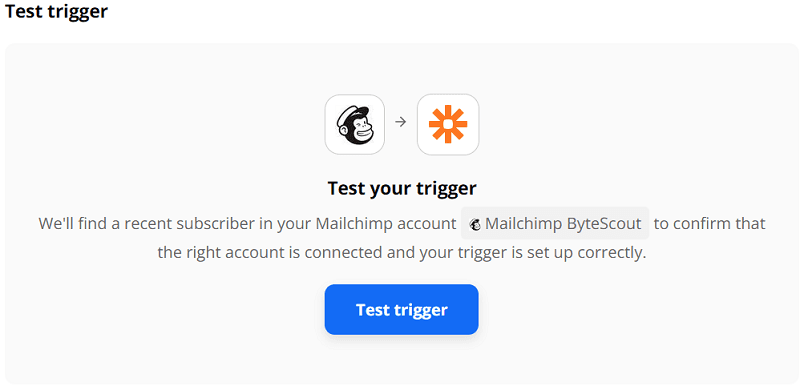
Step 5: Test Trigger
Step 6: Select an Action App
- Search and select PDF.co as the Action App

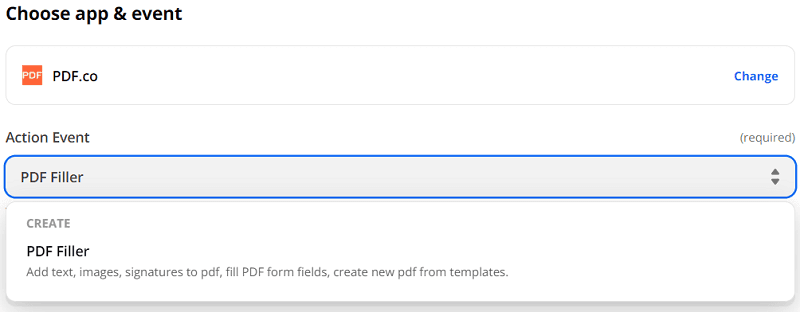
Step 7: Select an Action Event
- Select PDF Filler as the Action Event. This will be the API that we will use to fill out the template PDF.
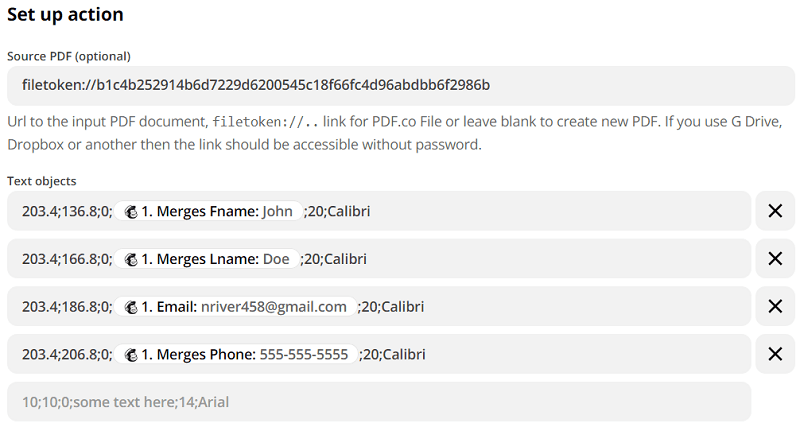
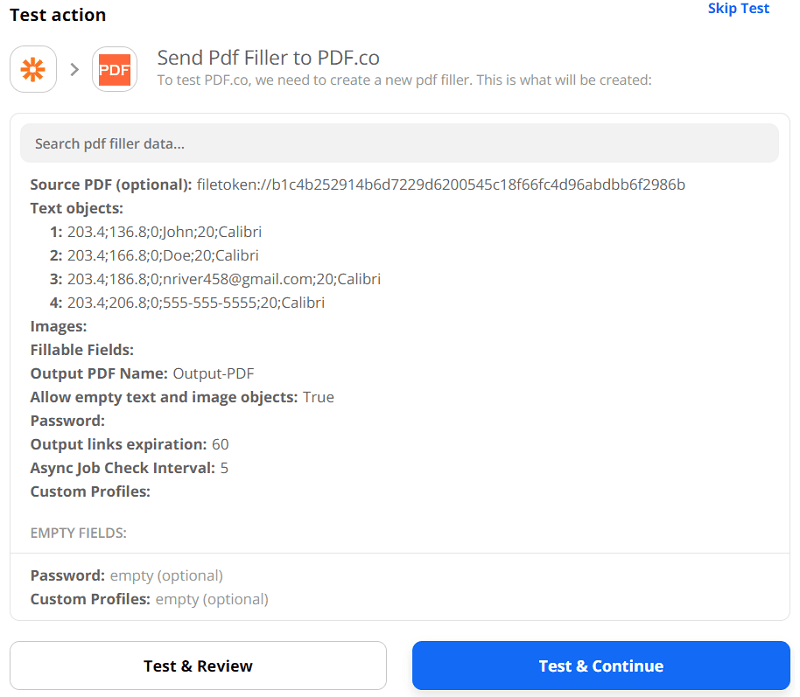
Step 8: Set up Action
- For the Source PDF, insert the link where your template PDF is located
- For the Text objects, put the
X and Y coordinateswhere you want to insert the text, thepage, thedata from Mailchimp,font size, andfont family. You can get the X and Y coordinates of your PDF with our PDF/Edit/Add Helper. - You may also set the name of your output PDF

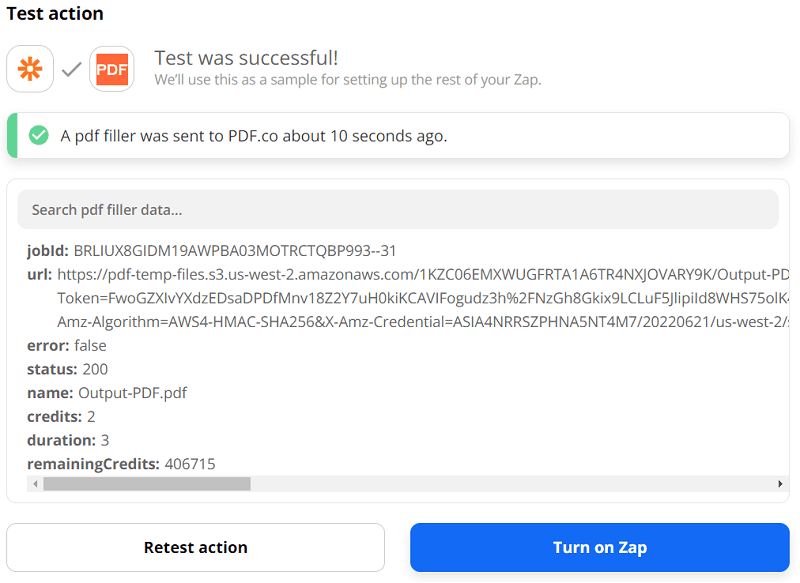
Step 9: Test Action
- You will be given an output link where you can view and download your output PDF
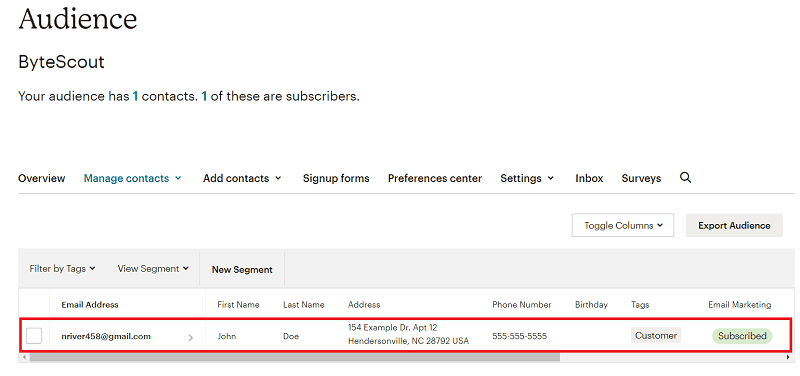
Step 10: Result
- Here’s what the result looks like
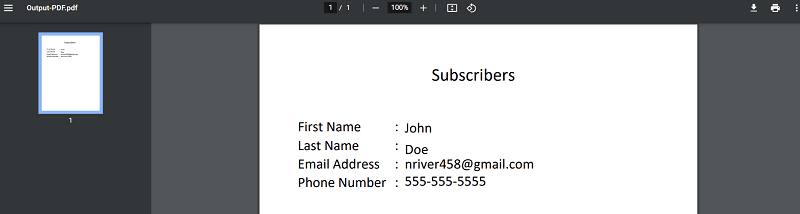
In this tutorial, you’ve learned how to insert data from Mailchimp into a PDF using PDF.co and Zapier.
Related Tutorials

Barcode Generation API - Webinar for Advanced Programmers
Sep 2, 2024·4 Minutes Read
How to Convert Outlook Email to PDF using PDF.co and Make
Sep 9, 2024·6 Minutes Read