You connect your PDF.co account to Zapier by adding your API Key. You can obtain the API Key in your PDF.co dashboard.
Efficient PDF Sharing - Compress PDF with PDF.co and Distribute to SNS Topic with Honeycode & Zapier
14 Minutes Read
Have you ever tried to share a PDF file only to realize that it’s too large to send over email or upload to a website? It can be frustrating to deal with large file sizes that slow down your workflow and create unnecessary delays. Luckily, there are tools available to help you compress your PDF files and reduce their file size. One such tool is PDF.co, which makes it easy to compress your PDFs while maintaining their quality.
But what about distributing your compressed PDF files? This is where Honeycode comes in. Honeycode is a low-code development platform that can help you automate various tasks, including sending your compressed PDFs to an SNS topic for distribution. With Honeycode, you can easily set up a workflow to send your PDFs to the appropriate recipients or channels.
And if you want to take things a step further and automate the entire process, you can use Zapier to connect PDF.co, Honeycode, and your preferred file-sharing app together. Zapier is an integration platform that allows you to connect different apps and automate workflows between them. With Zapier, you can create a Zap (an automated workflow) that connects PDF.co to Honeycode to your file-sharing app and distributes your compressed PDF files automatically.
In this tutorial, we’ll guide you through the steps of compressing your PDF files with PDF.co, sending them to an SNS topic with Honeycode, and automating the process with Zapier. Whether you’re a business owner, a freelancer, or just someone who needs to share large PDF files regularly, this tutorial will help you streamline your workflow and save time. Say goodbye to the frustration of dealing with large file sizes and hello to a more efficient and effective way of sharing your documents. Let’s get started!
We will use a sample large PDF file and demonstrate how to use PDF.co to compress the file and reduce its size. Once compressed, we will use Honeycode to send the file to an SNS topic for distribution.
Step 1: Create a Zap
- To create a Zap! First, log into your Zapier account and click on the Create Zap button at the top left corner of your dashboard.
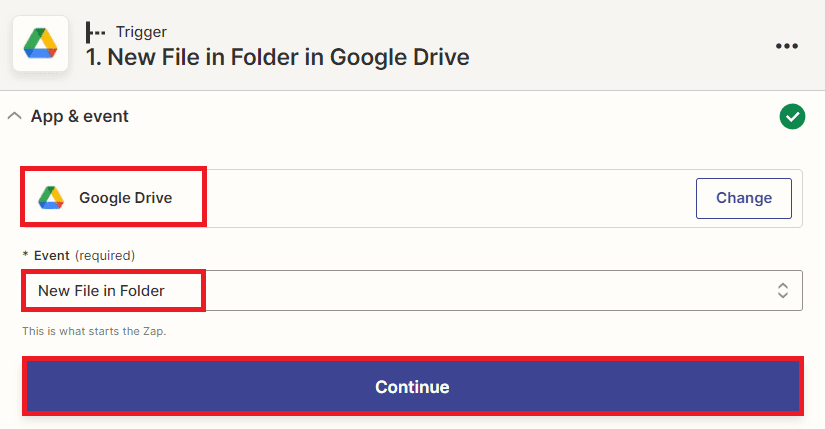
Step 2: Add Google Drive App
- Next, we will add the Google Drive app to our workflow and choose the “New File in Folder” trigger. This will ensure that our workflow is triggered every time a new file is added to a specific folder in Google Drive.
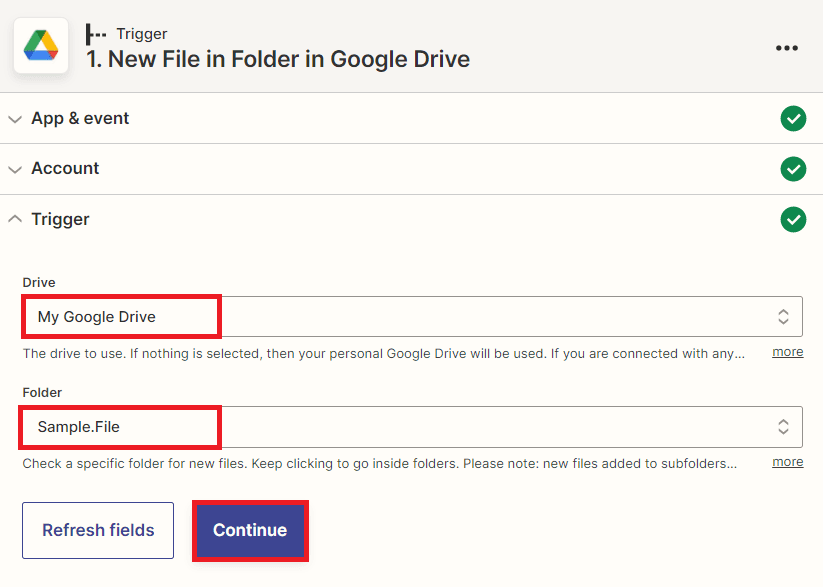
Step 3: Setup Trigger
- To set up the trigger, select “My Google Drive” in the “Drive” field.
- Then, choose the specific folder where the file is stored in the “Folder” field. This will ensure that our workflow is triggered every time a new file is added to the selected folder.
After setting up the trigger, it’s important to test it to ensure it’s working properly.
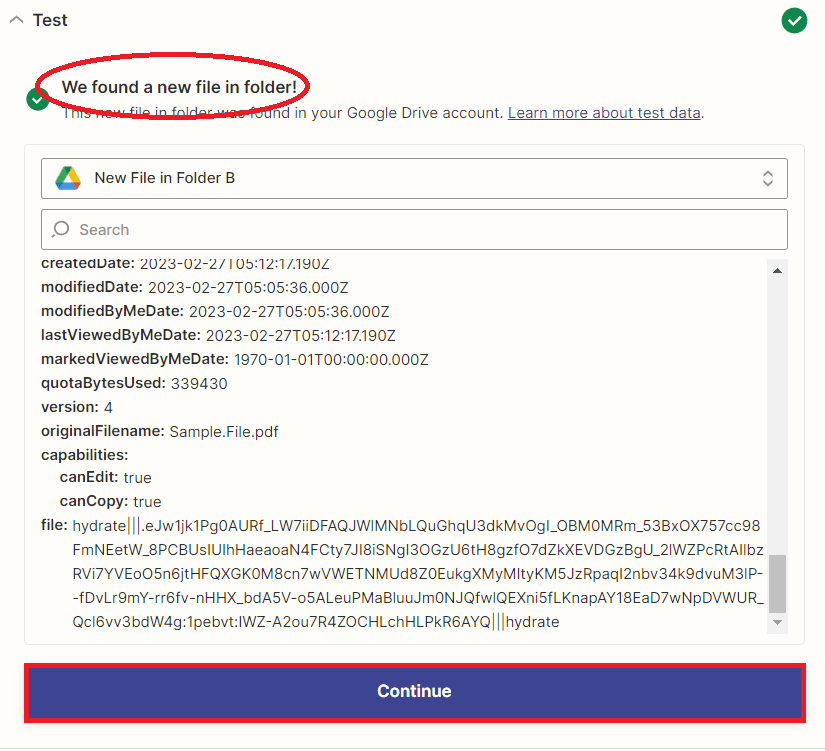
Step 4: Test Trigger Result
- Great! The test trigger was successful the workflow was able to fetch the file from the selected folder in Google Drive. Now, the file can be passed through PDFco to compress its size and then distributed to the designated SNS topic using Honeycode. This streamlined process can greatly simplify and speed up the sharing of PDF files, saving you valuable time and resources.
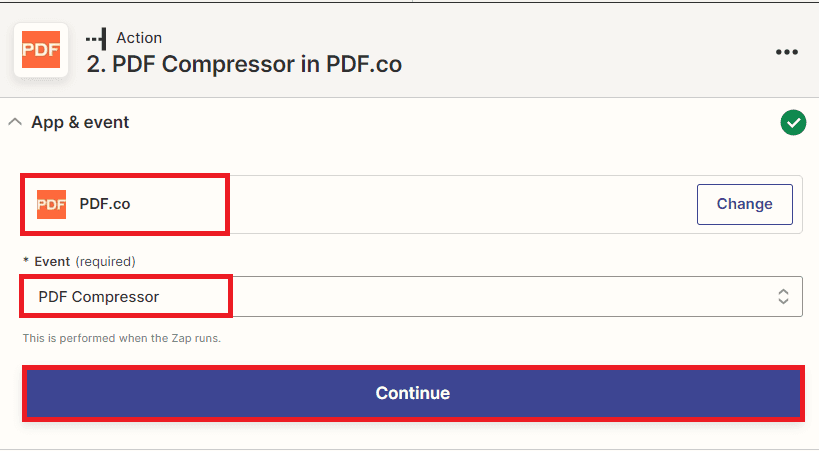
Step 5: Add PDF.co App
- In the next step, we will add the PDF.co app to our workflow and choose the “PDF Compressor” functionality to compress our PDF file and reduce its size. This will ensure that our PDF file is optimized for sharing and distribution.
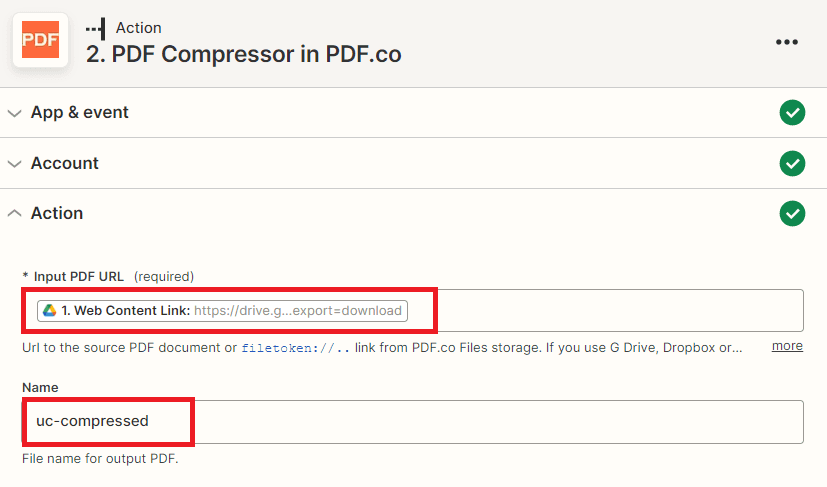
Step 6: Setup PDF.co Configuration
- In the “Input PDF URL” field, choose the “Web Content Link” option from Google Drive to select the file you want to compress.
- In the “Name” field, enter the desired name of the compressed PDF file. This will ensure that the compressed PDF is named appropriately and easy to identify.
Once you have set up the PDF.co configuration, it’s important to test the action to ensure that it can successfully compress the PDF file and reduce its file size.
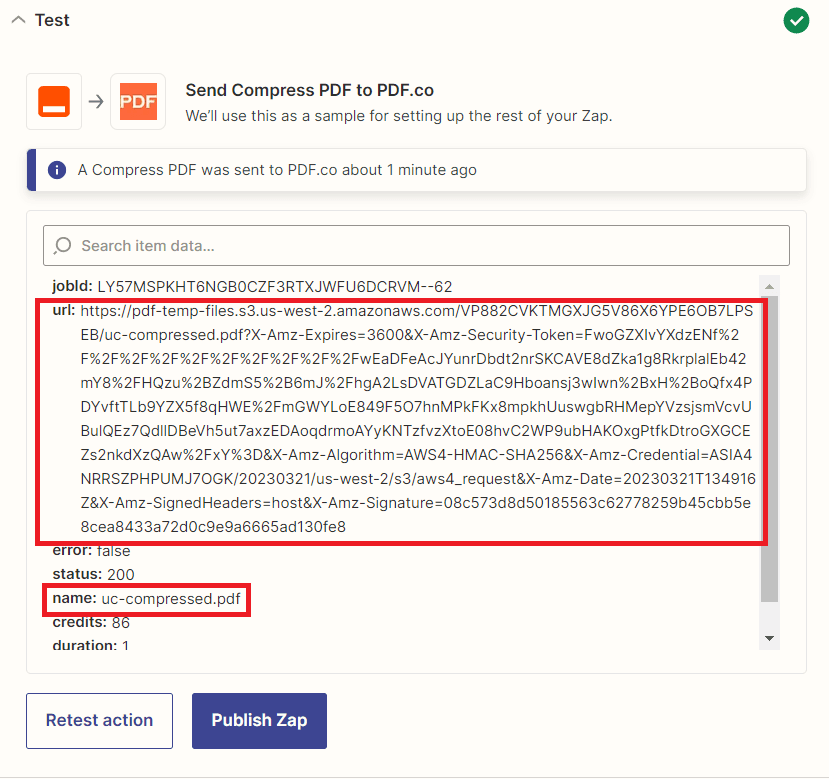
Step 7: PDF.co Test Result
- Fantastic! PDF.co was able to compress the PDF file and reduce its file size as expected. Now, we can move on to the next step of the workflow which is adding the Honeycode app. This streamlined process can save valuable time and resources, as it reduces the time needed to manually compress and distribute PDF files.
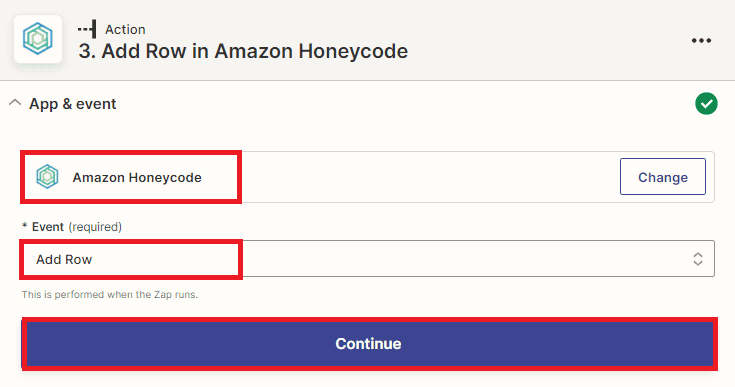
Step 8: Add Honeycode App
- In the next step, we will add the Honeycode app to our workflow and use the “Add Row” option to add a new row in a workbook table. This will enable us to send the compressed PDF to an SNS topic for distribution, ensuring that the right people have access to the file in a timely and efficient manner.
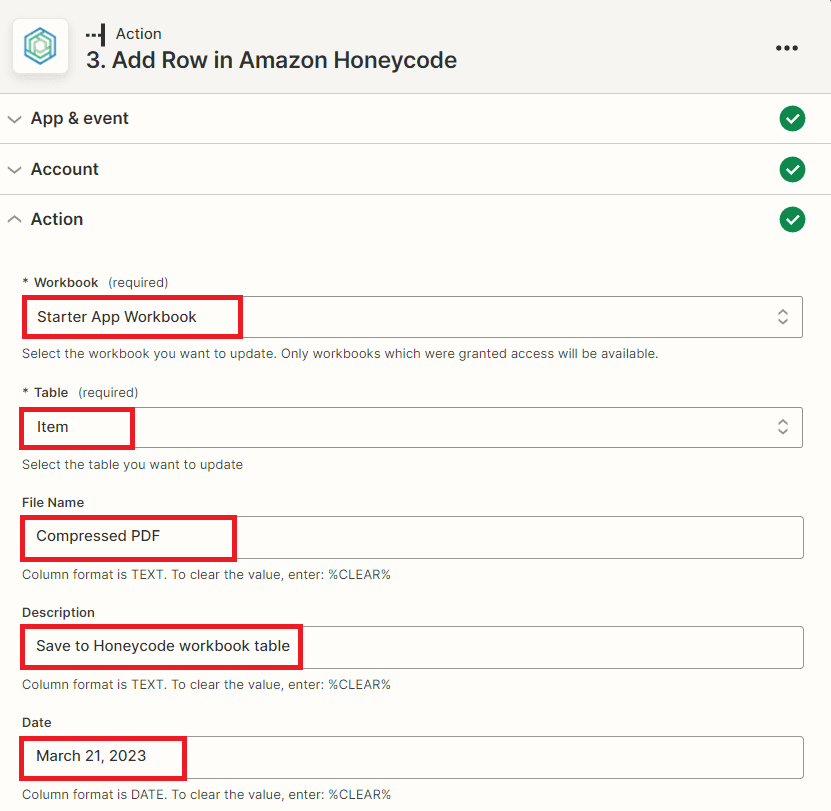
Step 9: Setup Honeycode Configuration
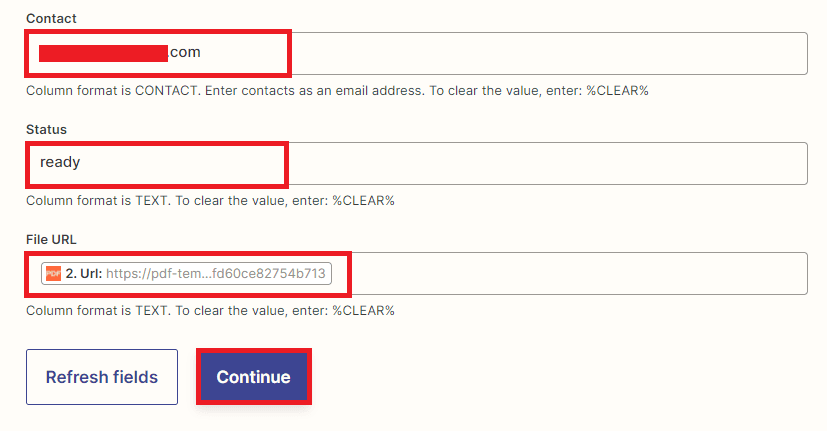
- First, select the desired workbook where you want to update the table in the Workbook field.
- Next, choose the specific table where you want to update the data in the Table field.
- Finally, when creating fields in your Honeycode workbook, you have several options to choose from. However, the most important field to create is the one that will store the compressed PDF URL.
After configuring the Honeycode app, it’s important to test the action to ensure that it can successfully store the compressed PDF file in a specific table that will be used for SNS topic distribution.
Step 10: Honeycode Test Result
- Excellent! The Honeycode app was successfully able to store the compressed PDF in the designated table. To proceed with the distribution of the file, we need to add another app that will enable us to send the compressed PDF file to an SNS topic.

Step 11: Add Amazon SNS
- To send the compressed PDF file to an SNS topic for distribution, we’ll need to add the Amazon SNS app and select the ‘Create Message‘ option. This will enable us to create a message that includes the compressed PDF as an attachment and send it directly to the designated SNS topic. By following this step, we’ll be able to ensure that the file is distributed quickly and efficiently to all those who need access to it.

Step 12: Setup Amazon SNS
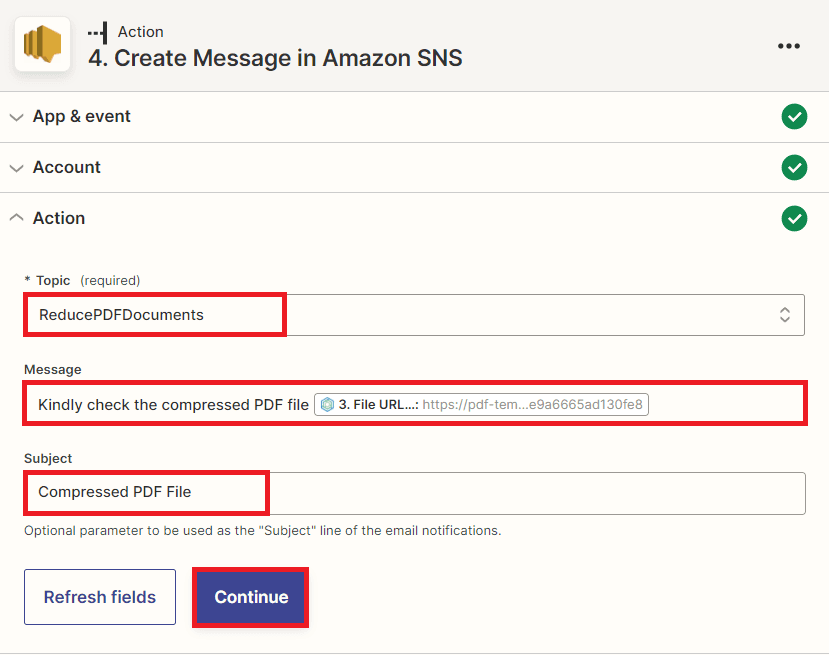
- In order to configure the Amazon SNS app, we’ll need to input the necessary details. First, we’ll need to specify the name of the topic that has access to SNS in the ‘Topic‘ field.
- Next, we’ll need to compose a message that includes the compressed PDF file stored in the Honeycode table, and enter it in the ‘Message‘ field.
- Lastly, we’ll need to enter the subject of the topic in the ‘Subject‘ field. By following these steps, we can ensure that the compressed PDF is sent to the designated SNS topic along with a message that provides context and information to the recipient.
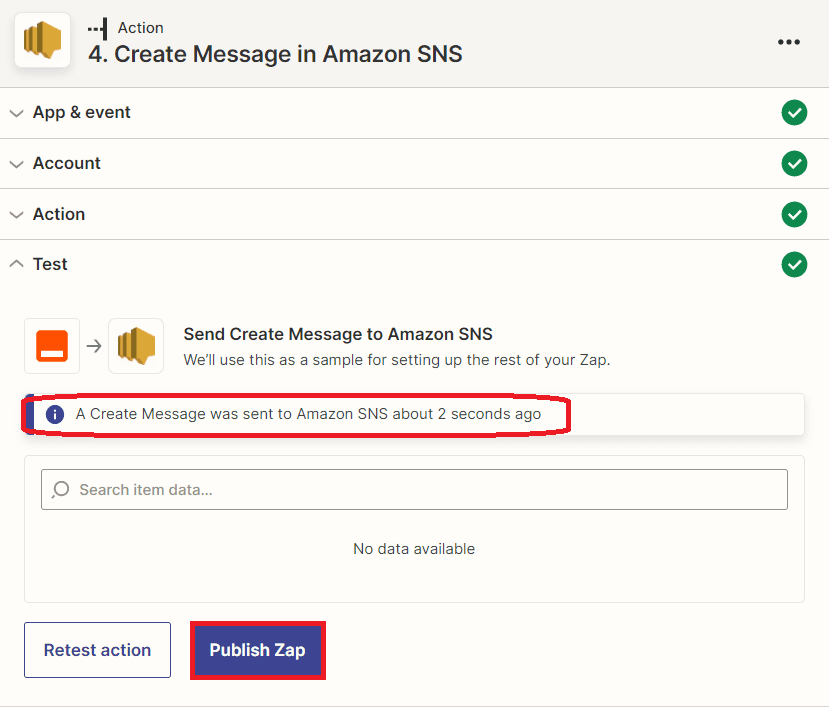
Let’s now proceed to test the action of sending the SNS topic and ensure that it is properly distributed to the intended recipient.
Step 13: SNS Test Result
- Congratulations! Since the SNS topic was successfully sent to the intended recipient, you can now turn on the Zap to automate the process of sending the topic whenever a new file is added.
Step 14: Sent SNS Topic
- Here’s the SNS topic containing the compressed PDF URL that was successfully sent to the intended recipient.

In this tutorial, you have learned how to compress a PDF document using PDF.co to reduce its file size, and how to send the compressed PDF to an SNS topic using Honeycode for distribution to the intended recipient(s). This process can be automated by turning on a Zap that triggers the sending of the compressed PDF whenever a new file is added.
It can take away from this topic the importance of managing and reducing file sizes, especially when sending them via email or other forms of digital communication. By utilizing tools like PDF.co and Honeycode, it can efficiently compress and distribute PDF files without sacrificing quality or speed. Additionally, by automating the process with a Zap, you can save time and ensure that your files are always sent in a timely and consistent manner.
Related Tutorials
