Automating PDF Invoice Generation and Email Attachments using Caspio Data with PDF.co and Zapier
Generating PDF invoices can be time-consuming and repetitive for businesses of all sizes. It involves pulling data from various sources, organizing it in a specific format, and creating a professional-looking invoice that accurately reflects the products or services provided. Doing this manually can lead to errors and inconsistencies, and it can take up valuable time that could be spent on other business-critical tasks.
With these tools, businesses can extract data from their Caspio database, generate professional-looking PDF invoices, and automatically send them as an attachment using PDF.co and Zapier. This automated process saves time and effort and ensures accuracy and consistency in the invoicing process.
In this tutorial. we will provide a step-by-step guide on how to automate PDF invoice generation and email attachment process using Caspio, PDF.co, and Zapier. So without any further ado, let’s get started!
Kindly follow the simple step-by-step guide below to generate a PDF invoice from Caspio data and send it as an email attachment.
IN THIS TUTORIAL
Step 1: Create a Zap
- To get started with automating the PDF invoice generation and email attachment process, the first step is to log in to your Zapier account and create a new Zap.
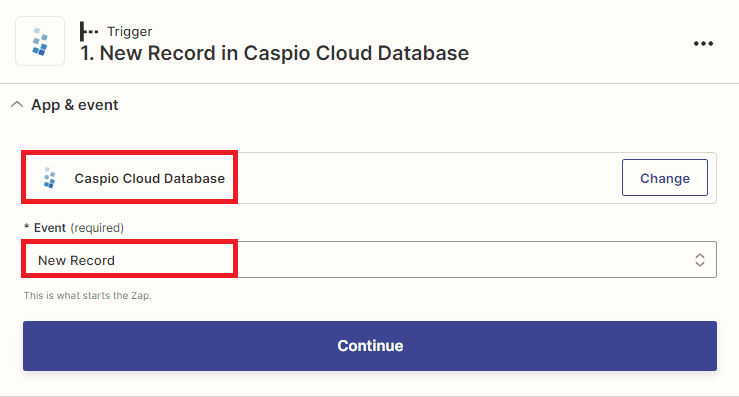
Step 2: Select Caspio App
- Next, search and select the Caspio app within Zapier. Once you have selected the Caspio app, you can choose the New Record option, which will trigger the automation when a new record is added to your chosen table.
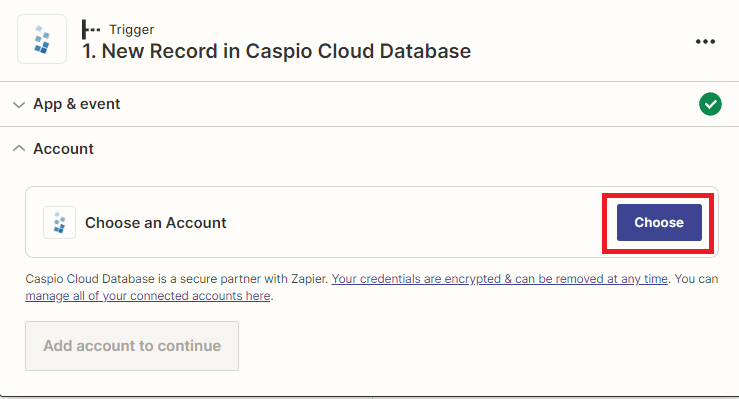
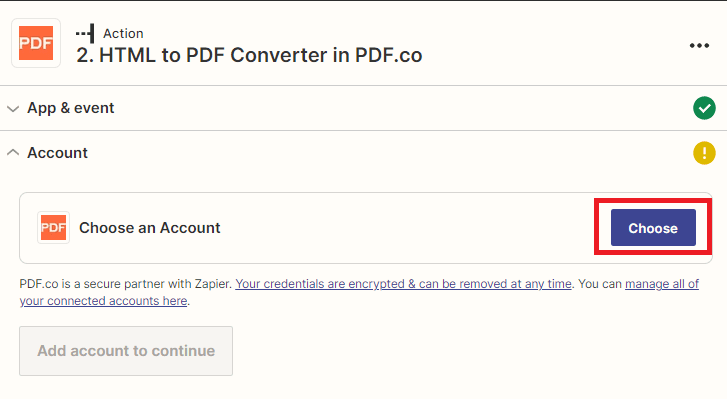
Step 3: Connect Caspio Account
- Now, connect your Caspio account to Zapier. This will allow Zapier to access and extract the necessary data from your Caspio database.
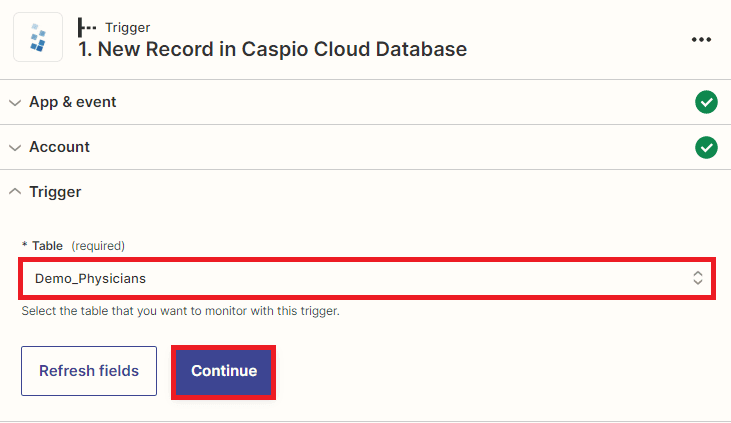
Step 4: Setup Caspio Configuration
- To complete the setup of the New Record trigger in Caspio, you will need to select the specific table that you want to monitor with this trigger and extract the necessary data from your Caspio database.
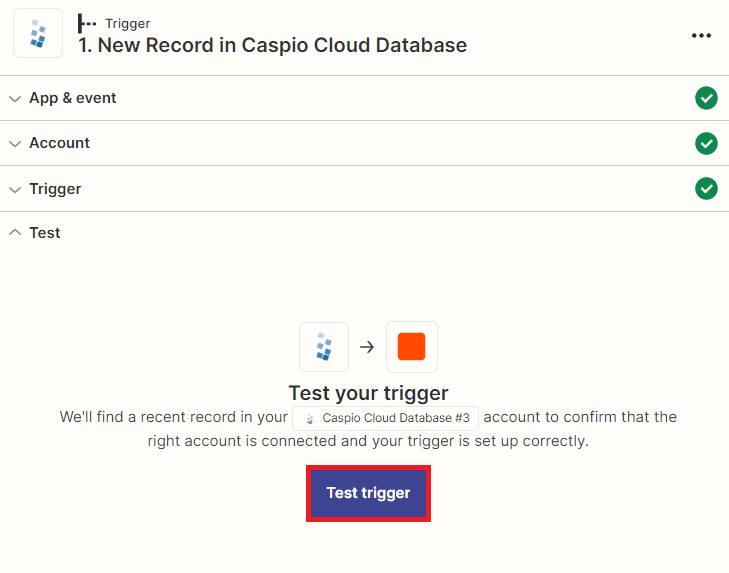
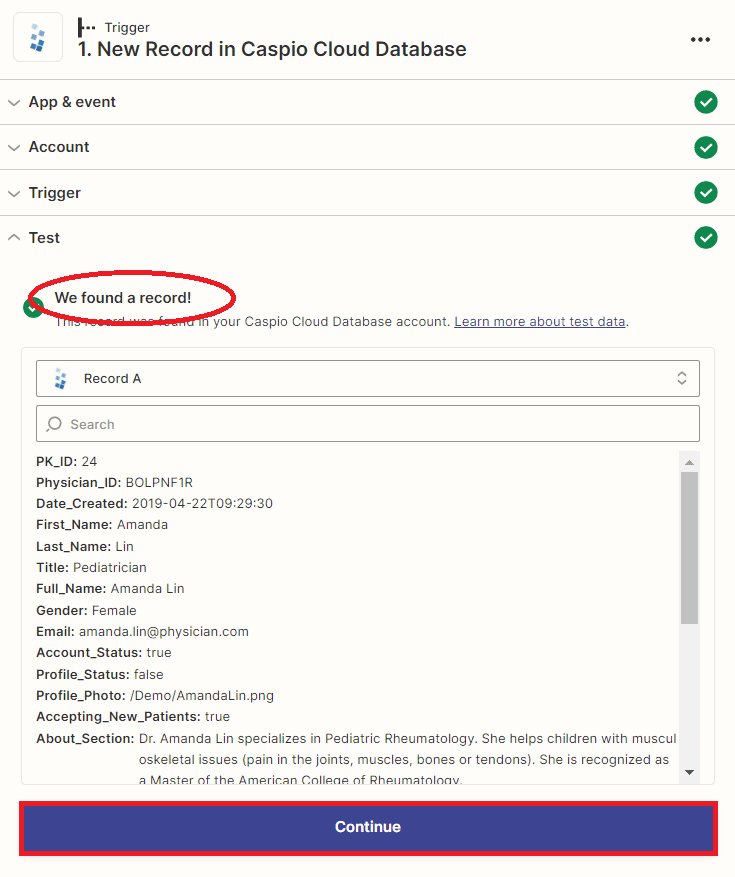
Step 5: Test Trigger
- Let’s proceed with testing the trigger to fetch data from Caspio and then utilize it to generate a PDF invoice.
Step 6: Test Trigger Result
- Great! The test trigger has been successful and has extracted the necessary data from Caspio. Now, we can proceed to incorporate another application and use the retrieved Caspio data to generate a PDF invoice.
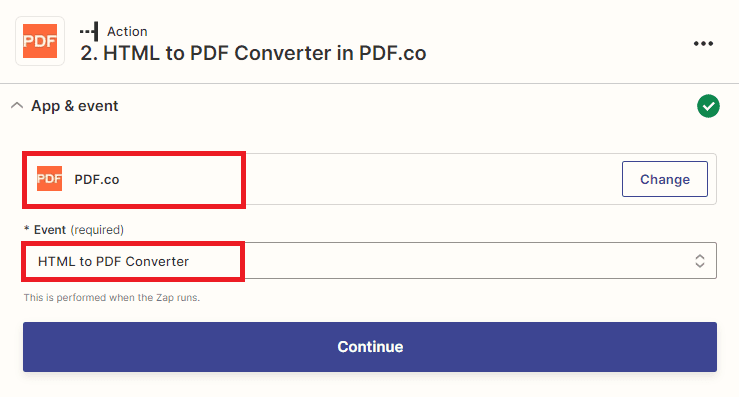
Step 7: Add PDF.co App
- For this next step, we need to add the PDF.co app and select the HTML to PDF Converter option. This will enable us to utilize both the HTML code and the retrieved Caspio data to generate a PDF invoice.
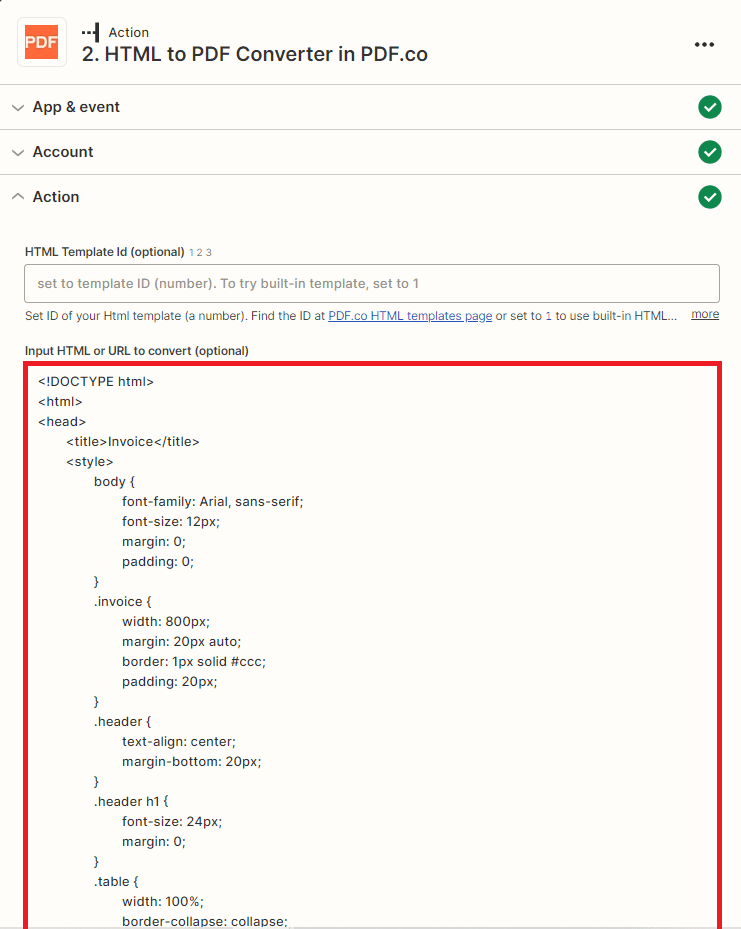
Step 9: Setup PDF.co Configuration
Let’s set up the PDF.co configuration.
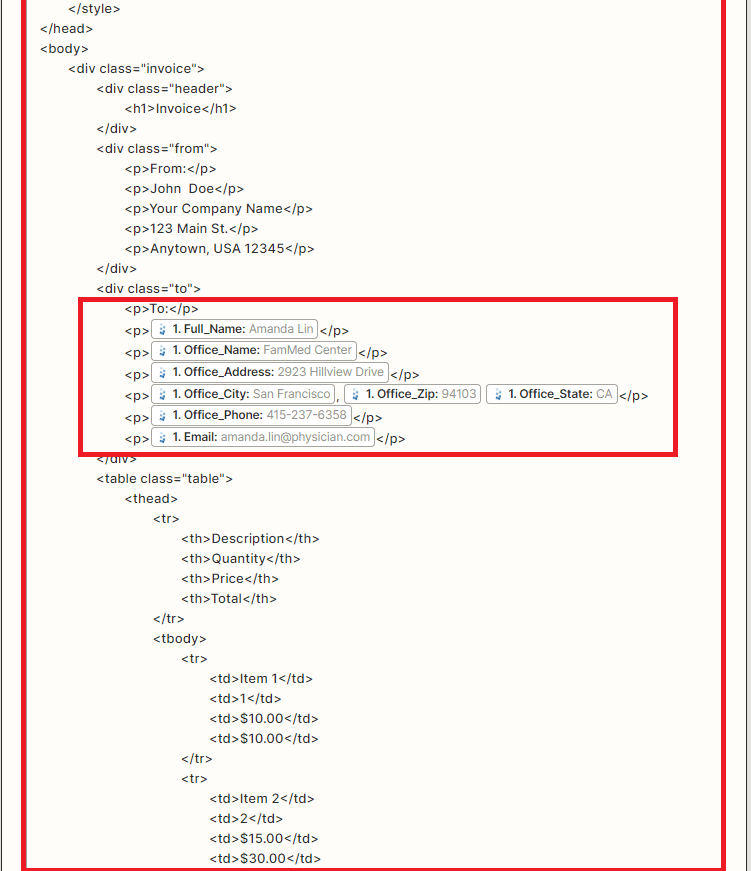
- Input the HTML code and the retrieved data from Caspio into the HTML to PDF Converter.
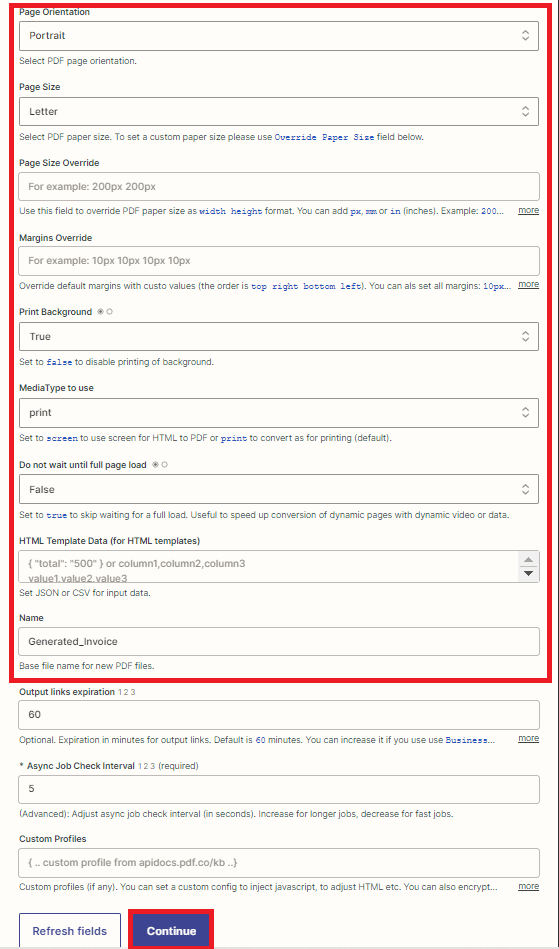
- Customize the HTML to PDF converter parameters as needed, such as page orientation, page size, margins, print background,, and media type. For this demo, we will use the default values.
- Specify a name for the generated PDF invoice.
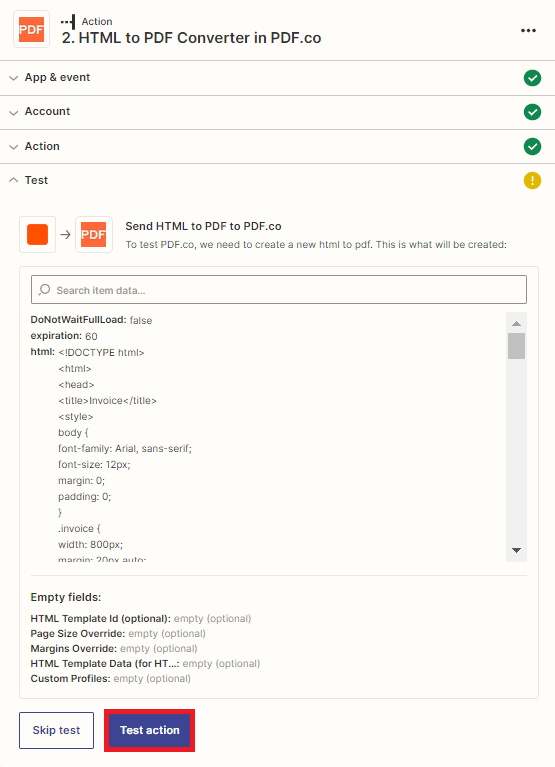
Step 10: Test Action
- We can now proceed with testing the action by sending a request to PDF.co. This request will generate a PDF invoice using both the HTML code and the retrieved Caspio data.
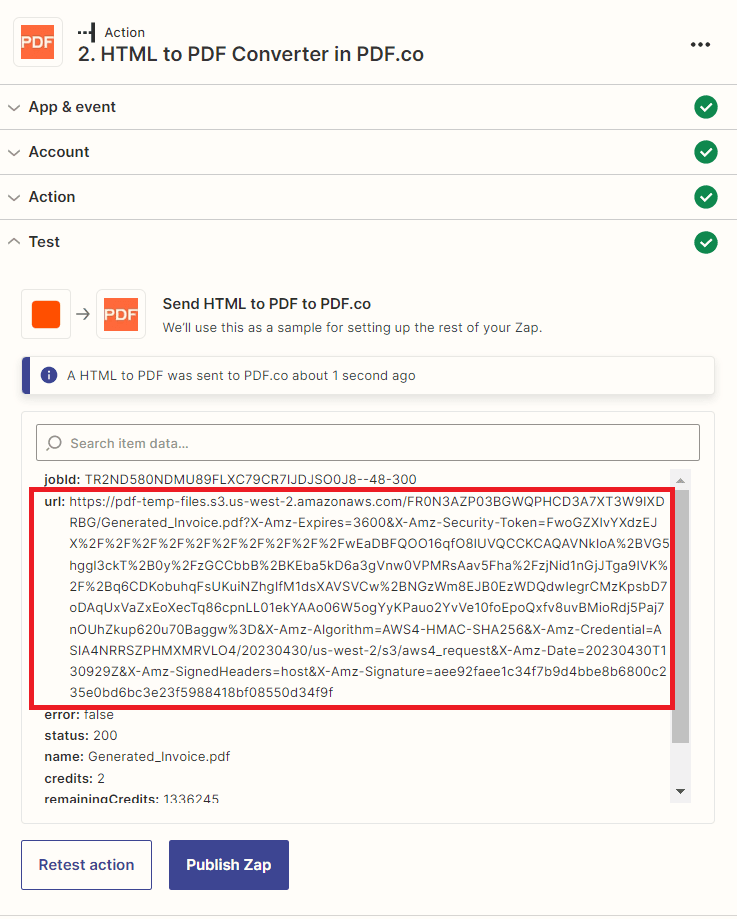
Step 11: Test Result
- Awesome! The test results have shown that the action was successful, and a temporary URL for the generated PDF invoice has been returned. To view the output, please copy the URL and paste it into your browser.
Step 12: Generated PDF Invoice
- Here is the generated PDF invoice with Caspio data.

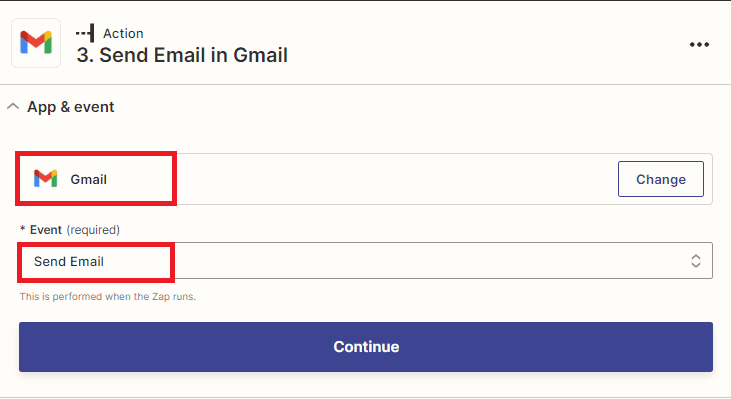
Step 13: Add Gmail App
- In this step, we will utilize the Gmail app and then select the Send Email option to attach the generated PDF invoice and send it via email.
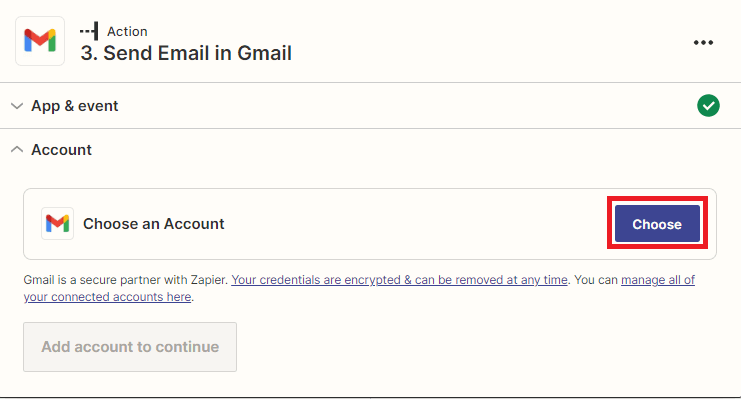
Step 14: Connect Gmail Account
- Now, you will need to connect your Gmail account to Zapier to authorize access to sending emails through Gmail.
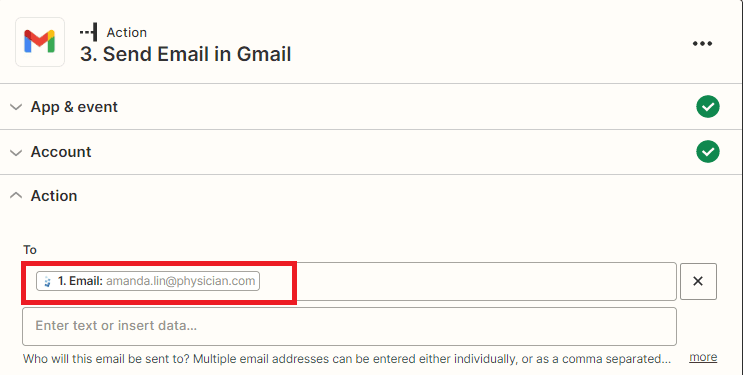
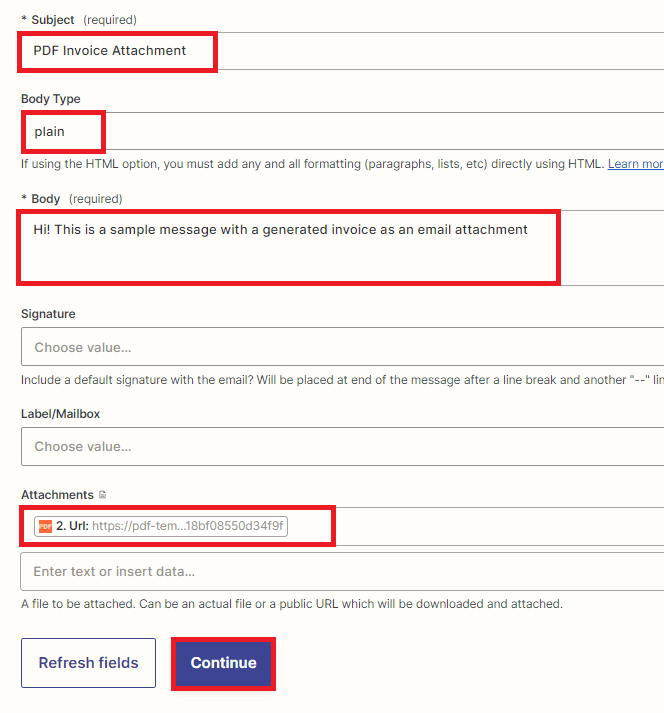
Step 15: Setup Gmail Configuration
Let’s set up the Gmail configuration.
- Enter the email address of the recipient who will receive the PDF invoice attachment.
- Enter your own email address in the “From” field.
- Add a subject line to your email.
- Select “Plain” as the body type for your email.
- Add your desired message to the body of your email.
- Lastly, include the URL from the generated PDF invoice output in PDF.co as an attachment to your email.

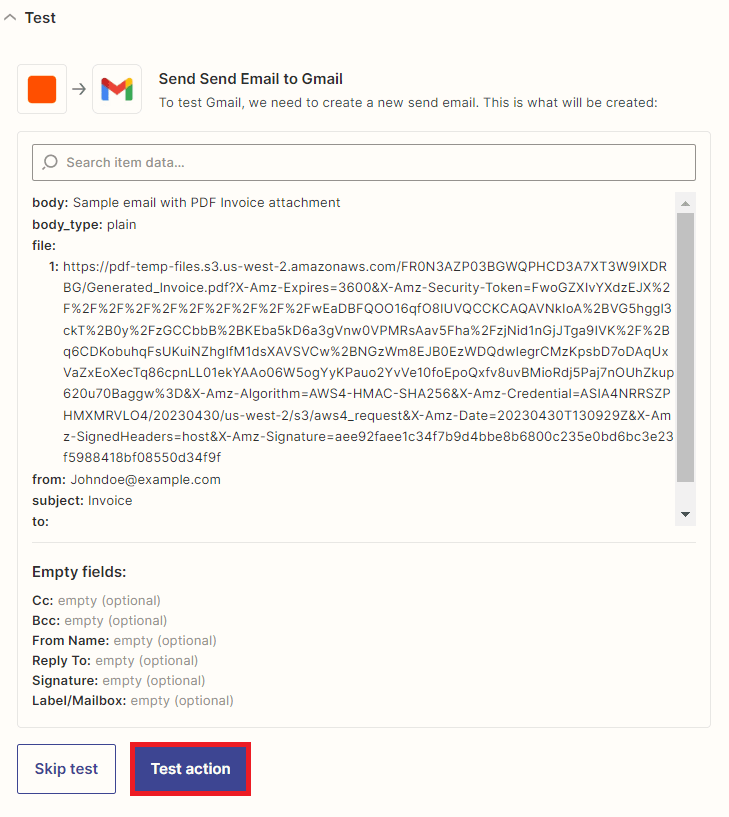
Step 16: Send Gmail Email
- Now it’s time to test the action to ensure that the generated PDF invoice is being sent as an attachment to the email.
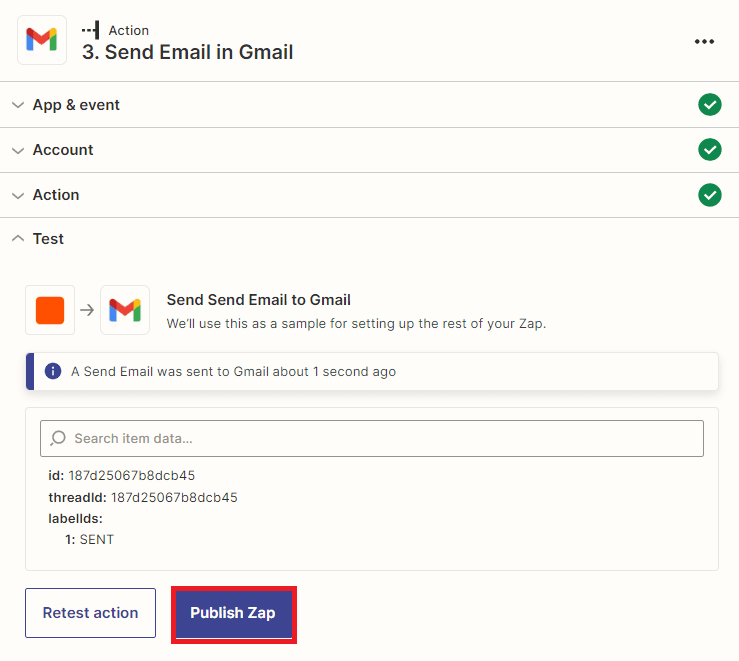
Step 17: Email Result
- Congratulations on successfully sending the email to your recipient with the generated PDF invoice attached.
In this tutorial, you learned how to generate PDF invoices from Caspio data and send them as an attachment to an email using PDF.co and Zapier. You also learned how to use the PDF.co HTML to PDF API to generate PDF invoices. You also learned how to set up Gmail configuration to send emails with an attachment.
Video Guide
Related Tutorials
