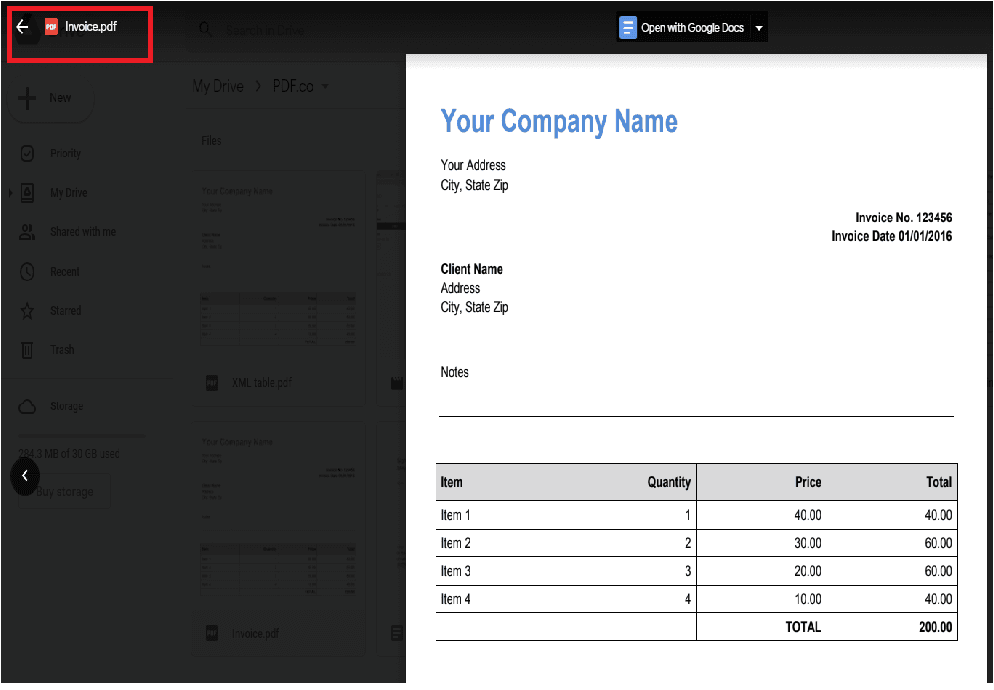
In this tutorial, we will show you how to rename PDF using PDF.co and Make. We prepared a sample document below.
Step 1: Create a Scenario
First, click on the Create a Scenario button at the upper right corner of your dashboard.
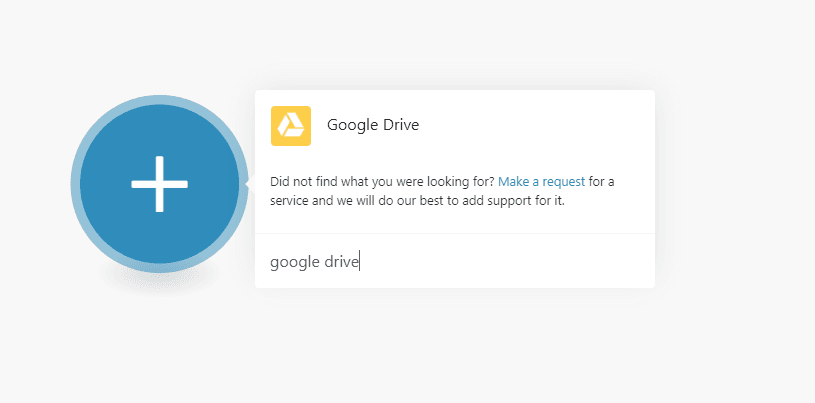
Step 2: Select Google Drive App
Now, let’s add a module and choose the Google Drive app for the App Event.
Step 3: Download a File
Next, select the Download a file to get a file in Google Drive.

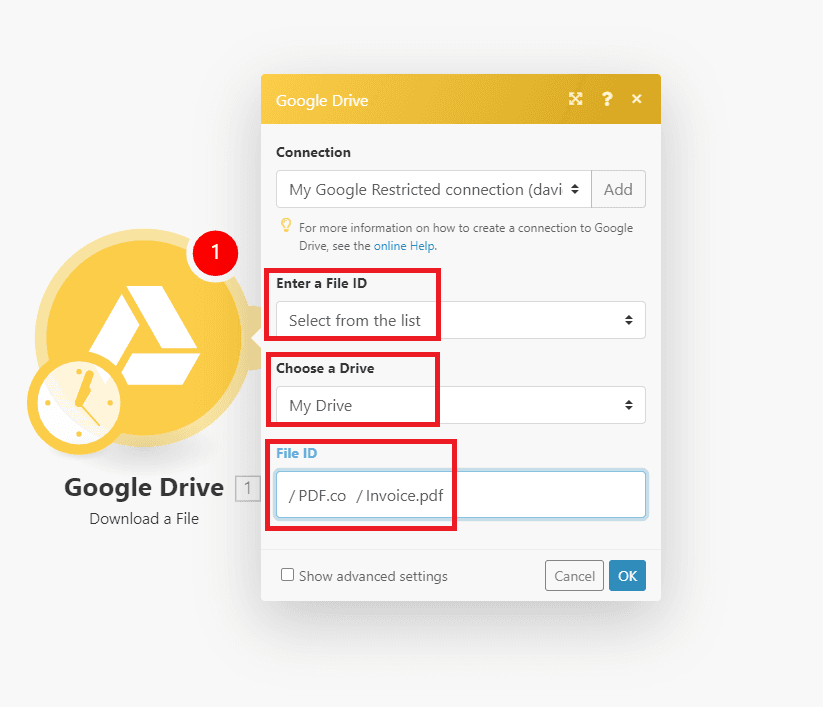
Step 4: Google Drive Connection
Now, let’s connect our Google Drive.
- In the Enter a file ID field, enter the Select from the list to fill out the Google Drive Connection.
- In the Choose a Drive field, input My Drive where the file is located.
- For the File ID field, input the specific folder where the files are restored.
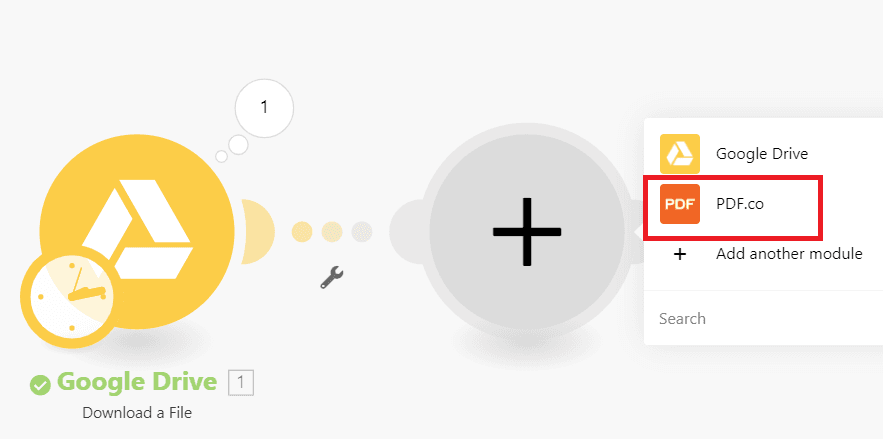
Step 5: Select PDF.co App
Now, let’s add another module and select the PDF.co app.
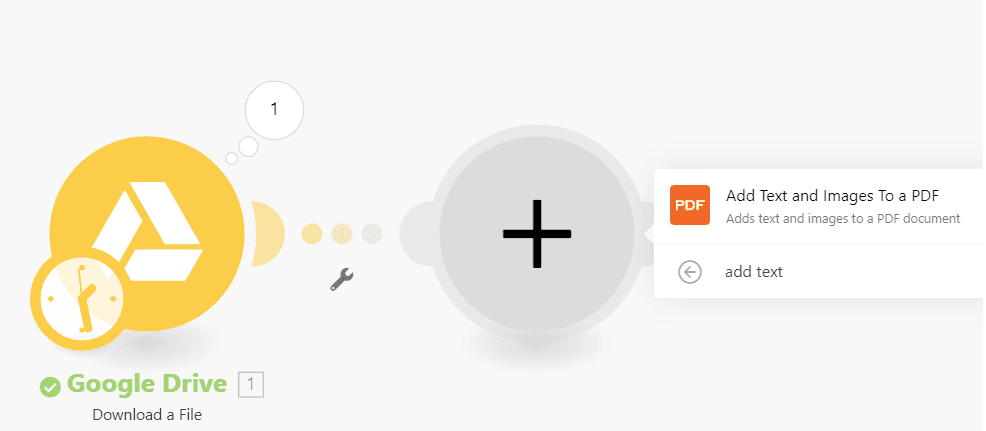
Step 6: Add Text And Images
Under the PDF.co app, select Add text and Images module to fill out the text,
name, and pages fields.
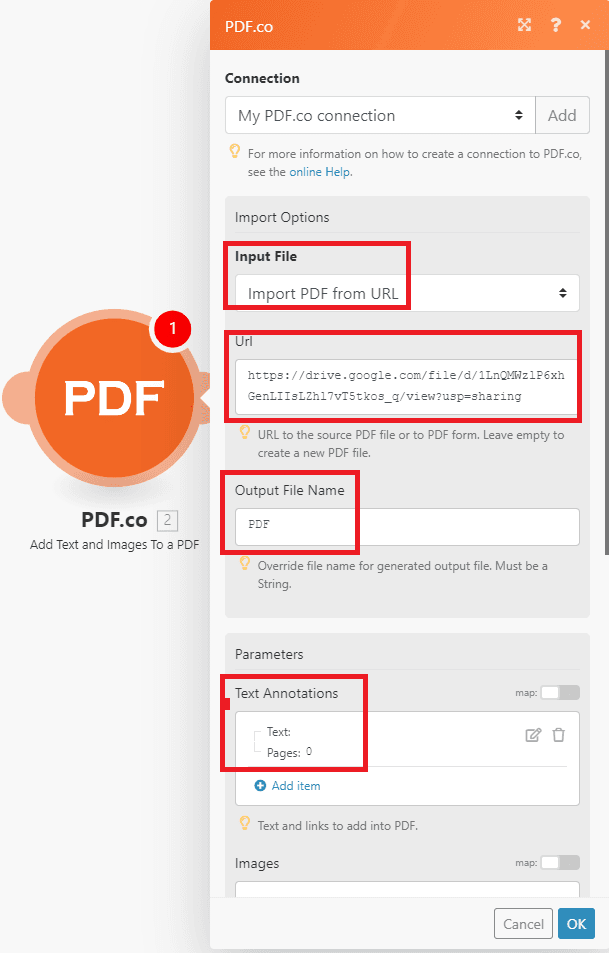
Step 7: PDF.co Configuration
Now, let’s set up the PDF.co configuration.
- Under the Input File field, select Import PDF from URL.
- In the URL field, input the link of the specific file.
- For the Output File Name field, input the new name of your PDF.
- In the Parameters field, under the Text Annotations leave a space for the Text and input 0 for the Pages.
Now, kindly Test and Run your file to make sure there are no errors in our scenario.
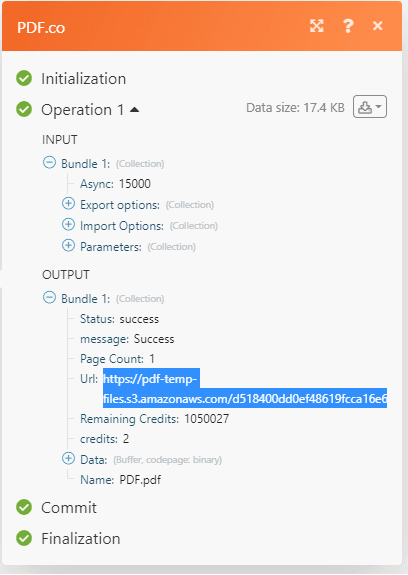
Step 8: Test Result
Excellent! The test runs successfully. You can now use the PDF.co generated URL to view the result.
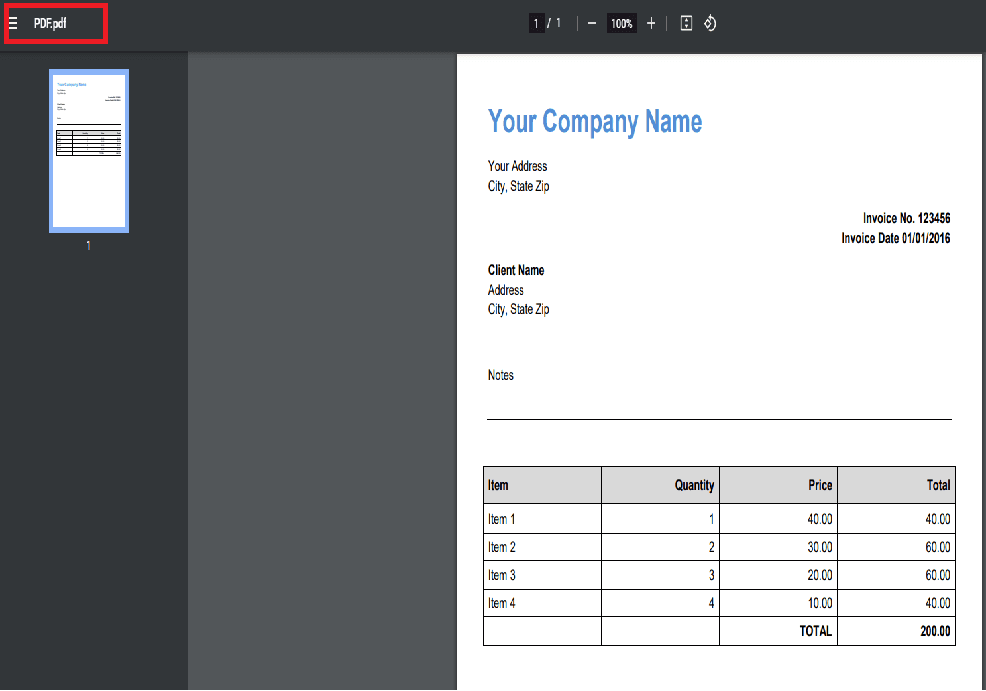
Step 9: Source File Output
Here is the result of the PDF that we successfully renamed.
In this tutorial, you learned how to rename a PDF file using PDF.co and Make. You also learned how to use the Add Text and Images module in changing the name of the PDF using dummy data.
Video Guide
Related Tutorials
