Password-Protect a PDF and Upload It to SharePoint using PDF.co & Make
6 Minutes Read
In this step-by-step tutorial, we’ll guide you through automating the process of adding password protection to a PDF stored in SharePoint and uploading the secured file back to SharePoint using PDF.co and Make.
IN THIS TUTORIAL
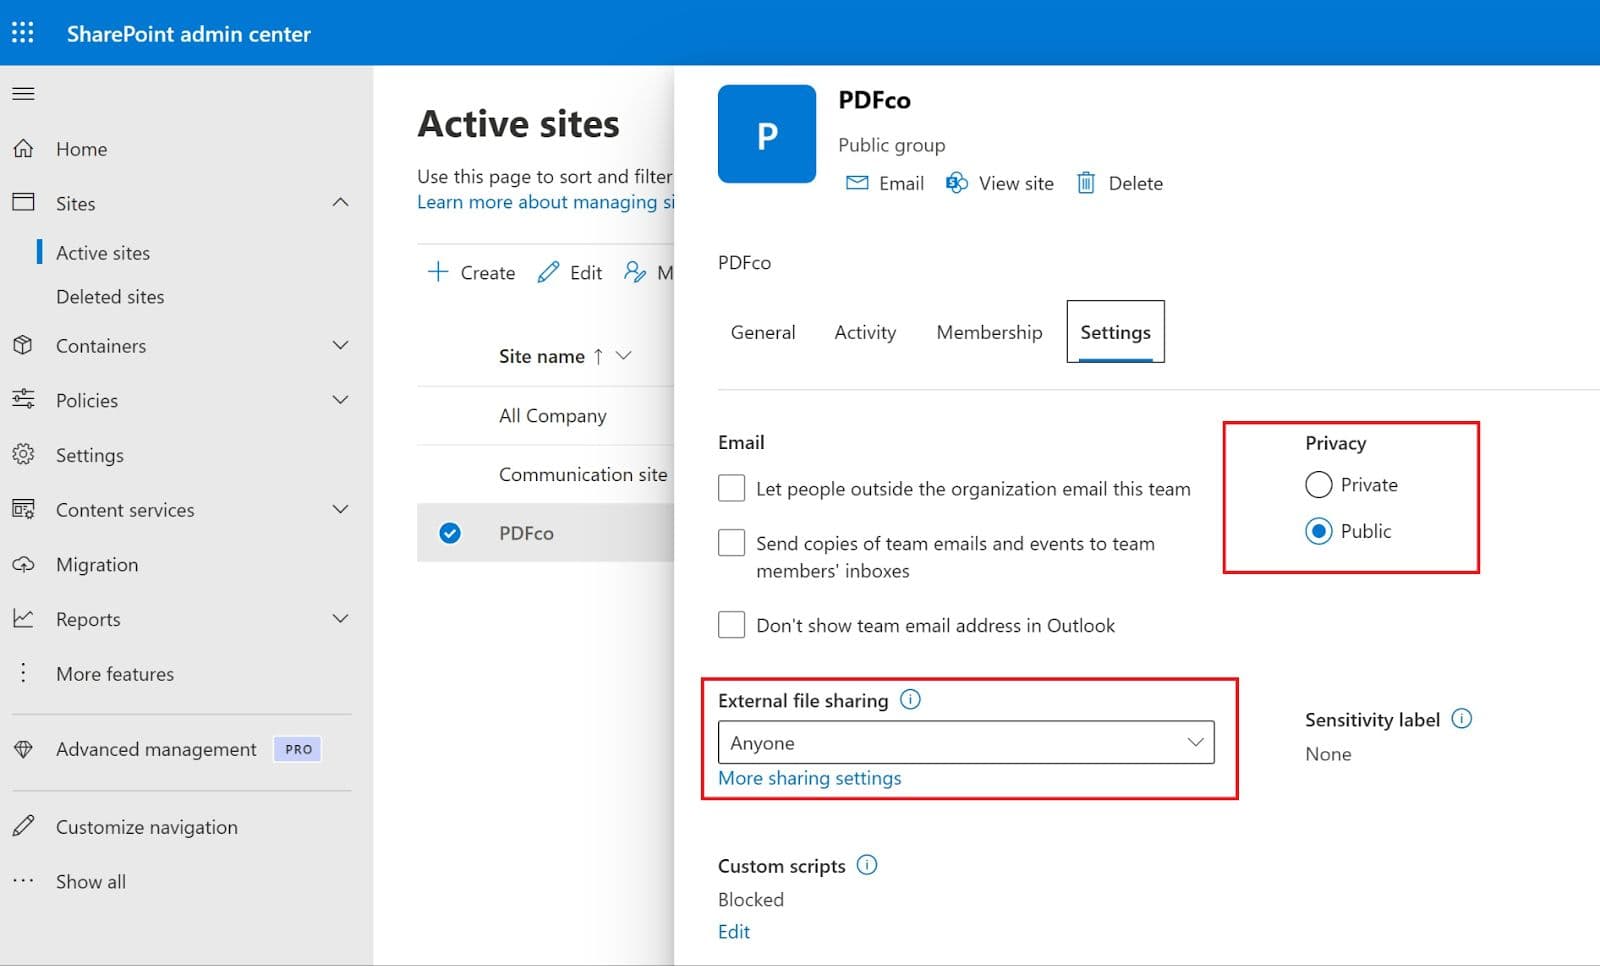
Step 1: Set SharePoint Site Permissions to "Anyone"
Before setting up the automation, ensure your SharePoint site allows external file sharing:
- Open Microsoft Admin Center
- Click Show All → SharePoint → Active Sites
- Select your SharePoint site name
- Click Settings
- Set Privacy to Public
- Set External File Sharing to Anyone
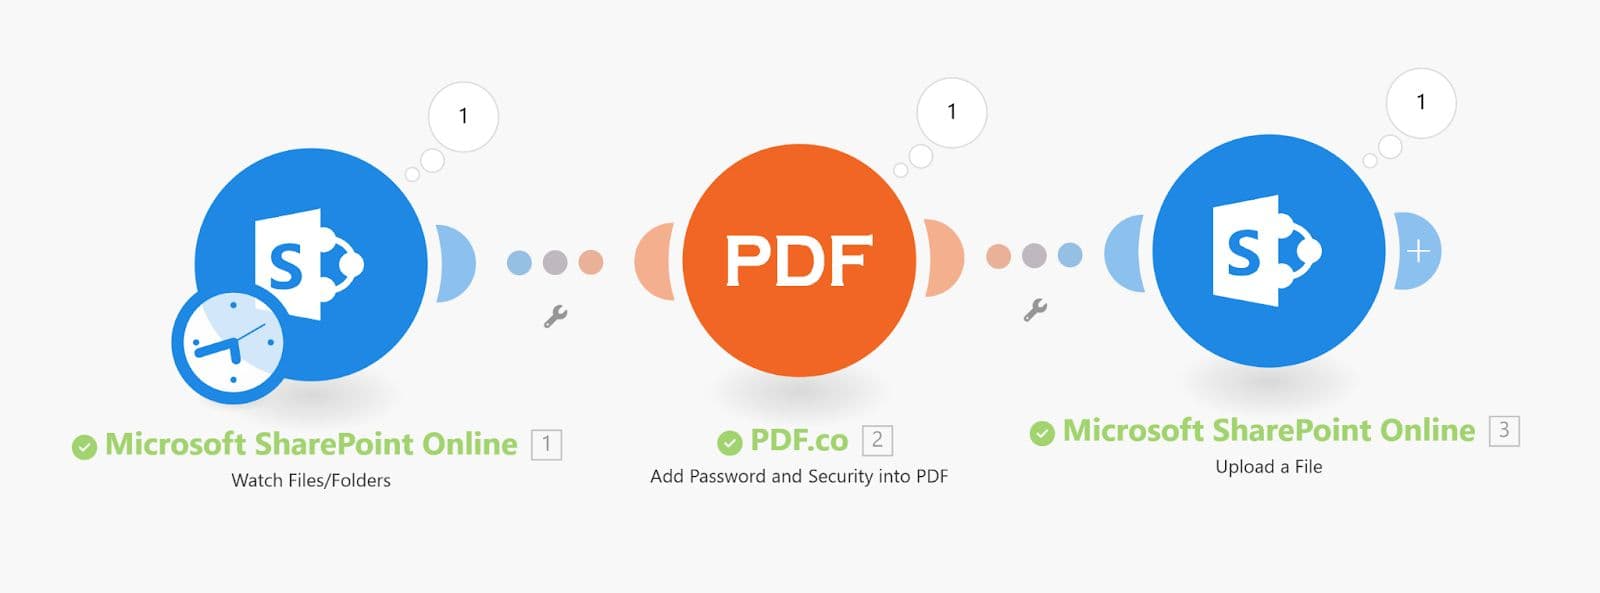
Step 2: Image of the Complete Workflow
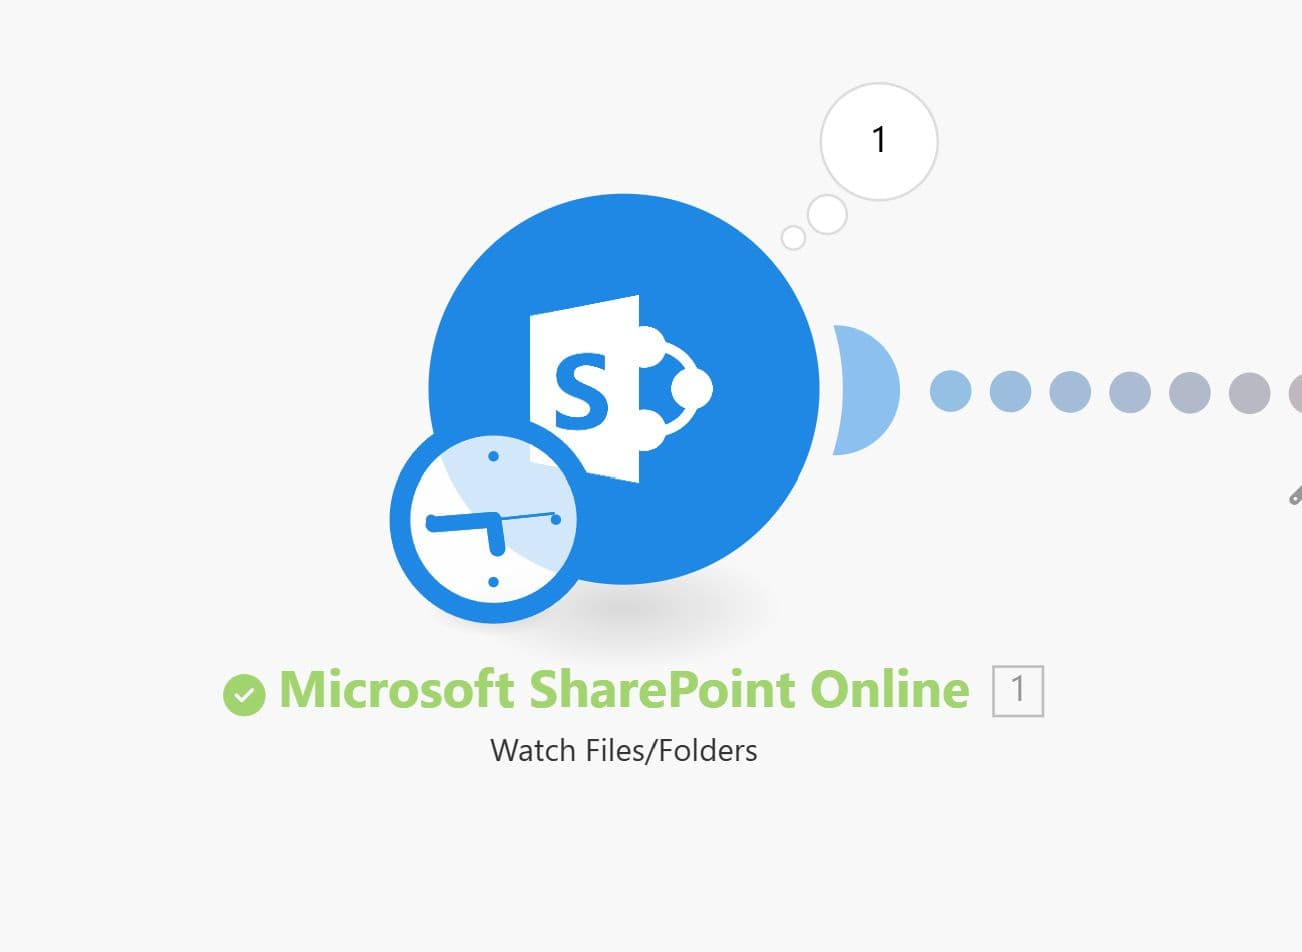
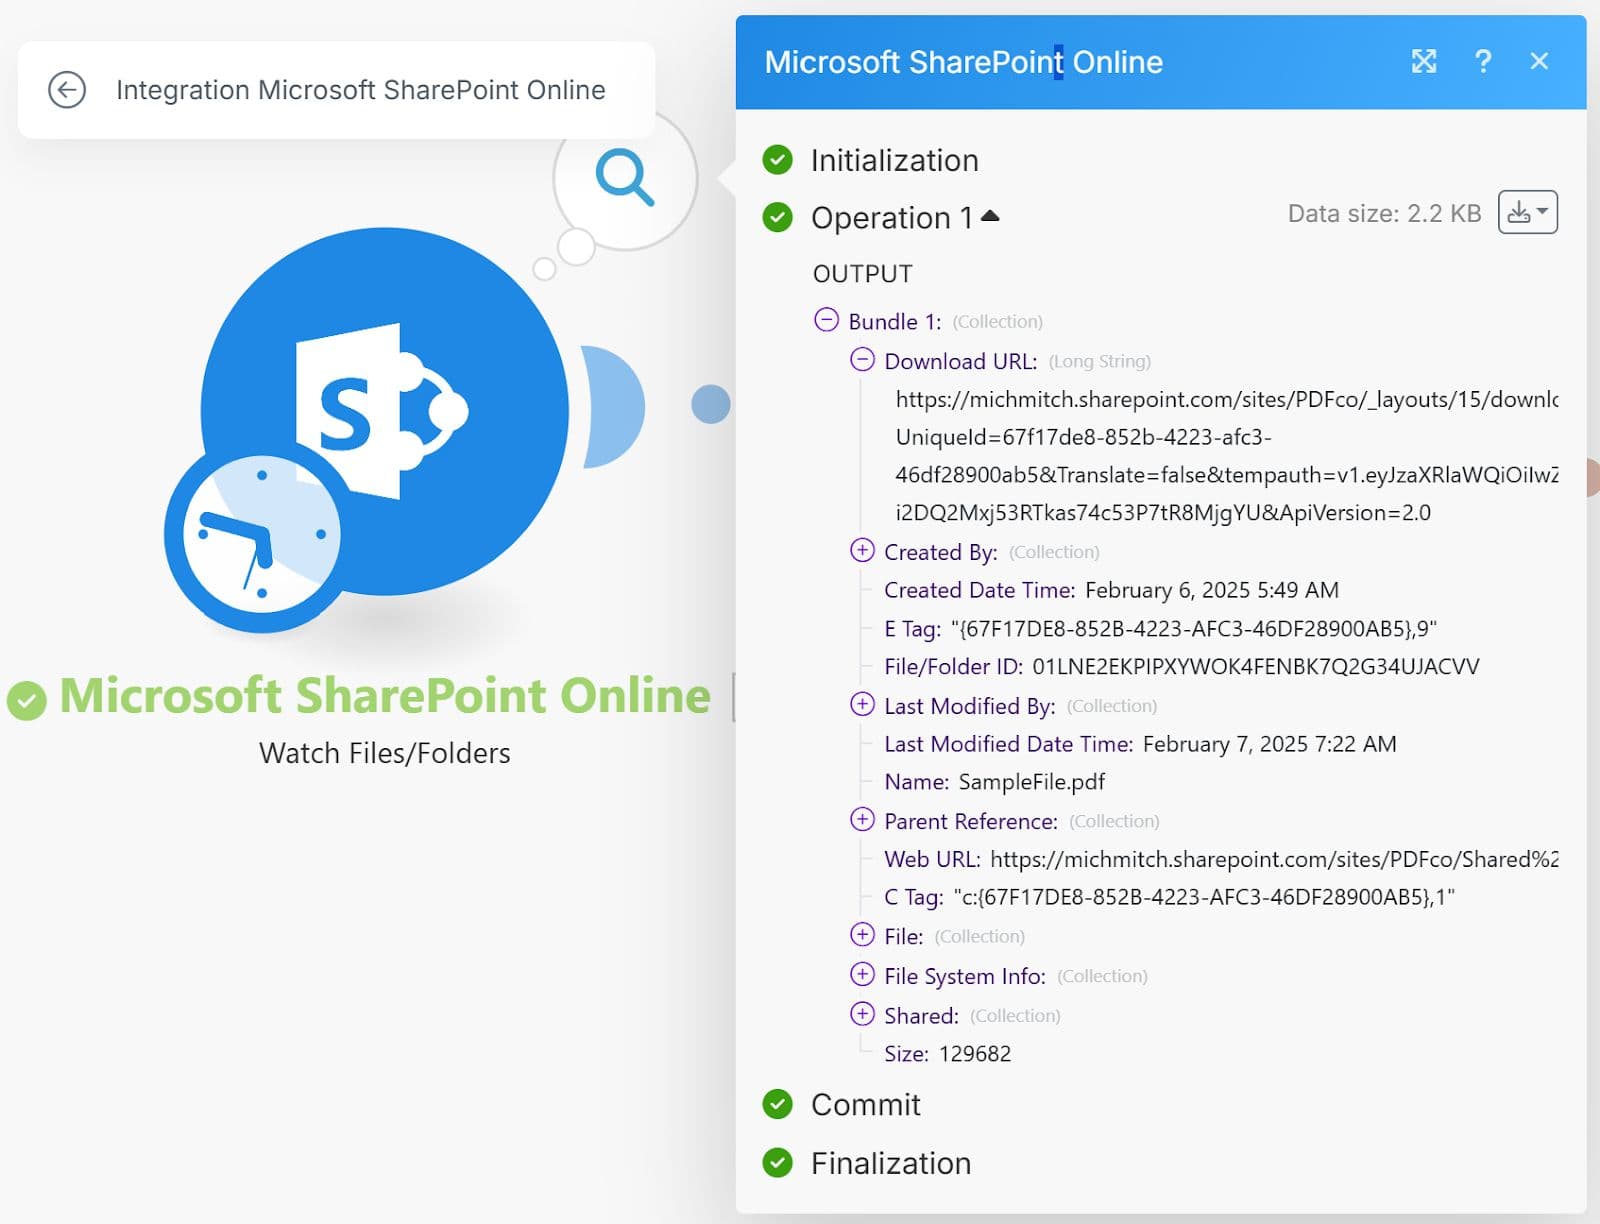
Step 3: Create a New Scenario and Set Up SharePoint’s Watch Files/Folders as Trigger
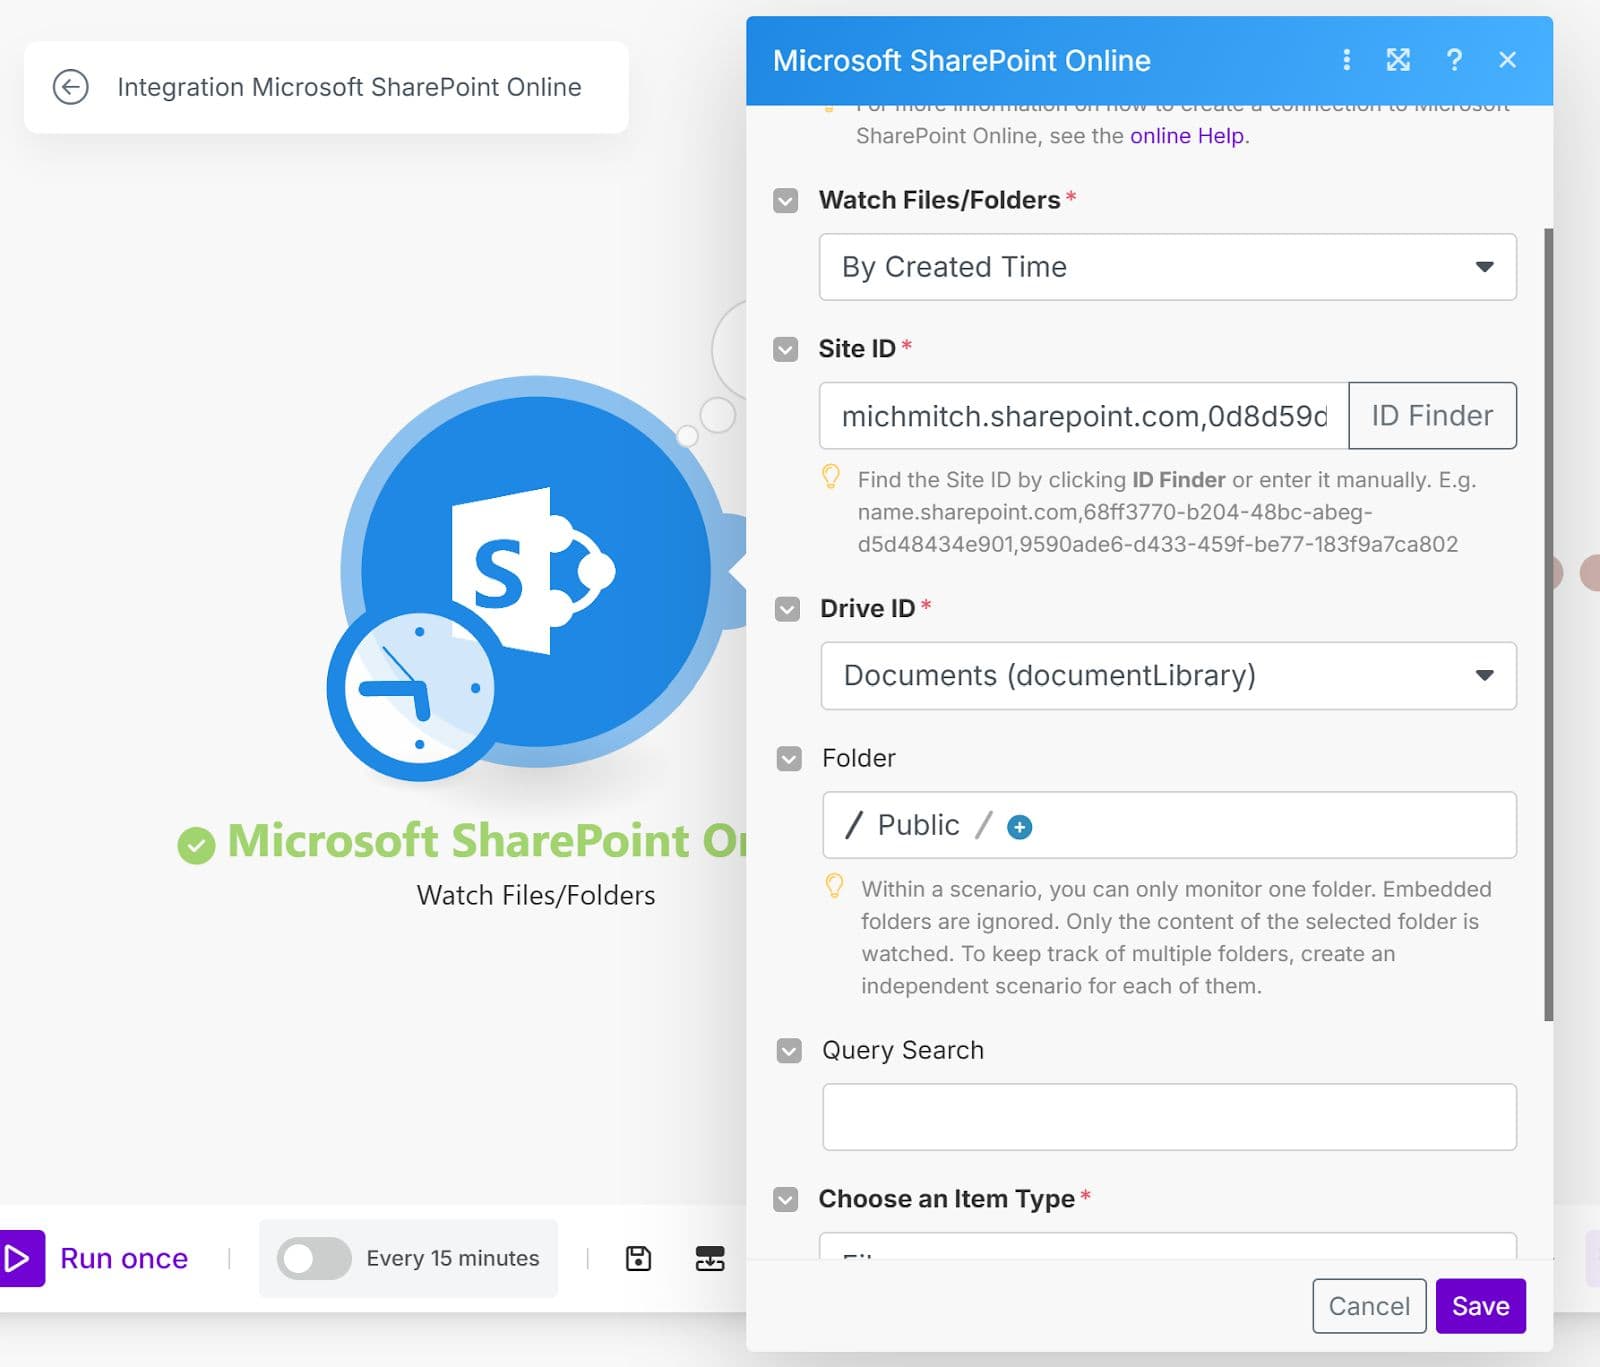
Step 4: Configure the Module with the Site and Folder Details
Step 5: Run the Module to Verify it Returns a File
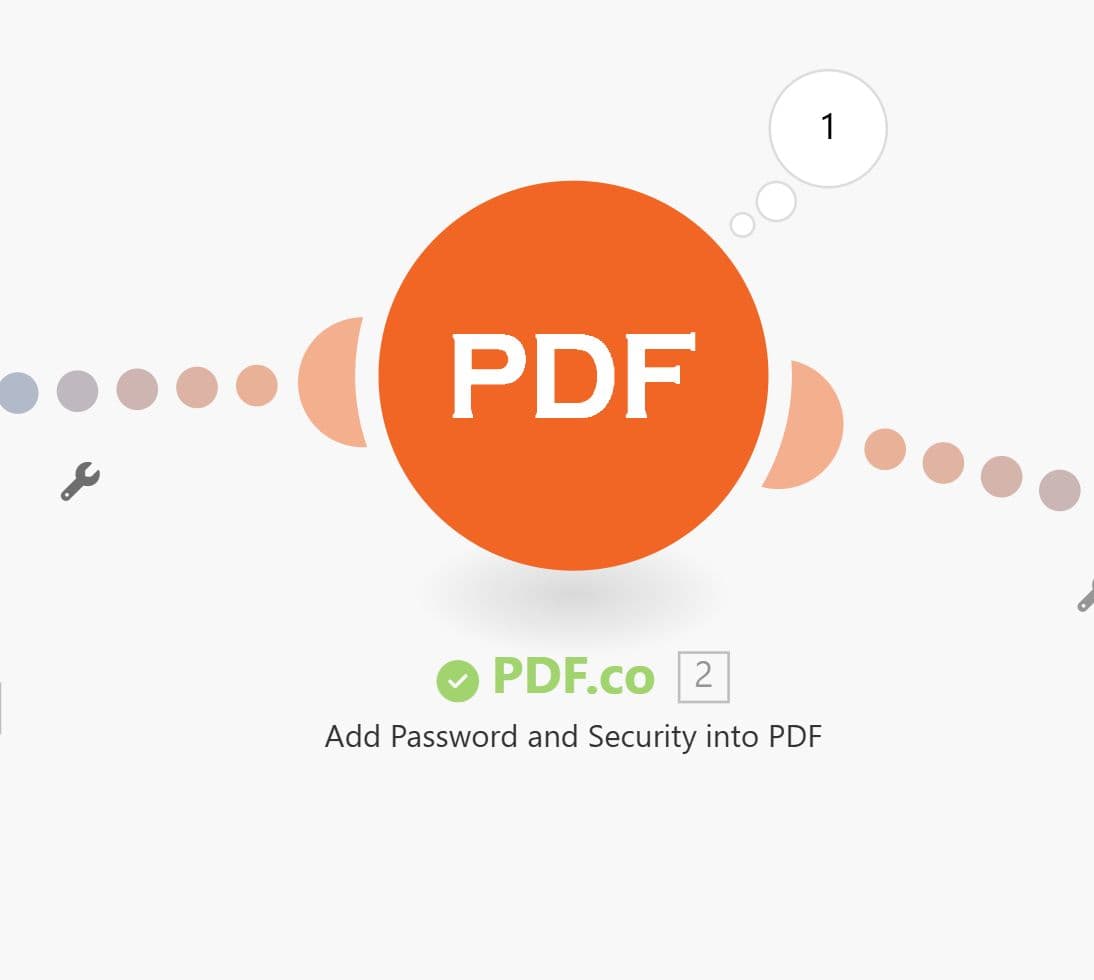
Step 6: Add the PDF.co Add Password and Security Module
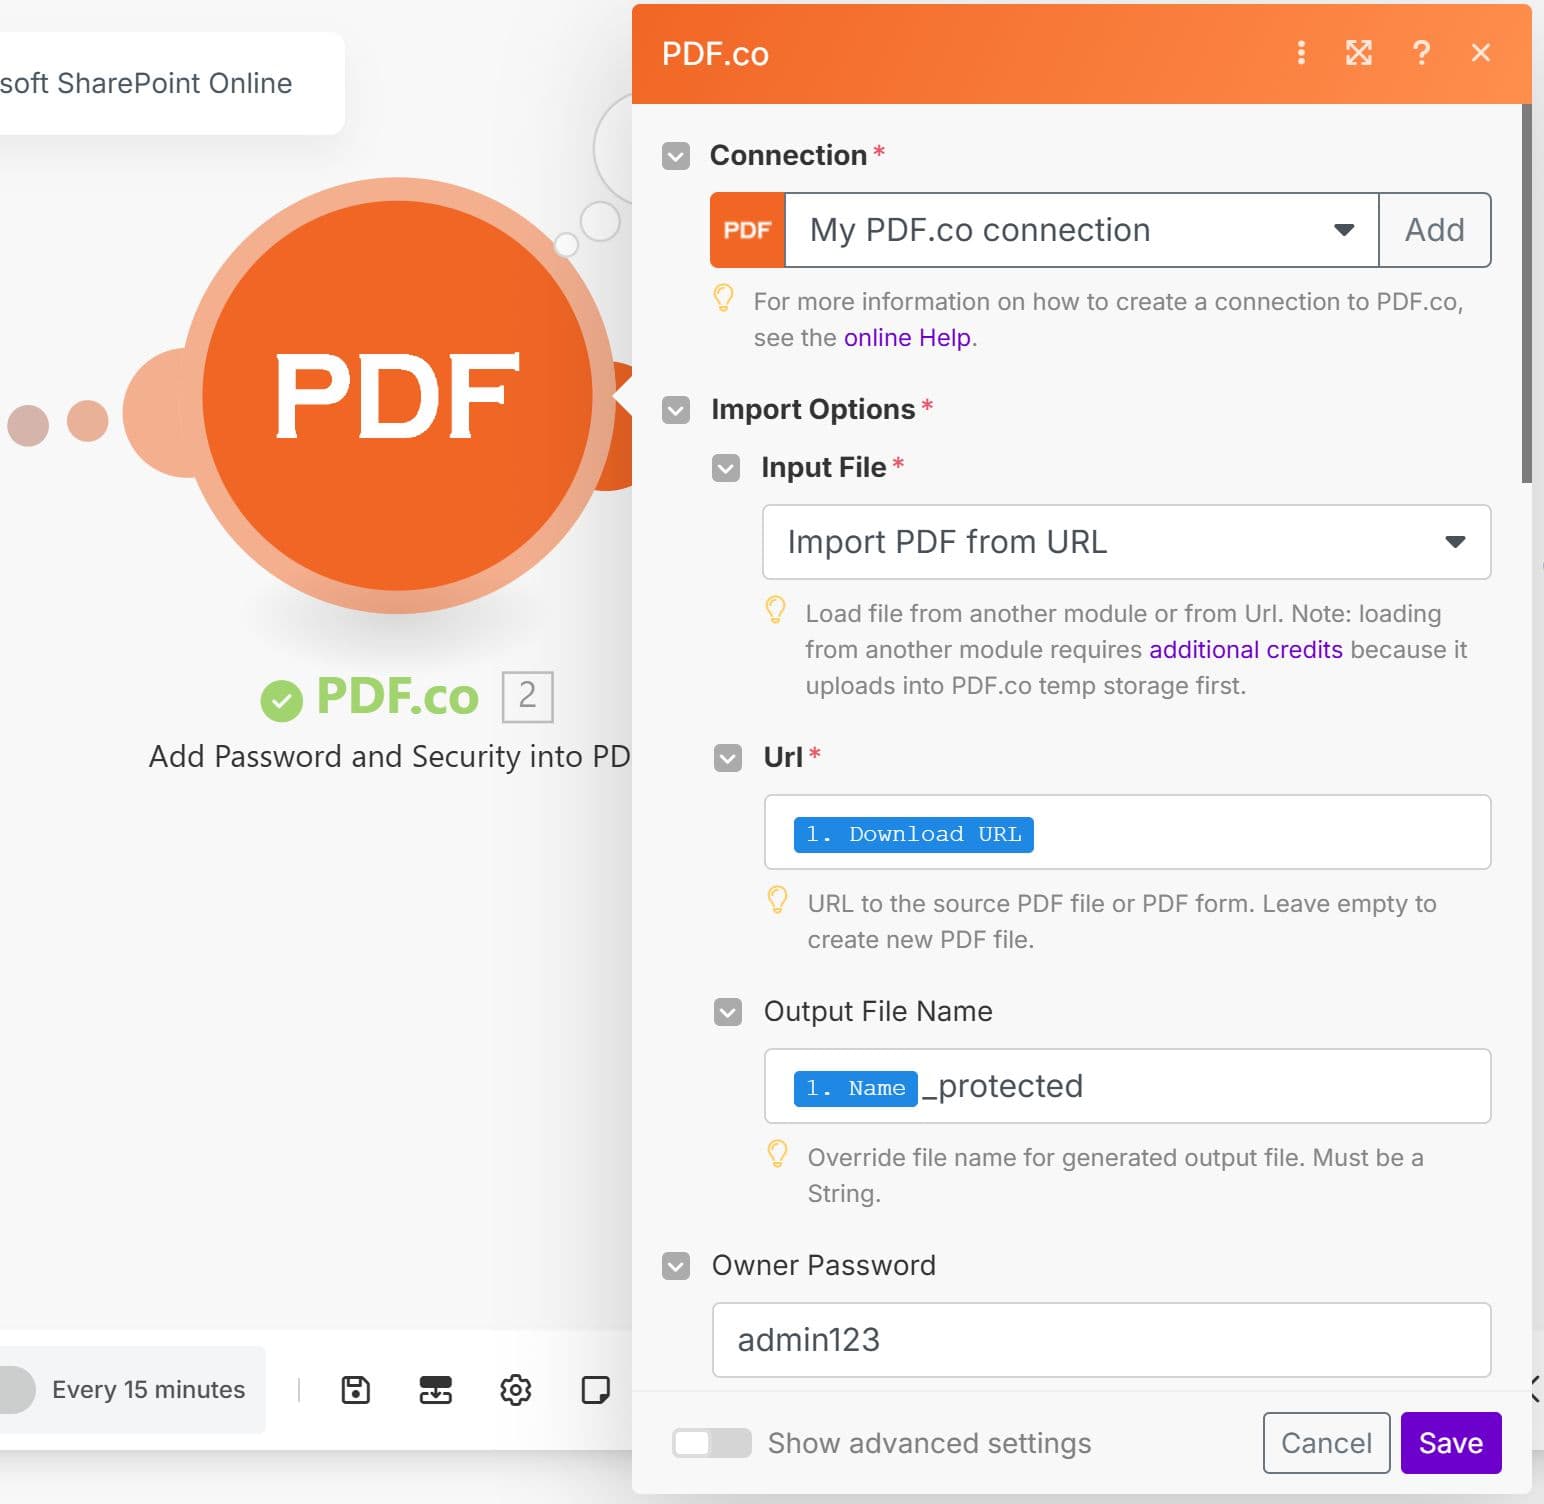
Step 7: Configure the PDF Security Module
- Set "Import PDF from URL" as the Input Type.
- Use "Download URL" as the URL field value.
- Enter your Owner Password and User Password.
- Customize additional security settings as needed.
- Test the step to ensure the PDF is correctly password-protected.
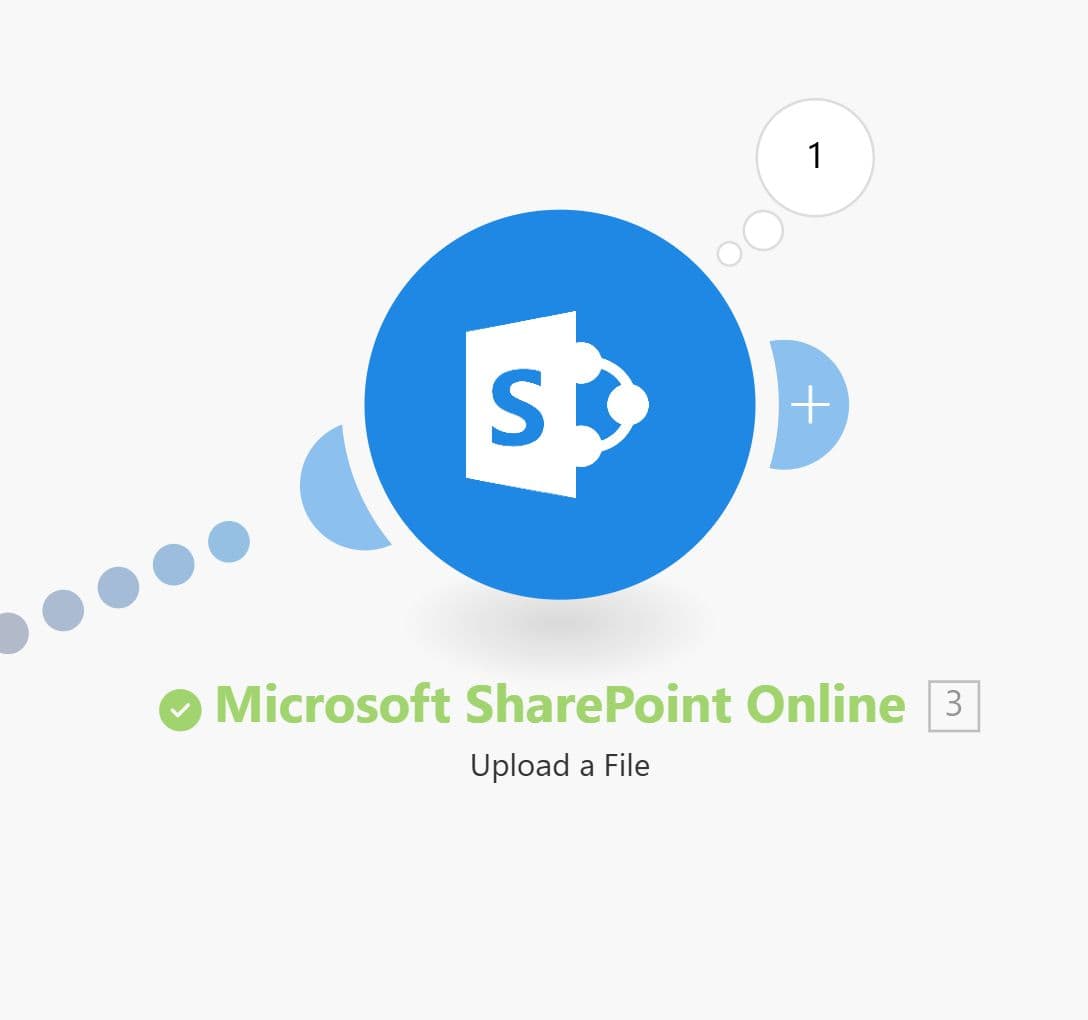
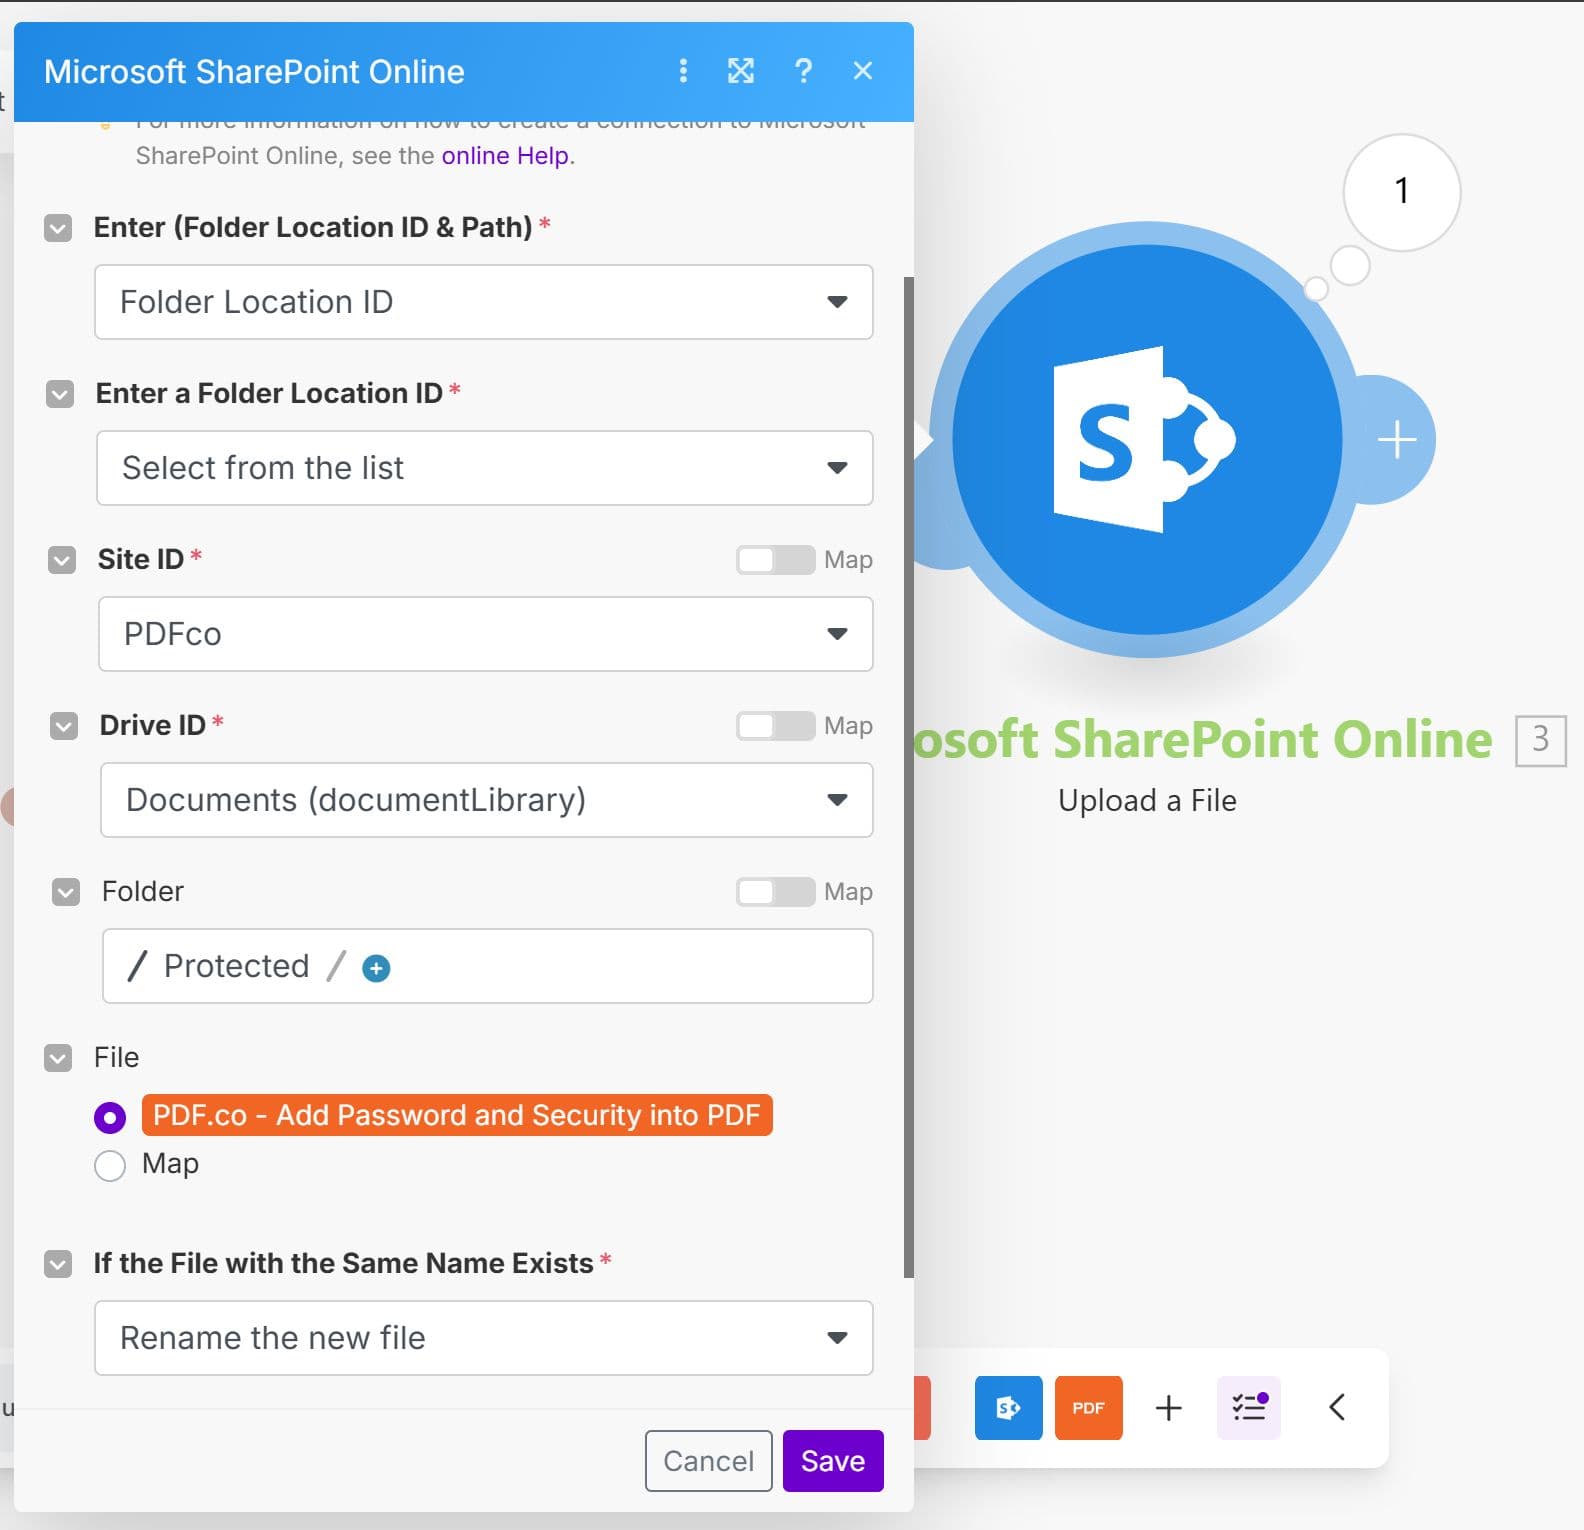
Step 8: Upload the Protected PDF to SharePoint using its Upload a File Module
Step 9: Set the Destination Folder and Upload the Protected File
Step 10: Run the Scenario and Turn on Automation
- Run the entire scenario to test the full workflow.
- Verify that the PDF is:
- Password-protected
- Successfully uploaded to the correct SharePoint folder
- Once everything works correctly, turn on automation to process files automatically.
Related Tutorials
