💡 Tip for Developers: Explore PDF.co’s API documentation with over 300+ integrations.
How to Set Custom Paper Size and Margin for HTML to PDF or URL to PDF Generation with PDF.co and Zapier
5 Minutes Read
PDF.co HTML to PDF is a web-based tool that converts HTML pages or URLs to PDF files. This tool can be accessed through a web browser and does not require any software installation. Users simply need to enter the URL of the website or upload the HTML file they want to convert, and the tool will generate a high-quality PDF file.
In this tutorial, we’ll walk through how to:
- Convert Raw HTML to PDF
- Set Custom Paper Size
- Set Custom Margins
- Automatically Save the Output to Google Drive (or another cloud storage service via Zapier).
Step 1: Search and Select PDF.co App in Zapier
- Log in to your Zapier account.
- Create a new Zap.
- In the search bar, look for PDF.co.
- Select HTML to PDF as the action event.
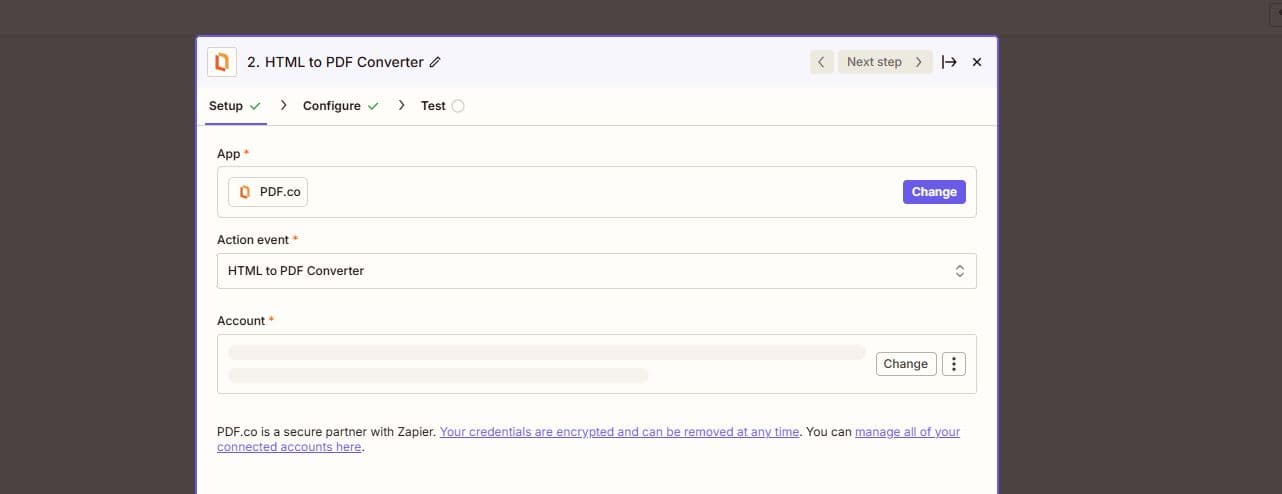
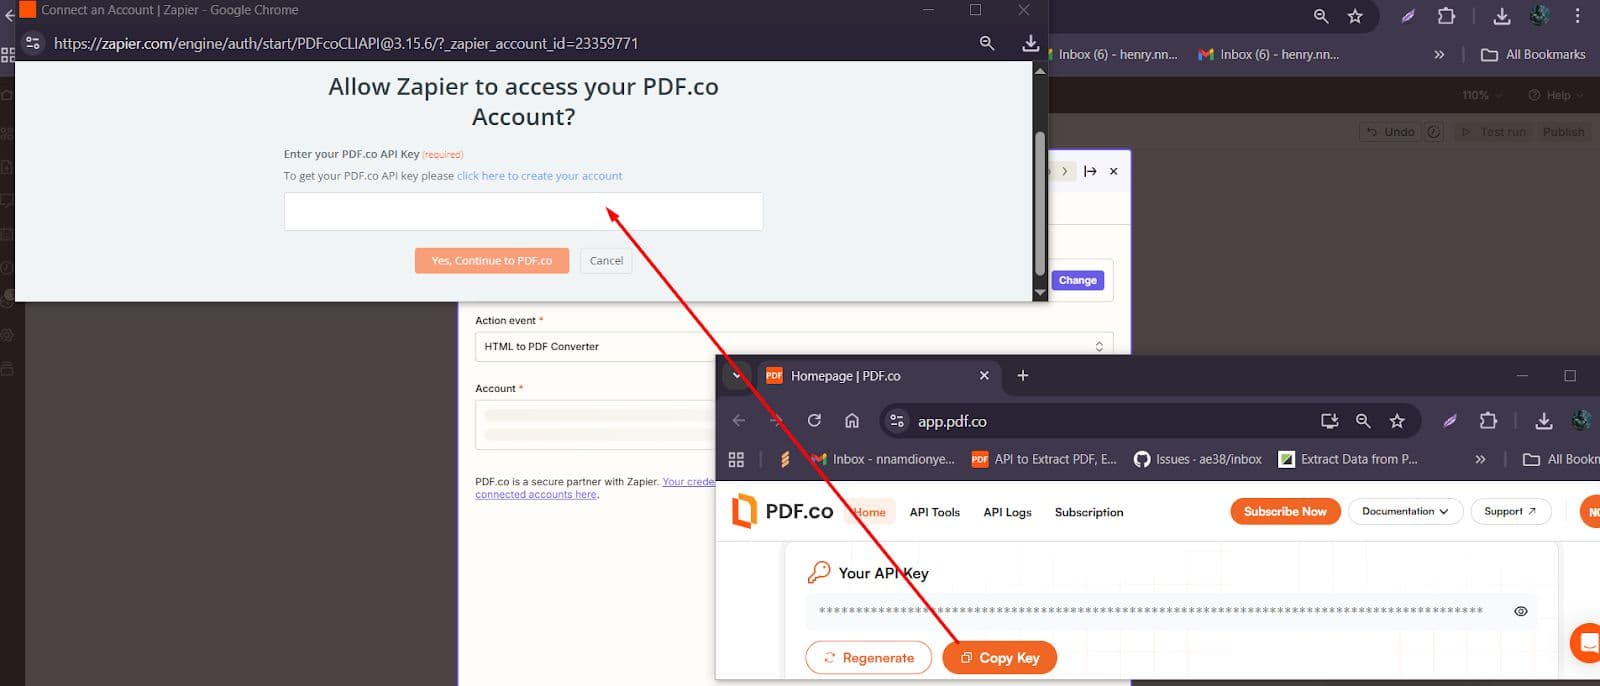
Step 2: Connect Your PDF.co Account
- Zapier will prompt you to connect your PDF.co account.
- Go to your PDF.co Dashboard and copy your API key.
- Paste the API key into Zapier to authenticate your connection.
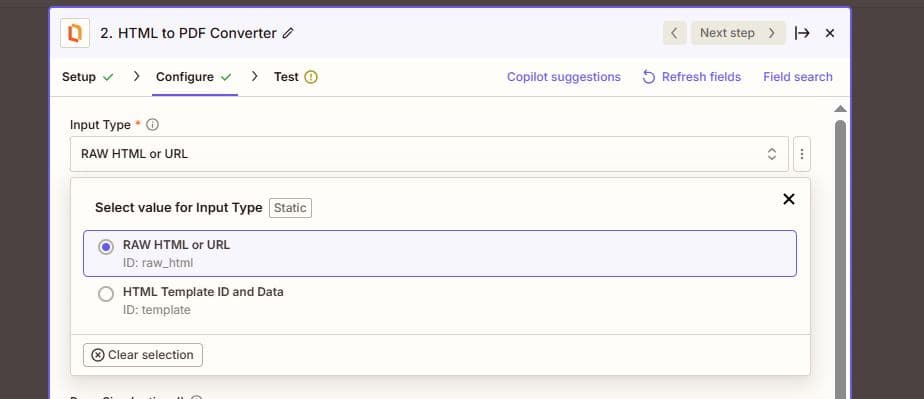
Step 3: Configure the HTML to PDF Converter
- Go to the Configure tab in Zapier.
- Select Input Type
- Choose between:
- Raw HTML (for direct HTML input)
- Saved HTML Template (created via the PDF.co HTML Template Editor)
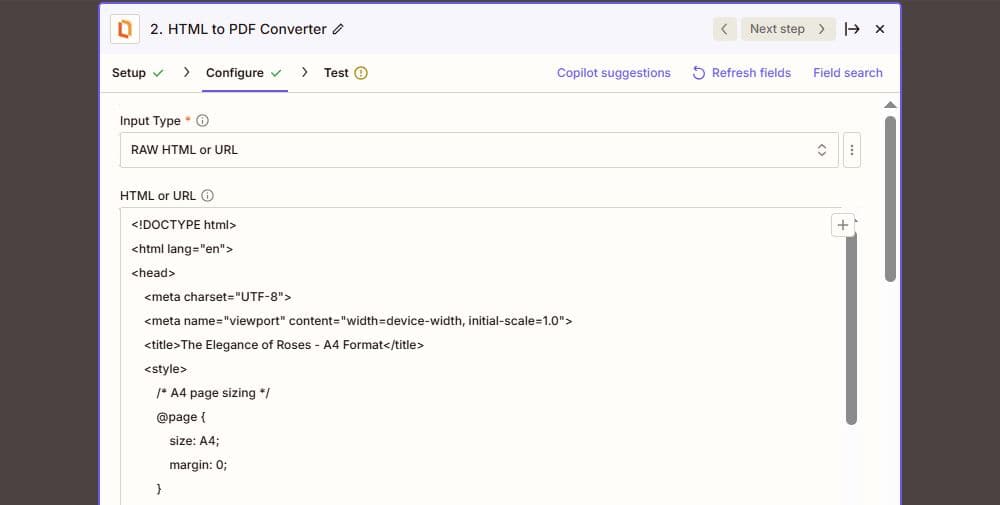
- For this tutorial, select Raw HTML.
- Choose between:
3. Paste Your HTML: Enter your raw HTML into the HTML or URL field.
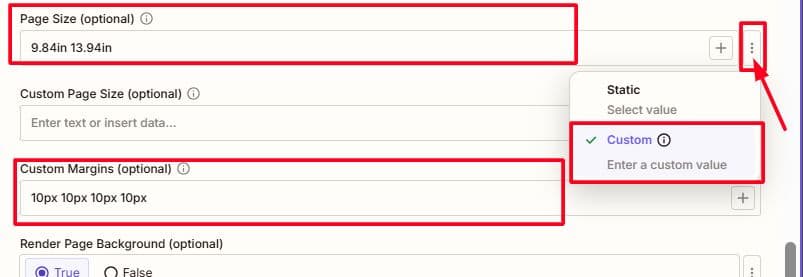
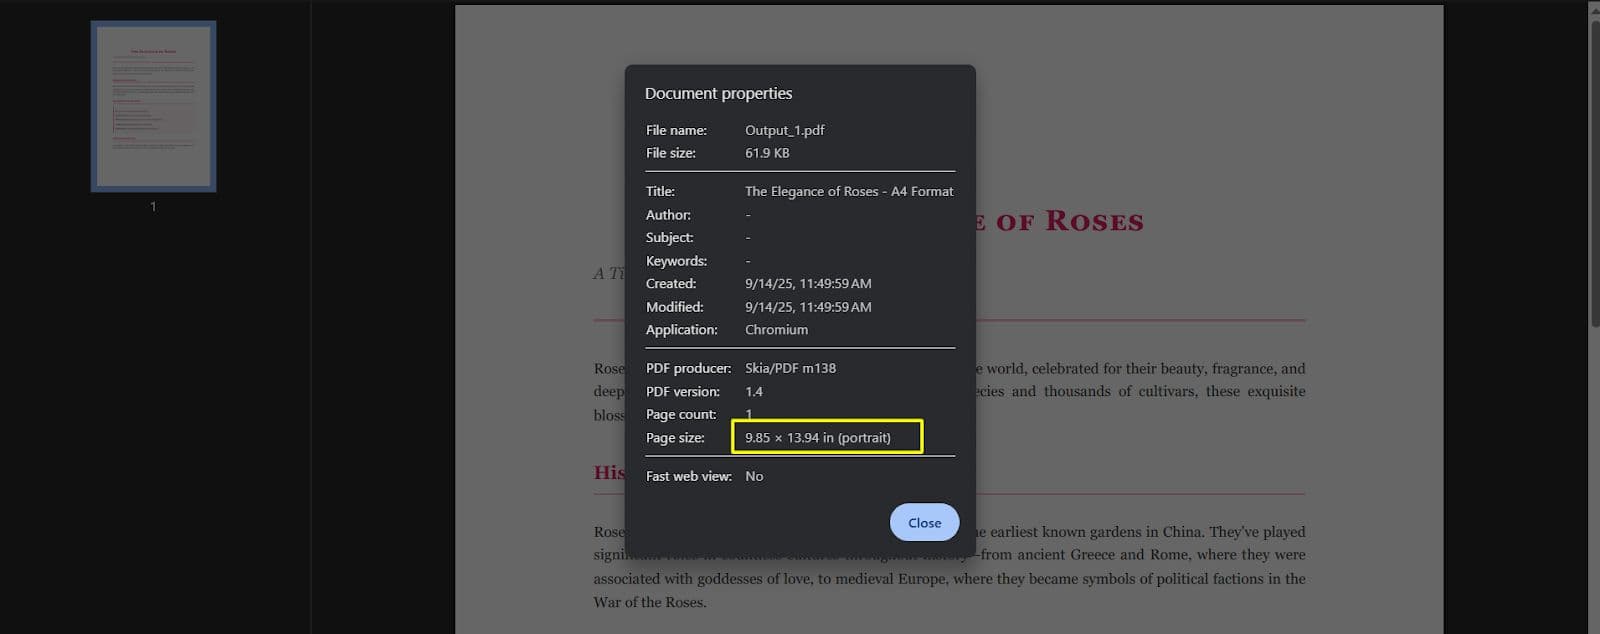
4. Set Custom Paper Size:
- Disable Static Paper Size by toggling the button next to the Page Size field and then, selecting the Custom option.
- Enter your desired dimensions in the Page Size field.
- Example:
9.84in 13.94in
- Example:
5. Set Custom Margins (Optional):
- Enter margins in the Custom Margin field (top, right, bottom, left).
- Example:
10px 10px 10px 10px
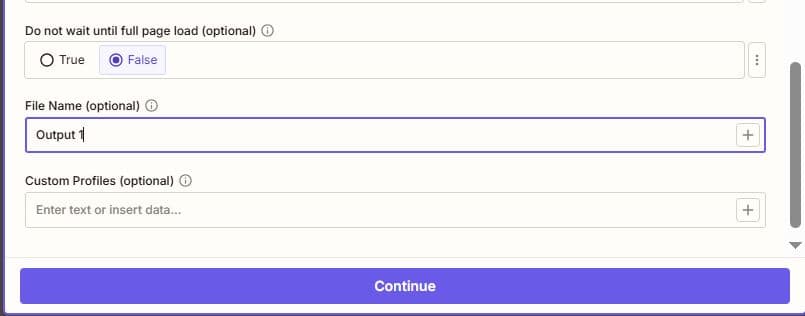
6. Name Your File:
- Type your desired output file name in the File Name field.
Step 4: Test the Action
- Click Test Step.
- PDF.co will process your request.
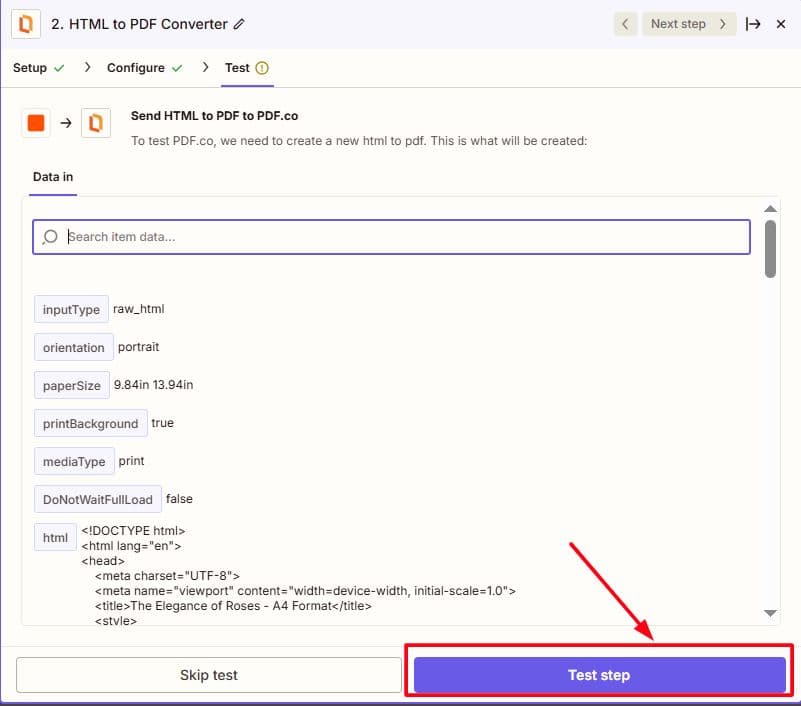
- A temporary URL will be generated containing the converted PDF.
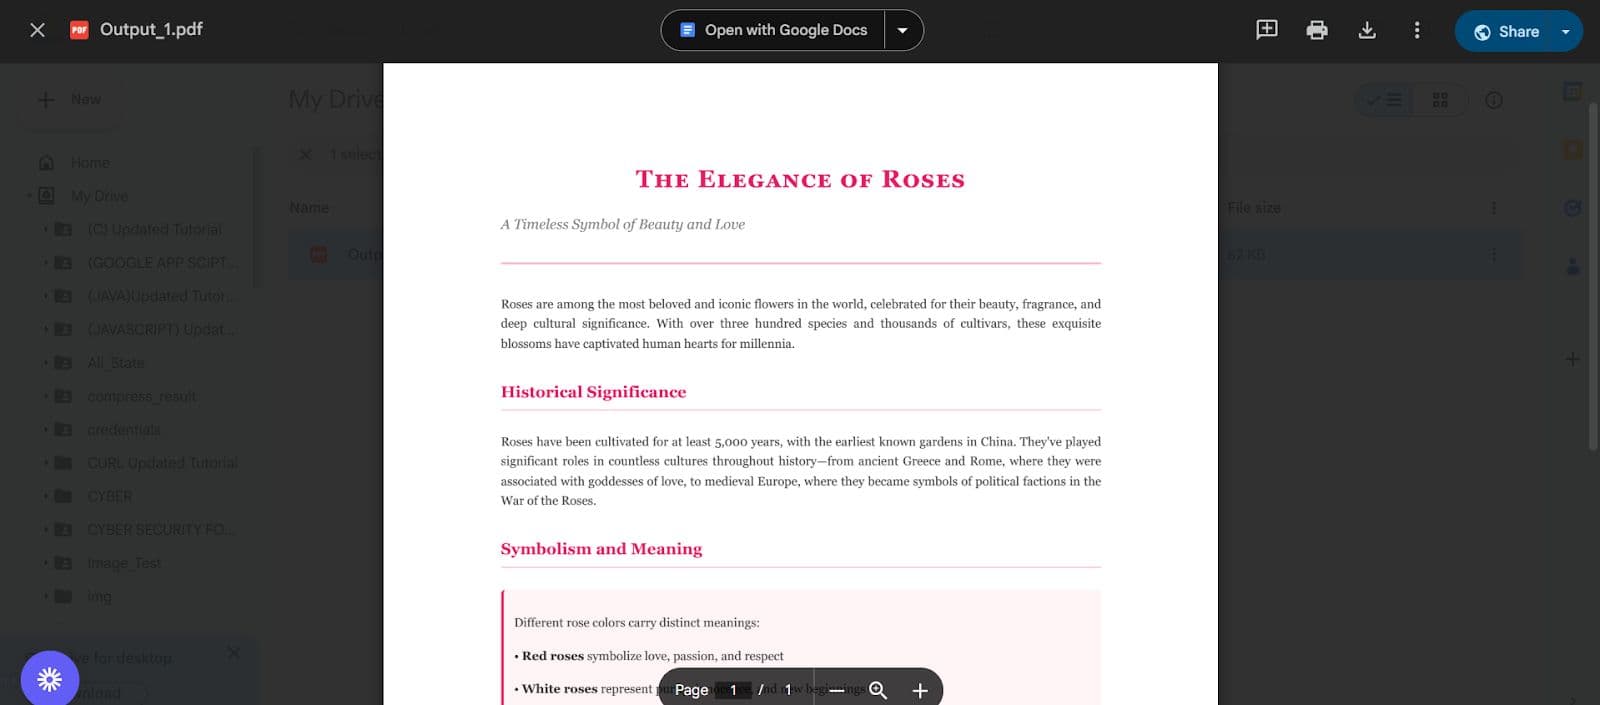
Step 5: View the Generated PDF Output
- Copy the temporary URL provided by PDF.co.
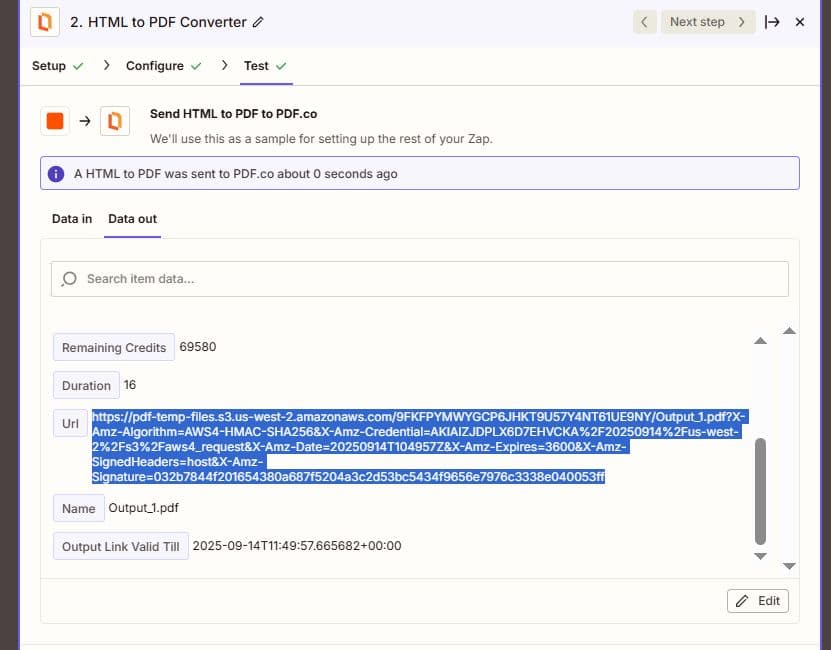
2. Paste it into your browser.
3. Review your output PDF with the custom paper size and margins applied.
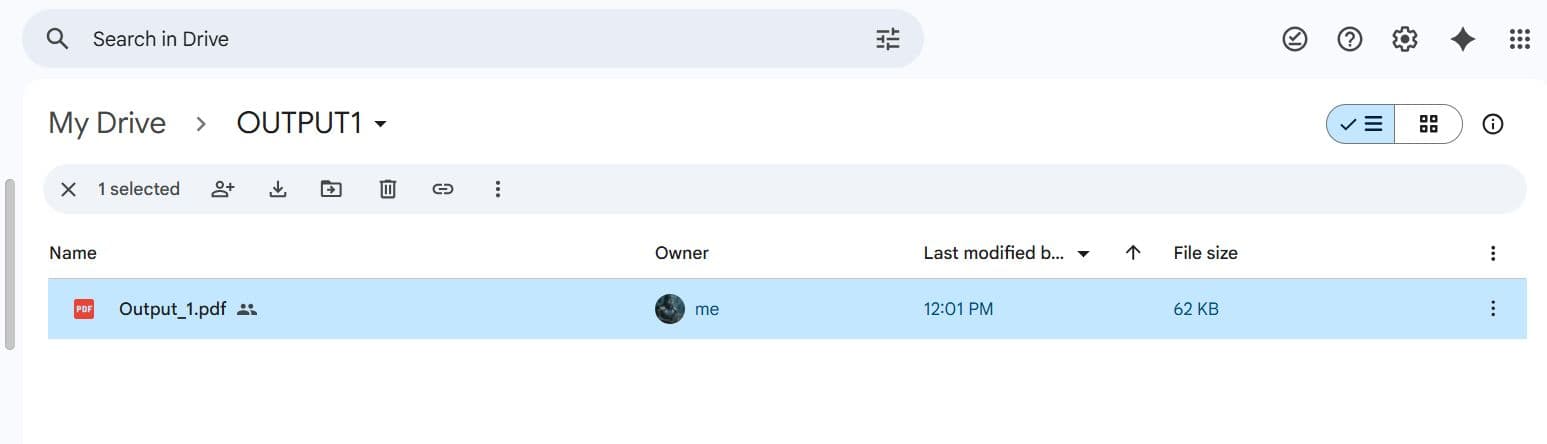
Step 6: Save the PDF Permanently to Google Drive (Optional)
If you want to store the PDF in Google Drive (or Dropbox, OneDrive, etc.), follow these steps:
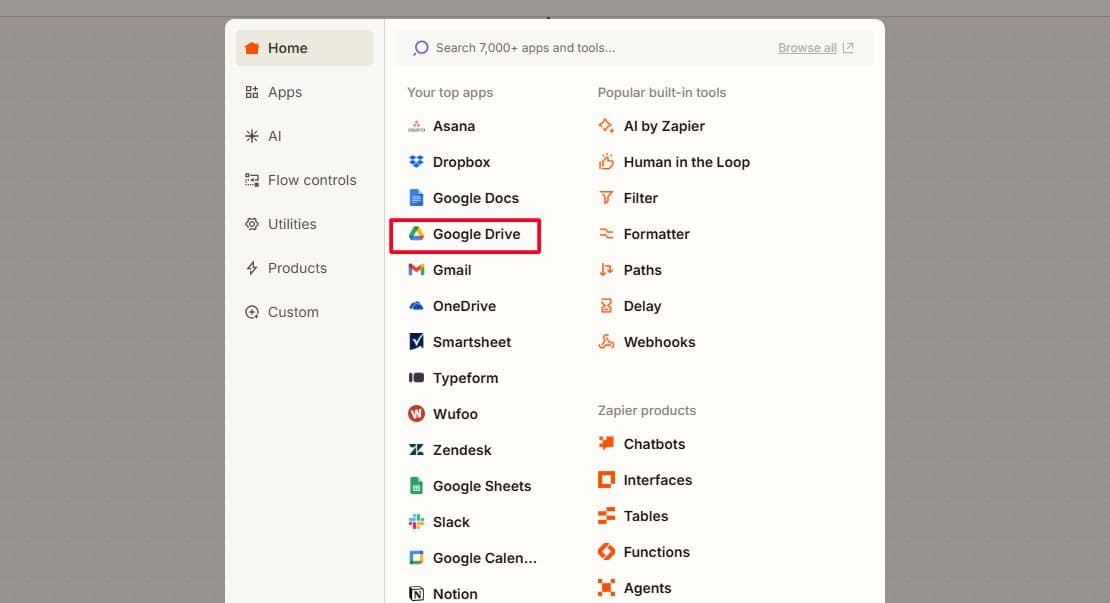
- Search and Select Google Drive App:
- In Zapier, add a new action step.
- Select Google Drive.
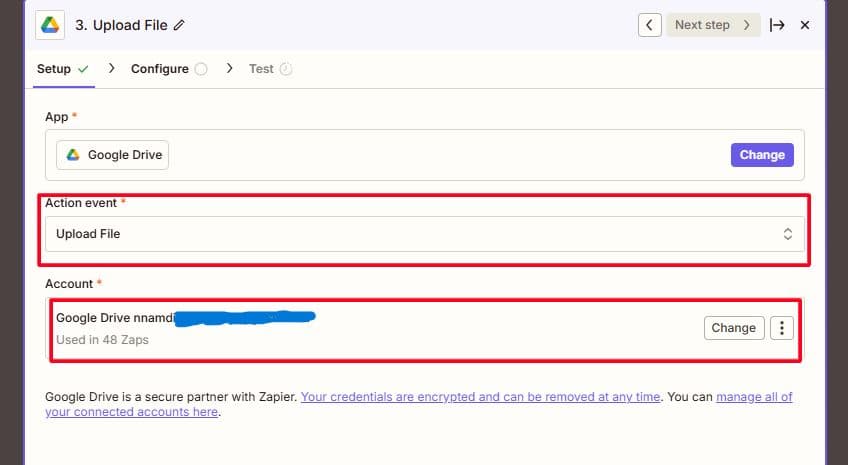
2. Choose Action Event:
- Select Upload File.
3. Connect Your Google Account:
- Log in and allow Zapier access to your Google Drive.
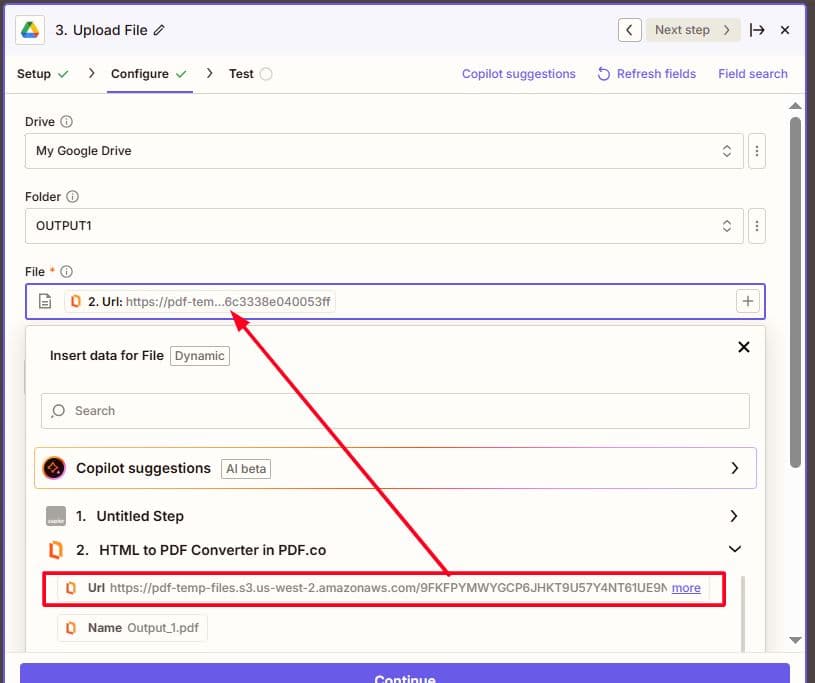
4. Select Destination Folder:
- Choose the Google Drive folder where you want the PDF saved.
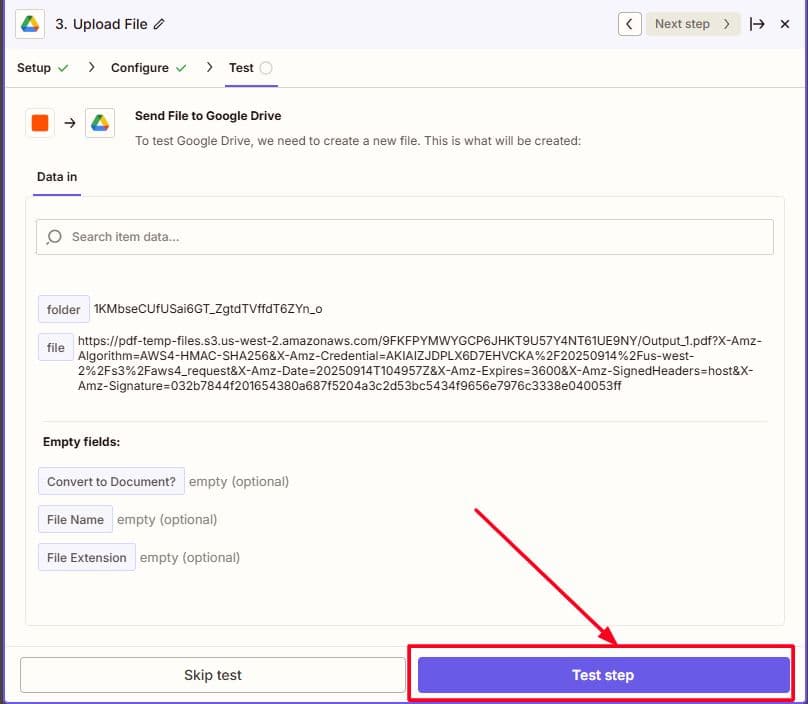
5. Attach the PDF File:
- Select the Output URL from the previous PDF.co step as the file source.
6. Test the Upload:
- Click Test Step to confirm the PDF is successfully uploaded.
Final Result
You have now successfully:
- Converted HTML to PDF using PDF.co.
- Applied custom paper size and margins.
Saved the output file permanently to Google Drive (or another cloud service).
This is just one of the dozens of useful tutorials that we have for creating, converting, and customizing PDFs. Here are a few more others:
Video Guide
Related Tutorials

