How to Automatically Send Microsoft Lens Files to PDF.co using Zapier
In this tutorial, we will show you how you can automatically send your Microsoft Lens files to PDF.co using Zapier.
IN THIS TUTORIAL
Step 1: Take a Photo of the File to be Sent
First, let’s take a picture of the file we want to send to PDF.co. Once the image has been taken and you have made the necessary adjustments, tap on the Done button.
Microsoft Lens has several storage options that you can choose from. You can either save it in your phone’s Gallery, save it as PDF in your Phone or OneDrive, send it directly to OneNote and/or OneDrive, or save it as Word and/or Powerpoint file in OneDrive.
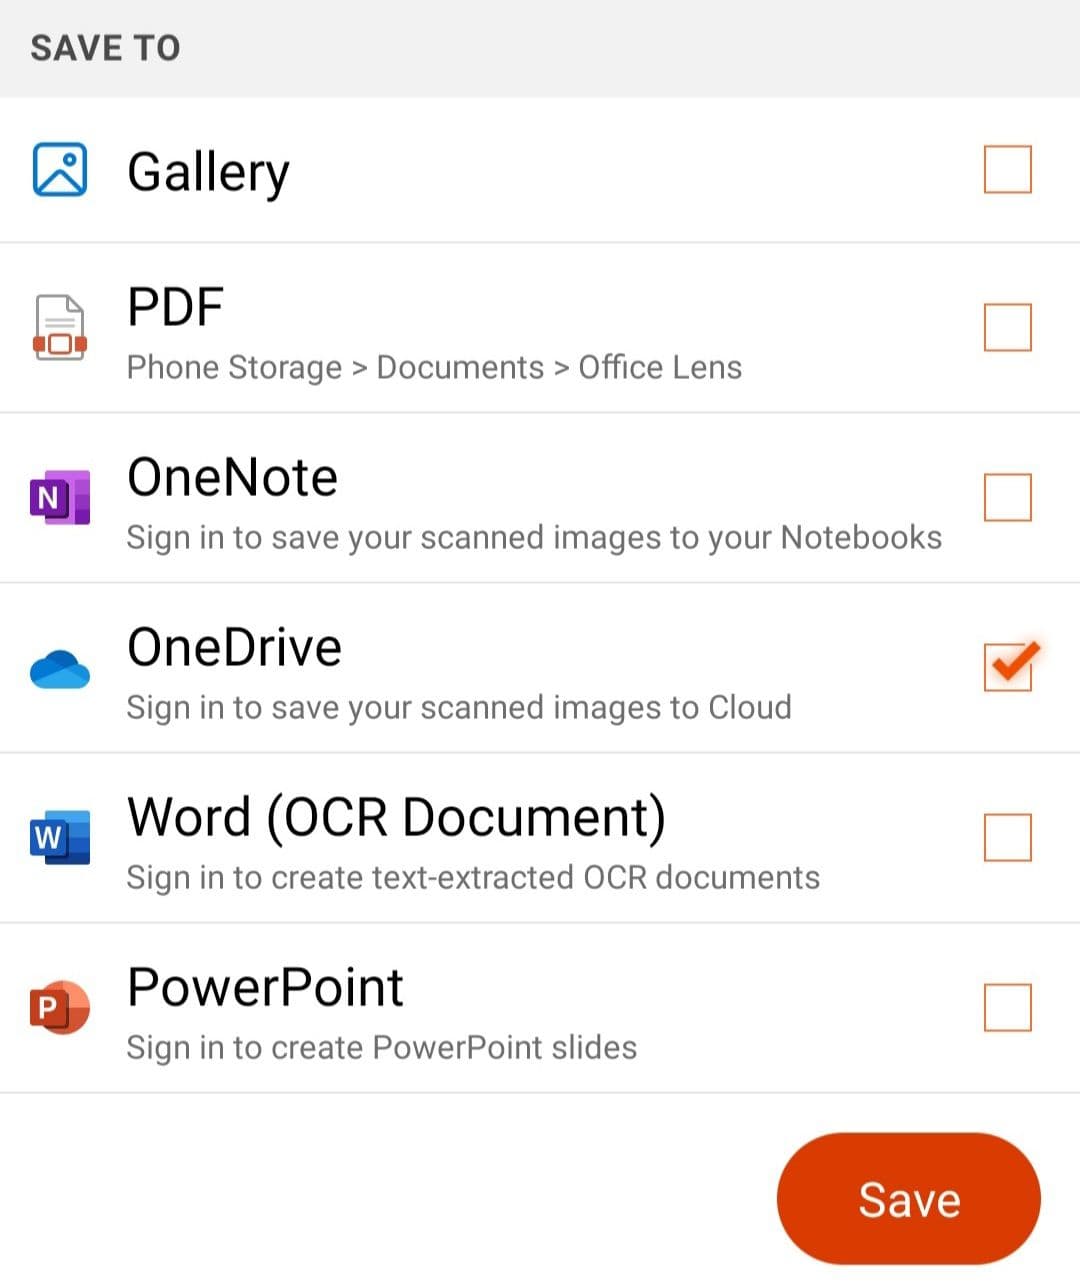
All files sent to OneDrive as images are stored in the Pictures folder, while files in PDF, Word, and Powerpoint format are stored in the Documents/Office Lens folder.
Step 2: Take a Photo of the File to be Sent
First, let’s take a picture of the file we want to send to PDF.co. Once the image has been taken and you have made the necessary adjustments, tap on the Done button.
Microsoft Lens has several storage options that you can choose from. You can either save it in your phone’s Gallery, save it as PDF in your Phone or OneDrive, send it directly to OneNote and/or OneDrive, or save it as Word and/or Powerpoint file in OneDrive.
All files sent to OneDrive as images are stored in the Pictures folder, while files in PDF, Word, and Powerpoint format are stored in the Documents/Office Lens folder.
Step 3: Set Up a OneDrive Account in Zapier
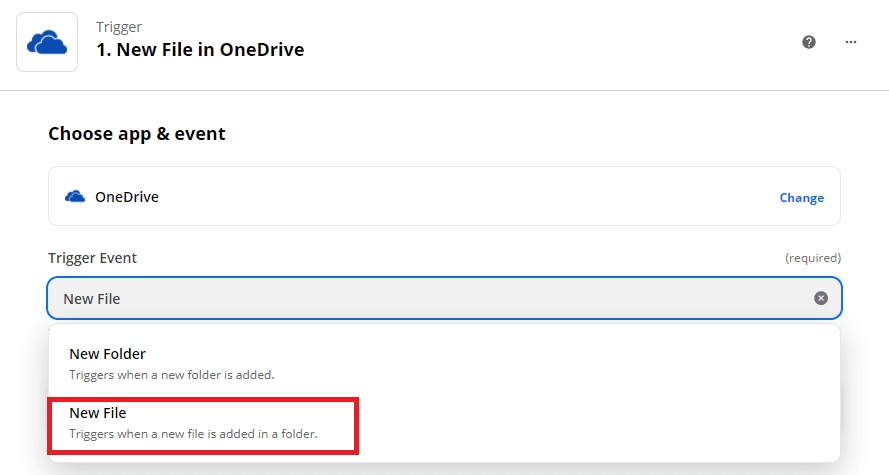
Now, let’s set up our OneDrive account in Zapier. Kindly choose OneDrive as the App and New File as the Trigger Event.
Step 4: Set Up the New File Trigger
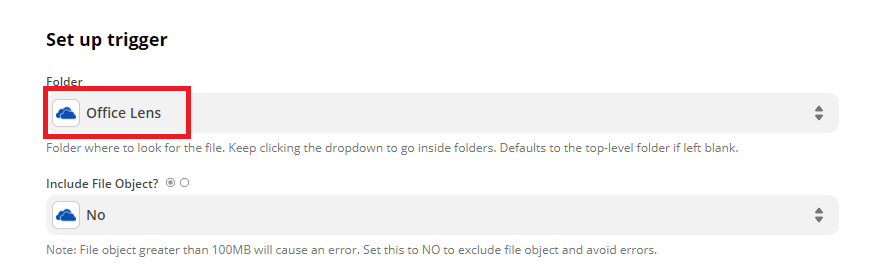
Next, let’s set up the New File Trigger and choose the Office Lens as the Folder because this is where the PDF file was stored.
Step 5: Test the Trigger
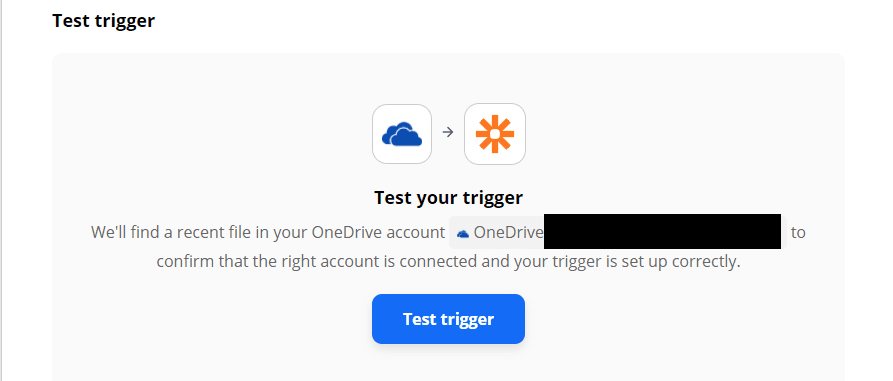
Let’s test the Trigger to make sure that our account has been successfully configured.
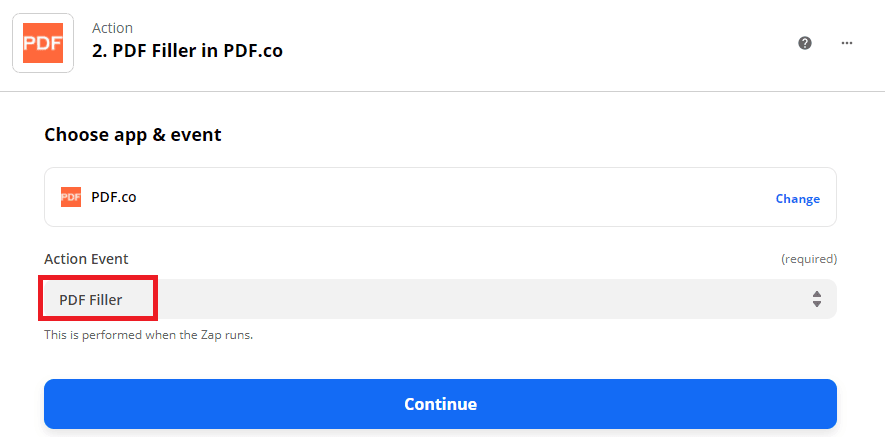
Step 6: Move on to PDF.co and Select PDF Filler
Let’s now move on to PDF.co and add a signature to the Microsoft Lens PDF file. Kindly choose PDF.co as the App and PDF Filler as the Action Event.
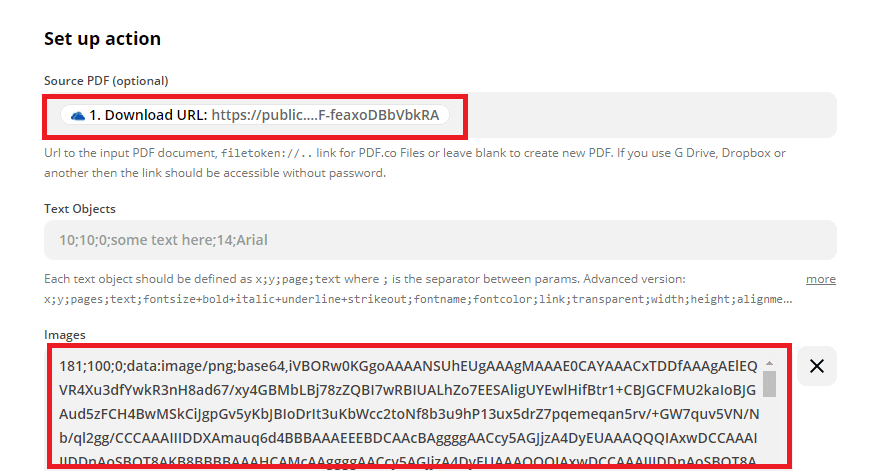
Step 7: Configure PDF Filler Action
Then, let’s configure the PDFFiller action.
- In the Source PDF field, select the OneDrive Download URL to get the Microsoft Lens file.
- In the Images field, enter the x and y coordinate, page number, and signature URL in this format
x;y;page;imageURL. You can easily get the coordinates using our PDF Edit Add Helper.
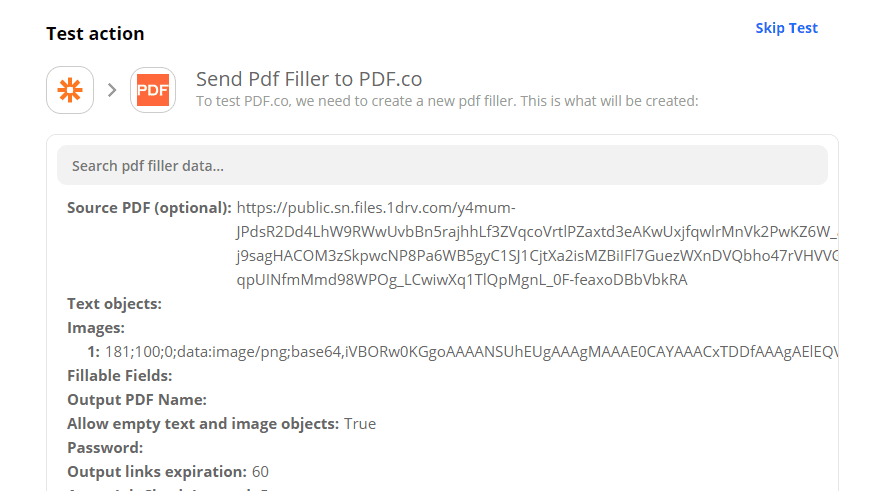
Step 8: Send Configuration to PDF.co for Test & Review
We are now ready to send our PDFFiller configuration to PDF.co for Test & Review.
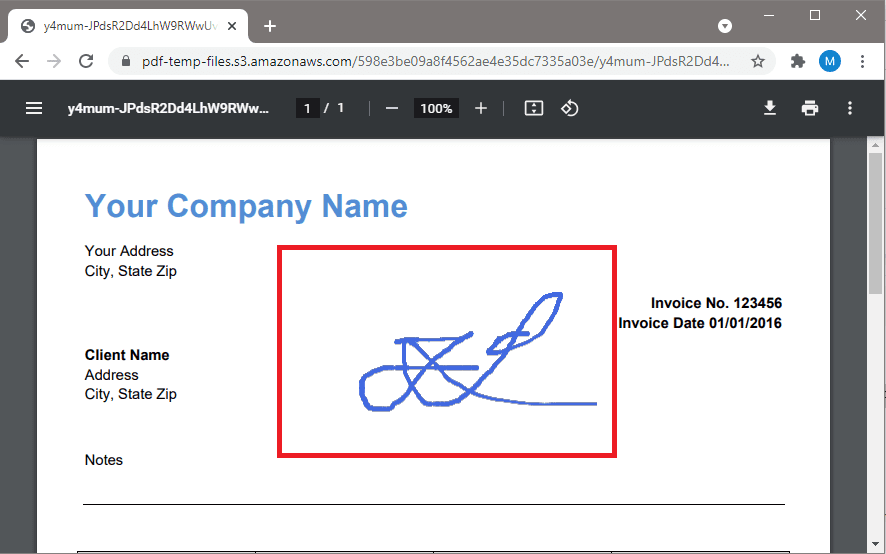
Step 9: Copy & Paste URL to Browser
Our test was a success. Kindly grab the temporary URL that PDF.co generated and paste it into your browser to see the result.
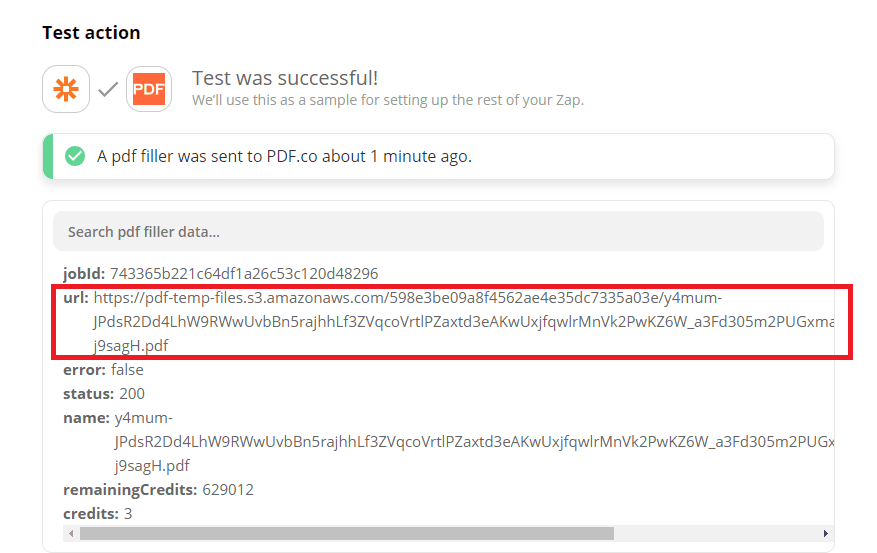
Great! We have successfully signed the PDF file we captured using Microsoft Lens.
In this tutorial, we learned how to integrate Microsoft Lens to PDF.co using Zapier and OneDrive. We also learned about the different storage options for Microsoft Lens files and how to store them directly to OneDrive in different file formats.


