How to Insert Page Break when Converting HTML to PDF with PDF.co
Dec 3, 2024·2 Minutes Read
We prepared this step-by-step tutorial with screenshots to teach you how to insert a page break when converting HTML to PDF.
We will use this sample HTML and convert it to PDF with a Page break.

IN THIS TUTORIAL
Setup HTML to PDF in Zapier
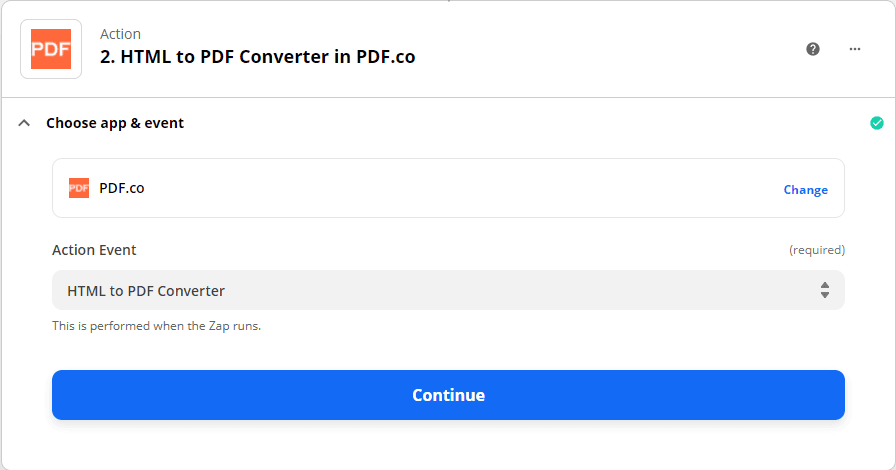
In your Zapier workflow search and select PDF.co as our App event and select HTML to PDF Converter as our Action event. With HTML to PDF Converter, you can convert your raw HTML code into a PDF.
Add HTML sample code
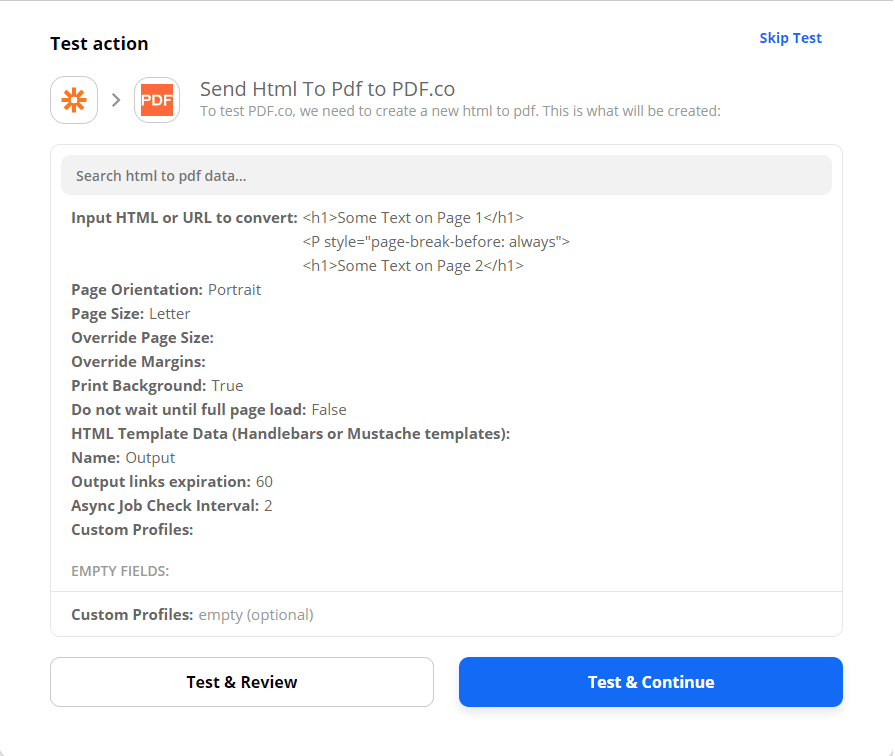
Under Set Up Action for the Input HTML, put:
<h1>Some Text on page 1</h1>
  <p style="page-break-before: always" />
<h1>Some Text on page 2</h1>
Test the Action
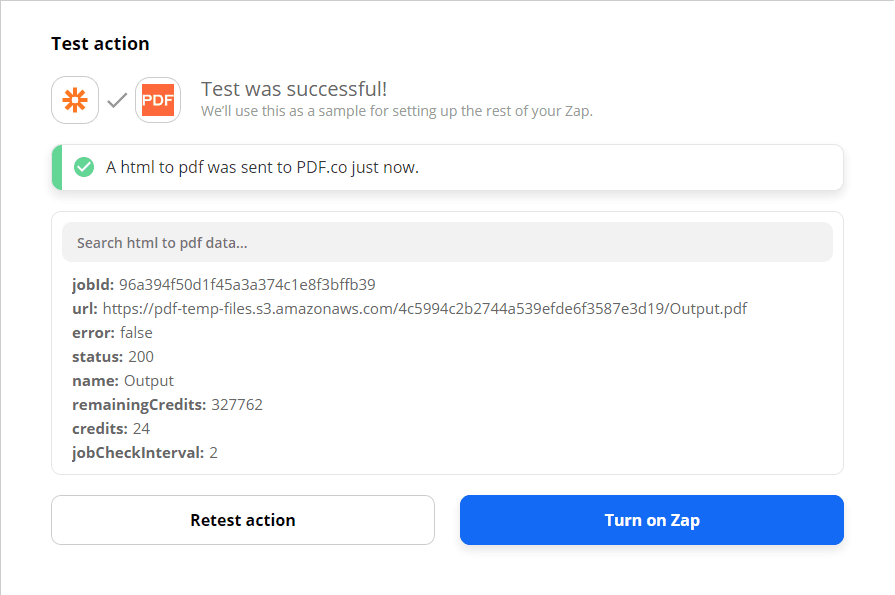
We will now Test the action. Click on Test & Review to see if there are any errors or none.
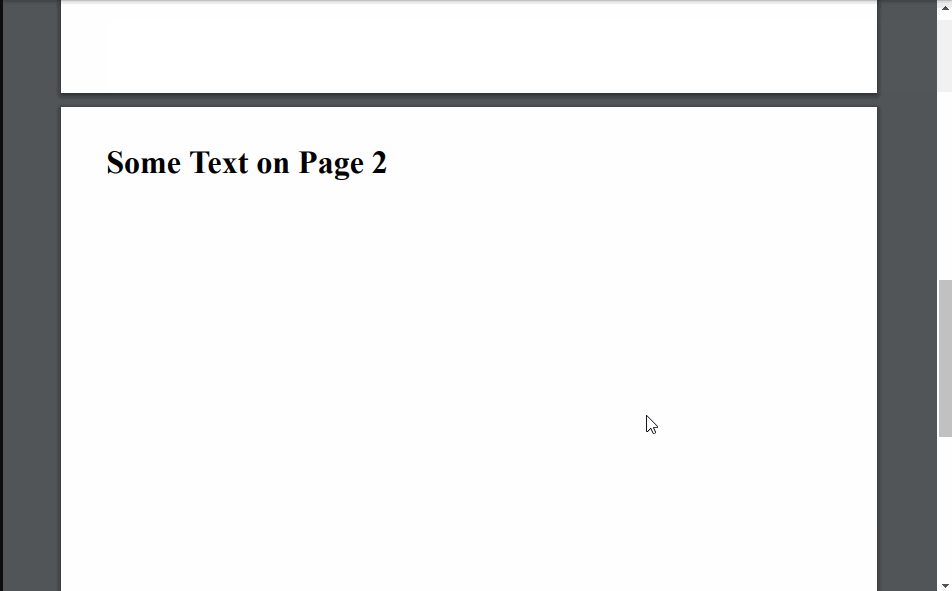
Once the test returns as successful. You can use the link to view and download the output PDF.
Video Guide
Related Tutorials


Generate PDF with Charts using HTML in PDF.co and Zapier
Sep 2, 2024·4 Minutes Read
How to Convert Outlook Email to PDF using PDF.co and Zapier
Sep 2, 2024·5 Minutes Read