How to Save Certain Pages of a PDF using PDF.co and Zapier
PDF files are widely used for various purposes, such as business reports, legal documents, educational materials, and more. However, sometimes you may need to save only certain pages of a PDF file, rather than the entire document. This could be due to privacy concerns, file size limitations, or simply the need to extract specific information from an extended PDF.
Fortunately, with the combination of automation tools like PDF.co and Zapier, saving certain pages of a PDF has become easy. PDF.co is a versatile and user-friendly online platform that offers a wide range of PDF-related functions, including PDF splitting, merging, and page extraction.
In this article, we will guide you through the process of saving certain pages of a PDF file using PDF.co and Zapier. So, let’s get started and learn how to easily save certain pages of a PDF file.
We will be using a sample PDF file that contains multiple pages as our example, and we will demonstrate how to save certain pages from this PDF using PDF.co and Zapier.
Let’s configure your Google Drive settings.
Let’s configure the PDF.co action.
Let’s set up the Upload File configuration.
In this tutorial, you’ve learned how to save specific pages from a PDF document using PDF.co and Zapier. Additionally, you’ve learned how to utilize the PDF.co Delete Pages endpoint to remove unnecessary pages and retain only the pages you want to save.
IN THIS TUTORIAL
Step 1: Log in to Zapier
- First, log into your Zapier account and click on the Create Zap button.
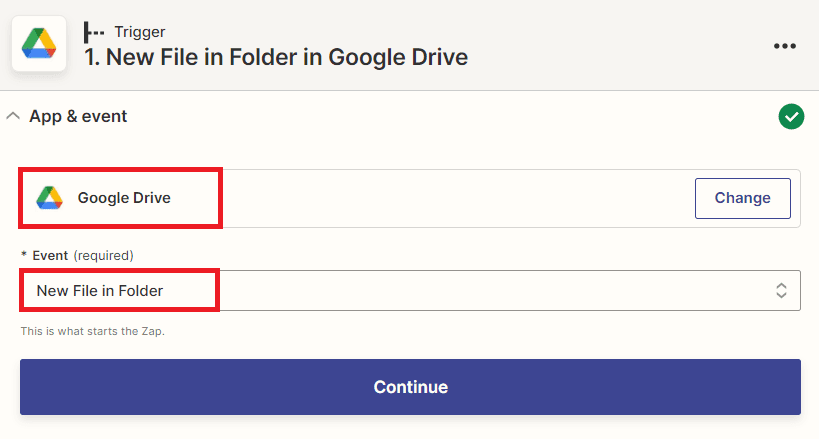
Step 2: Google Drive App
- Next, search and select the Google Drive app. Optionally, you can also use other cloud storage apps if you prefer to store the source PDF file in a different location.
- Then, choose New File in Folder as the trigger for your automation. This will be the event that prompts the automation to start.
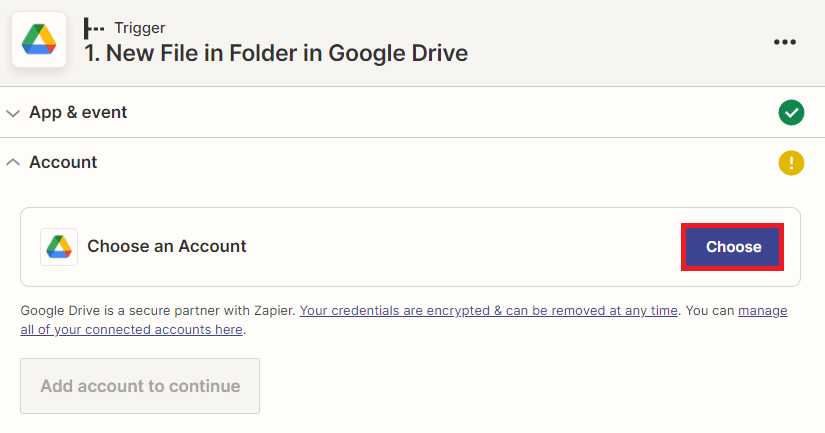
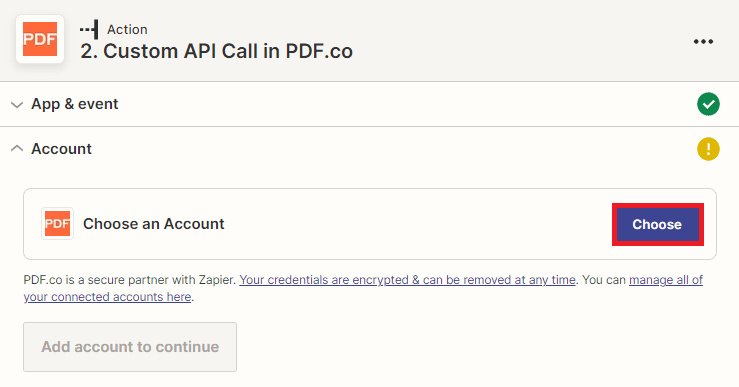
Step 3: Connect Google Drive Account
- Now, you will need to add a connection between your Google Drive account and Zapier.
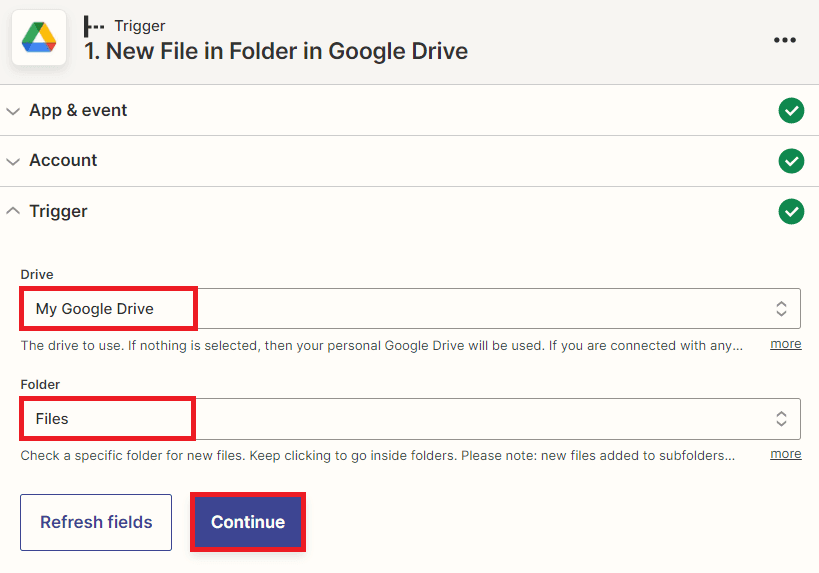
Step 4: Setup Google Drive
Let’s configure your Google Drive settings.
- First, enter My Google Drive as the designated drive to use.
- Next, provide the folder name where your file is stored.
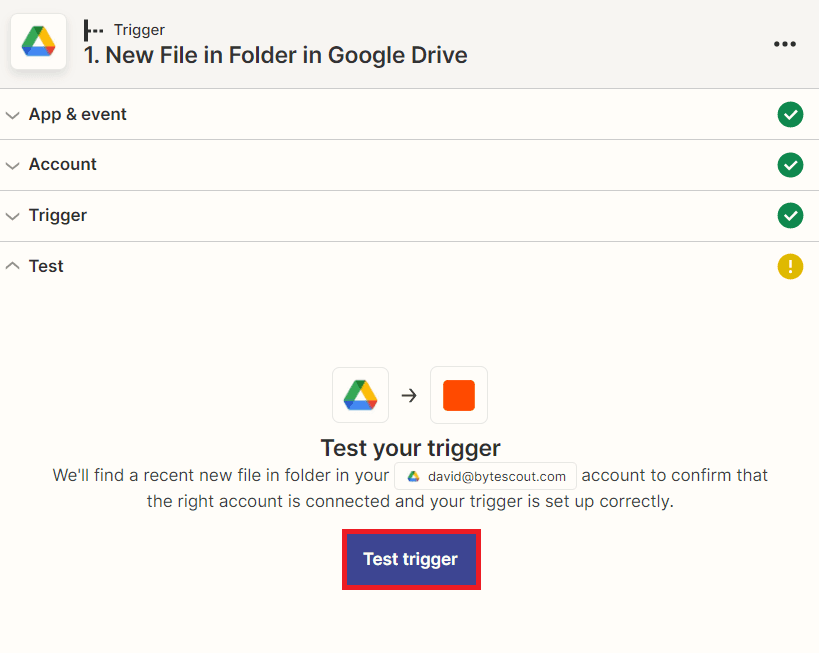
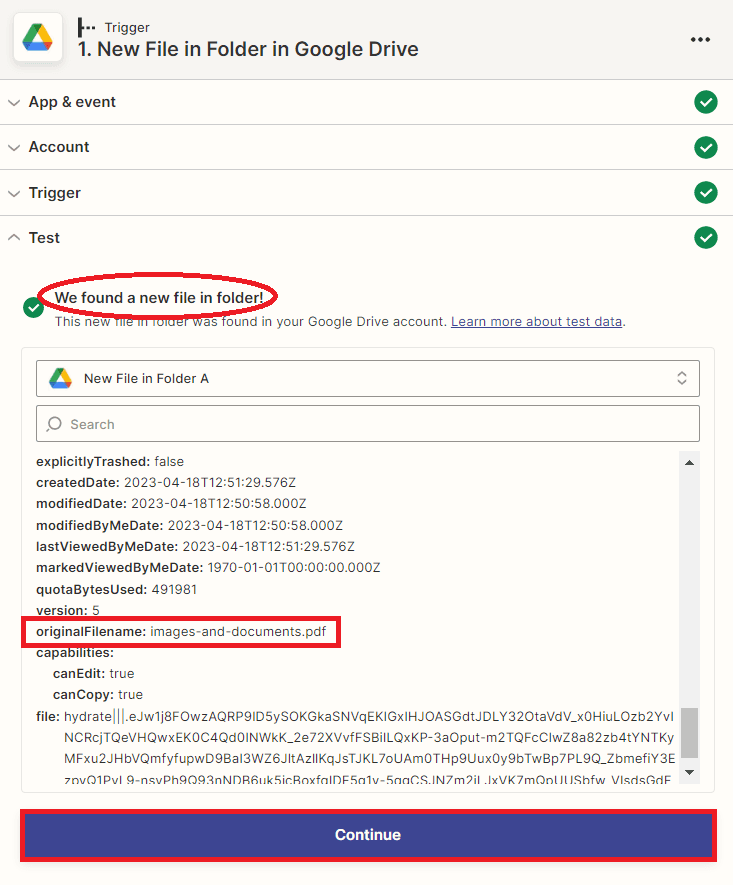
Step 5: Test Trigger
- Once the configuration is complete, click the Test Trigger button to retrieve the file from the specified folder in Google Drive.
Step 6: Test Trigger Result
- Great! The test trigger was successful in fetching the file from Google Drive. Now, let’s add another app to the workflow and configure it to save specific pages from the PDF documents.
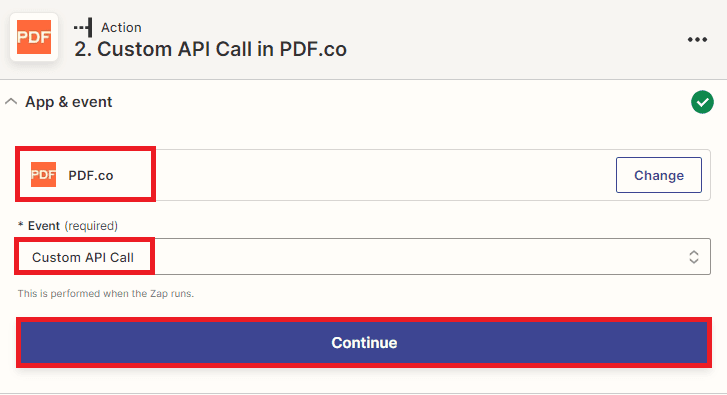
Step 7: Add PDF.co App
- For this step, we will integrate the PDF.co app and select the Custom API Call option, which allows us to utilize a specific API endpoint from PDF.co.
Step 9: Setup Action
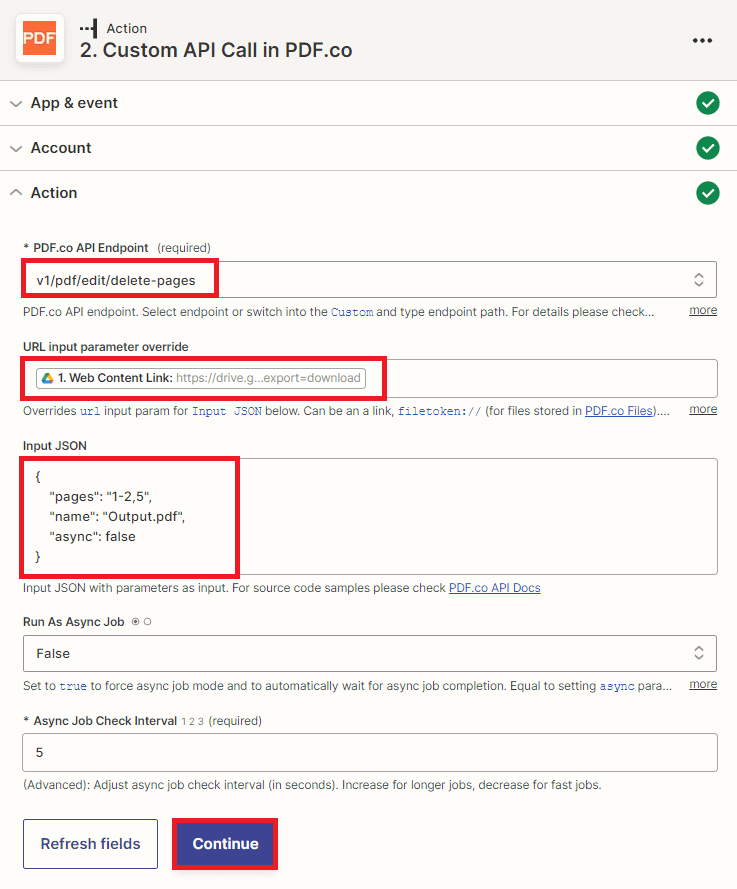
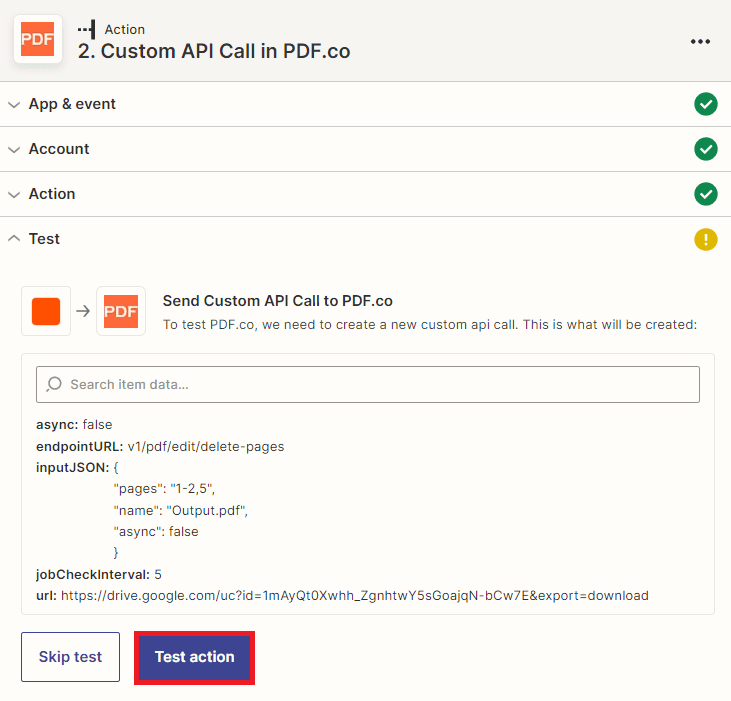
Let’s configure the PDF.co action.
- First, choose the PDF Delete Pages endpoint to remove unnecessary pages from the PDF document and retain only the specific pages you want to save.
- Next, select the Web Content Link from Google Drive as the input.
- Then, input the JSON code containing the page numbers to delete from the PDF document, as well as the desired output file name for the remaining pages you want to save.
Step 10: Test Action
- Now, let’s test the action to send a request to PDF.co to remove unnecessary pages from the PDF document and retain only the specific pages you want to save.
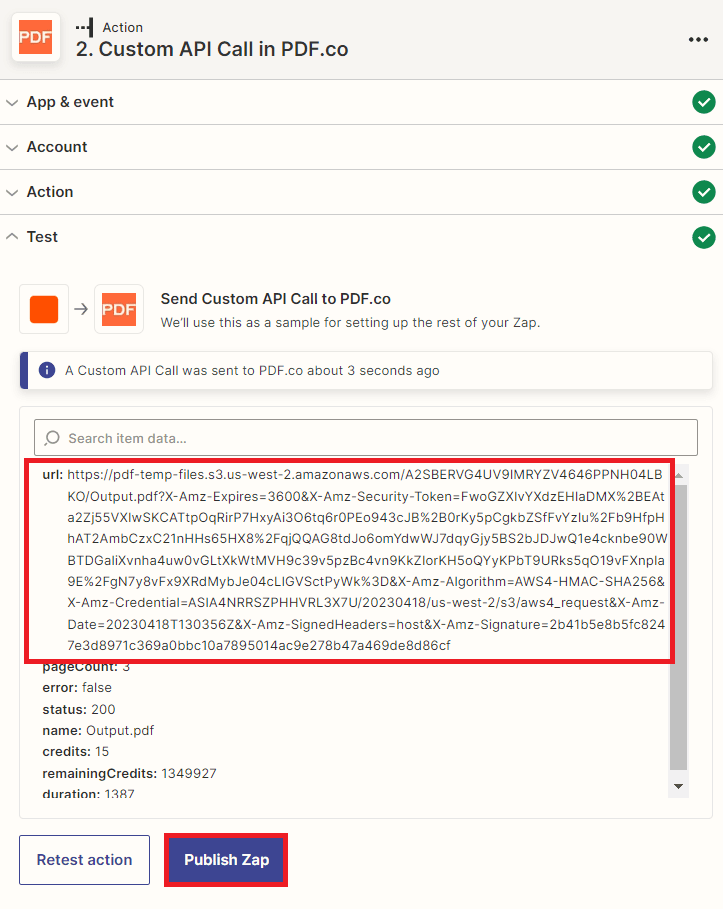
Step 11: Test Result
- Excellent! PDF.co has successfully processed our request and provided us with a temporary URL that contains specific pages from the PDF document. To view the output, copy the URL and paste it into your browser.
Step 12: Output
- The output will be available in the URL data.
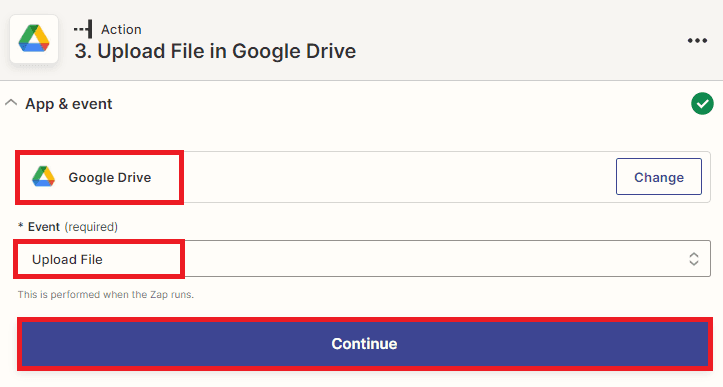
Step 13: Add Another Google Drive
- In this step, we’ll add the Google Drive app and select the Upload File option to save files to a specific folder in Google Drive. Alternatively, you can choose another cloud storage service to save the files.
Step 14: Setup Upload File Configuration
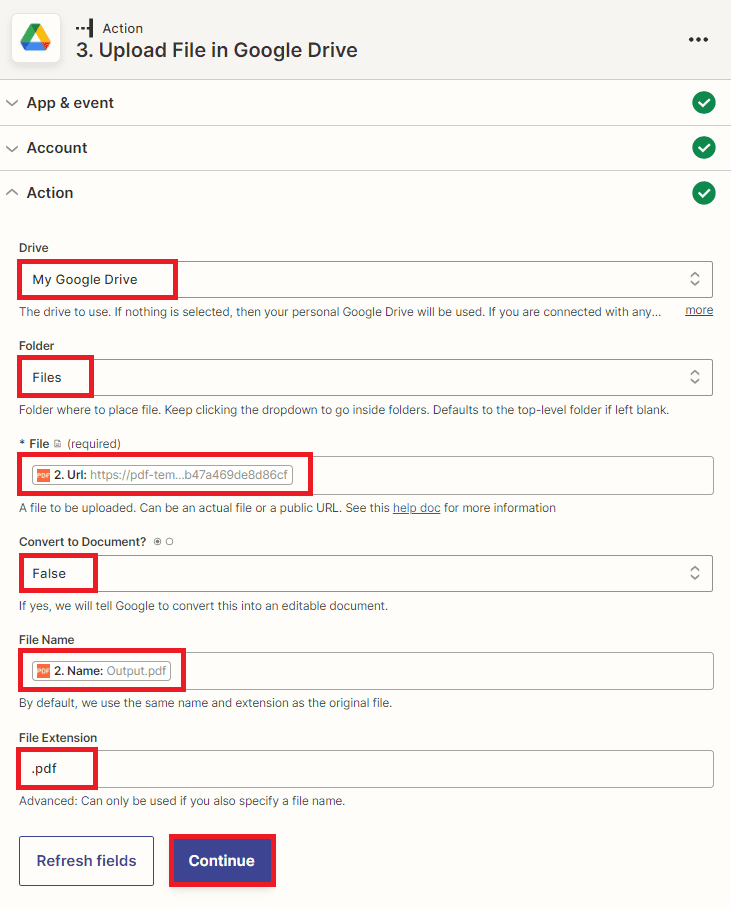
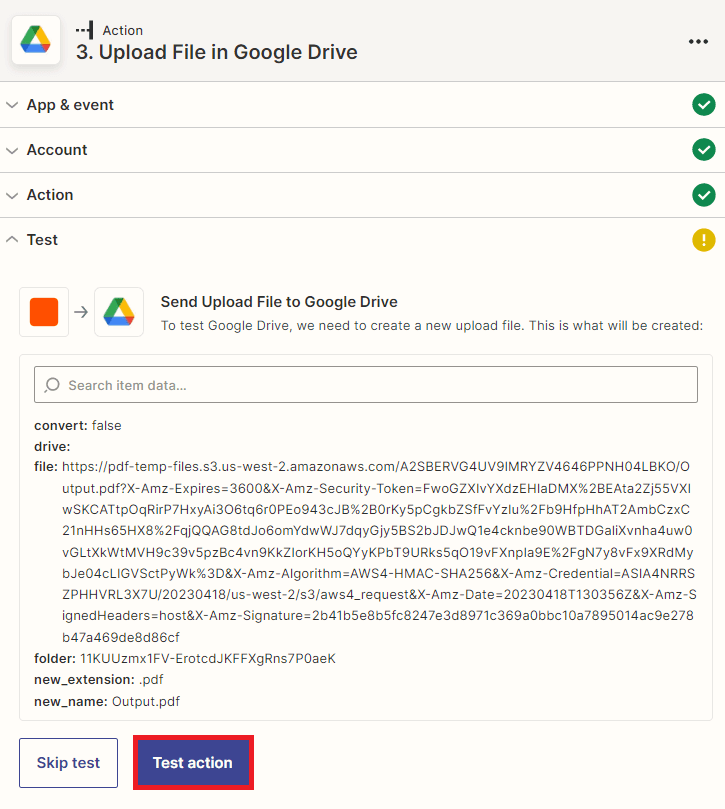
Let’s set up the Upload File configuration.
- Select My Google Drive as the Drive to be used.
- Choose the folder in Google Drive where you want to save the file.
- Specify whether you want to convert the output file to a document by selecting “Yes” or “No”.
- Choose the output URL from the PDF.co response.
- Specify an extension for your output file.
Step 15: Upload the File to Google Drive
- Now that the configuration is set up, let’s proceed to test the action of uploading the file to the designated folder in Google Drive.
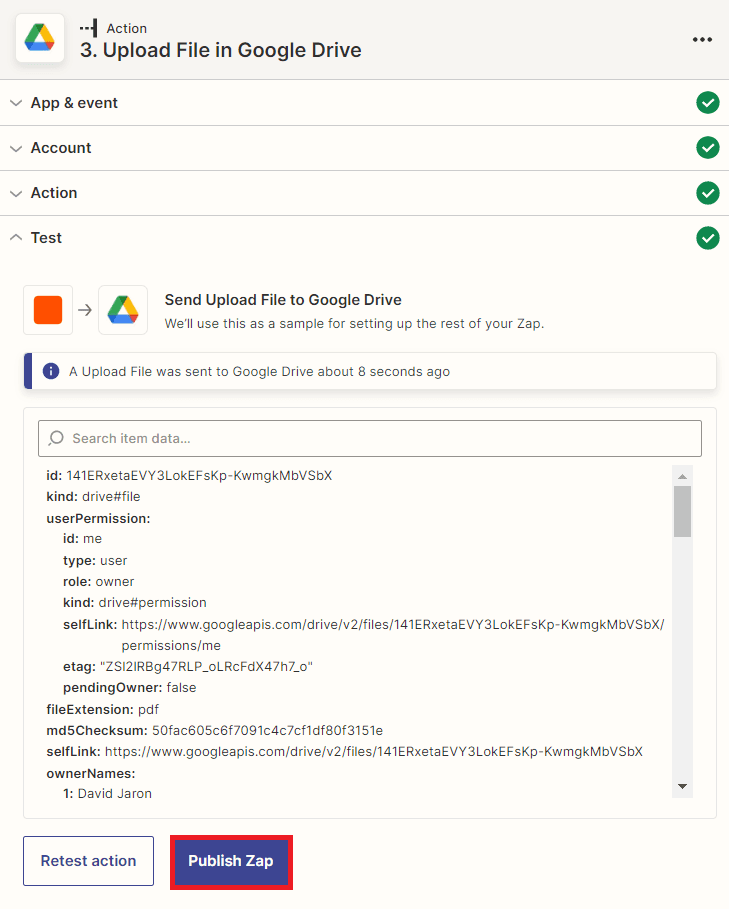
Step 16: Upload File Result
- Congratulations! The file has been successfully uploaded to Google Drive and saved in the designated folder. You can now check your Google Drive account to verify the uploaded file.
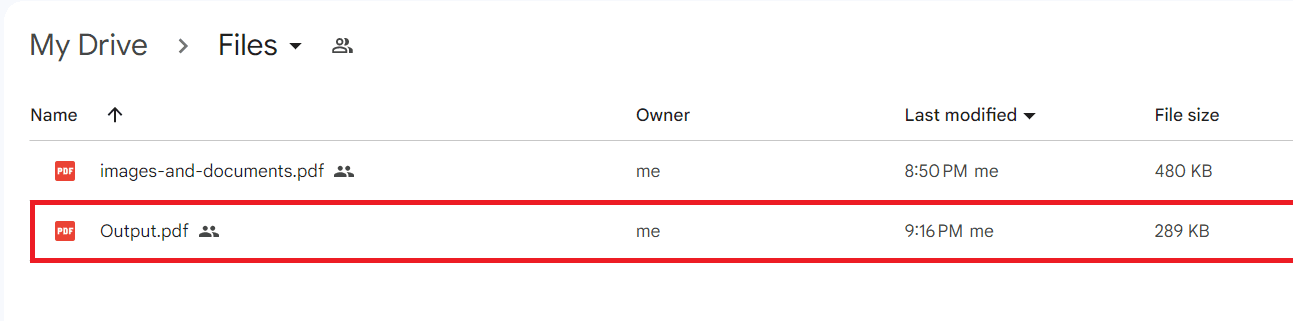
Step 17: Save the File to the Folder
- Here’s the Google Drive folder where the file containing specific pages has been successfully saved.
In this tutorial, you’ve learned how to save specific pages from a PDF document using PDF.co and Zapier. Additionally, you’ve learned how to utilize the PDF.co Delete Pages endpoint to remove unnecessary pages and retain only the pages you want to save.


