You can connect your PDF.co account to Zapier by adding the API Key. You can get the API Key in your PDF.co dashboard.
Automatically Create PDF Form with PDF.co and Store in Airtable using Zapier
Sep 2, 2024·5 Minutes Read
Are you tired of spending countless hours creating PDF forms manually only to find errors and have to start over again? Do you struggle to keep track of all the form submissions in your inbox?
PDF.co and Airtable are two powerful tools that can work together through Zapier to automate your PDF form creation and data management processes. With PDF.co, you can quickly and easily create PDF forms and customize their appearance to match your branding.
You can use Zapier to automatically send all form submissions to Airtable, a database management tool. Airtable enables you to easily filter, sort, and view your data in a variety of ways, and even create custom reports and dashboards to track your progress and gain insights into your business.
In this tutorial, we’ll guide you through the process of generating PDF forms using PDF.co and storing them in Airtable using Zapier. So let’s get started!
Follow the simple step-by-step guide below:
Step 1: Create a Zap
- To begin! First, open your Zapier account and click Create Zap in the upper left corner of your dashboard.
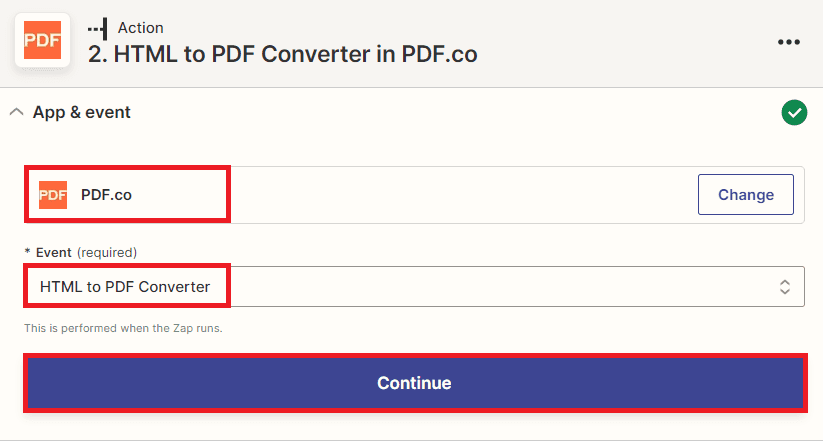
Step 2: PDF.co App and HTML to PDF Converter
- Next, let’s proceed to the action step and select the PDF.co app. Then, choose the HTML to PDF Converter to convert HTML code to PDF format.
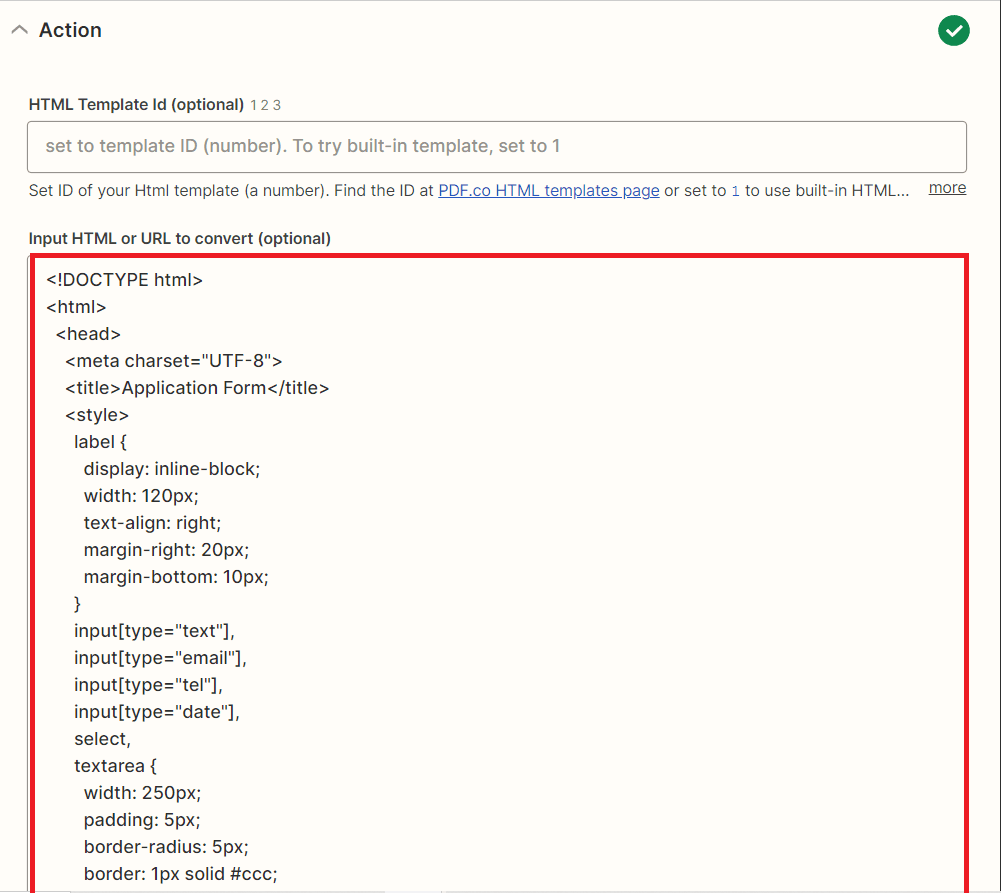
Step 3: Setup PDF.co Action
Let’s set up the PDF.co configuration.
- First, let’s input the HTML code in the Input HTML or URL to convert. We will use this code to create an HTML form and convert it into PDF format.
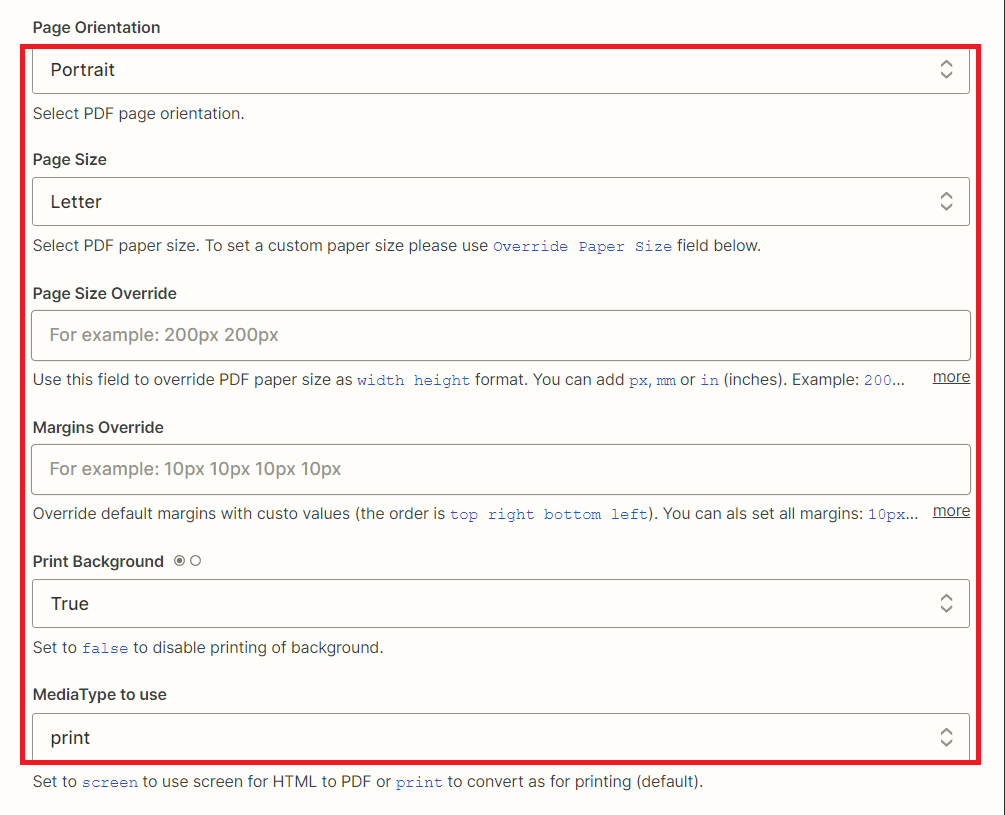
- Next, you can customize the parameters such as page orientation, margins, size, and more. For this tutorial, we will use the default values.
- Lastly, enter the Name of your generated PDF file.
HTML Code
<!DOCTYPE html>
<html>
<head>
<meta charset="UTF-8">
<title>Multiple Forms</title>
<style>
label {
display: inline-block;
width: 120px;
text-align: right;
margin-right: 20px;
margin-bottom: 10px;
}
input[type="text"],
input[type="email"],
input[type="tel"],
input[type="date"],
select,
textarea {
width: 250px;
padding: 5px;
border-radius: 5px;
border: 1px solid #ccc;
box-sizing: border-box;
margin-bottom: 10px;
}
input[type="file"] {
margin-bottom: 20px;
}
input[type="submit"] {
background-color: #4CAF50;
color: #fff;
border: none;
border-radius: 5px;
padding: 10px 20px;
cursor: pointer;
margin-top: 20px;
}
input[type="submit"]:hover {
background-color: #3e8e41;
}
h1 {
text-align: center;
}
form {
width: 600px;
margin: 0 auto;
}
</style>
</head>
<body>

<form action=”submit-application.php” method=”post”>
<h2>Application Form</h2>
<label for=”name”>Name:</label>
<input type=”text” id=”name” name=”name”><br>

<label for=”email”>Email:</label>
<input type=”email” id=”email” name=”email”><br>

<label for=”phone”>Phone:</label>
<input type=”tel” id=”phone” name=”phone”><br>

<label for=”dob”>Date of Birth:</label>
<input type=”date” id=”dob” name=”dob”><br>

<label for=”address”>Address:</label>
<textarea id=”address” name=”address”></textarea><br>

<label for=”position”>Position:</label>
<select id=”position” name=”position”>
<option value=”developer”>Developer</option>
<option value=”designer”>Designer</option>
<option value=”manager”>Manager</option>
</select><br>

<label for=”resume”>Resume:</label>
<input type=”file” id=”resume” name=”resume”><br>

<label for=”message”>Message:</label>
<textarea id=”message” name=”message”></textarea><br>

<input type=”submit” value=”Submit Application”>
</form>
After setting up the configuration, let’s test the action to send a request in PDF.co and convert HTML code to PDF format.
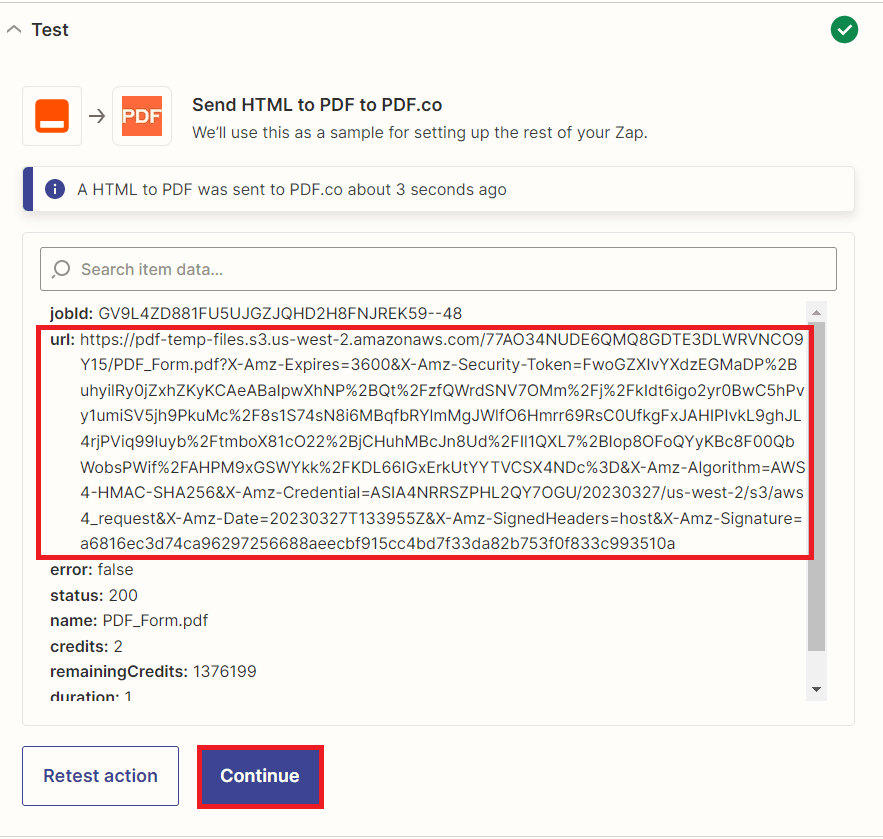
Step 4: HTML to PDF Converter Result
- Great! PDF.co successfully processed our request and returned a temporary URL of the generated PDF form. To view the out, copy the URL and paste it into your browser.
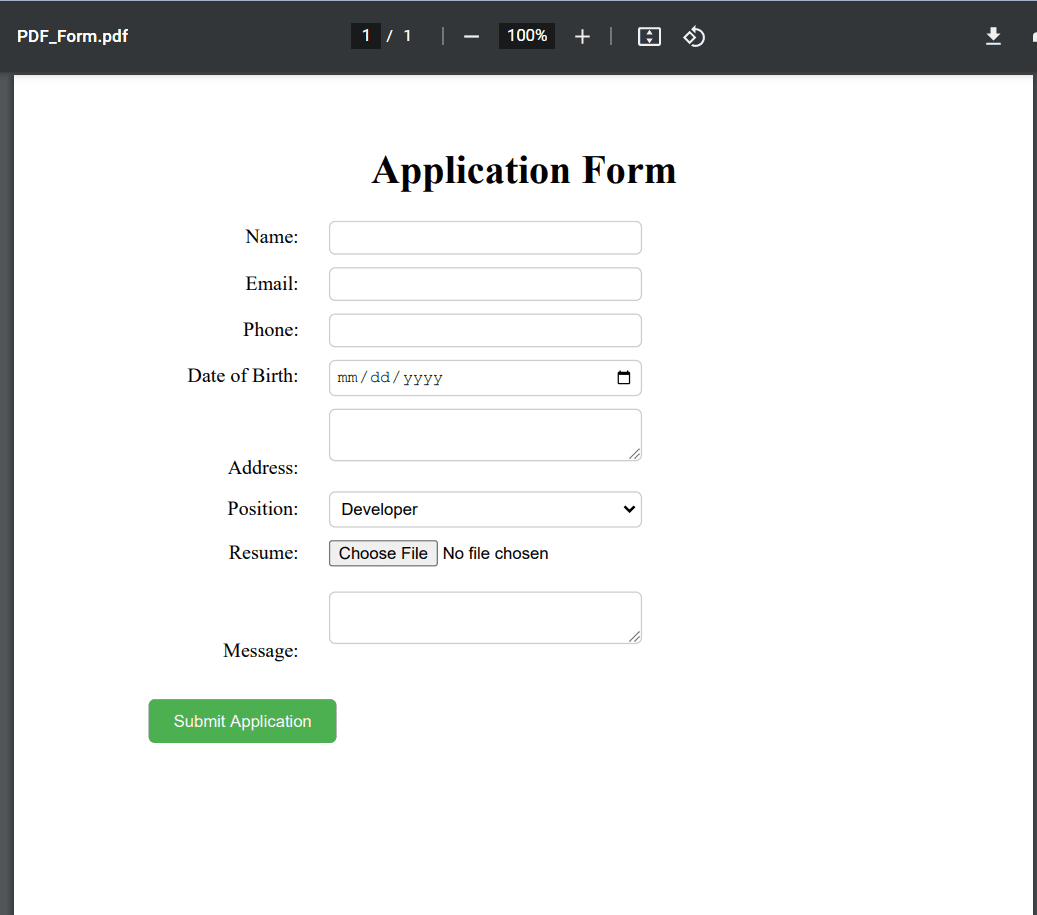
Step 5: Generated PDF Form
- Here’s the generated PDF form that we converted from the HTML code.
Since we’ve done creating a PDF form, we will now save it to Airtable.
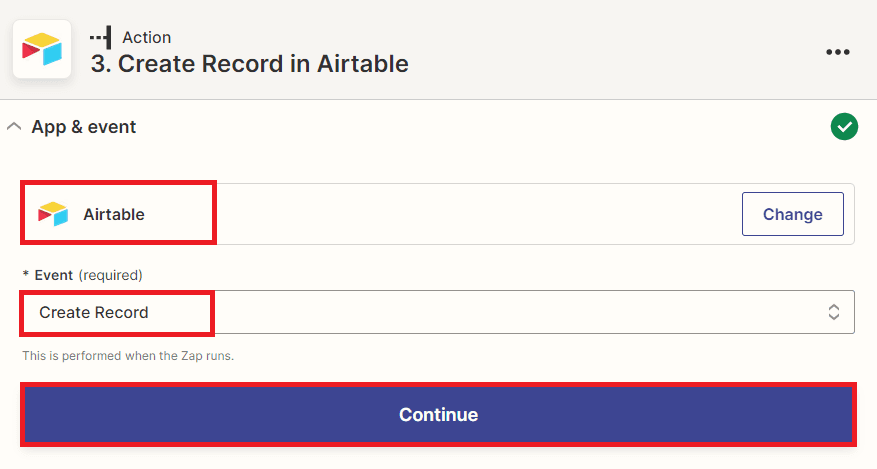
Step 6: Airtable App and Create Record
- In this step, let’s add the Airtable app and select the Create Record option to create a new record in the Airtable table.
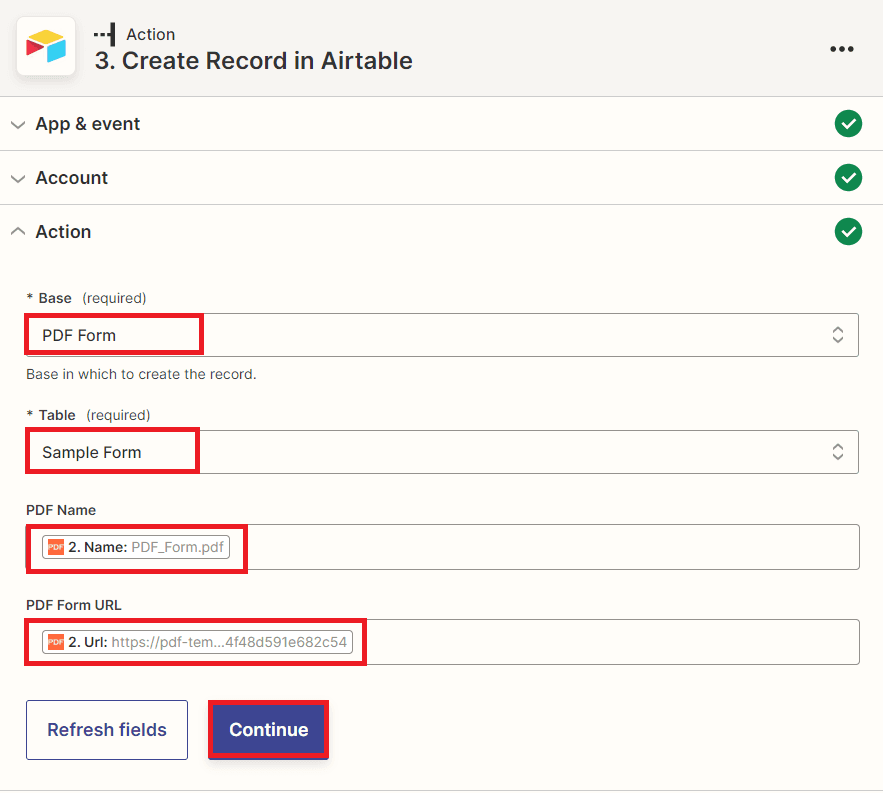
Step 7: Setup Airtable Configuration
Let’s set up the Airtable configuration.
- First, choose the Base that you want to work with.
- Next, select the Table where you want to add the record.
- Finally, fill out the fields in the Table with the corresponding data from PDF.co. These fields should have already been created in your Airtable Table.
Now, let’s send the created record to Airtable to save the generated PDF form.
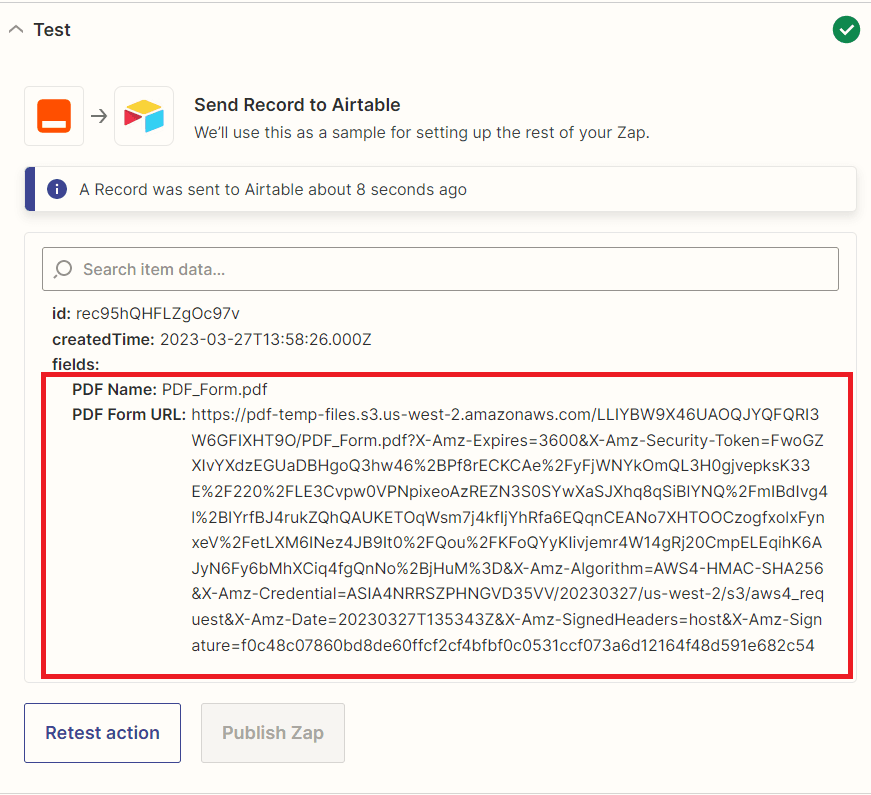
Step 8: Result of the Airtable Test
- Fantastic! The Airtable successfully process our request and save the generated PDF form to the Airtable table. You may now check your Airtable base to make sure that the generated PDF form was saved to the Airtable table.
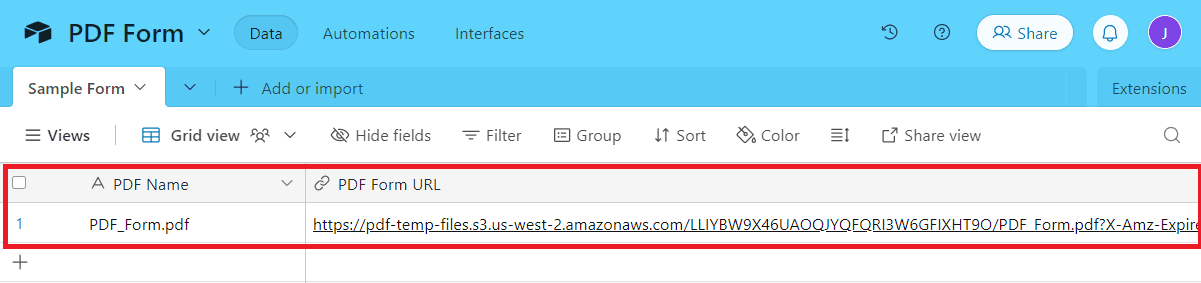
Step 9: PDF Form Save to Airtable
- Here’s the generated PDF form that we successfully save to the Airtable table.
This tutorial taught you how to use PDF.co to generate custom PDF forms using data from other sources. They can discover how to customize the form fields and layout to suit specific needs and how to automate the process of generating PDF forms using Zapier. You learned how to use Airtable to store and manage data from the generated PDF forms. By following this tutorial, you can learn several valuable skills, acquire practical knowledge, and gain insights into how to improve workflow efficiency and increase productivity.
Video Guide
Related Tutorials

How to Merge PDF files from Airtable using PDF.co and Make
Sep 9, 2024·5 Minutes Read
How to Create PDF Reports with Airtable Data using PDF.co and Zapier
Sep 2, 2024·11 Minutes Read
How to Generate a PDF using Data from Cognito Forms with PDF.co and Zapier
Sep 2, 2024·4 Minutes Read